


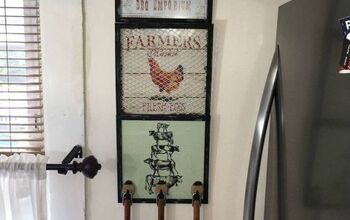
How to Easily Hang a Picture Frame Perfectly Level
6 Materials
$5
15 Minutes
Easy
Hello!
If you are a perfectionist like me (work in progress right) then when something is not level or misaligned it can really be frustrating, especially when I take all measures to prevent a build from being off level or off square. So when I learn a technique that helps to maximize perfection I am all over it and then I want to share it with the rest of those perfectionist out in the world as well.
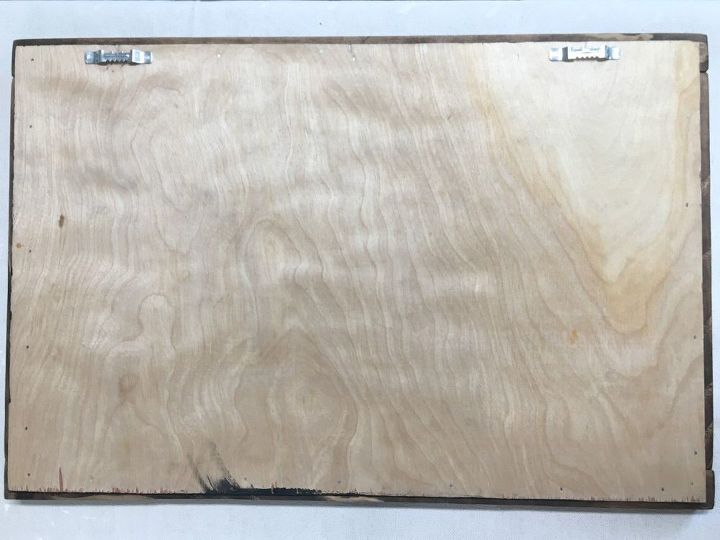
In this quick post I will show you how to hang wall decor when there are two points of contact. For example when there is two eye hooks on the back of an object that needs to be hung on a wall.
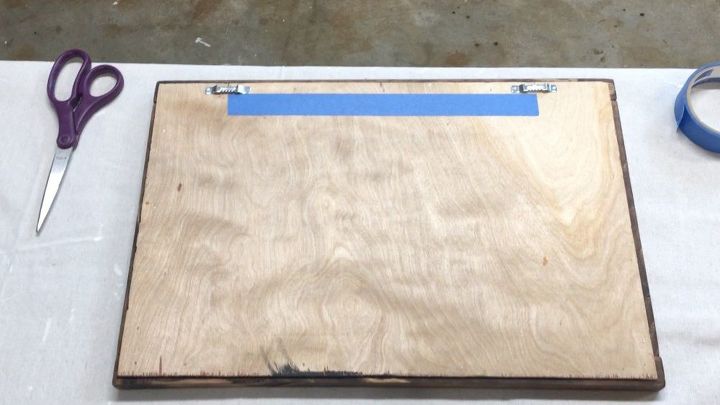
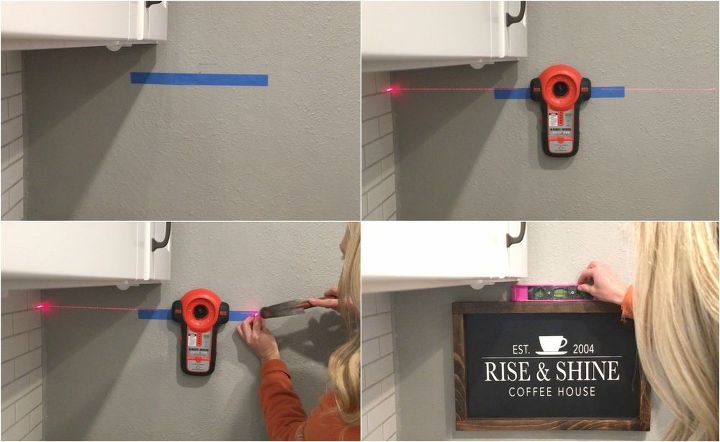
To get started I grabbed some painters tape and ripped a piece long enough to extend into the middle of each sawtooth hanger. Trim the edges with scissors if needed.
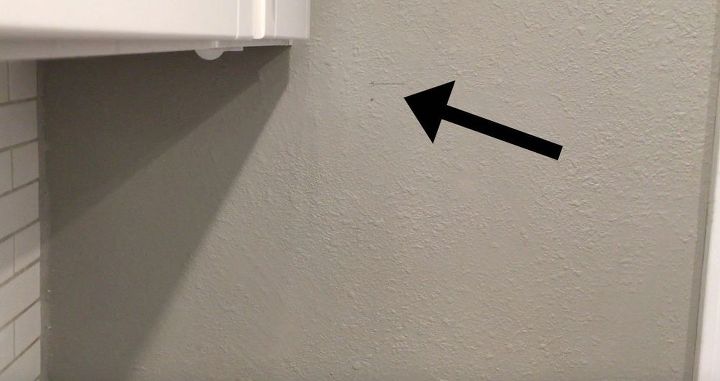
On the wall where I planned to hang the picture I marked center as well as a line about where I wanted the top of the frame to be.
Then I removed the piece of painters tape that I had applied to the back of the frame and folded it in half with the non stick sides facing to create a crease.
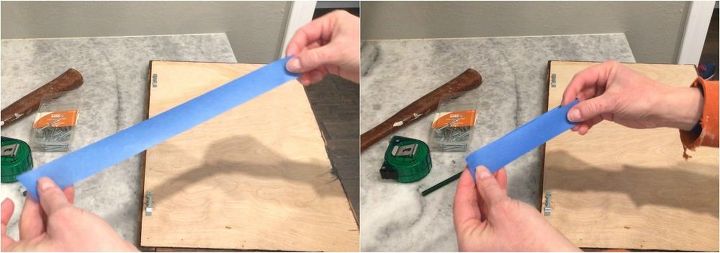
This crease is what I used to line up the center of the frame.
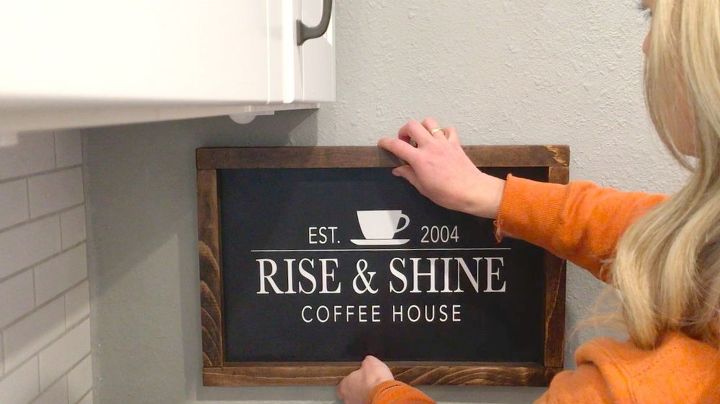
I attached the tape to the wall making sure the fold of the tape lined up with my pencil mark for center on the wall. Then using a laser level I marked with a pencil at each end of the tape where my nails would be. Don't worry if the tape isn't level, this is what the level/laser level is for. Next I hammered in the nails, hung the picture and again checked for level.
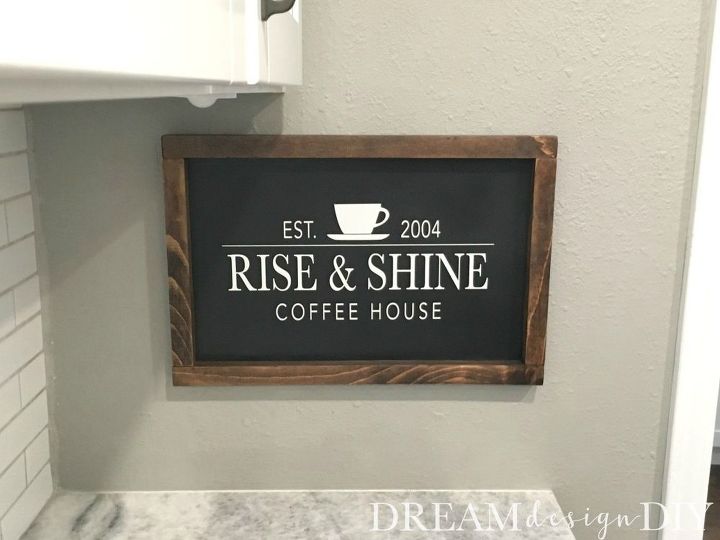
Then I removed the tape once I was happy with the placement.
Here is a video to show you the process.
{
"id": "4714156",
"alt": "",
"title": "",
"video_library_id": "6951",
"thumbnail": "https://cdn-fastly.hometalk.com/media/2018/03/08/4714156/how-to-easily-hang-a-picture-frame-perfectly-level.jpg"
}
{
"width": 634,
"height": 357,
"showRelated": true,
"noautoplay": ""
}
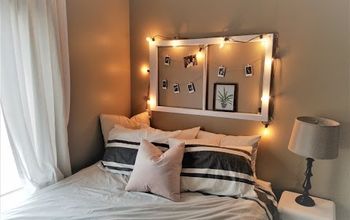
I hope this tip has helped you. If you are needing some other tips check out How to Easily Apply Decorative Upholstery Nails to Wood and the Four Most Common Ways to Cut Wood.
Happy building,
Tiffany
Resources for this project:
See all materials


Any price and availability information displayed on [relevant Amazon Site(s), as applicable] at the time of purchase will apply to the purchase of this product.
Hometalk may collect a small share of sales from the links on this page.More info

Want more details about this and other DIY projects? Check out my blog post!
Comments
Join the conversation
2 comments
-
It's a great tip and great tutorial. I hung a ton of pictures, bulletin boards for residents in the nursing home I worked at as a maintenance supervisor. Had a lot of those sawtooth and double keyhole hangars. What we did was put a piece of tape on the top and front of the frame even with the hangers on the back. Pencil a tick mark on the tape with the center of the hangers. Hold the picture on the wall with a six inch level on the top frame. Transfer the tick marks from the tape to the wall. Install screw in wall anchors and screws. Hang the picture.


Frequently asked questions
Have a question about this project?