


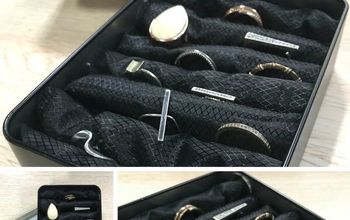
Handmade Ring Box
4 Materials
$30
2 Days
Easy
Here is a simple-to-make ring box that will look great on your dresser or wherever you keep your jewelry boxes.
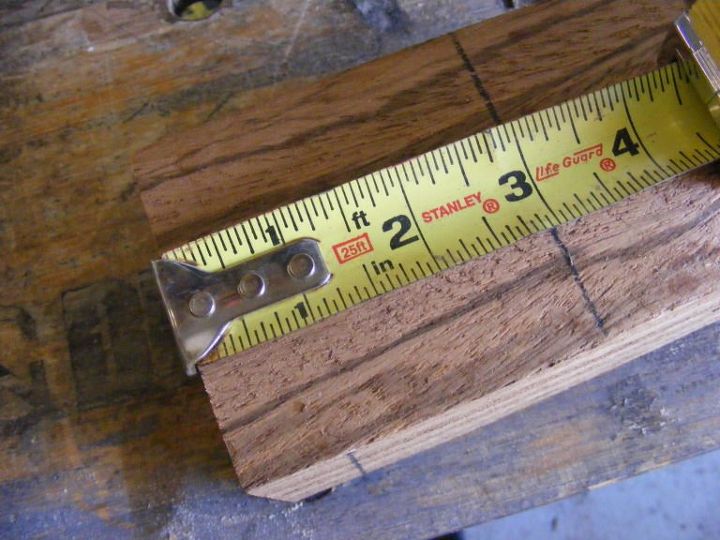
I recommend using a stunning looking hardwood. I chose Zebra wood which is an exotic wood. I found this in my local specialty woodworking store. This block of wood was 3 inches by 3 inches and then I cut it at the 3 inch mark.

I used my miter saw to cut the wood so it would be perfectly square. Notice how I'm using the clamp since this is too close for my fingers to get near the saw blade. Read the directions that come with your power tools and learn how to use them safely.
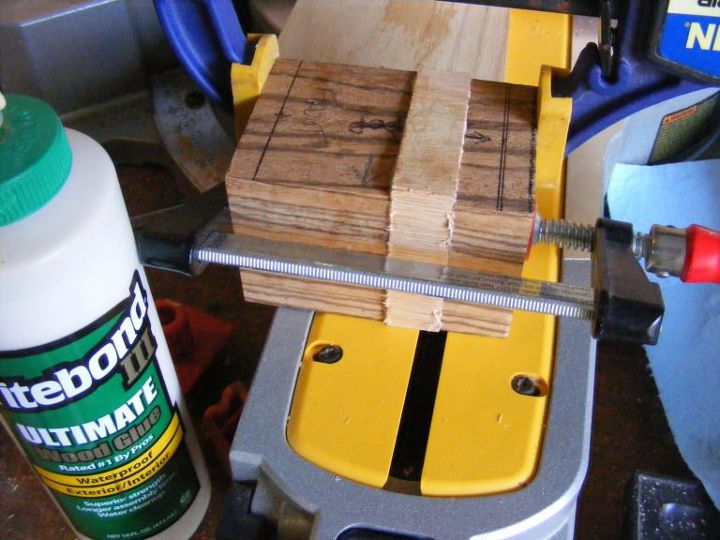
Next, I used wood glue to attach a contrasting piece of red oak wood. I allowed the glue to set overnight.
After the glued had set up, I took the block of wood over to my belt/disk sander. This helped me to make all the laminated layers flush with each other.
Then I took this piece back to the miter saw and cut straight through the middle of that red oak layer.
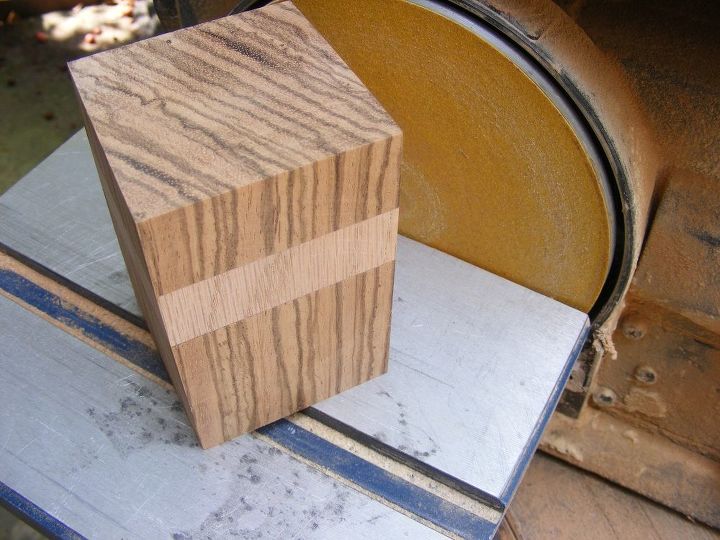
So I decided to flip that top piece (the lid) over and now I have the red oak contrasting nicely with the Zebra wood. I also took the top of the lid back to the sander and rounded over the edges.
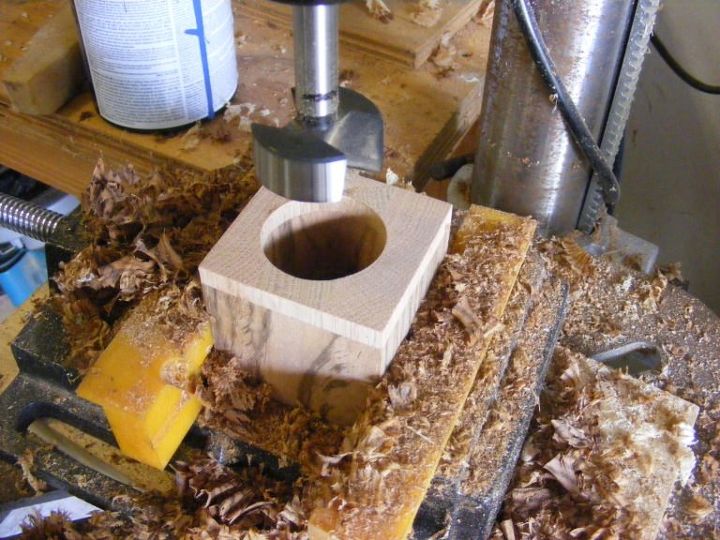
Next, I used my 1.5 inch diameter Forstner bit and drilled down to a depth of about 1.5 inches. Make sure to adjust the bit to the RPM recommended for hardwoods. Go slow and don't force the bit. Pull the bit out periodically to take out the waste wood.
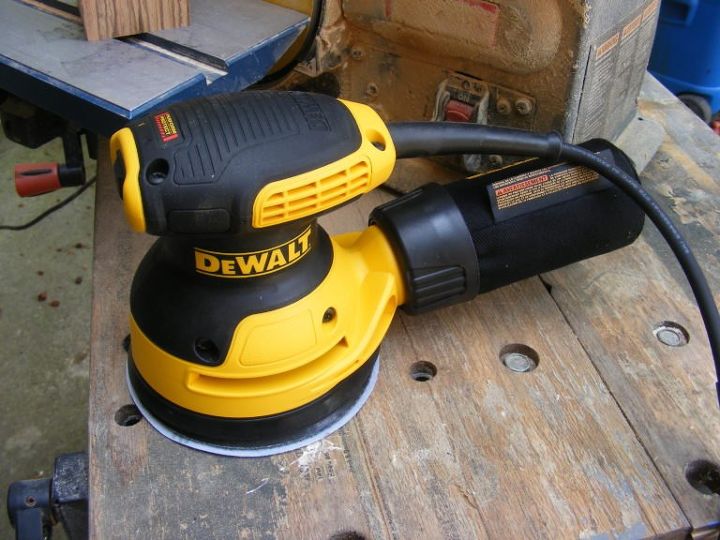
I used the orbital sander to do the finishing sanding. Move progressively from 120 to 220 to 320 grit.
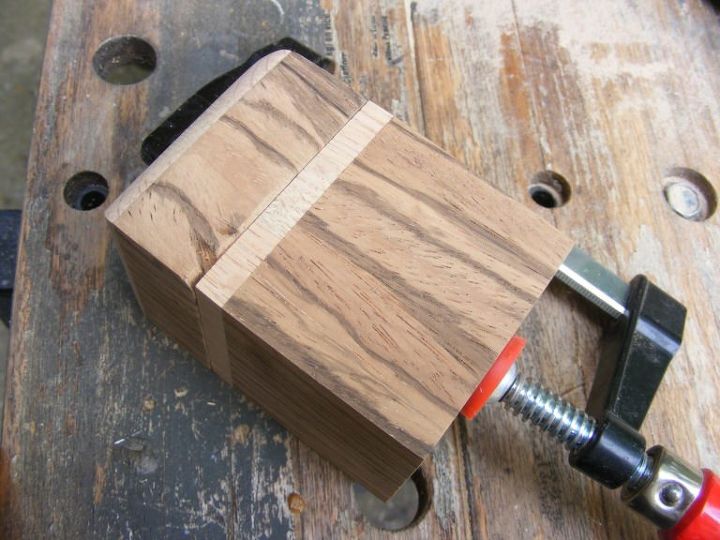
Clamping the lid and bottom together so grain looks good and sides are flush. This is the side where I'm going to add the hinge. Pick a side that may have flaws or is the least attractive. That way the hinge will cover up any imperfections.
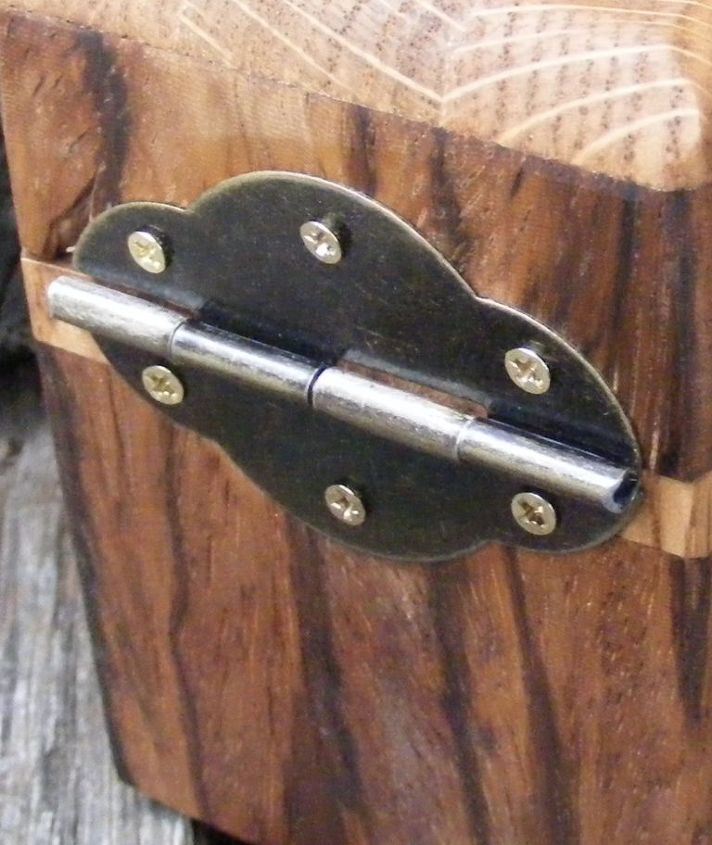
This is a simple hinge I got from my local hobby store. If I had it to do over, I would probably use pan head screws instead of flat head screws.
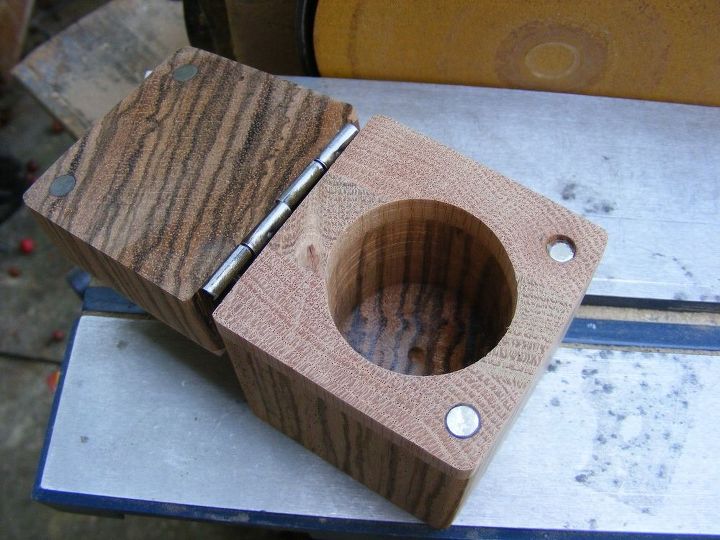
As an added step, I drilled 4 holes and glued in some small magnets. This helps assist with the lid closing.
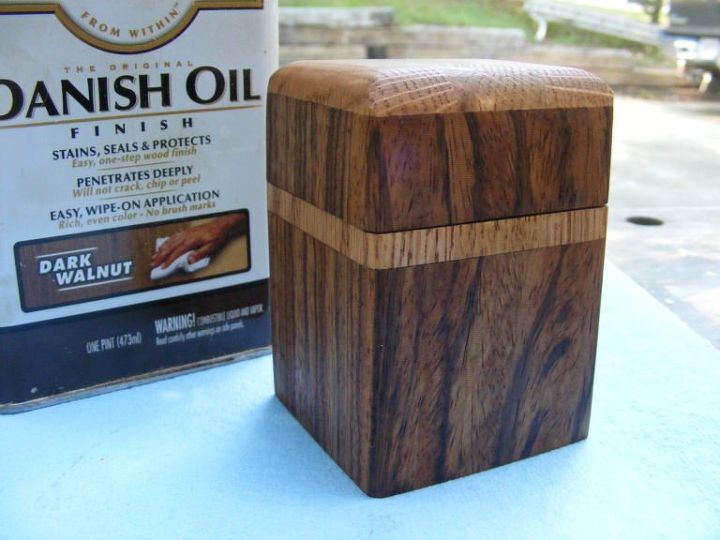
Danish oil turned out to be a good finish. You could also use a stain or lacquer.
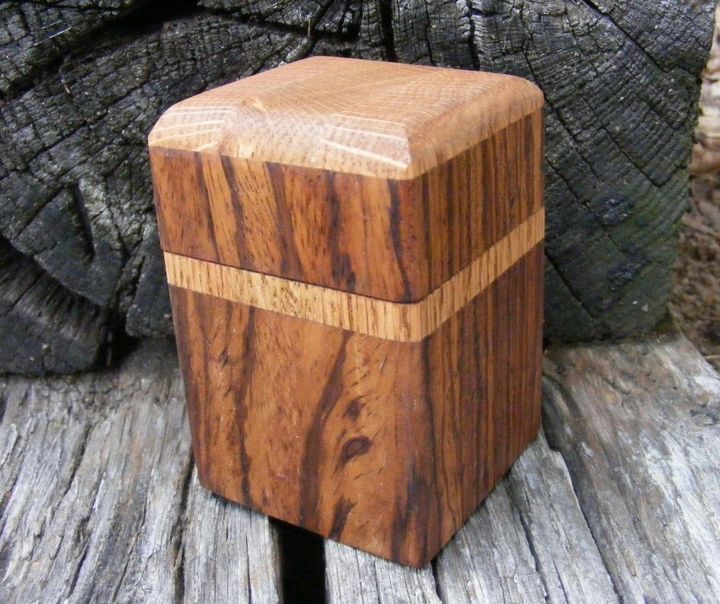
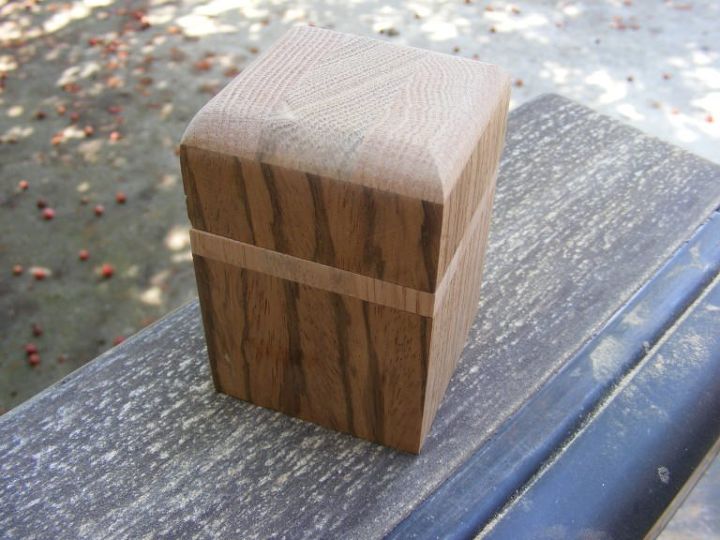
The finished ring box. Check out the full tutorial on my website. See url link below.
I would love for you to check out my website and consider subscribing. I try to send out 2 newsletters per month. If you subscribe, I'll send you my free Home Shop Safety & Tool Checklist. This is a great tool for helping you evaluate your work shop.

Want more details about this and other DIY projects? Check out my blog post!
Comments
Join the conversation
2 comments
-
Very Nice, Great Idea.


Frequently asked questions
Have a question about this project?
Absolutely stunning, beautiful piece of work. What did you line the inside where the ring sits with?