


When I Needed Help Redoing My Old Awning...
I have an old awning over my back door, and it was in desperate need of a makeover. I didn't want to replace it because it would cost more than I was ready to spend, but I didn't know how to fix it myself.
I remembered that I saw an episode of DIY Nearby where Hometalker Amber helped a woman named Tina paint her kitchen cabinets. I decided to see if a Hometalker was available near me.
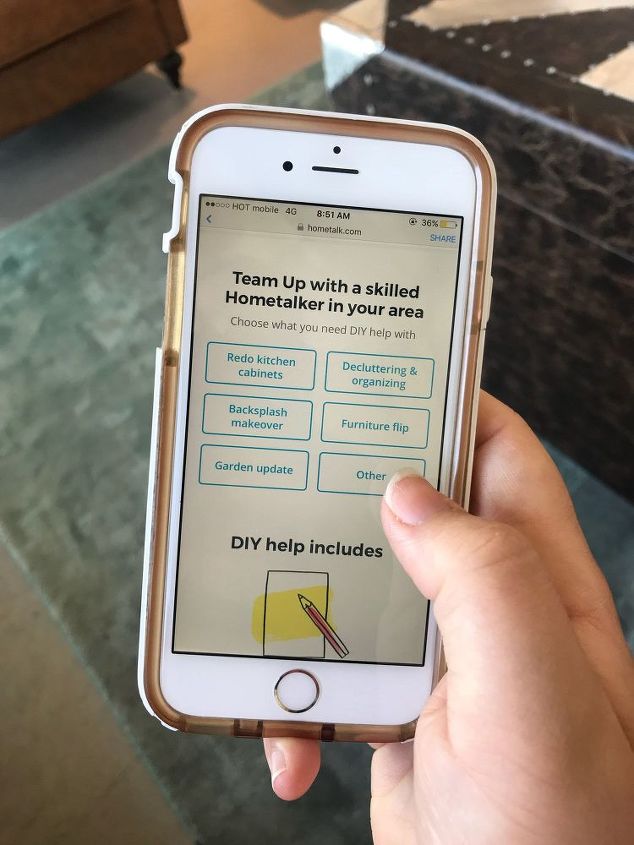
I went to www.hometalk.com/teamup, found a Hometalker whose projects I liked, then messaged her to see if she could help.
It turned out to be exactly what I needed!
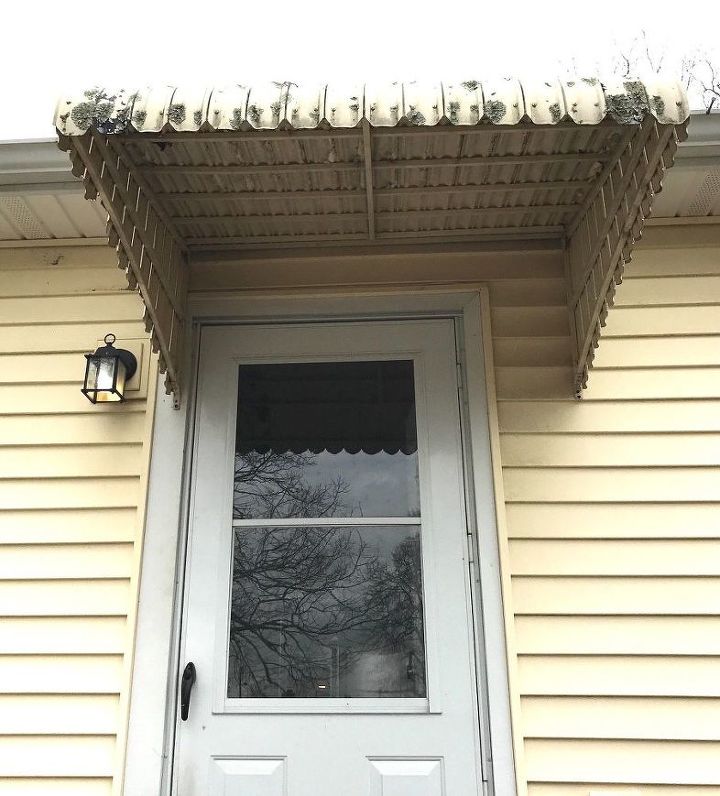
I told her all about my awning and then sent pictures of the state it was in. Yikes, I know!
She was so helpful and positive! Once she saw the pictures, we set a time to meet in person at my home so she could set me up with a step-by-step plan and a list of the materials and tools I would need.
A few days later, she came over and we sat down to discuss my awning makeover. We talked about what I would need to do, and she customized each of the steps as we went through, to make sure I would be able to do them.
I've never felt so ready for a projects! By the time she left, I felt like I had already done the project before and could totally do it again, and I had a full list of materials to buy.
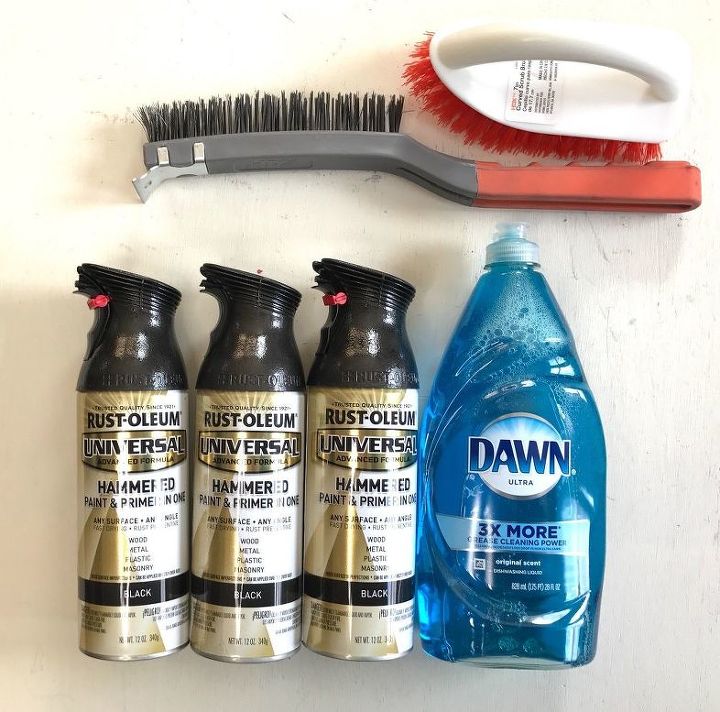
After a quick trip to the store, I had all the supplies I needed to start my awning makeover!
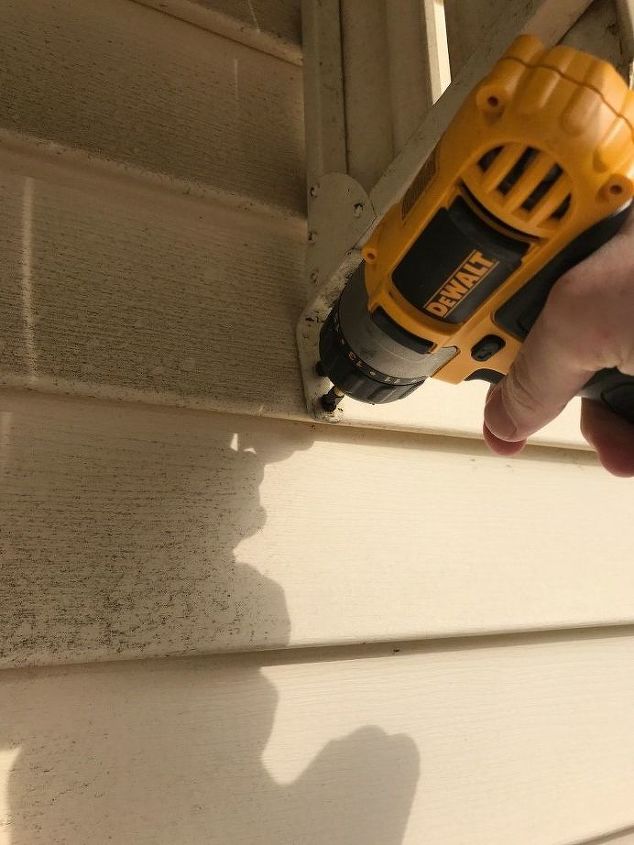
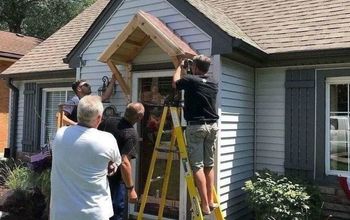
My awning was attached with screws on the sides. I borrowed my husband's drill and unscrewed the sides, then had him help me lift it and pull it down.
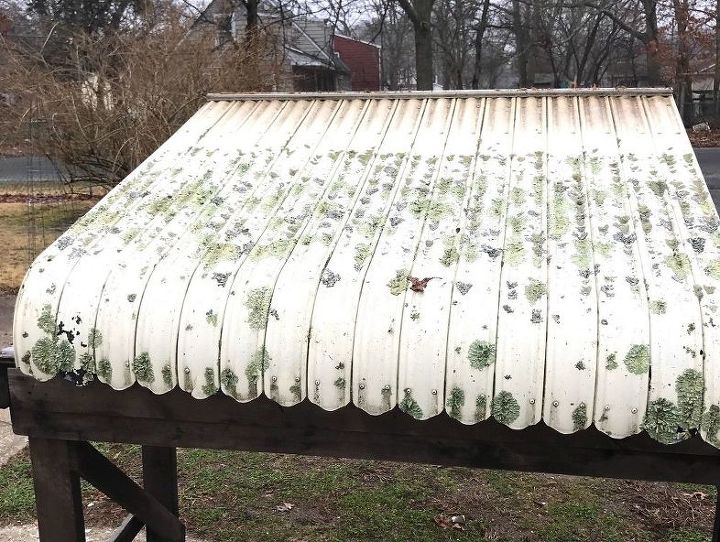
And here it is in all its glory! Yuck! Chipping paint, ugly growths, the whole 9 yards.
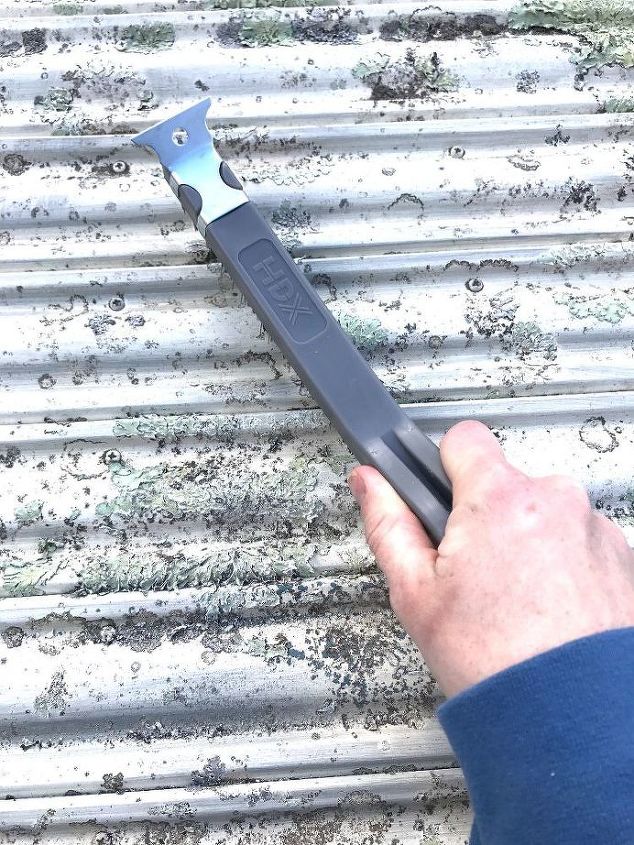
First, I took a big wire brush and scrubbed both sides of the awning. I underestimated the elbow grease this awning needed when it was hanging up. I made sure to get in all the crevices of the awning to get the clumps of dirt and lichens out as well.
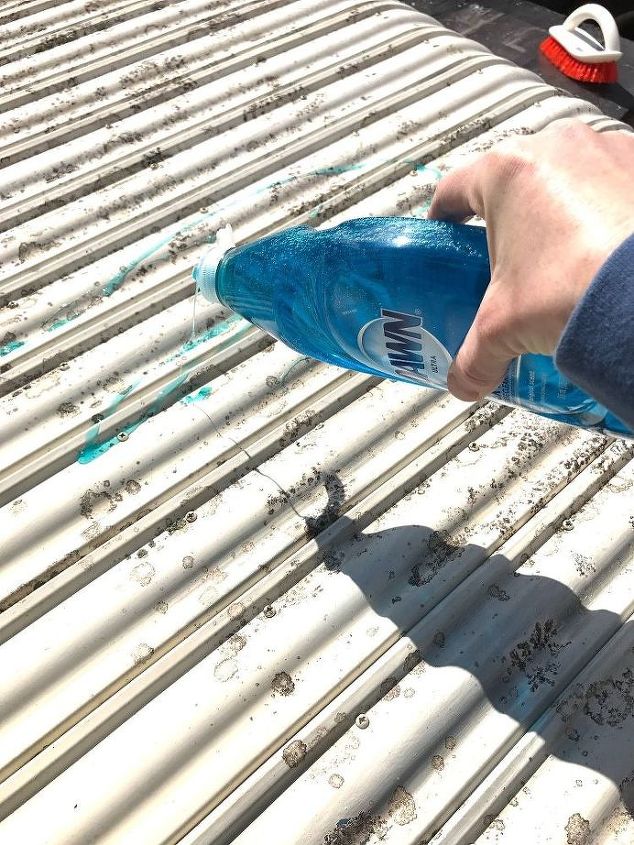
I squeezed some dish soap onto the awning, just like the Hometalker I spoke to instructed. She was so right about how well it would work! I was very generous with the soap.
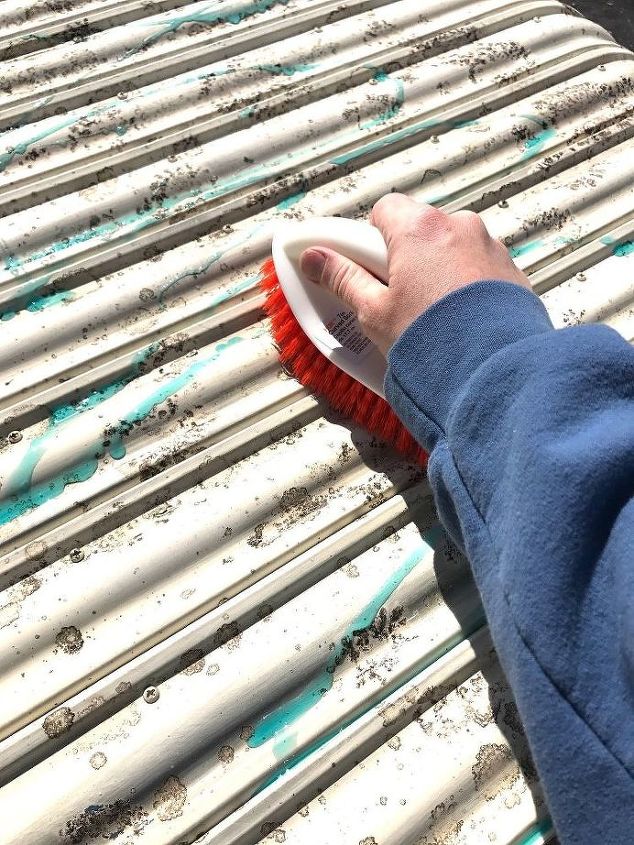
It took me at least an hour to clean the awning because I would add the soap, scrub, then rinse a section at time with my hose. This rough scrub brush was a miracle in my books, because it took a lot to get those piece of dirt off.
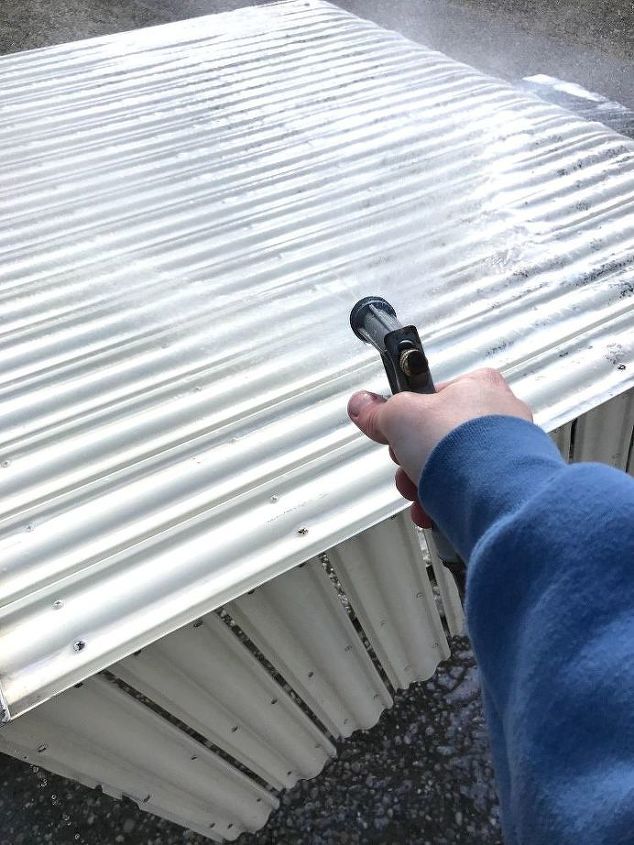
My last step was to rinse off all the soap, scum, and everything else with my garden hose. Then I left it to dry in the sun.
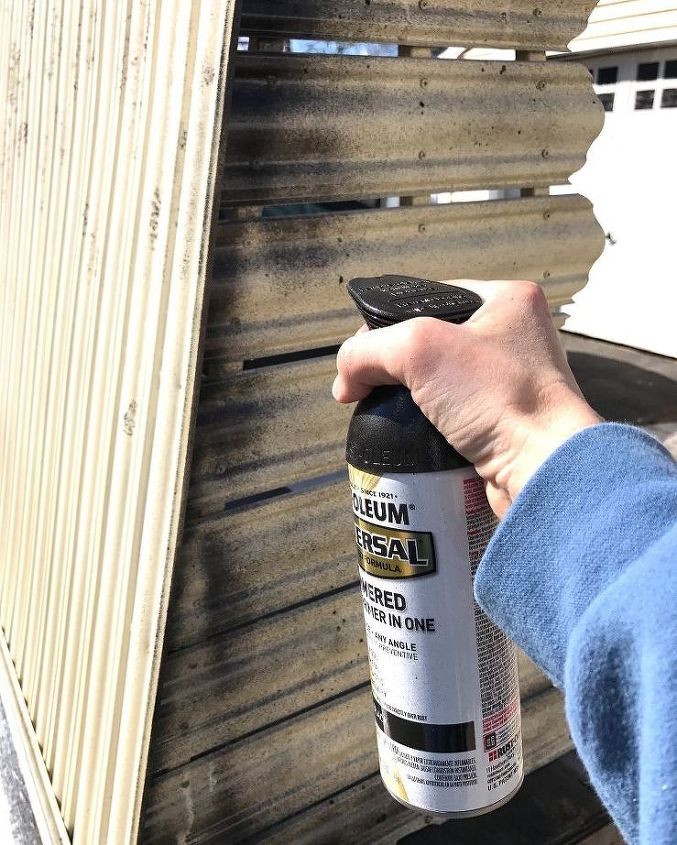
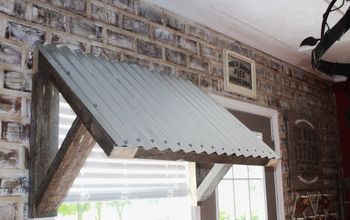
After my awning was completely dry, I sprayed 3 light coats of spray paint on each side. I made sure that each coat was dry before applying the next coat. It took me about 5 bottles of spray paint to complete the entire awning.
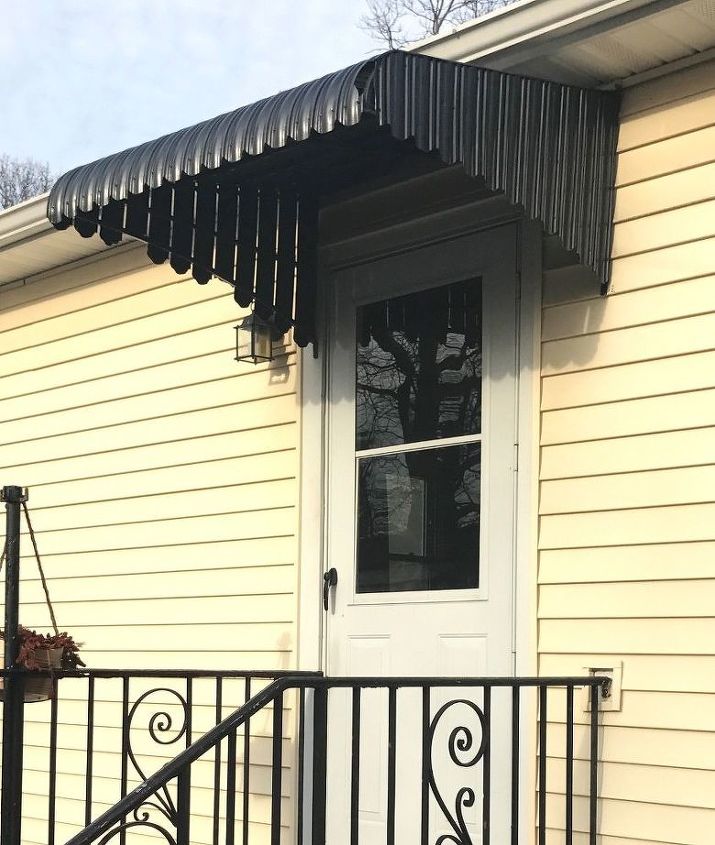
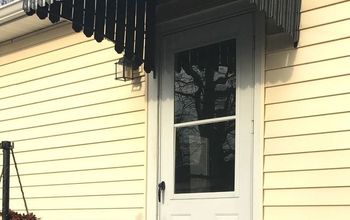
After having my husband help me hang it back up, all I could do was stand back and stare with my mouth hanging open. I did it! I was so proud, I immediately called a neighbor friend over for brunch just to show it off! Next time I have to redo an outdoor feature, I know exactly what to do.
Stuck on a project and need some DIY help? You can find out more about Teaming Up with a Hometalker here! Good luck!
Resources for this project:


Comments
Join the conversation
-
Wow! Very nice now!!
-
Well Done!!


Frequently asked questions
Have a question about this project?
Why is the awning offset so much above the door? If the light is a problem, just change the fixture to one that fits under the awning. Then center the awning on the door, it would look so much better.