


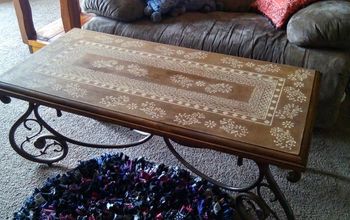
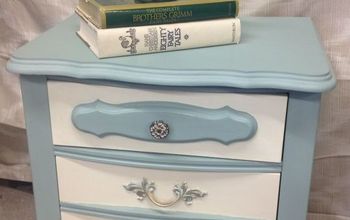
A Quick and Easy Change - White Melamine to and 'Antique Finish'

Over the past few weeks I have been doing quite a lot of painting and decorating and painting furniture for a friend - this is one of the pieces I have been working on and no doubt in a few days or weeks I will post some of the other pieces of furniture I have completed.
I have started with this one because it is soooo quick and easy I thought I would share it and give you some inspiration for you to perhaps get started on creating something for yourselves?
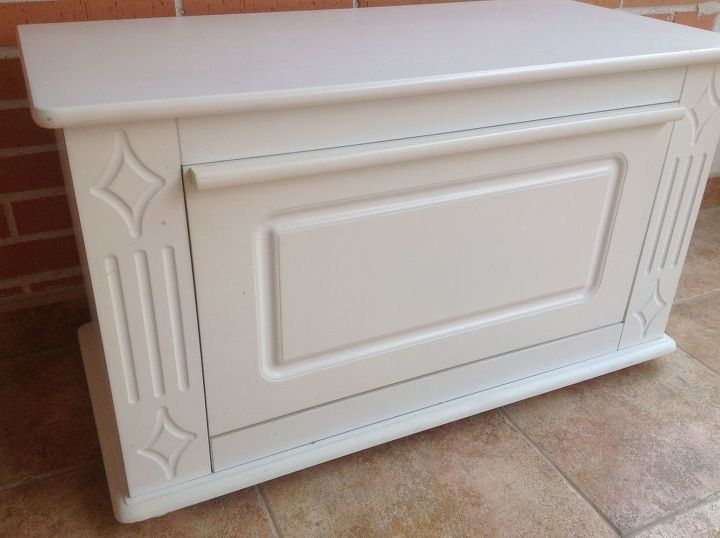
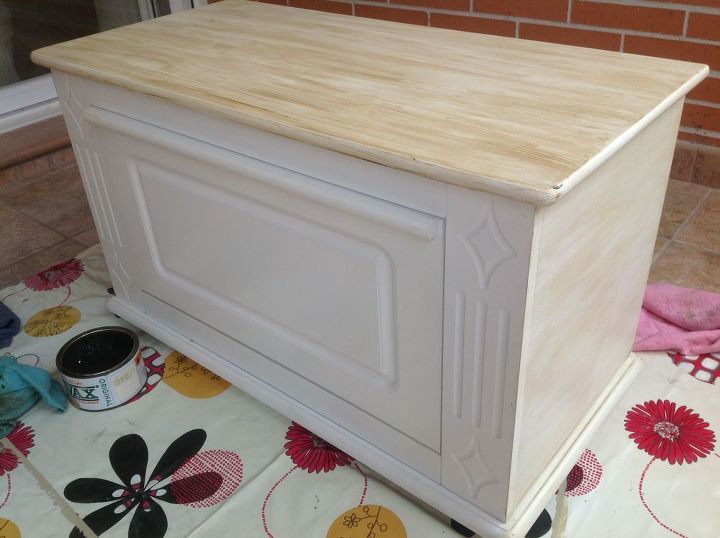
I think many of us may have a piece of melamine furniture in our houses that we would like to just give it a little facelift? This is what this piece of furniture is - quite boring - and needs a facelift.

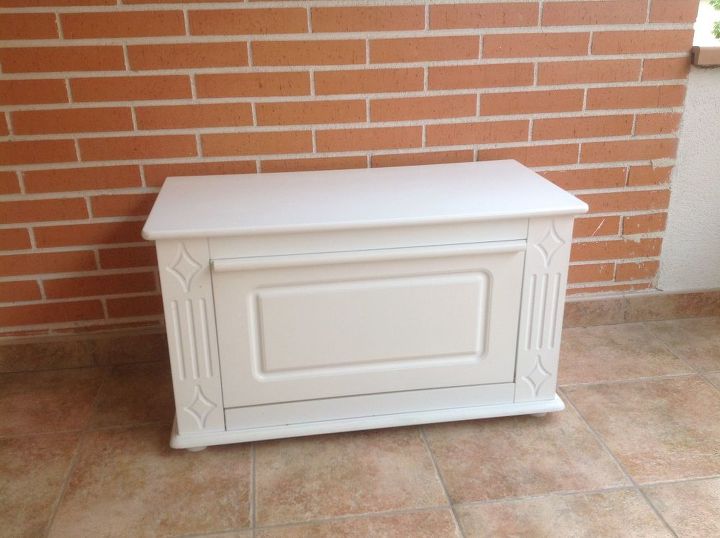
As this was already white - I thought I would do an experiment - I've never done this 'finish' this way before - so didn't really know if it would work or not - but if it didn't I knew I could easily rectify it. Anyway I will show you a couple more photos of the 'Before' first
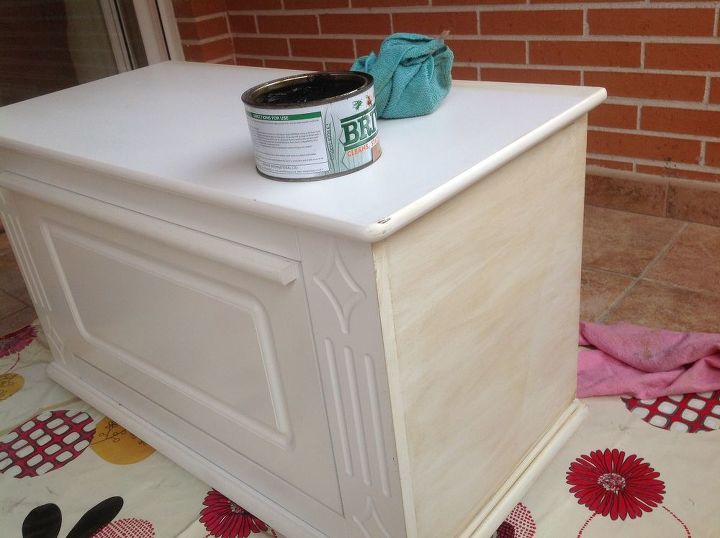
First of all I gave it a wipe down with soapy water - I never sanded it or anything else - it was in good condition and you need a shiny surface for this effect anyway.
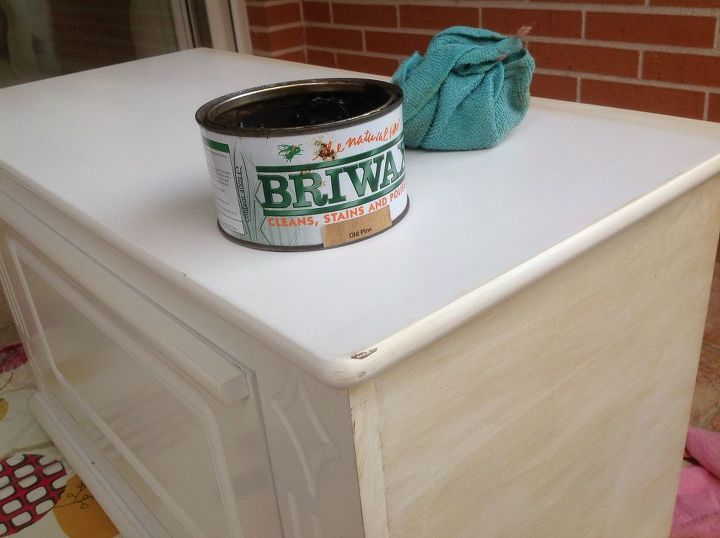
All I used was some dark wax - I use 'Bri-Wax' in Antique Pine but you could use any dark wax. I use this quite a lot so I already had this in my stash but it is not expensive to buy and it goes a long way.
I always use an old soft cloth when I'm applying wax on furniture and I need this effect. You do need a 'soft' wax it is much easier to use. If you do have 'hard' wax - I would recommend that you soften it up either by leaving out in the sun for a little while until it softens or you could put the tin in a smallish amount of boiling water in a saucepan to soften.
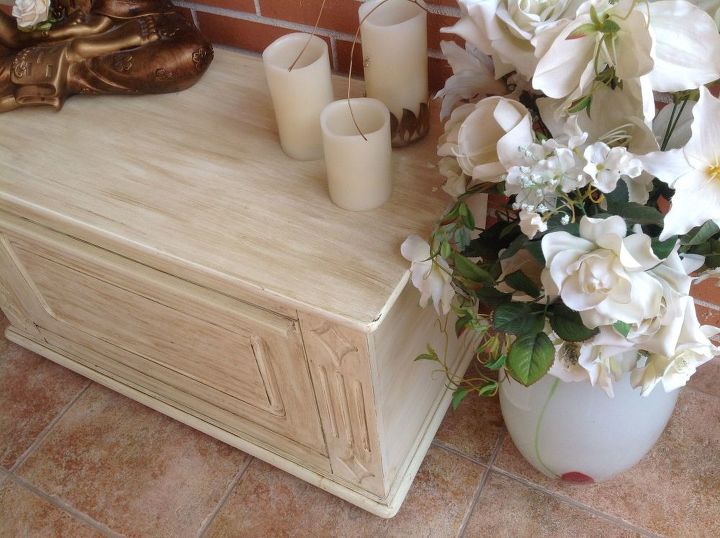
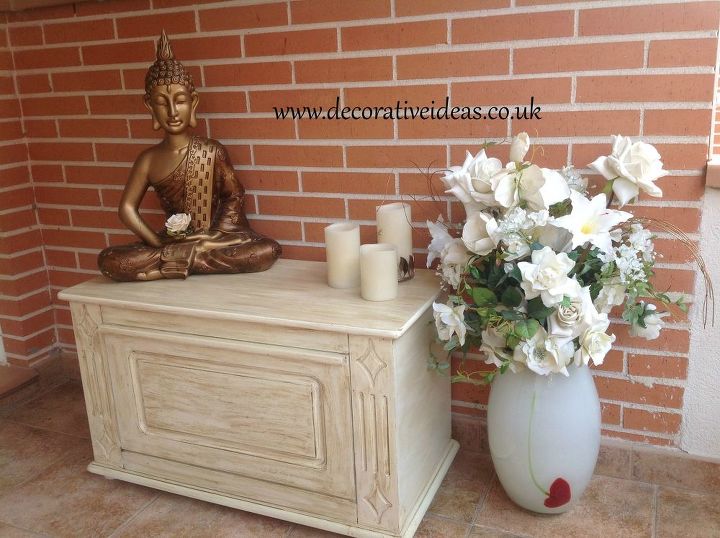
When applying the wax you usually work with the grain - although melamine doesn't have a grain - you can see that the sides are worked 'across' and not downwards - I did this to the whole piece - ie - working 'crossways'.
You can see in the photo above that I have already completed one side and the top - so you can see the difference in the 'finish'.
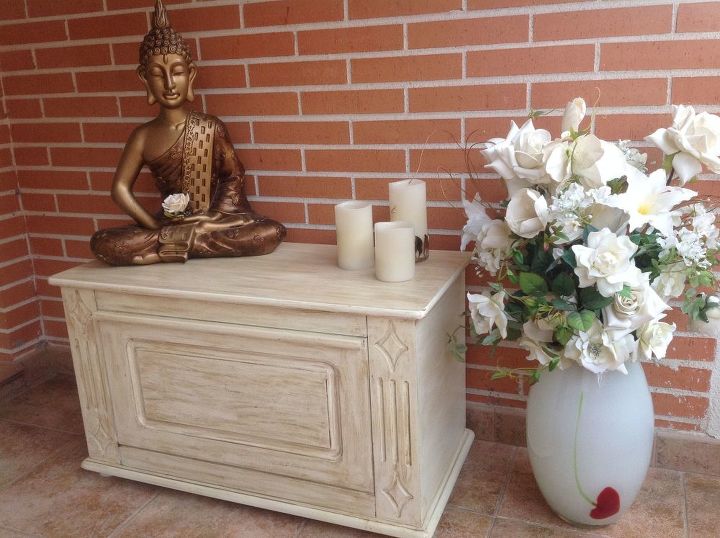
Once you have worked the wax in all over your piece - let it sit for 5 to 10 minutes as you don't want to wipe it all off - it just needs to dry a little - then using another clean old cloth - give it a real good shine - you will notice when you are first trying to buff it up it seems a little hard work, but once you've got over that initial buffing, then you see it all begin to take shape with a lovely sheen.
Hopefully I have given you some inspiration to have a 'go' at this quick, easy and not so expensive finish - sooo good luck and please do post your finished item on here.

For cleaning purposes:- PLEASE NOTE - I do not recommend using any silicone polishes on this effect nor water - all you need is a clean soft cloth - it is very hard wearing and easy to keep clean - like anything - just look after your furniture and it will look after you 


Comments
Join the conversation
-
My bed is made from that finish, I believe, and I was wondering how and if I could change it without having to sand the whole thing....and...now i know!!! Thank you very much for the info on this technique...you've given me some inspiration for sure!
-
P.S., your project turned out beautiful!!


Frequently asked questions
Have a question about this project?
Could this be done to refaced white kitchen cabinets?
What color of wax did you use on this?