


Faux Inlay Coffee Table

by
Caroline
I love bone inlay furniture. Words cannot express how deeply I desire a bone inlay dresser, or buffet, or table, or lamp, or tray, or box…you get the idea. Anything with bone inlay would be very welcome and I would make sure that the piece was very happy in my home. You know what I don’t love? The price. It’s not just sticker shock. Its heart palpitating, nauseating, ghostly pale face sticker coma. Needless to say, a true bone inlay piece is not in my budget.
Then my Mom discovered this coffee table at a garage sale for $5. It was stained, scratched, dinged, drawn on and scraped. In a word, perfect. For me, at least.
Supplies:
• Coffee Table
• Apple & Barrel Acrylic Paint
in Antique White
• Rags and paintbrushes
• Minwax Wood Stain in
Special Walnut
•Minwax Polycrylic
• Sander
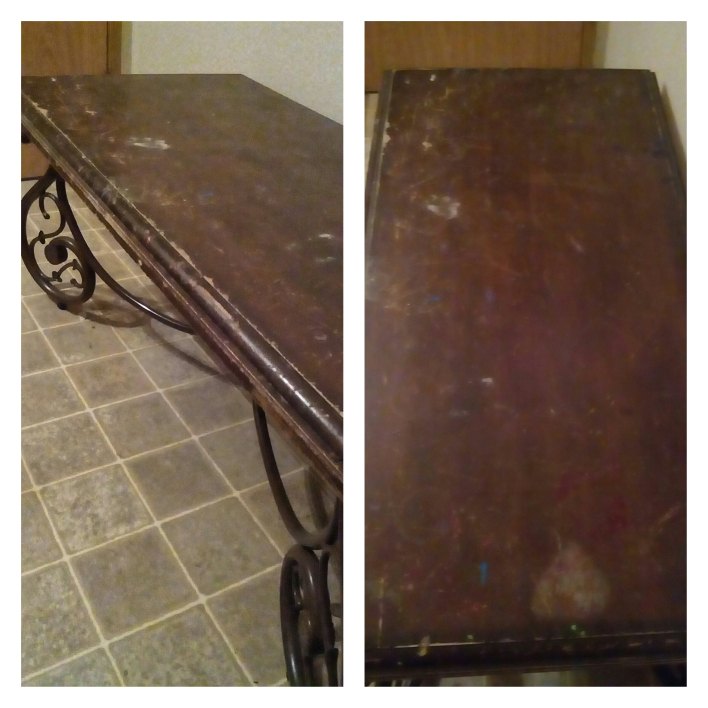
Here it is in its original “glory”. Ouch. That’s what word comes to mind when you check out this table top. Ouch. It looked like it had been through a war. So let’s see what we can do to doll her up.
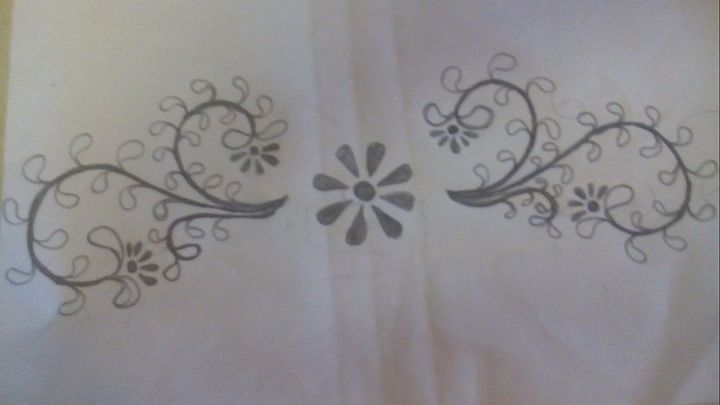
Now, I could have used a stencil, but decided not to for a few reasons: 1) I wanted this to be all me and was not concerned with absolute perfection- I believe the imperfections add character, and 2) it was midnight when I started this and didn’t want to wait to order a stencil nor did I want to spend additional money on an inlay-like stencil.
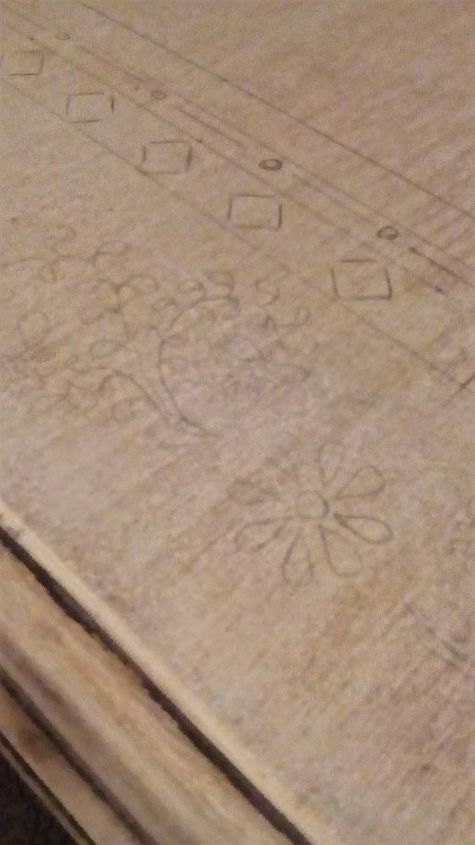
If you are having trouble envisioning what you want your design to be, I highly suggest hopping on the internet and checking out other inlay furniture. It can look really busy, like there is a lot going on, but most designs can be broken down. For example, a row of diamonds, then a row of dashes and dots, a row of chevrons, etc. It’s your design. Do whatever you will like to do. If you want to use a pattern that’s not normal lay seen on inlay furniture, go for it. Who cares? Its not like the pattern police are going to be busting down your door. If you like it, then it’s right.
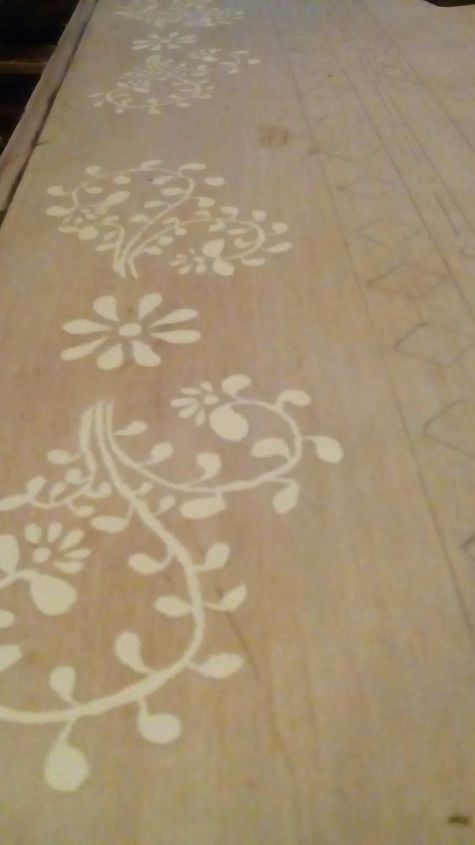
But finally I was done! Now, the most nerve racking part. I had already invested so much time into this table and was about to cover all my work with wood stain. Visions of the stain making the acrylic run, turn orange, cover the paint so dark you couldn’t see the pattern, a lot was going on in my head as I stirred the stain. (I used Minwax Wood Stain Special Walnut) Then I put on my big girl panties clenched my teeth, and made the first pass with the stain on a soft rag….
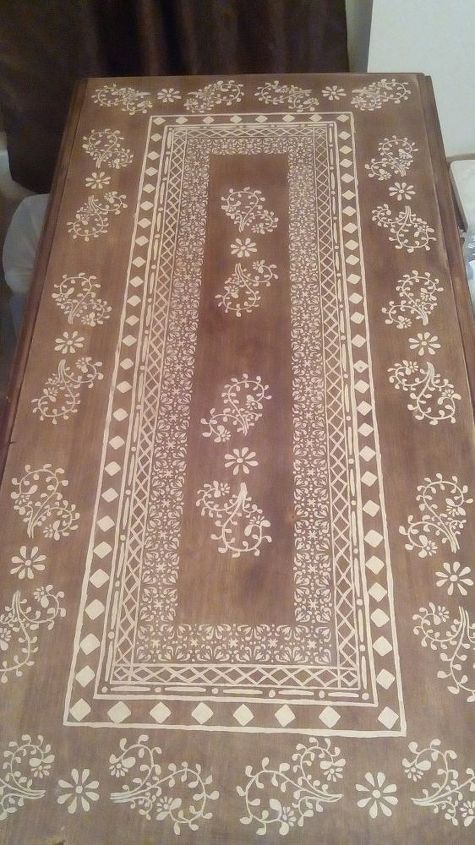
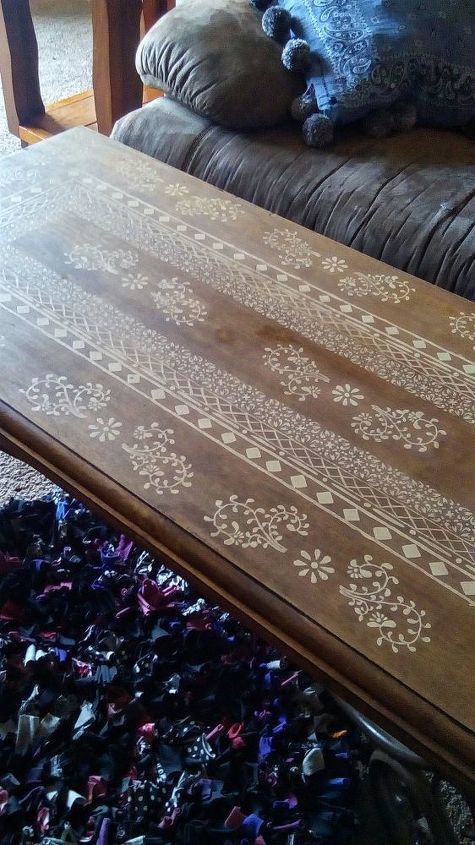
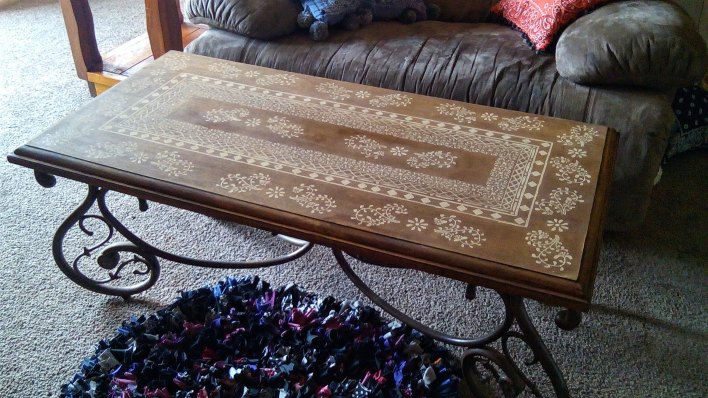
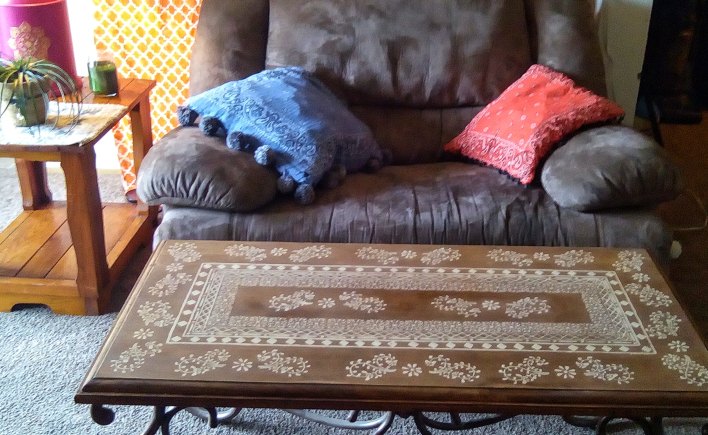
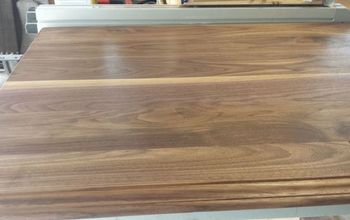
Ta-Da! Just what I imagined. I was ecstatic. I dragged Michael in to see it, babbling at a high pitch and way too fast for any reasonable person to understand, that patient man. I wiped a thin coat of stain on with a soft rag, let it sit about 15 minutes, then buffed it with a clean rag. I found that if I rubbed the paint areas with a little pressure, I could wipe most of the stain off, keeping the paint pretty light. The stain barely tinted the paint with me buffing it, so it’s up to you and your aesthetic for what you want to do. I do recommend not rubbing the paint too vigorously. I noticed the paint started to rub off if I pushed hard. Also, the paint was barely tainted by the stain I used, but if you do decide to use a darker stain or one with red or orange in it, I would watch the paint closely to make sure it isn’t discolored. And here is the finished product. I applied two coats of stain, allowing 8 hours between coats, and three coats of polycrylic to seal it, so I don’t worry about the kids spilling something on it and staining the paint or rubbing it off when I need to wipe something up.
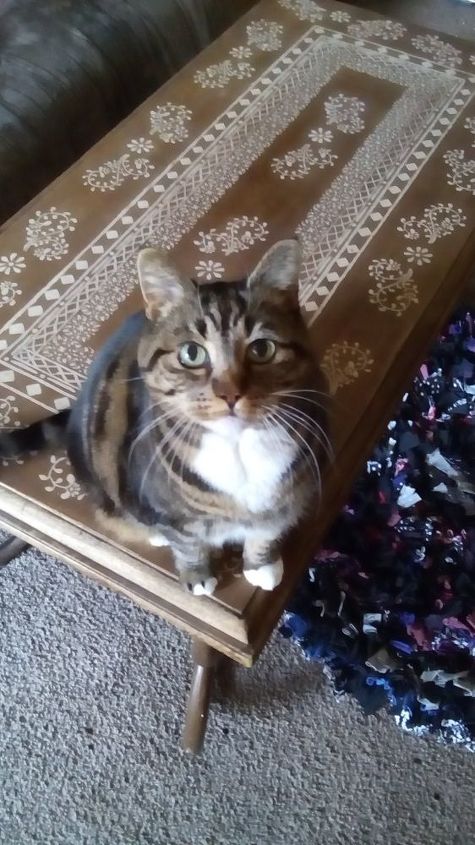
And here is our cat, Spade. The coffee table won her seal of approval. She just had to come check out what I was doing!
Thanks for joining me on my first post on my blog. I hope you enjoyed it and it inspires you to try your own faux inlay. Many more to come!
Want more details about this and other DIY projects? Check out my blog post!
Comments
Join the conversation
2 of 161 comments
-
Absolutely fabulous !!! With the talent shown on the table, I think you would be a good tattoo artist !!! Please post any future endeavors here for all of us to see.
-
Absolutely gorgeous! And I just love your excitement about it all!! Good luck in all your future conquest, I know they will be amazing as well!


Frequently asked questions
Have a question about this project?
Absolutely stunning!!! You also have a steady hand and loads of patients. My question is why did you choose to use a mate finish poly rather then a shiny one? Did you also apply your poly coat using a rag rather then a brush? I think it would look so good if it had more shine to the surface but that's just my opinion. What a great buy your mother got and you could tell this wasn't a cheap piece of furniture in it's day but you've made it even more high end! Great job!