


Resin Confetti Wedding Coasters
6 Materials
$10
1 Hour
Easy
I was at a bridal shower for my nephew and is bride to be. It was beautifully decorated with purple metallic confetti hearts strewn on the tables. As the party was ending, I was talking to my aunt. While I was distracted, my nieces, nephew and cousins thought it would be funny to collect all of the confetti from the 7 or 8 tables and pour them into my small purse. I had no idea this was going on and it all sunk right to the bottom of my purse. I don't often dive down to the bottom of my purse, so imagine my surprise when a week or so later, I found all of this confetti. I was paying for something at Michaels and I pulled out my wallet and a stray confetti heart came flying out. I decided to give it back to them in the form of a wedding gift.
**You will spend less than an hour total making these coasters, except for the time for the resin to cure. Including the cure time, you can make them in 24 hours.
See above for the quickie video tutorial, so you can see exactly how I made it!
{
"id": "5007421",
"alt": "",
"title": "",
"video_link": "https://www.youtube.com/embed/QxlQUerxPgI",
"youtube_video_id": "QxlQUerxPgI"
}
{
"width": 634,
"height": 357,
"showRelated": true
}
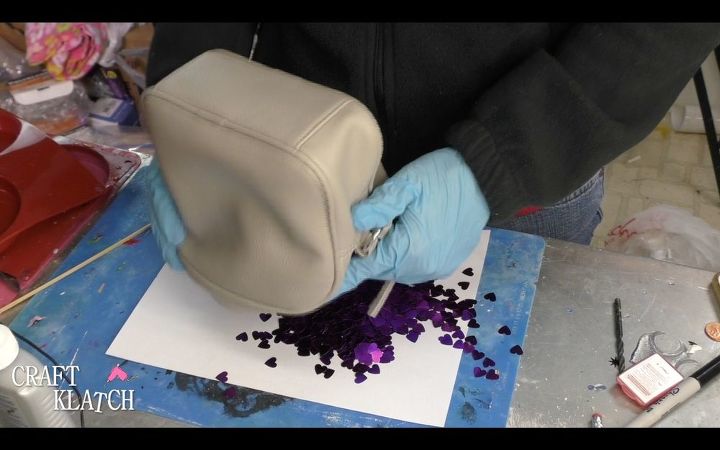
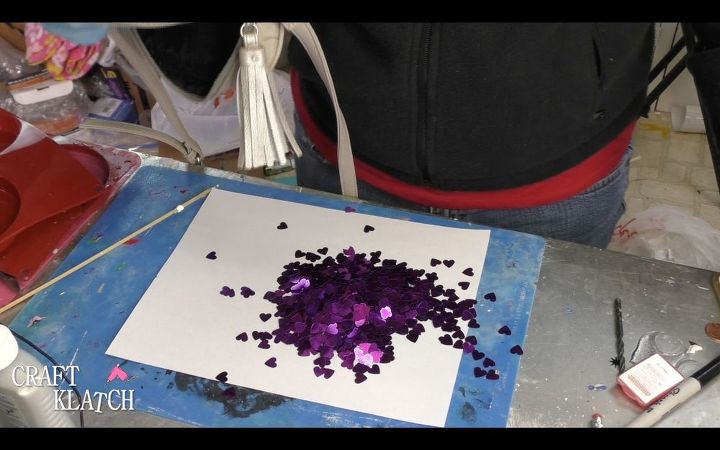
Here are some highlights on how I made them. This is the amount of confetti they crammed in the bottom of my purse.
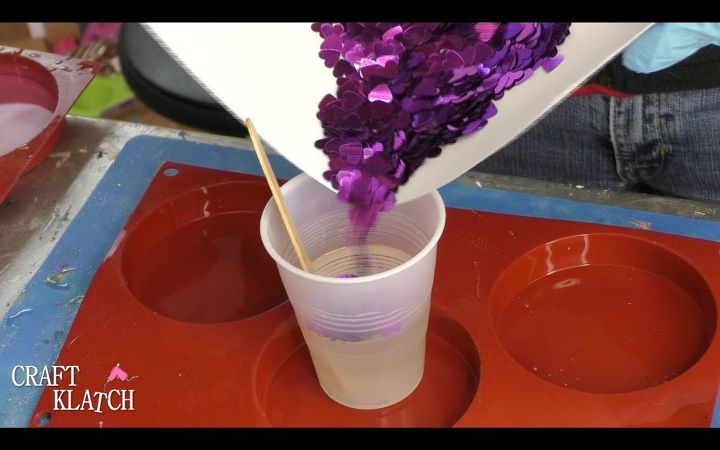
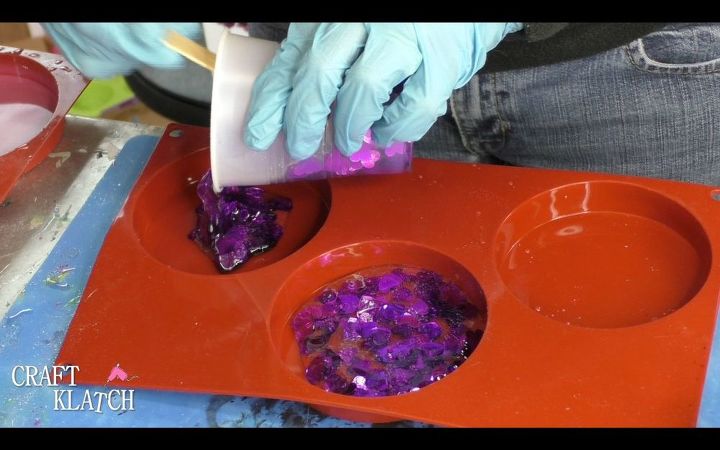
I mixed four ounces of resin and added some confetti.
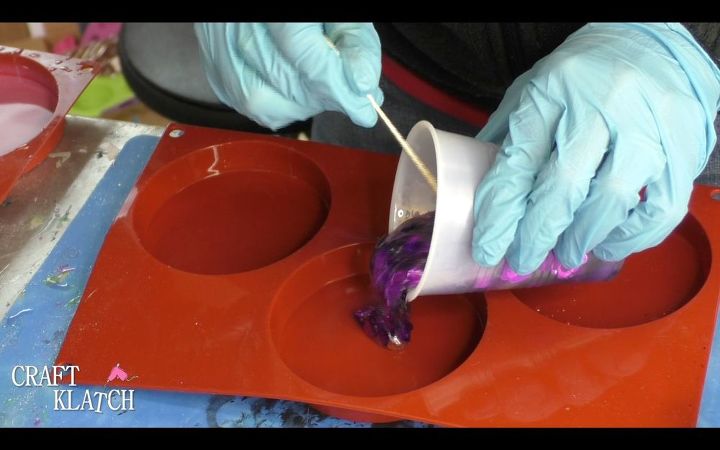
I mixed it well and then poured it into my coaster mold.
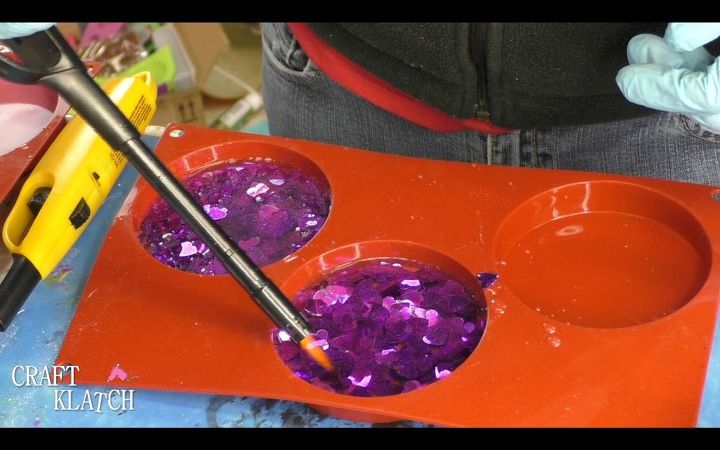
I popped the bubbles with the lighter and allowed it to cure at least 12 hours.
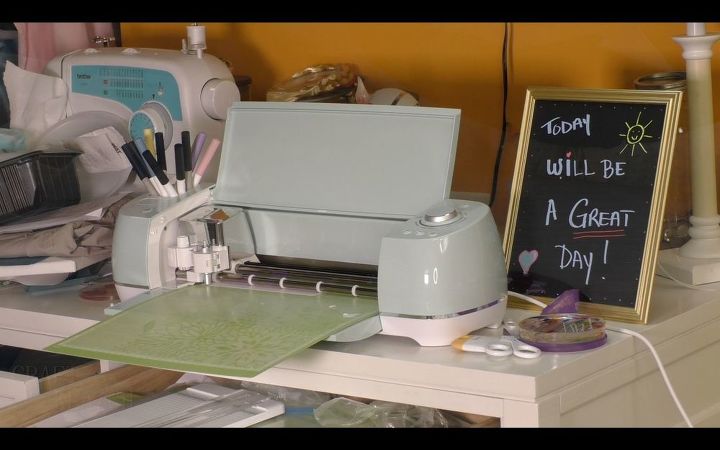
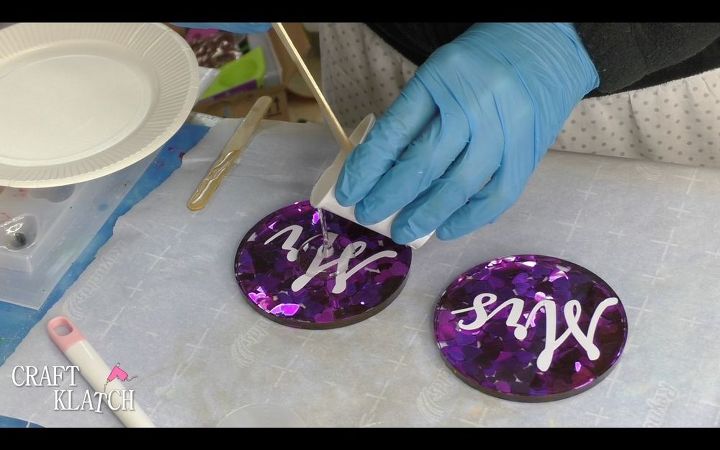
While the coasters were curing, I cut out Mr and Mrs out of vinyl, with my Cricut.
After removing the coasters from the mold, I added the vinyl to the coasters.
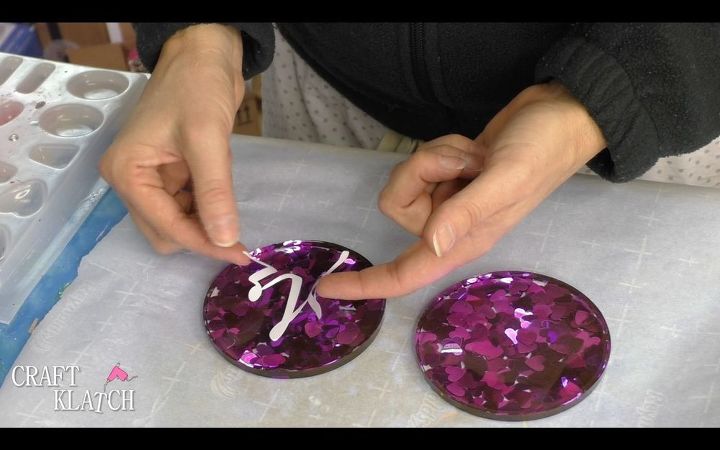
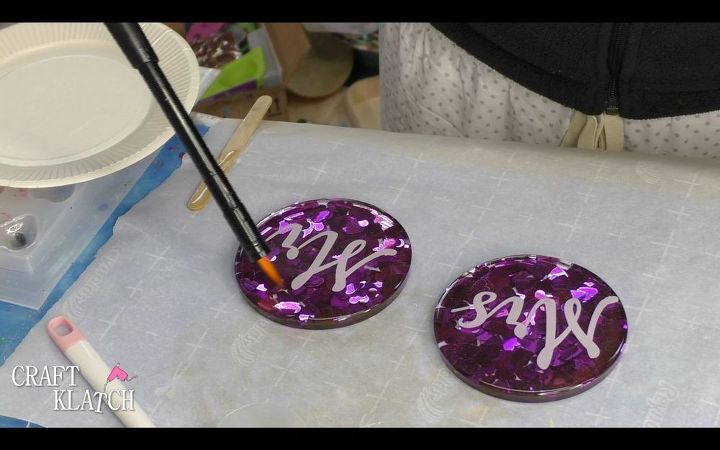
Then I mixed two more ounces of resin and poured it over the coasters, to permanently seal in the Mr and Mrs.
I popped bubbles with my lighter and let them cure a minimum of 12 hours before handling.
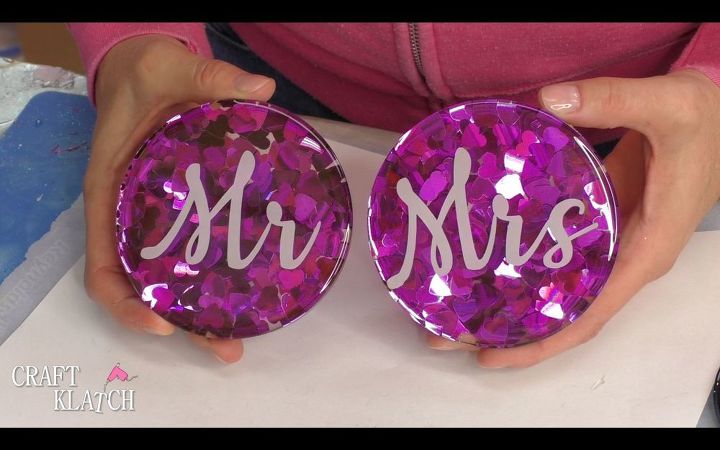
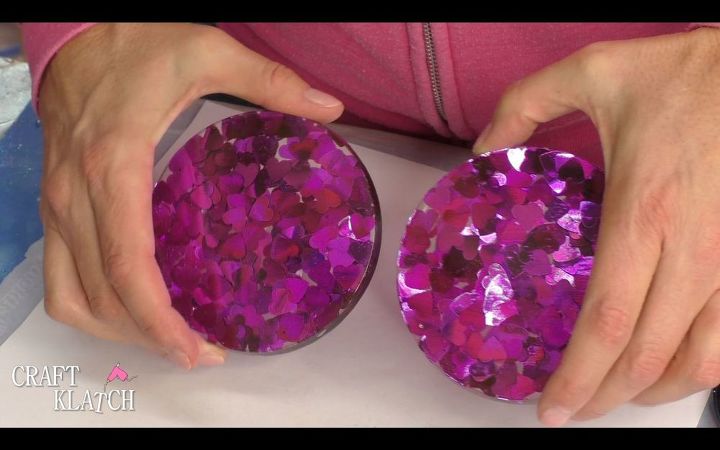
Here they are! So sparkly and pretty!
Here are the backs.
If you want to see how I made a gift box to go along with the coasters, you can find it here:
{
"id": "5007424",
"alt": "",
"title": "",
"video_link": "https://www.youtube.com/embed/tpuFihhTxEs",
"youtube_video_id": "tpuFihhTxEs"
}
{
"width": 634,
"height": 357,
"showRelated": true
}
Or the paperweights.
{
"id": "5007427",
"alt": "",
"title": "",
"video_link": "https://www.youtube.com/embed/RPv0BOJ1cOg",
"youtube_video_id": "RPv0BOJ1cOg"
}
{
"width": 634,
"height": 357,
"showRelated": true
}

Want more details about this and other DIY projects? Check out my blog post!
Comments
Join the conversation
4 comments
-
Very cool. They look amazing.
-
Fantastic idea to take the glitter from a memorable time with friends and family and preserve it in such a beautiful way! love the idea!


Frequently asked questions
Have a question about this project?