


Anthropologie Fringe Chandelier Tutorial
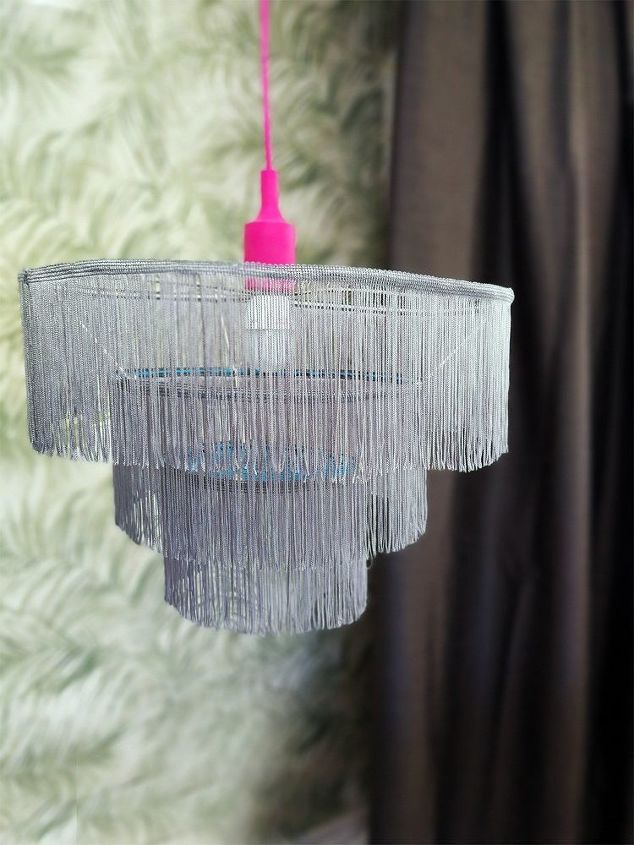
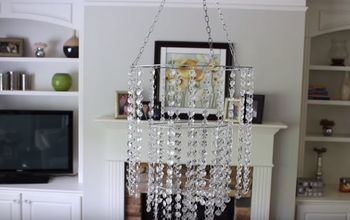
It’s funny how past trends pop up like unexpected guests, sometimes welcome and at other times not so welcome. Fringing is one such past treasure, and mind you, a very, very welcome one. Needless to say, when we saw Anthropologie's fringe chandelier we knew we had to have it too!
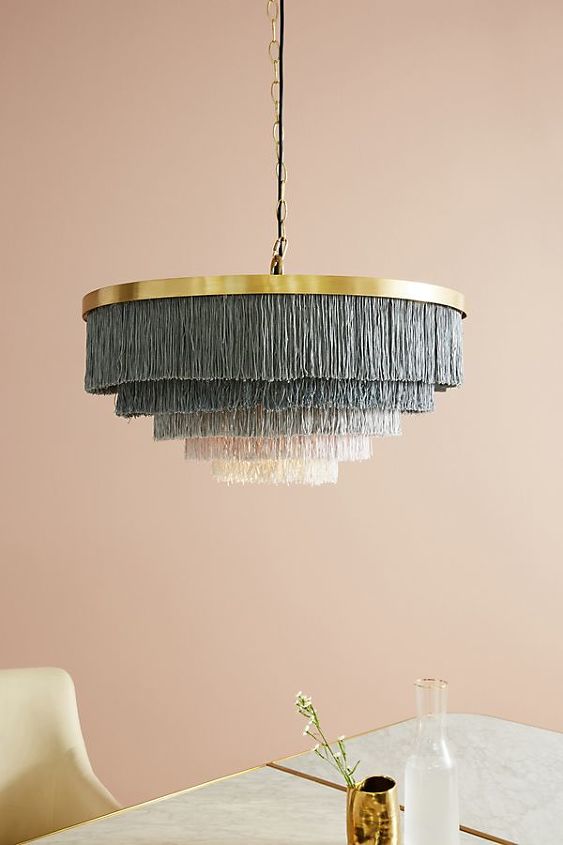
The stunning Anthropologie chandelier that stated it all 
Dive right into the our Swishing Fringe Chandelier video tutorial! Or, follow the steps below 
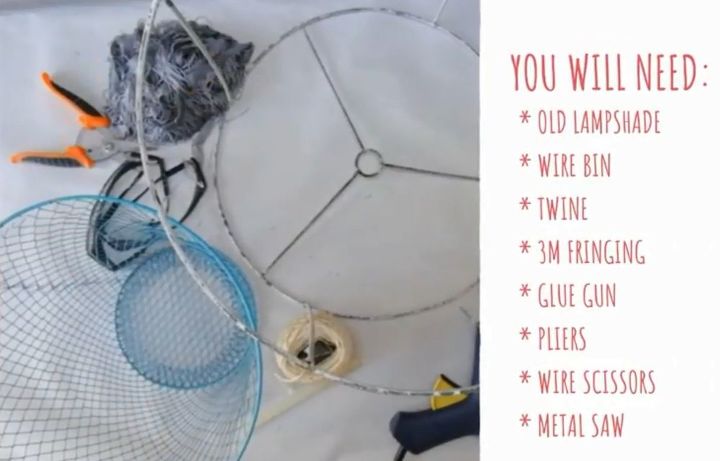
You will need:
- Large Lampshade Frame
- Small Wire Basket
- 1.5m Twine
- 3m of 150mm Fringing *
- Light Cable
- Light Bulb
*See how to .
Tools for the job:
- Glue Gun & Glue stick
- Scissors
- Spirit Level
- Metal saw
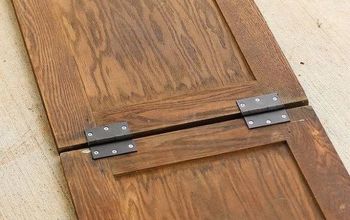
Step 1:
Remove one end of the lampshade with a saw equipped with a metal blade. Then remove the top and bottom of the wire bin.
These spheres will form the frame for your cascading fringe chandelier.
Tip: If you don't have an old lampshade or wire basket you can use embroidery hoops instead.
Flatten sharp edges with pliers or use a metal file to smooth smaller sharp bits.
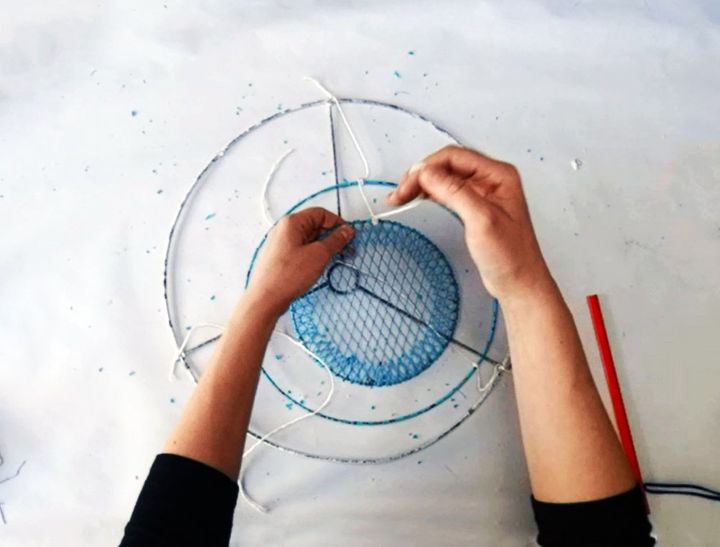
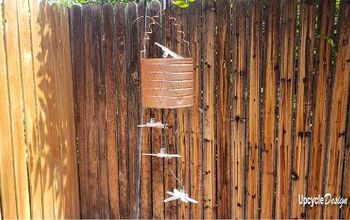
Step 2:
Measure and knot three sections of 100mm twine from the largest hoop (the lampshade frame) to the middle hoop (the largest part of the wire bin). Repeat the process for the middle hoop towards the smallest hoop.
Getting the tiers level are a bit of a challenge.
Step 3:
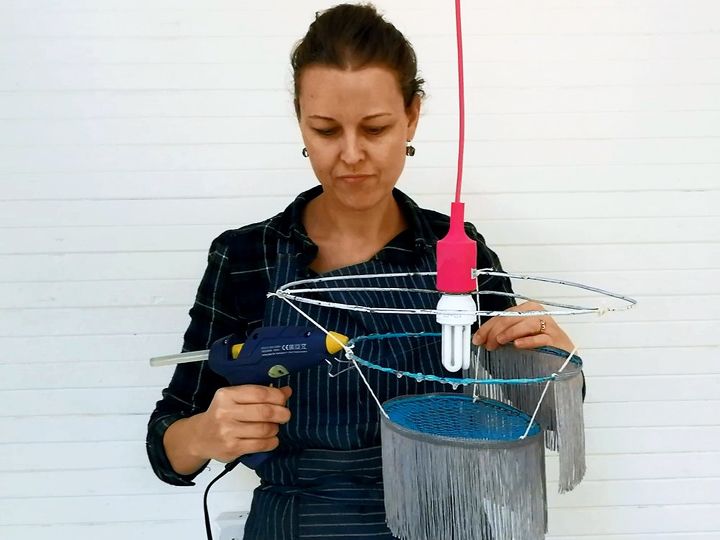
Add the fringing by starting on the lowest hoop. The glue cools downs quickly, so it’s best to work in sections. Apply the glue to a third of the hoop then attach the fringing before moving on to the next segment.
Neatly finish the ends by applying hot glue and folding the fringe over on itself.
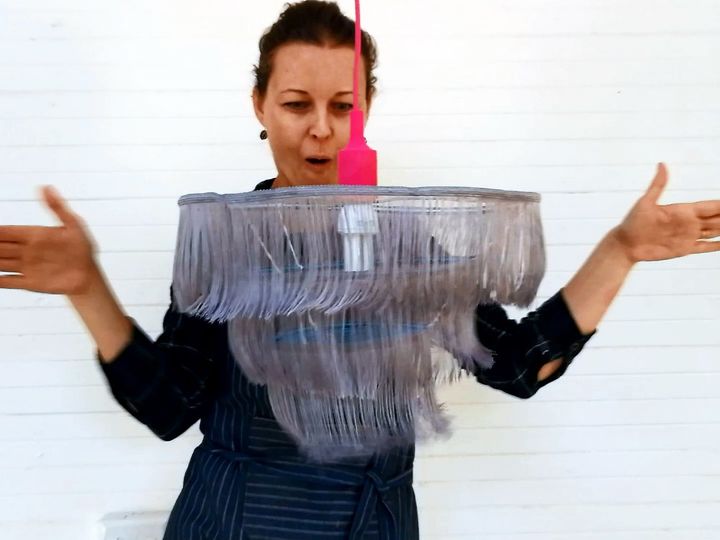
Once the electrical cord is installed, attach the chandelier and bulb. Switch on the light, bump the chandelier and watch the swishing in action! Now you know how it feels to be a designer – fun, isn’t it? 
That's it! Congratulations you are now the owner of a freakin' fun fringe chandelier! 
Happy Homemaking!
Resources for this project:
See all materials


Comments
Join the conversation
-
That's really pretty but I think using Yarn would have made it look more fuller if you want it to be fuller ....But I do like it ...looks like a lot of fun to make ...gonna have to try this ...thanks for posting
- See 1 previous
-
Better than the original!! Nice!!


Frequently asked questions
Have a question about this project?