


Broken Sand Dollar Project
5 Materials
$15
2 Hours
Easy
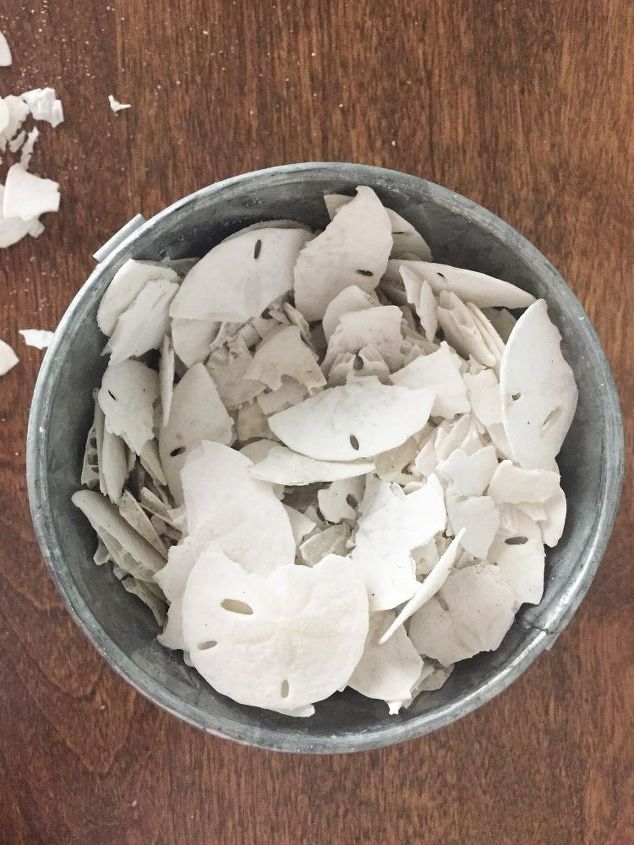
The last 2 times we've been to the beach near my house, we've found a TON of washed up sand dollars. All different sizes. Some as small as a nickel and some much larger. However, the little ones are so delicate that lots of them broke before we got them home. I hated the thought of throwing them all away so I searched the internet for ideas on what to do with broken shells and saw some cute ideas that inspired me. Here is what I came up with...
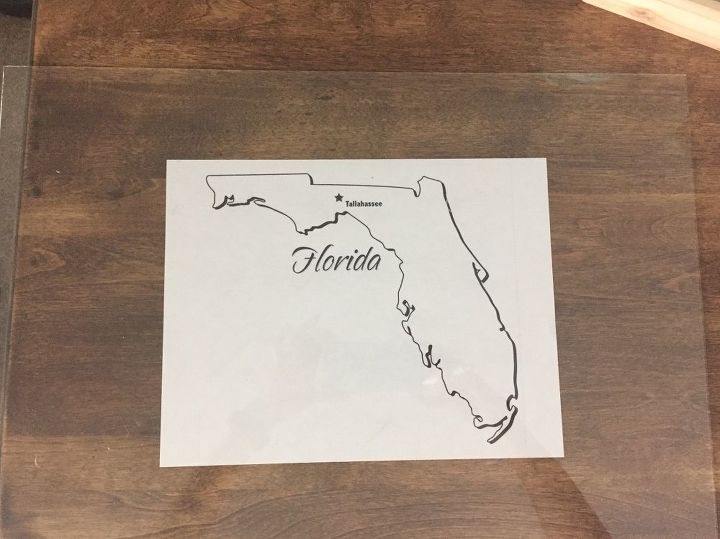
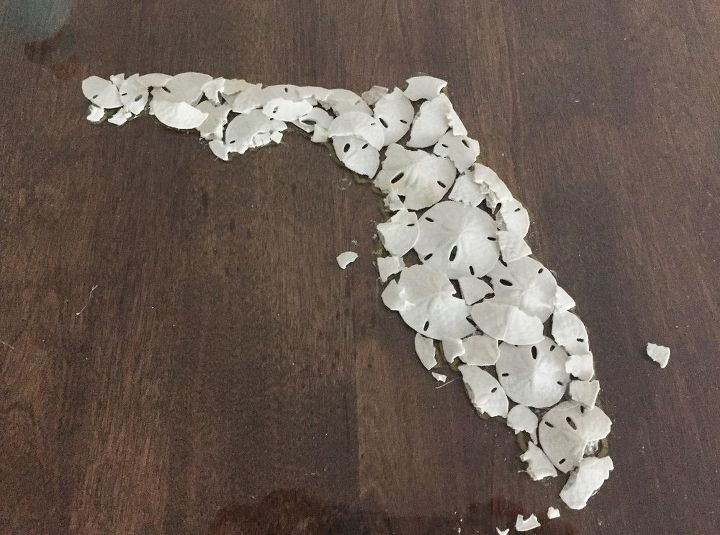
I decided I was going to make the shape of Florida with all the shells. The first thing I did was find a good map online and printed it out. You could use any state you want, or any shape you want. A fish or dolphin would look great too! You can probably use different shells too. It doesn't have to be sand dollars.
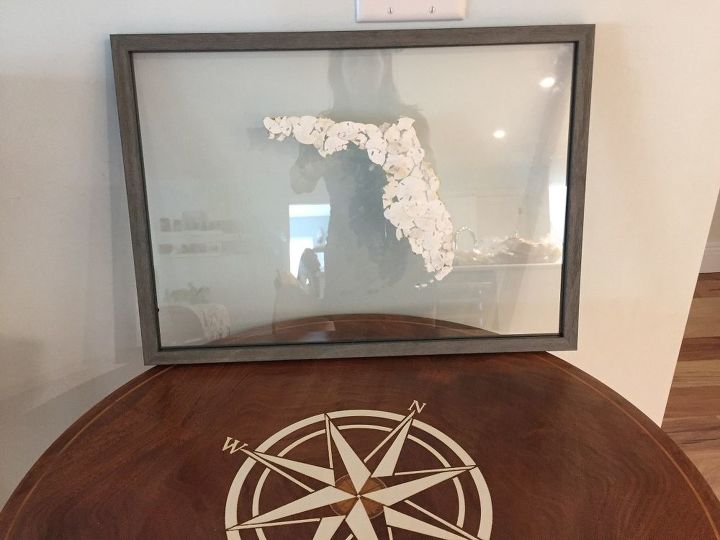
I had an extra 11×14 gray barnwood float frame from Michaels Crafts from when I made this sea glass project (and the frames were buy one get one free) that I've been wanting to use. This was the perfect project for it. A shadow box would be great for this too. Or a cool looking piece of wood.
By the way a float frame has no back or mat, it is just a frame with 2 pieces of glass. You usually put a picture between the 2 pieces of glass so it looks like whatever image you put in there is 'floating'. I just glued the pieces to the top piece of glass.
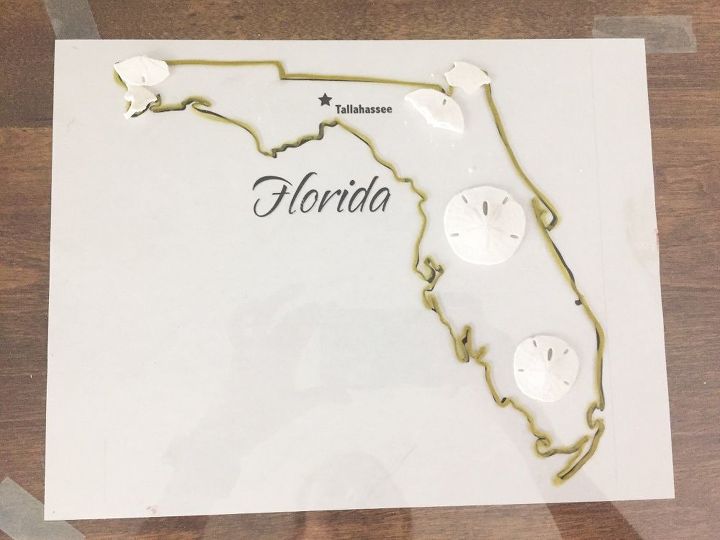
I taped the map to the back of the piece of glass and then traced it using an erasable pen. Then I started filling in the shape with broken sand dollar pieces and gluing them to the glass with my glue gun. I also made sure to use a few of the unbroken sand dollars too.
My 11 year old son helped me with this process and loved it. And he did a great job!
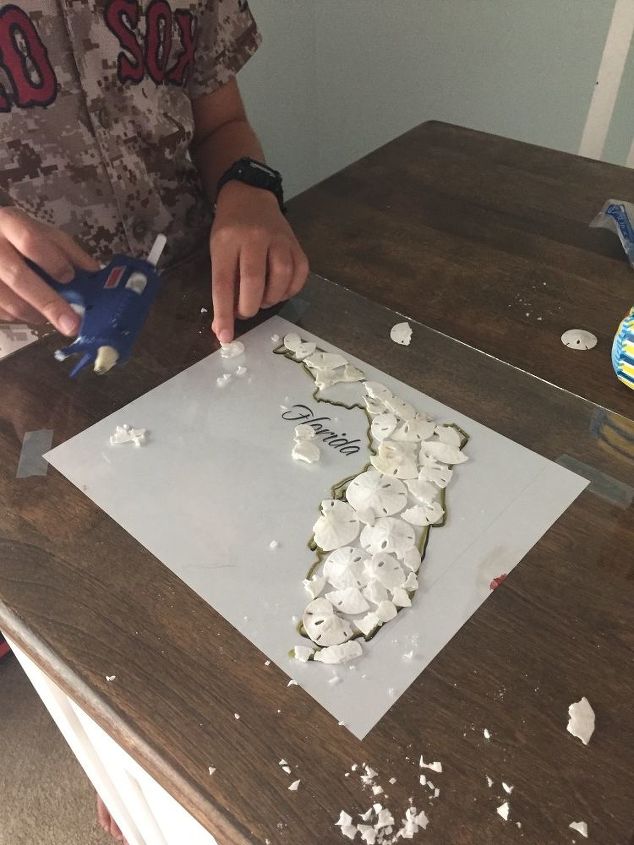
Anyway, you just continue to glue down pieces until you are happy with how it looks.
Once we were satisfied, I erased any pen marks that were visible.
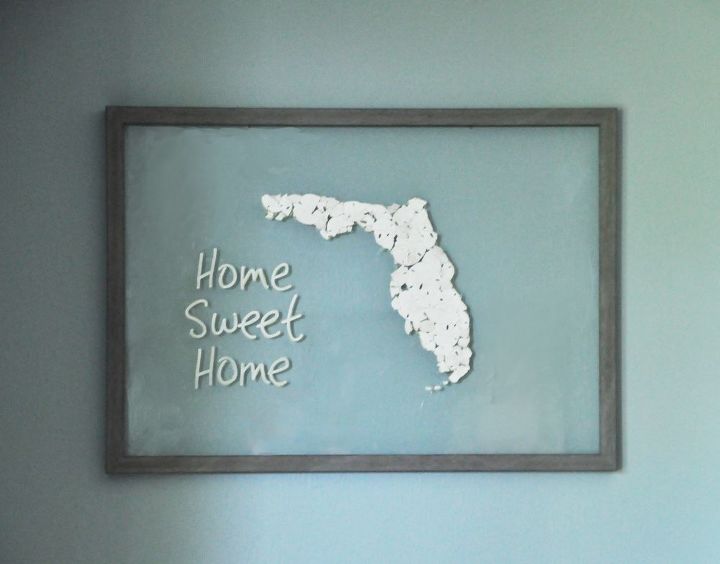
Here it is before I hung it up (bad lighting, I know. Sorry!). It seemed sort of bare so I ended up writing the words Home Sweet Home, on the glass using some paint pens.
And here is how it looks after I added the words and hung it on my wall.
Check out my blog to see more images and more details.
Resources for this project:
See all materials


Any price and availability information displayed on [relevant Amazon Site(s), as applicable] at the time of purchase will apply to the purchase of this product.
Hometalk may collect a small share of sales from the links on this page.More info

Want more details about this and other DIY projects? Check out my blog post!
Comments
Join the conversation
3 of 16 comments
-
Cute
-
This sound great. I think I will try it! Are you in Florida? Please add more posts about seashell crafts! Thanks!


Frequently asked questions
Have a question about this project?
Are you on Sanibel island? I am and have founds so many sandvdollars this year. Cute idea!
So cool...looks fab ...In a shop wonder how much it would cost? ..love how people can create uniqe peice's. well done 👍
If you taped the map of Florida to the back of the glass, why did you need to trace the outline? I must be missing something. I just love this idea and I have lots of broken sand dollars where I live too!!