


DIY Halloween Concrete Candy Bowl
Here's a simple Halloween project that can serve as a fun decor focal point and as a way to serve up candy. It's heavy enough so it can't be easily picked up or accidentally moved out of place.
We made ours with Quikrete countertop mix, hot glue, a package of plastic fangs and a couple of dollar store bowls. The EL wire lights are an optional feature.
The video will take you step by step through the process or read on for the tutorial.
Want to see our latest projects? Sign-up for our weekly newsletter here!
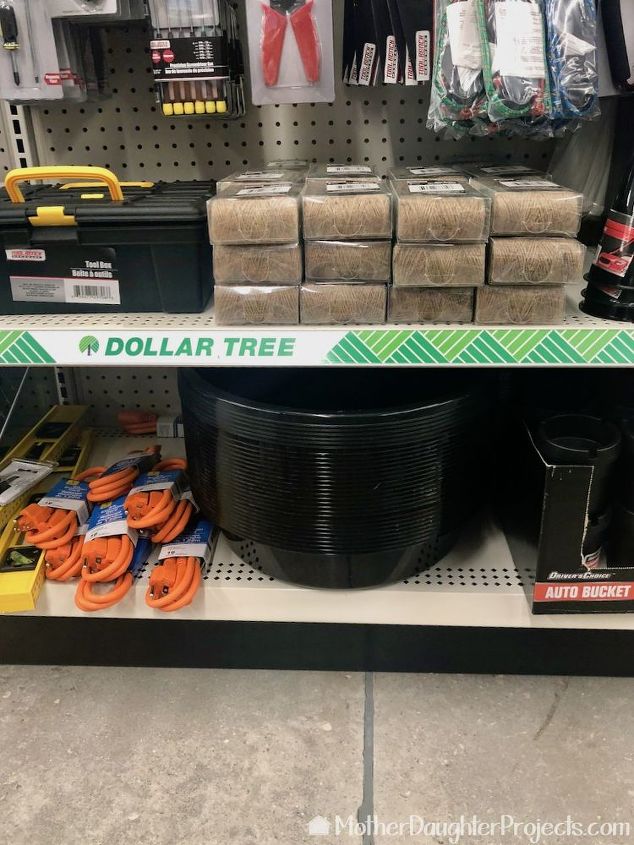
Head to the dollar store to pick up a few bowls and a package or two of plastic fangs. We used a Halloween themed bowl and another larger bowl we found in the automotive aisle. The black one is actually used for oil changes.

We used this Quikrete countertop mix, but any concrete mix will work. We used this because that is what we had on hand. You'll need something to scoop the concrete with (we used a food can), a mixing container and mixing utensil as well as water. You'll also need gloves to protect your hands, a mask to protect your lungs from concrete dust and eye protection.
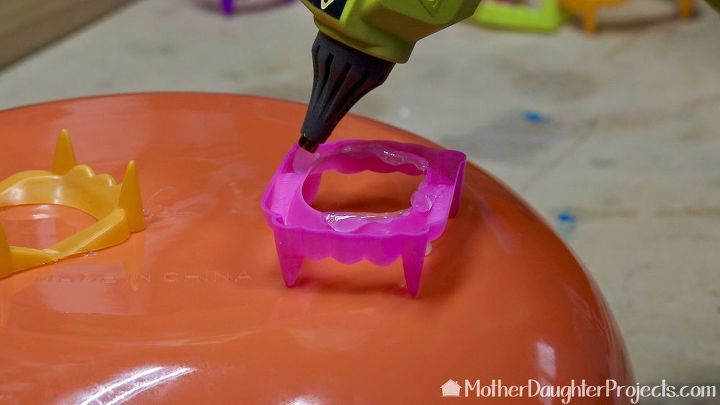
We started by prepping the two bowls. The fangs were hot glued onto the bottom and outside of the orange bowl in random places. These fang marks will appear on the inside of the finished bowl.
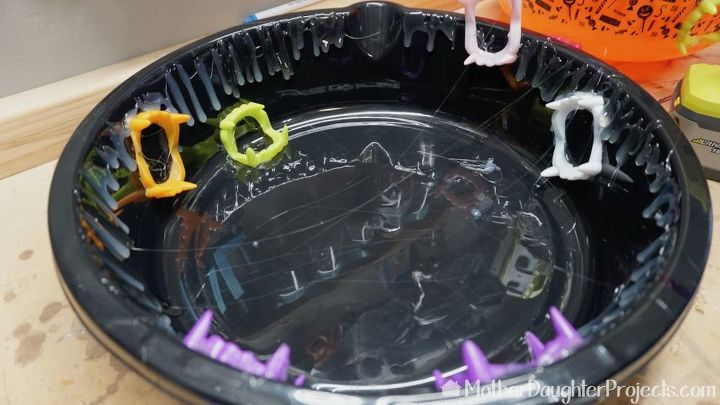
We did the same to the black bowl, but those fangs go on the inside of the bowl. We also dripped hot glue down the inner rim of the bowl to give it kind of a melted candle look.
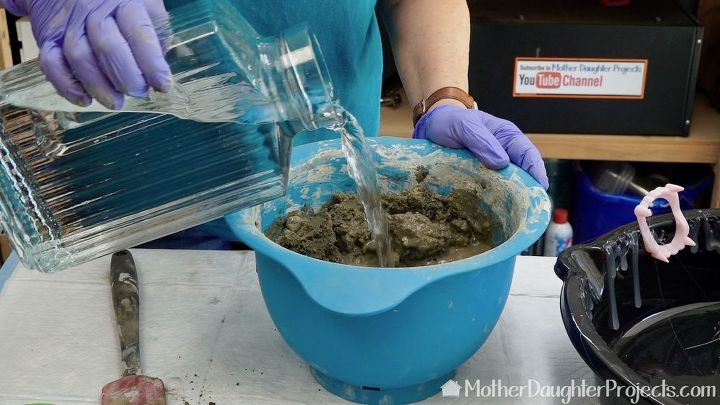
With the two bowls prepped, it's time to mix up the concrete. We put on all our safety gear first. Fill the mixing bowl about 1/3 full, add water and mix until brownie like consistency. Pour into the black bowl. Continue to add concrete to the black bowl until it is about halfway full.
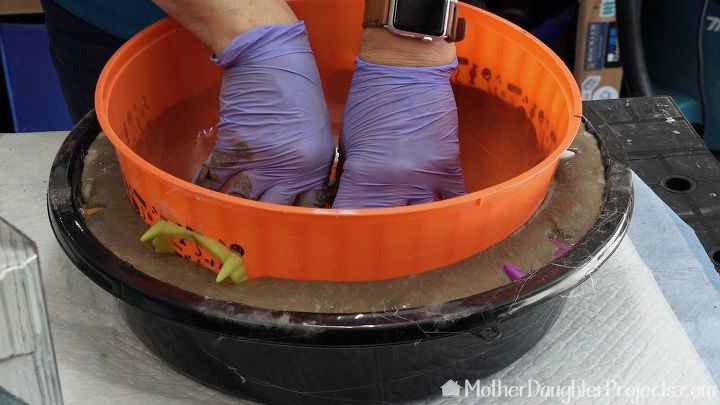
Push the orange bowl into place until the concrete reaches the top of the black bowl.
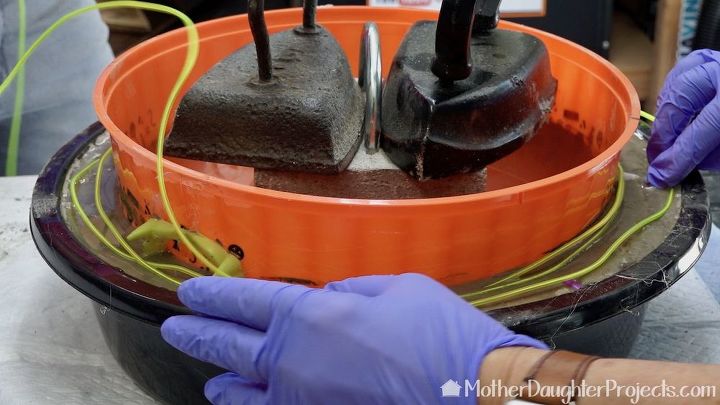
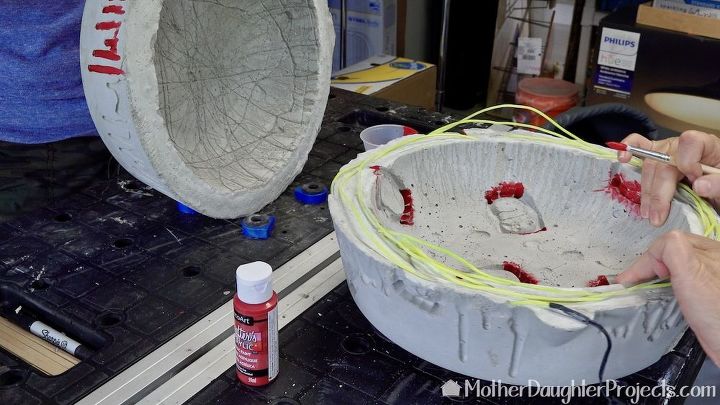
Add weight to the orange bowl to keep it from floating out of place. If you are using EL wire (which adds a glowing neon effect), now is the time to place it around and into the concrete. Cover the bowl with plastic wrap and allow it to cure 24 hours before unmolding.
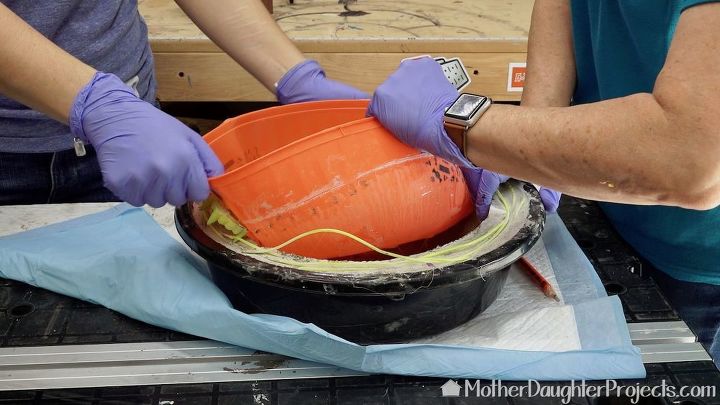
After 24 hours, remove the orange bowl. We used a utility knife to help cut away the black bowl. The bowls will not be able to be reused.
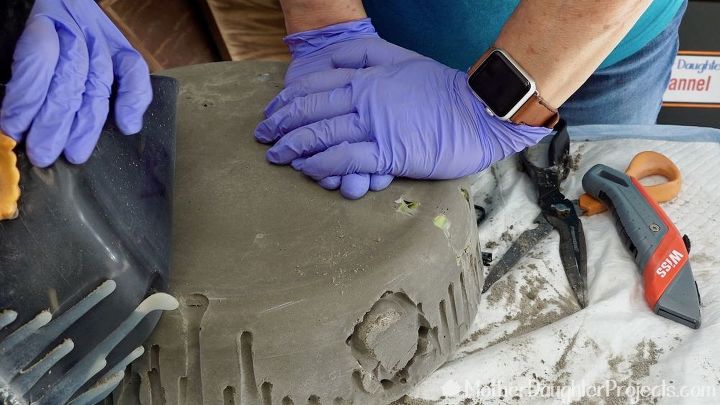
Remove any fangs that are stuck in the concrete. These remove fairly easily. Notice how nicely the hot glue comes away from the concrete. Set the bowl on something to allow airflow to the bottom and allow to cure for another couple of days.

We made a second bowl without the fangs, but added a web of hot glue to the bottom and sides of the orange bowl. This will produce a spider web look to the interior of the finished bowl.
We added some painted highlights to both bowls. This is DecoArt paint we are using.
To seal the inside and outsides of the bowls, we sprayed both with a clear sealer. After that dried, we "spit sprayed" both bowls with oil rubbed bronze to give them a gritty, spooky look.
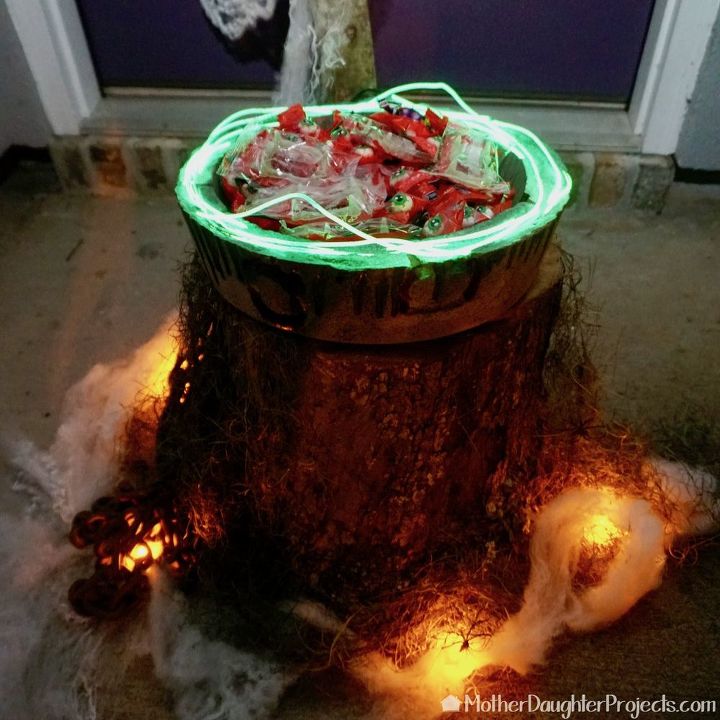
Steph got to keep the lighted version at her house. This tree stump makes a great place to display it.
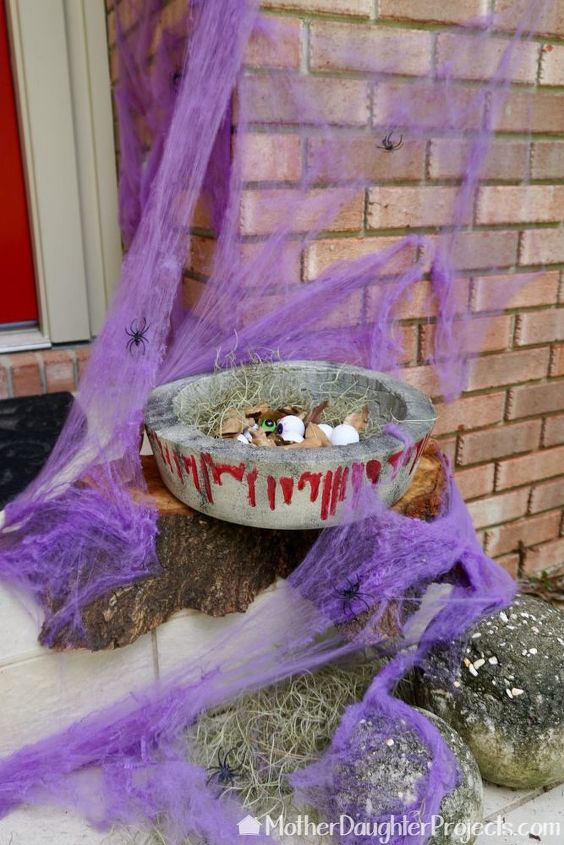
The second version came to my house.
What do you think? Which bowl version do you like best?!
Resources for this project:
See all materials


Comments
Join the conversation
-
So cute!
-
I wonder if the outer bowl could have been cut into quarters first then duct taped back together before the pour. so you could reuse it should you want and to make it easier to remove. I'd be worried about cutting the concrete and leaving a scratch. It is a very cool project. I wish we got trick or treaters in my neighborhood.
- See 2 previous


Frequently asked questions
Have a question about this project?