


Reversible Porch Pillow
4 Materials
$25
3 Hours
Easy
I had recently seen a really nice pillow that I thought would look so cool on my front porch bench. But it was 80 bucks. Dang. That’s a lot of money for a pillow. So what’s a crafty person to do? Figure out a way to do it cheaper and better! Mine has not one, but two messages on it, suitable for fall and winter, so I can use it a couple of different ways.
First stop – Fabric Store. On my trip to JoAnn Fabrics, I picked up a 14x28" pillow form that was a nice size for my bench, and I had a 60% off coupon. Next, I found a remnant bolt of outdoor fabric that had a burlap look and it was on sale. And I found the cutest remnant of plaid flannel which was super cheap. (You’ll see what that’s for in a minute.) Triple score!
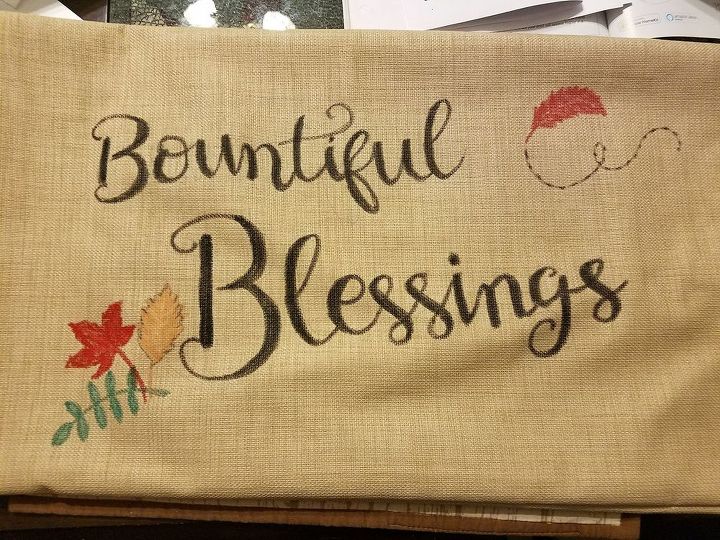
Autumn message
Making the Pillow Cover. My wonderful mother sewed up a pillow cover for me lickety-split. I decided to leave the plastic on the pillow form since I would be using it outdoors. She left one end of the cover open, so basically I had a “sack” to slip the pillow form down into. This will make sense in a minute.
Creating the Messaging. I chose a seasonal message for each side of the pillow. For the fall side I wrote “Bountiful Blessings” with a black paint pen horizontally on the pillow cover and added a few autumn leaves for some color. This could also be painted with a brush.
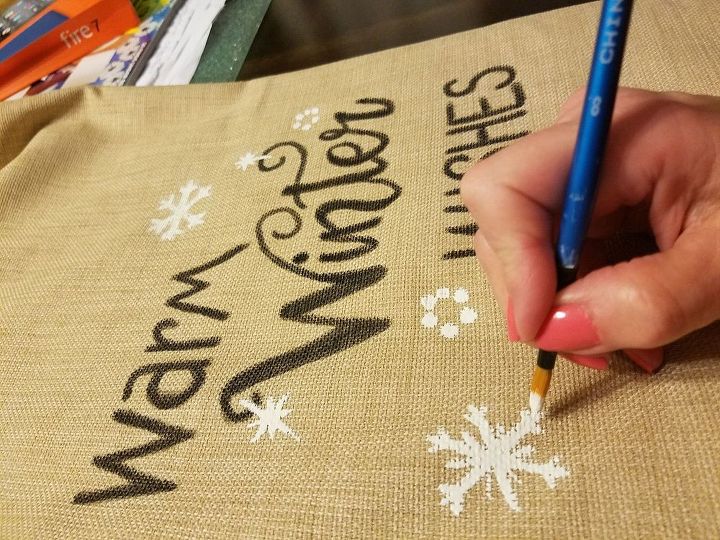
Winter message
For the winter side, I went with “Warm Winter Wishes,” which I also wrote with a black paint pen, adding in some white snowflakes with white paint. I oriented the message the opposite way for this side.
I sprayed both sides with Scotchgard to help protect the lettering.
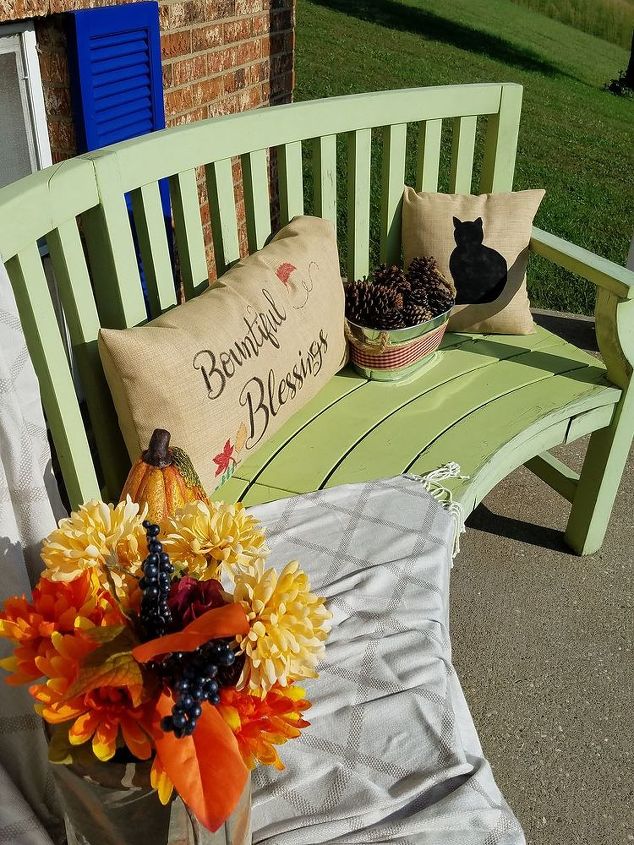
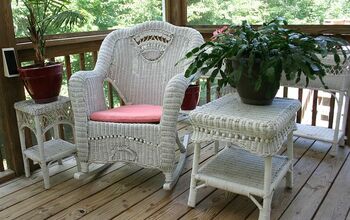
Perfect fall porch decor
On the Porch! So remember I said the pillow cover is open on one end? Here is why. For the autumn side, I pinned the extra fabric towards the back. Check out the bonus black cat pillow my mom made with the extra burlap fabric – cute!

For the winter side, I turn the pillow the other way, and it becomes a gift sack of sorts that I can tie with a little flannel scarf. Aha! To create the scarf, I first cut the fabric down the middle leaving me with two long pieces of fabric. (I only used one, so I have another piece of flannel to use for another project.) Then I cut both ends in strips about 1" wide and 4" long and tied each one to create the fringes. The little red wagon came from Walmart for $19.99 (yes!), and the red door was purchased from JoAnn Fabrics, along with the $1 little green gloves.
A quick and easy project that enabled me to customize my message and get more use out of a seasonal item.

Want more details about this and other DIY projects? Check out my blog post!
Comments
Join the conversation
2 of 5 comments
-
Good
-
Great job, beautiful lettering.


Frequently asked questions
Have a question about this project?