


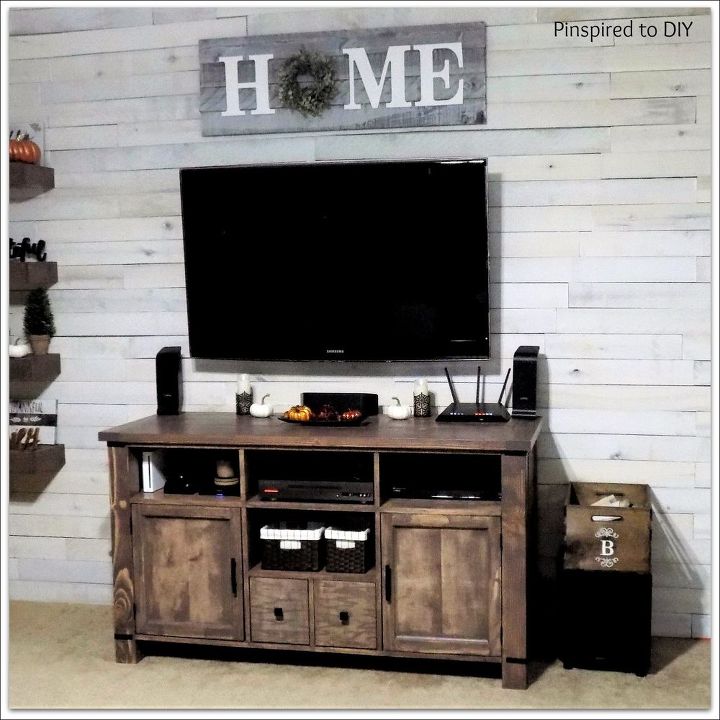
DIY Rustic Media Console / TV Stand
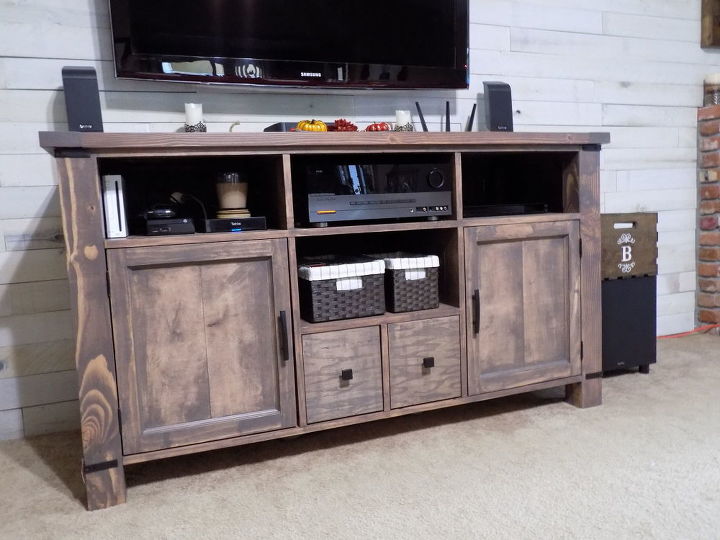
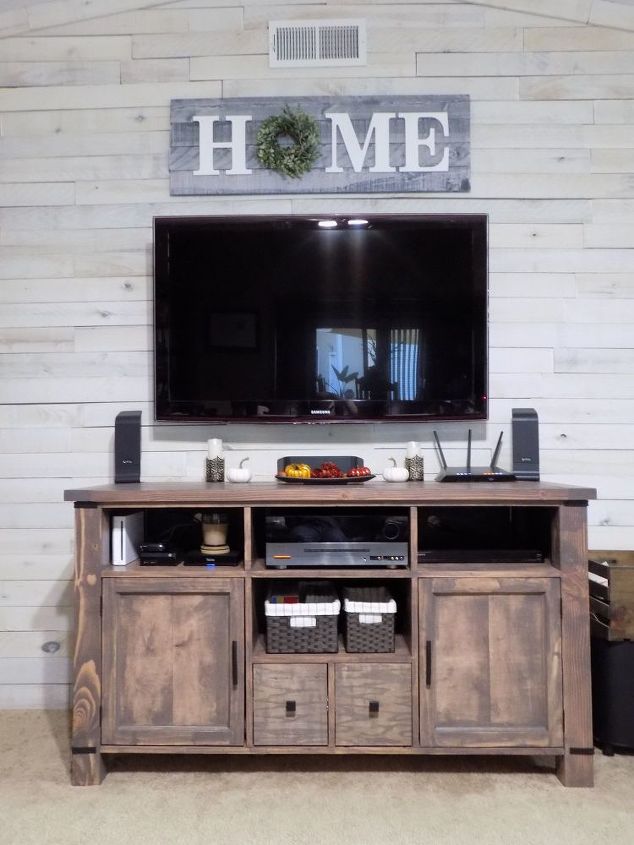
Happy Fall! Hope you are having some beautiful Fall weather where you are. If you saw my previous posts, you’ll know I have been working on a mini-makeover of my living room. I added weathered white wall planks to the feature wall and created a rustic “home” sign to hang up. I have also completed a few other projects for that room, but those will be shared in future posts.  But today, I’m sharing the new DIY Rustic Media Center / TV Stand that I built for that room. I had seen a rustic TV stand at Pottery Barn that I loved, but I didn’t love the price and I needed more open spaces than what their console provided. So, I used the Pottery Barn console as inspiration for the one I designed and built, but created this one to fit my needs.
Here are the abbreviated instructions for how I built this TV stand, for full details and free downloadable plans, visit my website using the link at the bottom of this post.
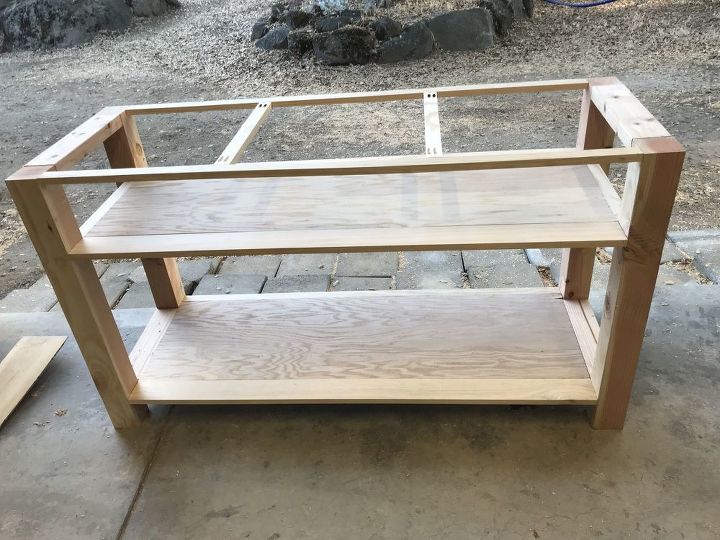
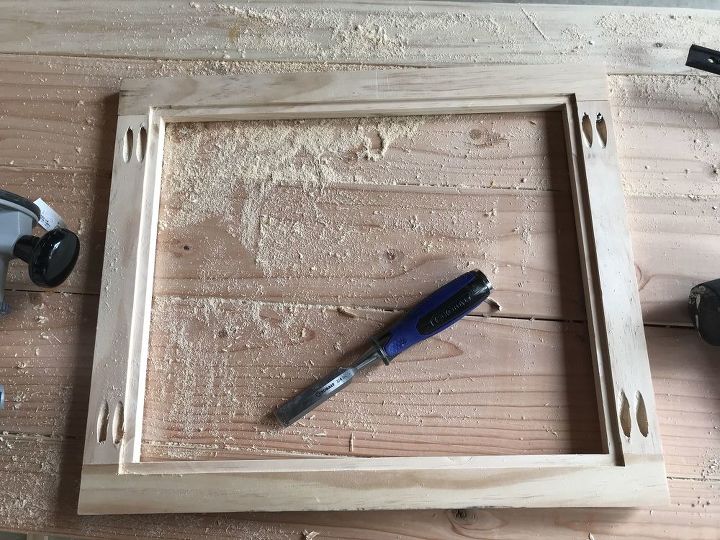
First, build the front and back frames
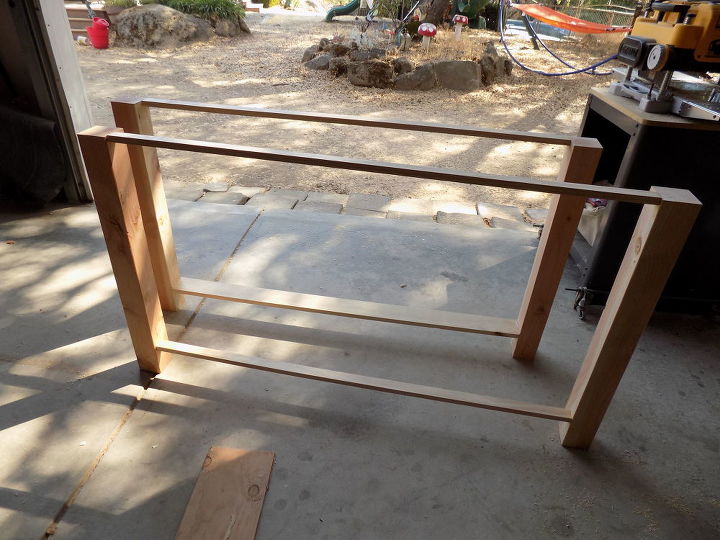
Next, connect the front and back frames with a 2x4 board cut to proper length.
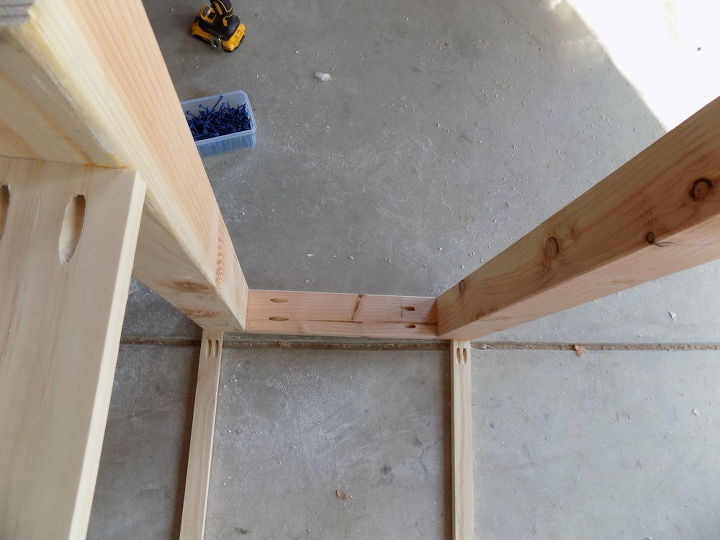
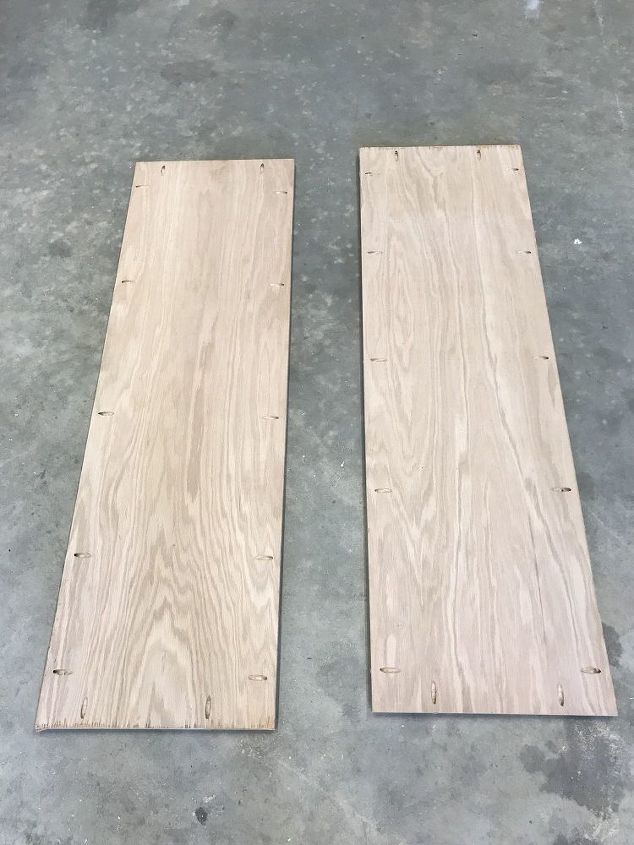
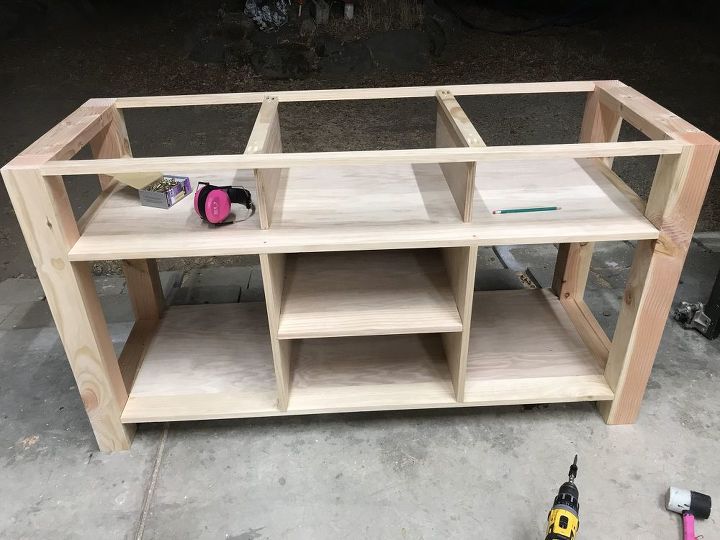
Build and attach the top and bottom shelves using plywood and 1x4 boards. Then attach the two 1x2 cross support boards at the top of the frame.
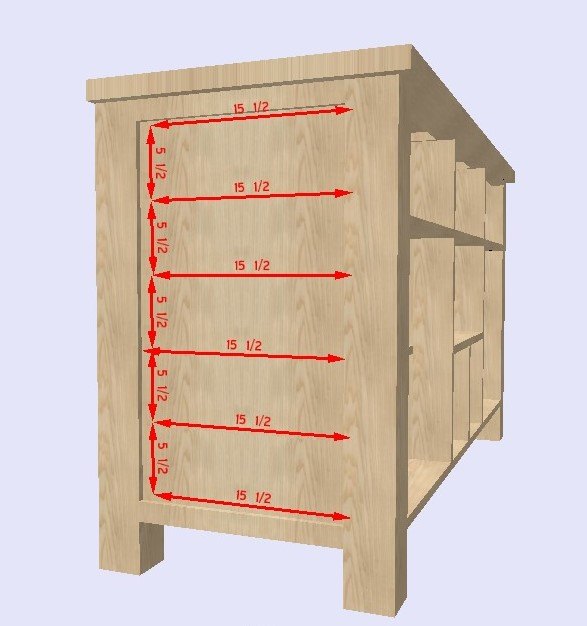
Build the and attach the shelf dividers and trim boards
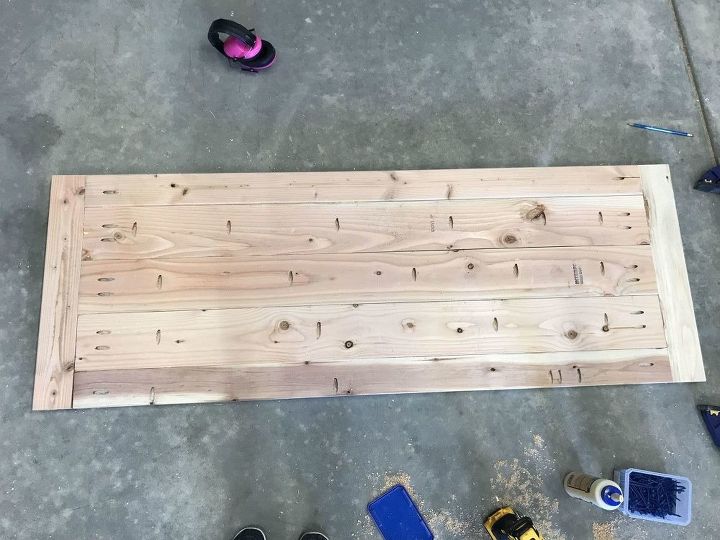
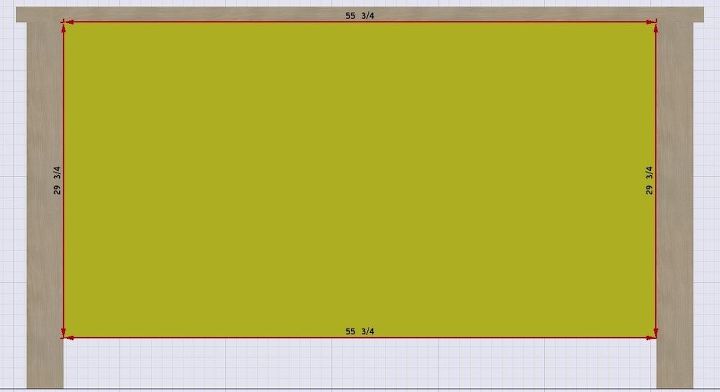
Build and attach the media console top panel.
Build and attach the side panels.
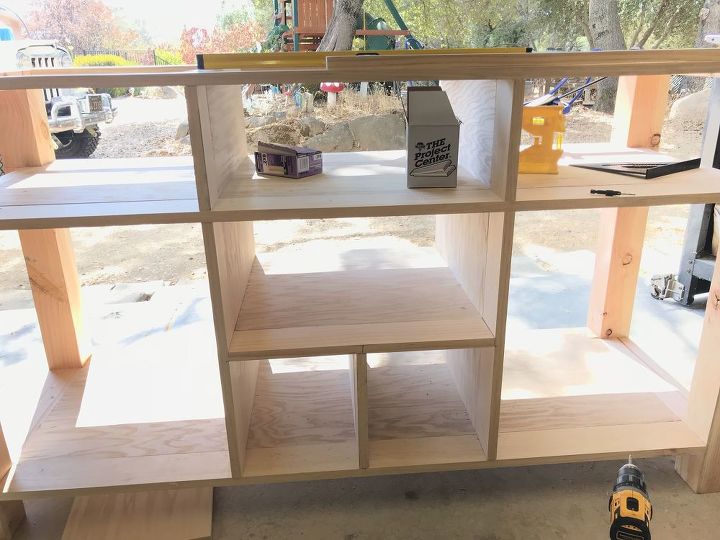
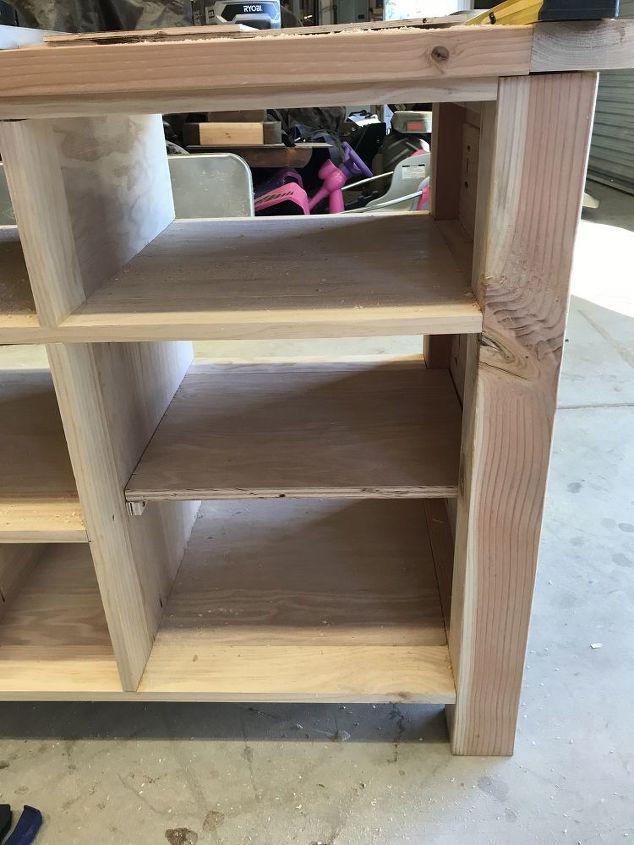
Build and attach the left and right center shelves.
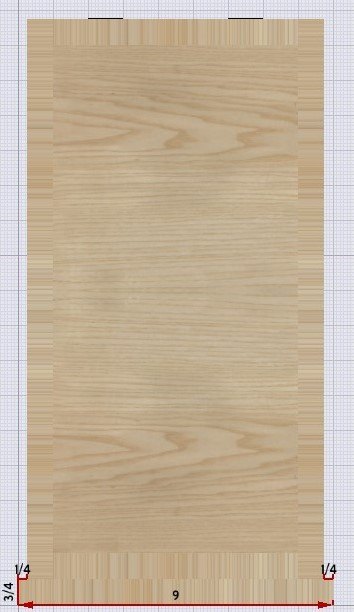
Build the cabinet doors and drawers using 3/4" plywood.
Cut and attach the back panel
Sand the media console and the cabinet doors and drawers. Then stain in a color of choice and then add at least three coats of polyurethane.\
Attach the cabinet doors and drawers and place in your desired location!


Comments
Join the conversation
-
Awesome build!
-
Holy Toledo! Seeing how beautifully made this is makes me realize how much use I would get out of buying a kreg jig. Thank you. This is gorgeous and better than the store bought.


Frequently asked questions
Have a question about this project?
Very professional. Love the wall. What did you use?
I love this TV stand! Hmmmmmm, maybe a good winter project! But wondering, what color stain did you use? Thanks! 👍😁😎
Beautiful job. Where are the wires to everything.?