


DIY Pine Cone Trees For Winter Decor!
A few years back I discovered this idea online at a now-defunct blog, The Little Acre That Could. I thought these were so cute that I decided to make some! I found simple directions, using moss in pots, topped with pines cones with burlap, raffia, greenery, fruit, etc. Read these easy directions and make some to brighten up any space!
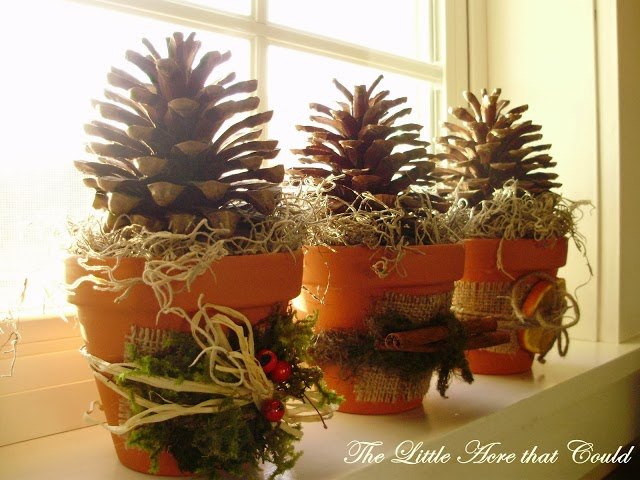
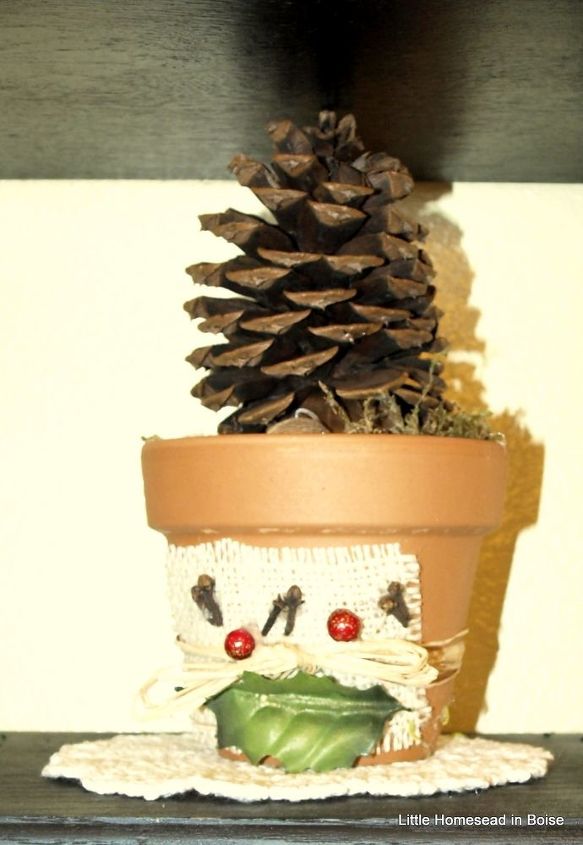
I started with three Terra Cotta pots from the local big box store. Next step- I hot glued the decorations on the front of the pot, easy to do first! I made them all slightly different since I made three. I used a few things I had on hand. I used a slice of fresh orange, some cut pieces of burlap for texture, cinnamon sticks, raffia tied in a bow, whole cloves, greenery, and a small crystal. It reminded me of ice!
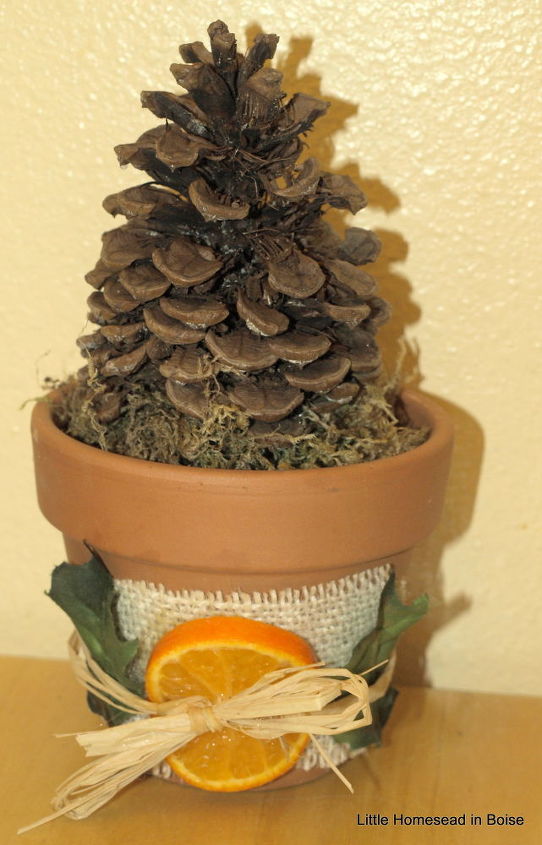
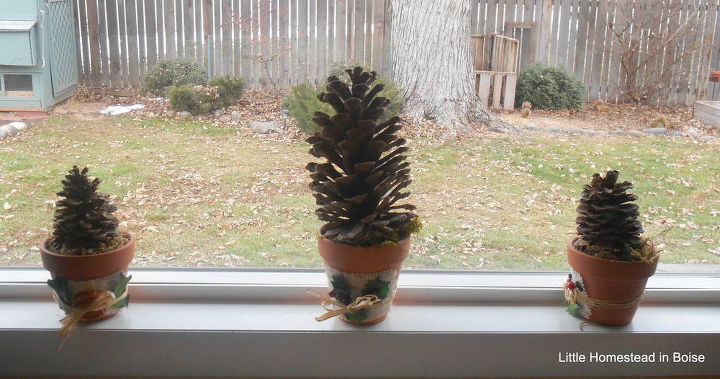
Next I added about 2" of clean gravel in the bottom of the pot for some weight. I then added Spanish moss, then glued the pine cones on top. For the tall one I added a little piece of wire on the back to stabilize it.
Then I just sat out and enjoyed! They're are easy to customize and store as well.
You could potentially make these for exterior use as well. I have seen these really large ones with just moss and cones on a patio. Photo below from https://fleamarketgardeningdotorg.wordpress.com/our-flea-folk/meeting-sue-langley/
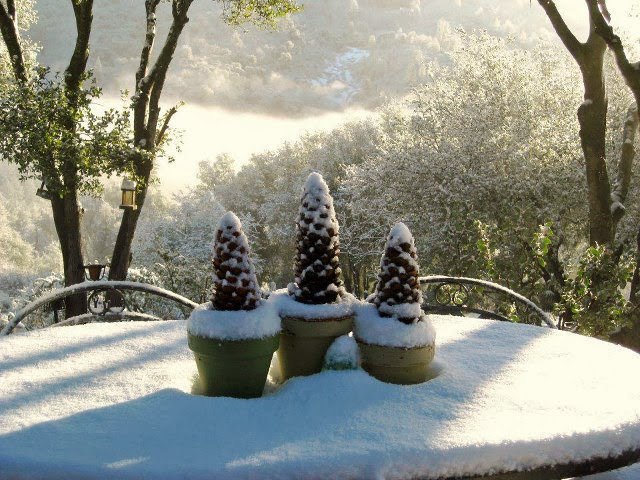
Great outdoor decor in the snow!


Frequently asked questions
Have a question about this project?