


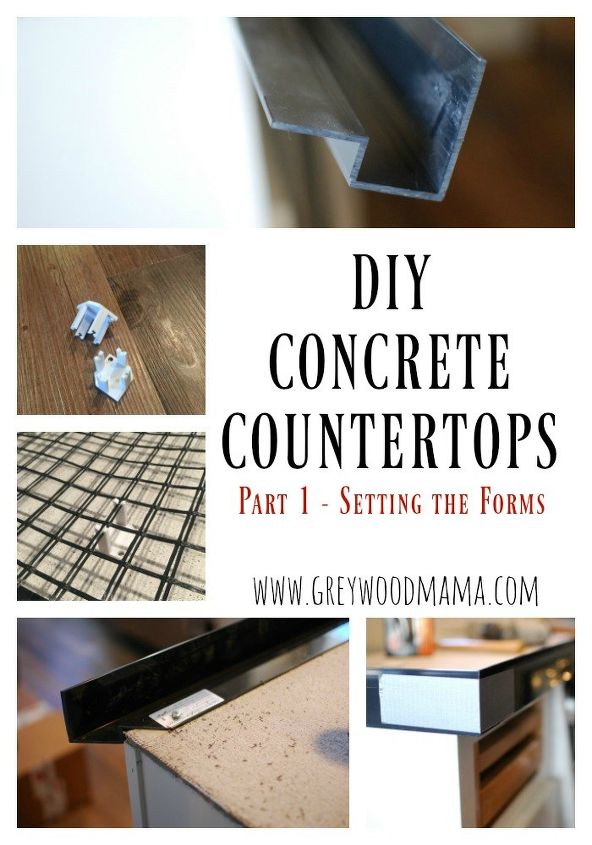
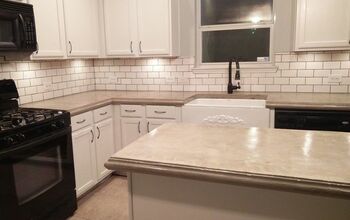
Concrete Countertops - Part 1, Setting the Forms
Because this process has many steps, I decided to break it down into three different posts. Today, setting the forms and preparing for the concrete.
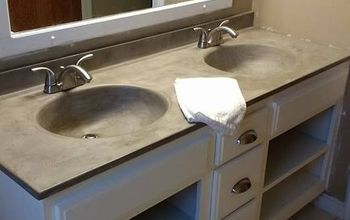
I knew right away that I wanted a natural looking concrete. We also knew there were two ways to approach making concrete countertops: pour in place (building forms directly on top of your cabinets) or build your own forms separate from your cabinets and then transfer the concrete onto your cabinets like a normal countertop.
Here was our thinking. It’s the middle of winter and if we built our own concrete forms it would have to be in the garage (there was no way I was going to carry concrete from the basement to the kitchen). With it being super cold outside, the garage didn’t seem like a great idea either.
Also, if we built our own forms, it would have been extremely hard to build an L shape countertop and then carry it to set in place (without breaking it). We probably would have needed like 10 guys to help. Either that or we could have built two separate pieces of concrete (to make the L shape), but then we would have a seam, which didn’t seem like a great idea.
Alas, after doing tons of research, we decided to use Z Counterform to do our countertops. They had all the right products for our project. When I reached out to a representative at Z Counterform, their customer service was outstanding. That confirmed my decision to work with Z Counterform for this sponsored post.
So, let’s get to it!
Here are the supplies you will need to build your forms:
Durock
Z Counterform edge profile
Fiberglass mesh
Z clips
Chop saw
Drill
Screws
Caulk
Tape
Paper/plastic (to cover your cabinets)
We decided to keep a drop-in sink, so we didn’t need a special form for that. However, if you do a sink under mount, you will need:
Faucet knockouts
Sink form
STEP ONE
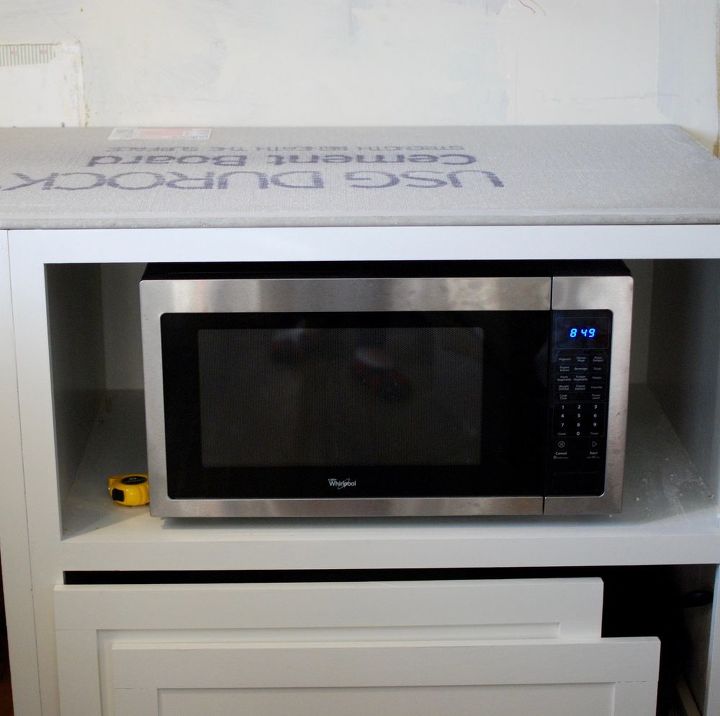
Cut and attach the durock to your cabinets.
We purchased a bunch of durock boards from our local hardware store. The cost is about $10 per board. We simply measured the top of the cabinets, made cutting marks on the board and then used a razor knife to make the cuts.
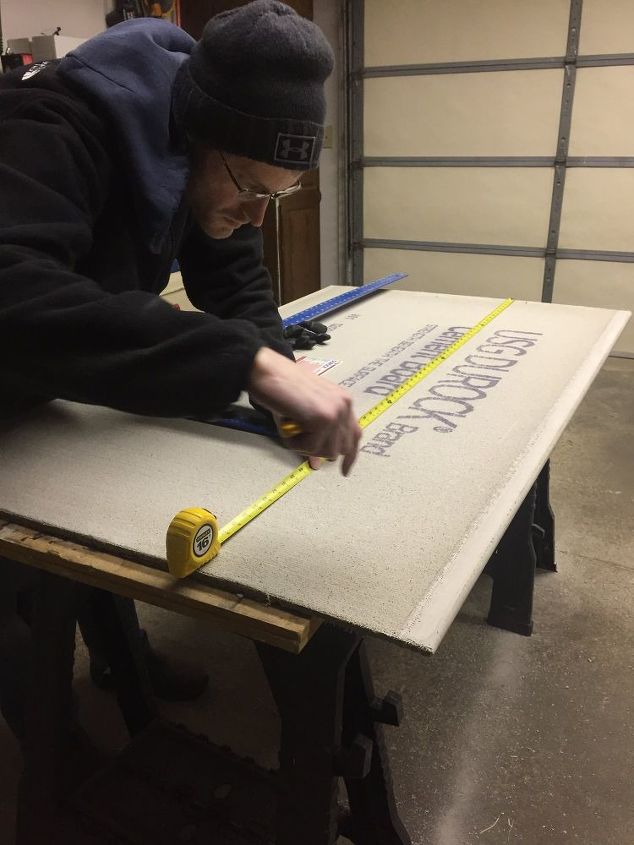
Be sure it lines up with your cabinets so you can attach the edge profile.
We thought it would be very simple to cut the hole for the sink, but this step took us way longer than we expected. Be sure to measure twice and cut once!
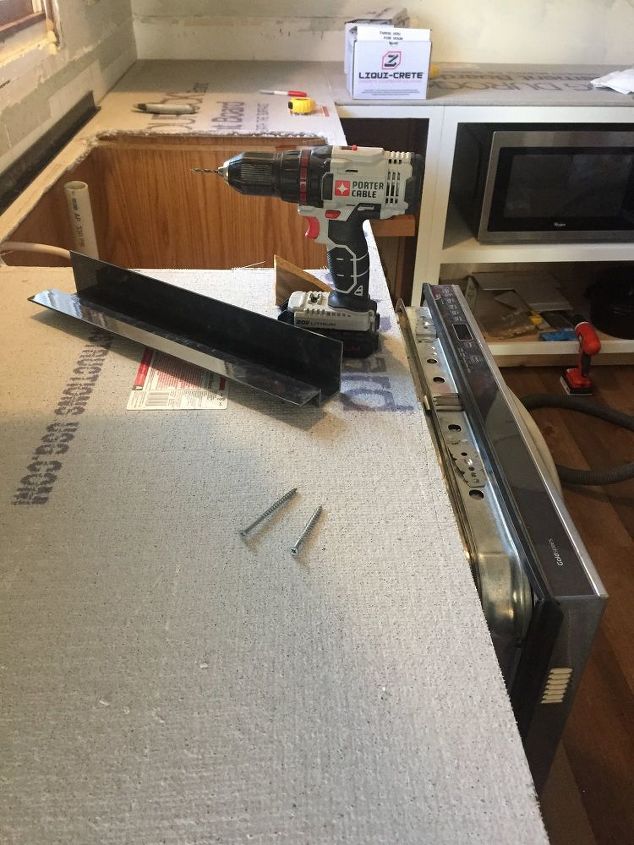
STEP TWO
Cut and assemble the edge profile.
This part is really neat. Z Counterform has a lot of different options to pick from. I wanted a simple square edge, however, if you want something different there are curved edges, fancy ones, slanted ones, etc.
When they shipped us the materials, the forms all came together in a large box.
For this step, you simply will need to measure your cabinet/countertop, cut the edge profile with the chop saw and then attach it to the durock with screws. You will need to miter the corners.
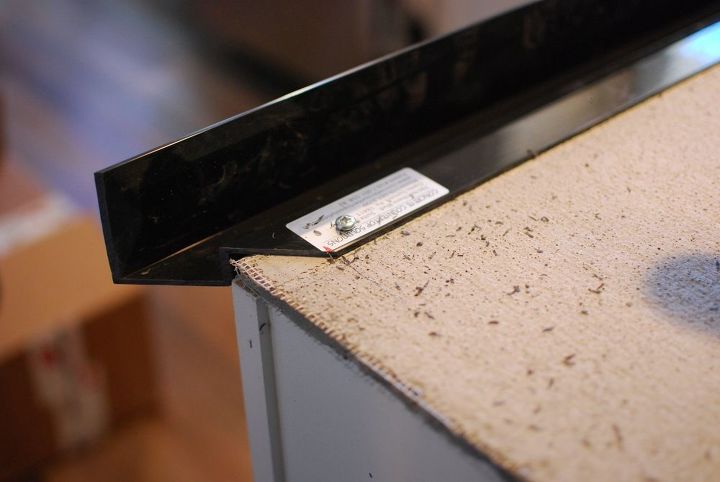
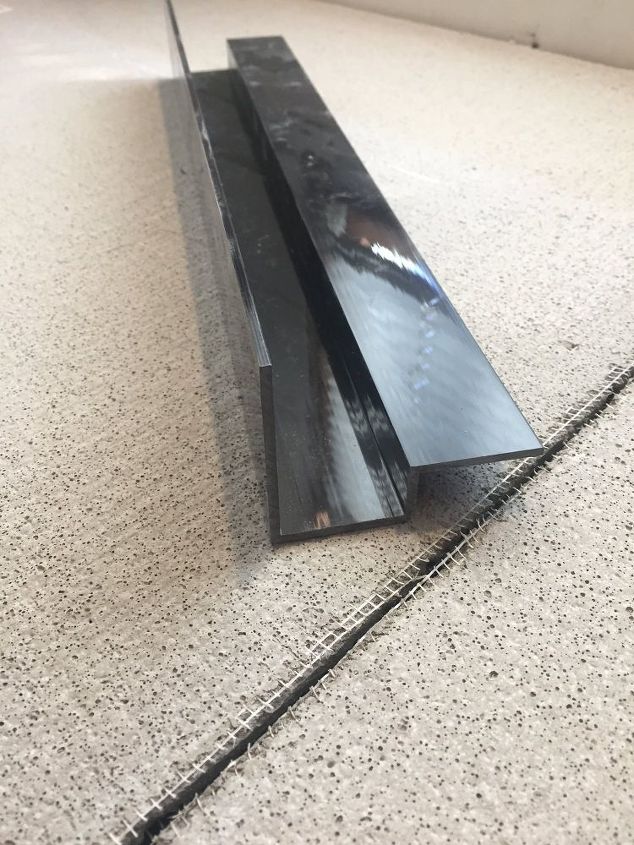
The kit comes with pieces for the front and the back of your countertop. The pieces for the front and side have a slight hangover on them and the forms actually break off so you don’t see them when it’s finished. The underside stays forever and you will never see it! How cool is that!?
(Sorry for the messy photos, but this is real life, we live here and we are messy.)
For the edges where the stove and refrigerator are going to be, we simply used a wood board to create a flush side to the concrete. Once the concrete is set, we will remove the boards.
STEP THREE
Caulk where needed and tape the corners.
You will not want your concrete to leak through the forms, so caulk where you feel it’s needed. This may be everywhere! Also, where the corners meet at a 45 degree angle, you will need to tape the outside to keep everything square.
STEP FOUR
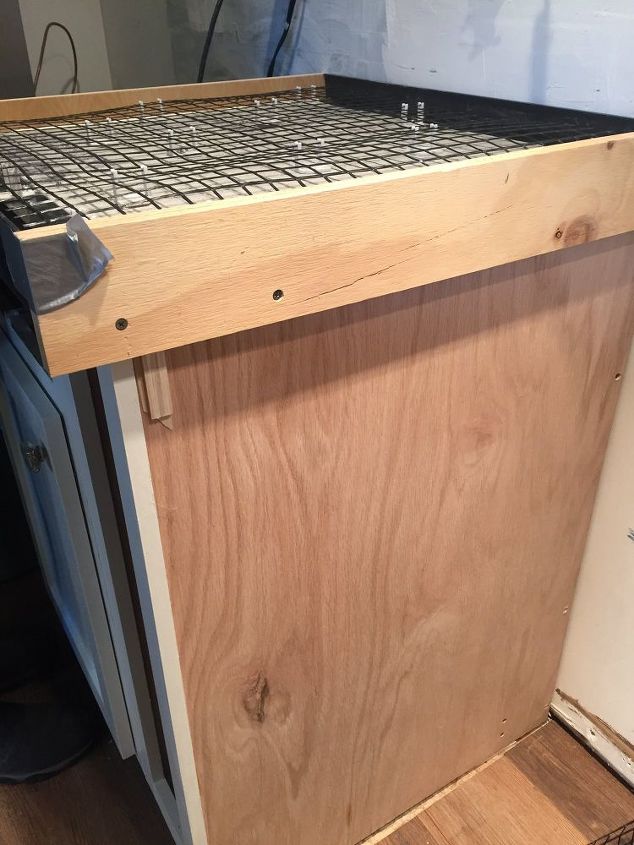
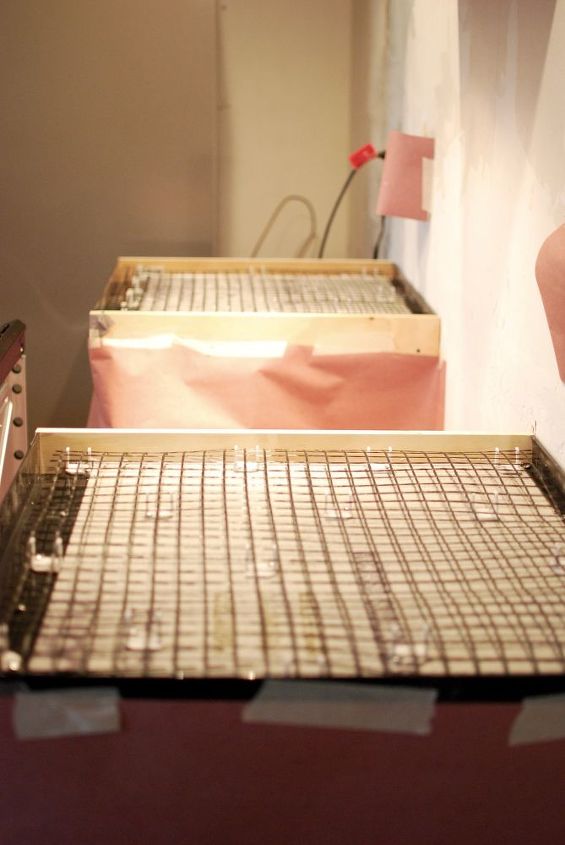
Cut the fiberglass mesh to size.
Once you unroll the mesh, cut it to fit inside your forms. You can use a basic pair of scissors for this. Be sure the curves are going downward.
**Tip** Use gloves when handling the mesh.
STEP FIVE
Attach the Z clips to the fiberglass mesh and the durock.
For the fiberglass to work correctly, it needs to be in the center of the concrete. Without the Z clips, the fiberglass would probably sink to the bottom (or rise to the top) of the concrete. The Z clips help hold it in the middle.
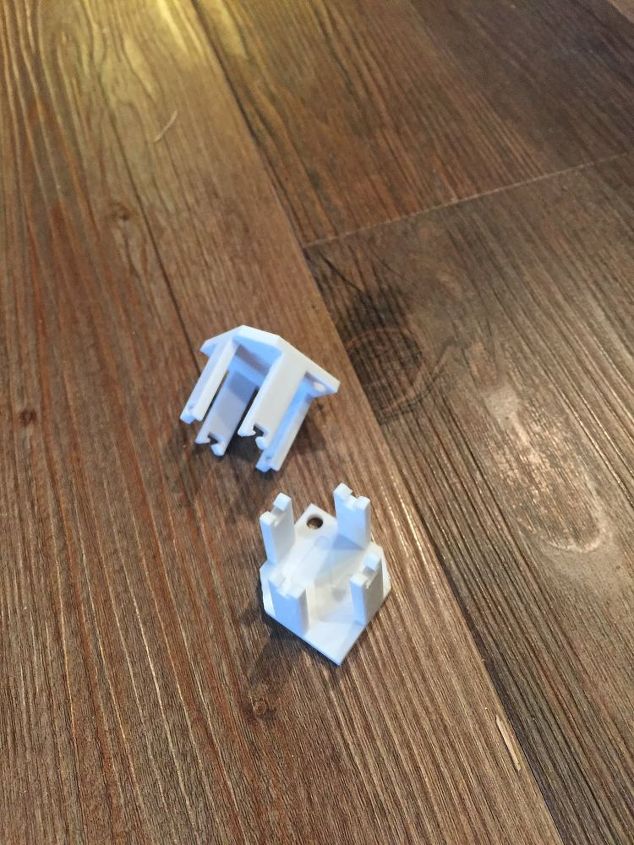
The Z clips come with 4 plastic pieces sticking out from them. You only need two, so break off two of the sides (opposite of each other).
Attach the Z clips to the underside of the fiberglass and then screw them to the durock. We spaced our clips out about every 6 inches or so.
**Tip** Be sure to SLOWLY screw in the screws to the durock. If you do this step too quickly with the drill, they will not be sturdy!
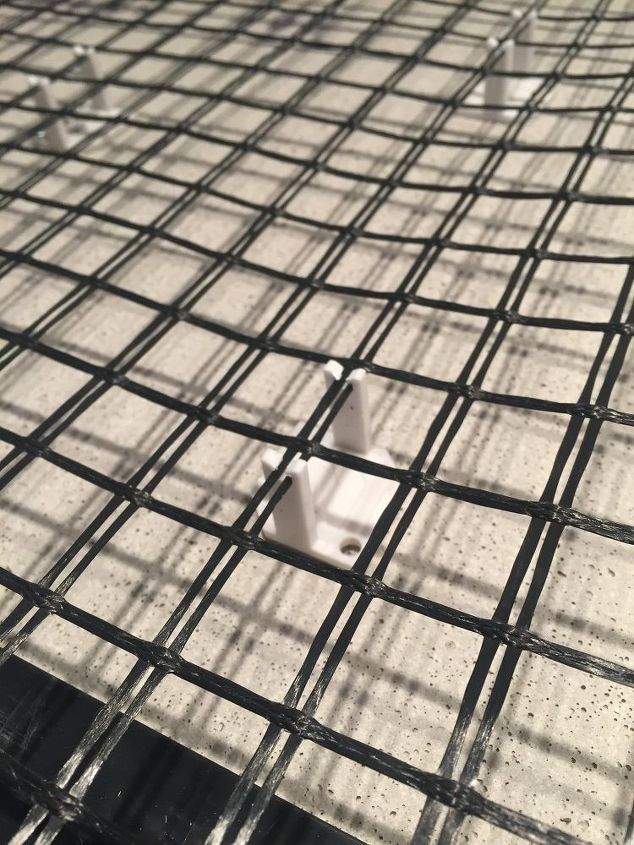
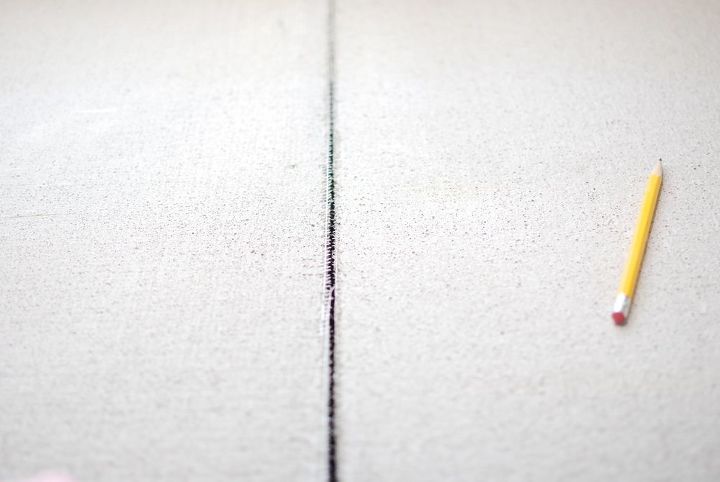
**Tip** We put the Z clips on the fiberglass mess with the two lines (see above), as we found it stayed in place better.
STEP SIX
Cover your cabinets and floor with paper or plastic.
The concrete will get messy! We found an inexpensive paper at the hardware store that we used. It took us about 5 minutes to tape the paper to the cabinets and floor.
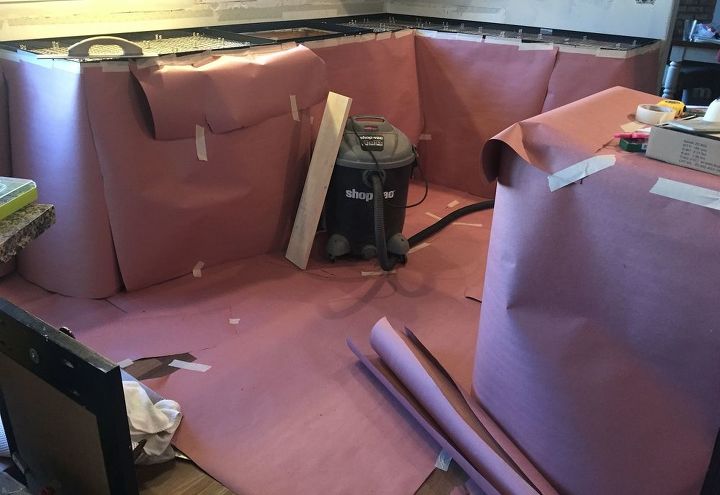
Yes, I covered the entire floor. And I am so glad I did!
Here's a breakdown of cost:
$40 Durock
$129 Z Counterform edge profile
$50 Fiberglass mesh
$20 Z clips
$15 Screws
$10 Paper/plastic (to cover your cabinets)
And you’re done! Well, with the first part anyway. My next post will cover the concrete making, pouring and finishing process.
In the meantime, check out my blog posts for the next steps!
For a full post on PART 1, head over to my blog here!
www.greywoodmama.com
Comments
Join the conversation
-
Very cool that someone thought of making products for the DIY. Made a lot of concrete countertops making my own forms out of laminate and using wire mesh and fiberglass reinforced concrete. I'd probably experiment and give these products a try and see how they work out against the old school way.


Frequently asked questions
Have a question about this project?