


Wrapping Paper Storage

Each year, when the holidays wind down, I am inspired to organize and refresh. I make a mental list of the items I want to tackle and more often than not, I don’t get around to them. Well not this year! Mug is going to make organization easy.
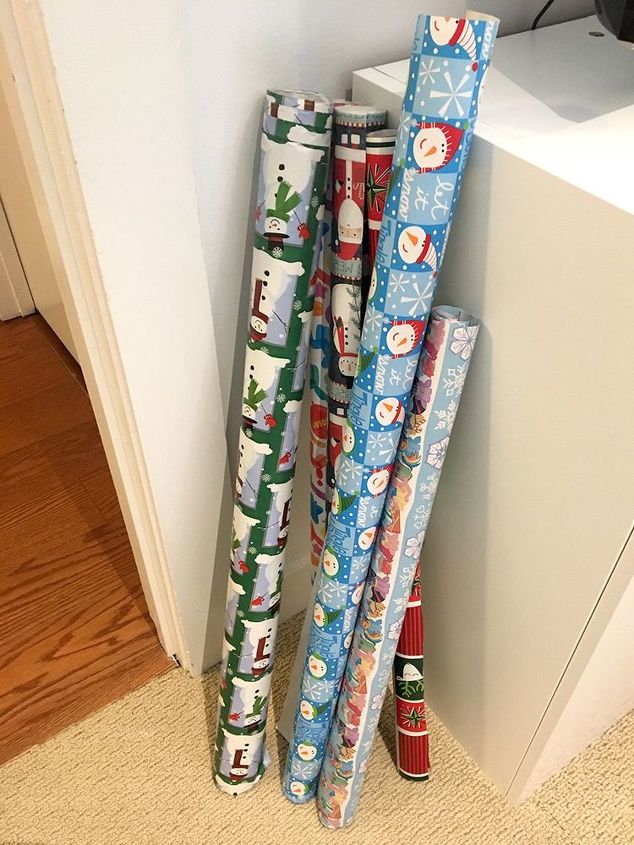
First on my list – I realized I was in need of a better storage solution for the rolls of wrap I had left.
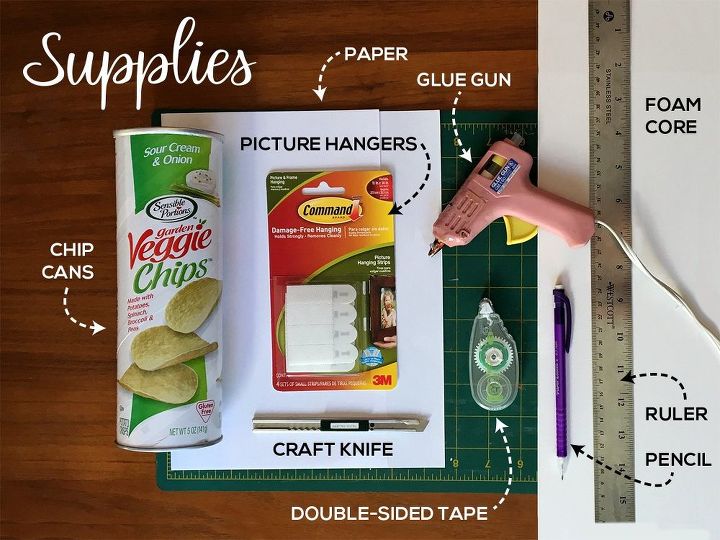
One of Mini Mug’s favorite snacks is Pringle’s (or similar, sometimes I can swap out for semi-healthier options without an epic meltdown ensuing) . Sour cream and onion to be exact. I’ve been saving the containers thinking I could do something with them. The lightbulb went off when I saw them lined up and thought “hey, that could work”.
With a tray made out of foam core I had in my supplies, I created a simple solution I hung inside the closet. Below are the steps and supplies to create one of your own.
I used 5 containers for mine because it fit well on my closet door (and because Mini Mug eats A LOT of chips) but you can use as many as you want.
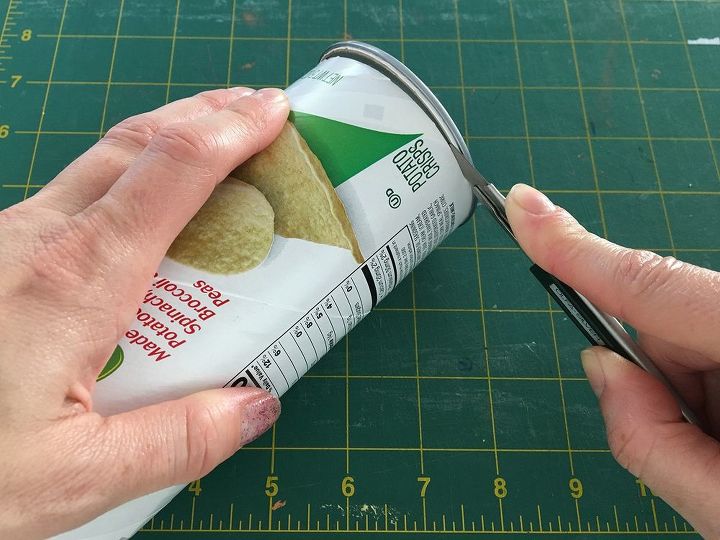
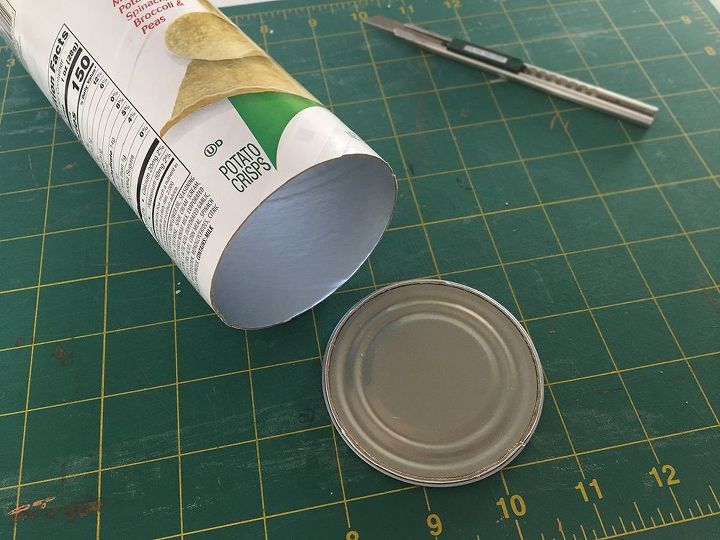
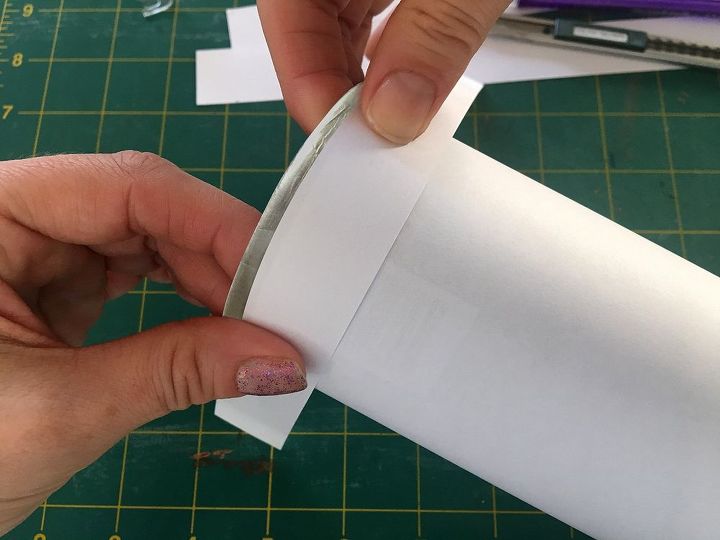
First you’ll need to cut the bottoms off your chip tubes. Using a craft knife, run it along the edge of the metal bottom.
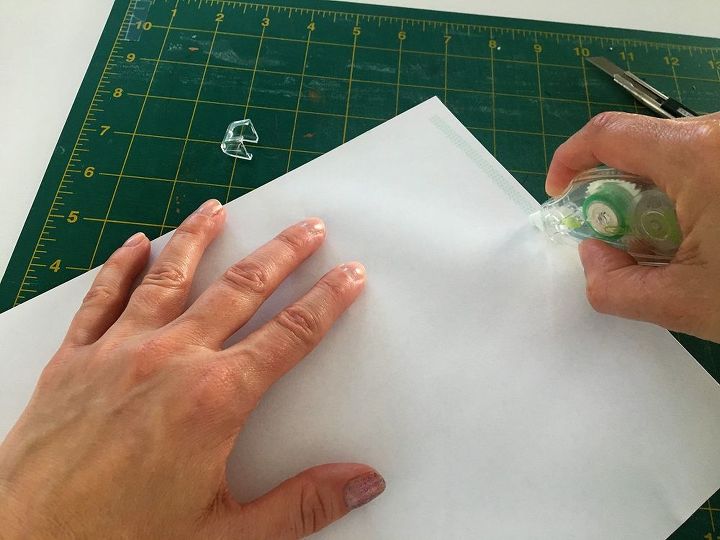
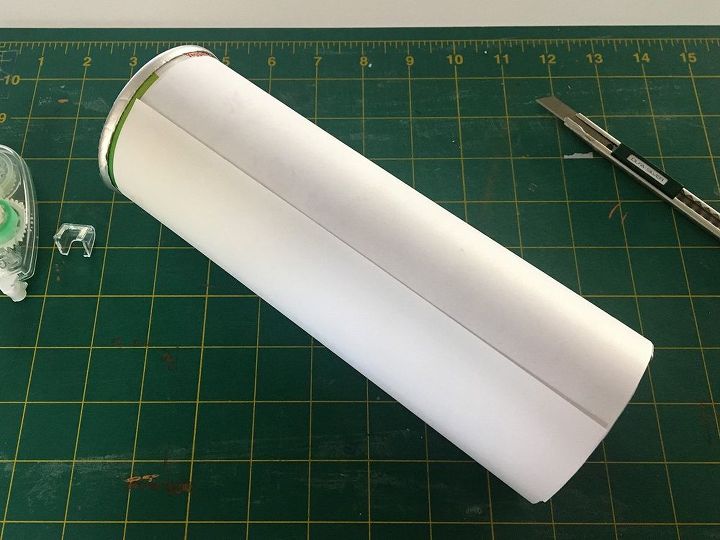
Once the bottoms are removed, wrap them with your paper. What paper you use is up to you. I chose simple white because it matched my foam core, I had it already, and seeing as the wrapping paper is pretty busy, the white seemed like a good choice to me.
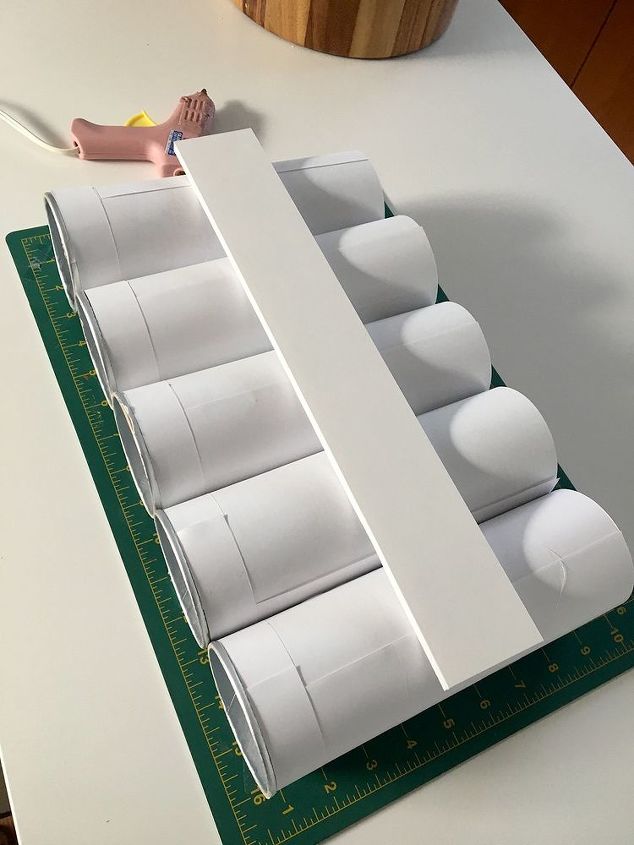
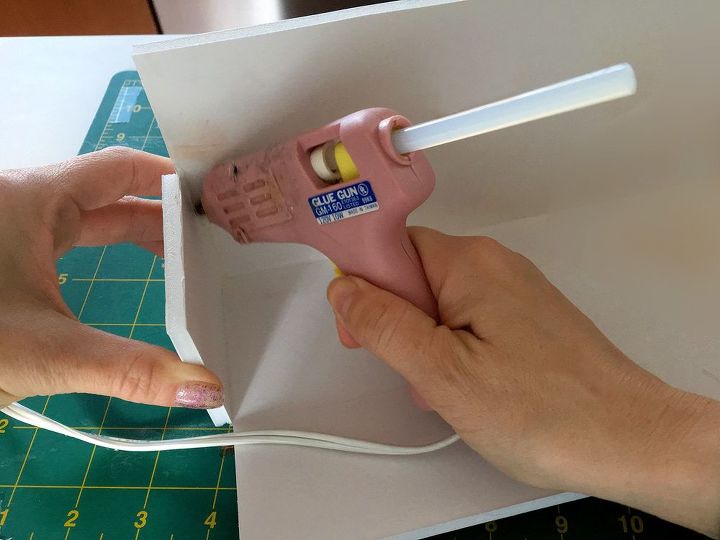
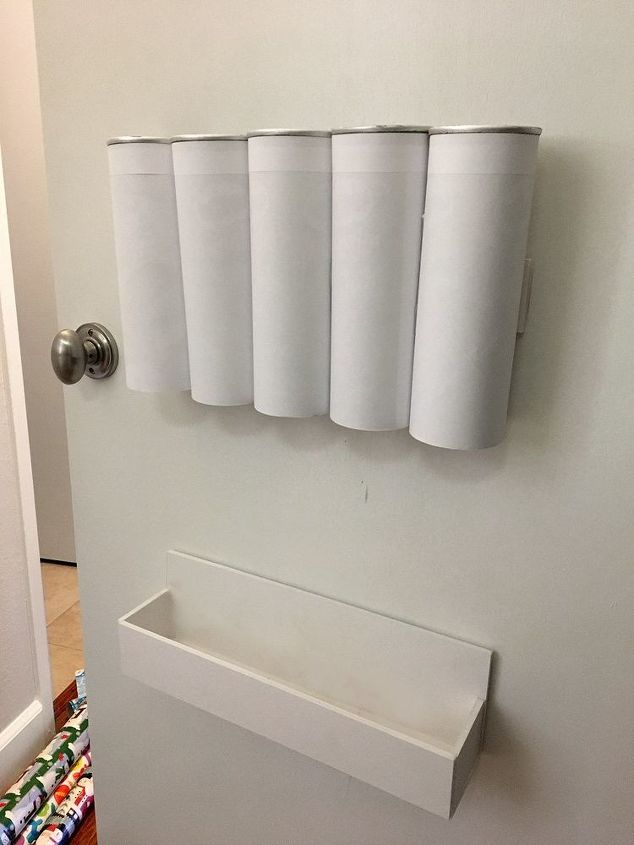
Your covered tubes will now be hot glued together. I took a strip of my foam core and glued them on that for added stability.
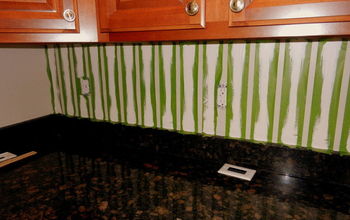
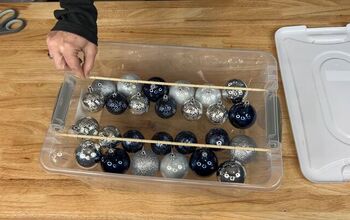
To make the tray for the wrap to sit in, mark your foam core as shown below:
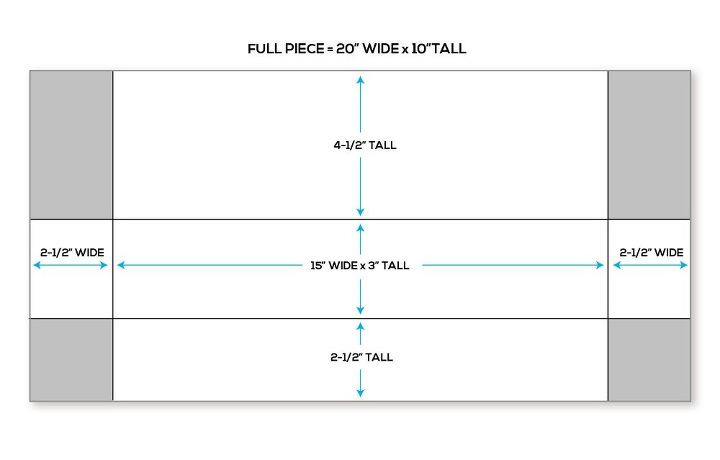
My 15 inch length was determined by how may chip containers I used. I estimated 3 inches per container. So if you are using 4, it would be 12 inches in length. 6 containers would be 18, and so on.
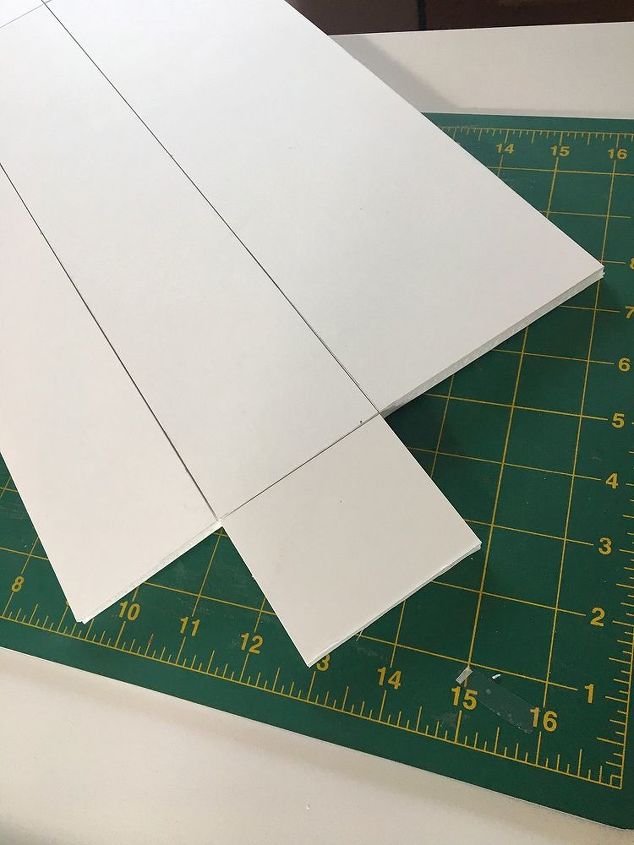
You’ll cut on these lines BUT not all the way through. Just deep enough to reach the foam interior. I find, when working with foam core, the best way to cut it to repeatedly cut lightly. Less chance of slipping and injuring yourself. Plus you get a cleaner cut with more control.
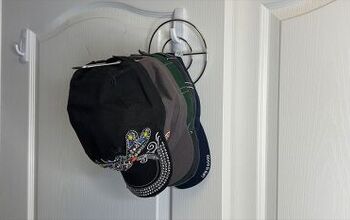
Now it’s time to attach the tubes and tray to your wall, or I’m my case inside of the closet door.
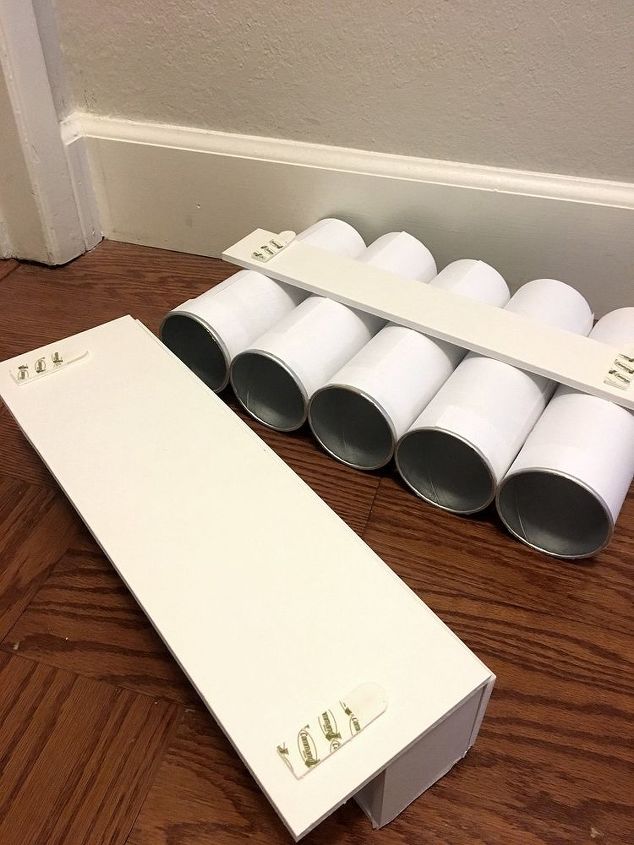
How far apart they are is dependent on how tall your wrapping paper rolls are but I found about 9 inched.
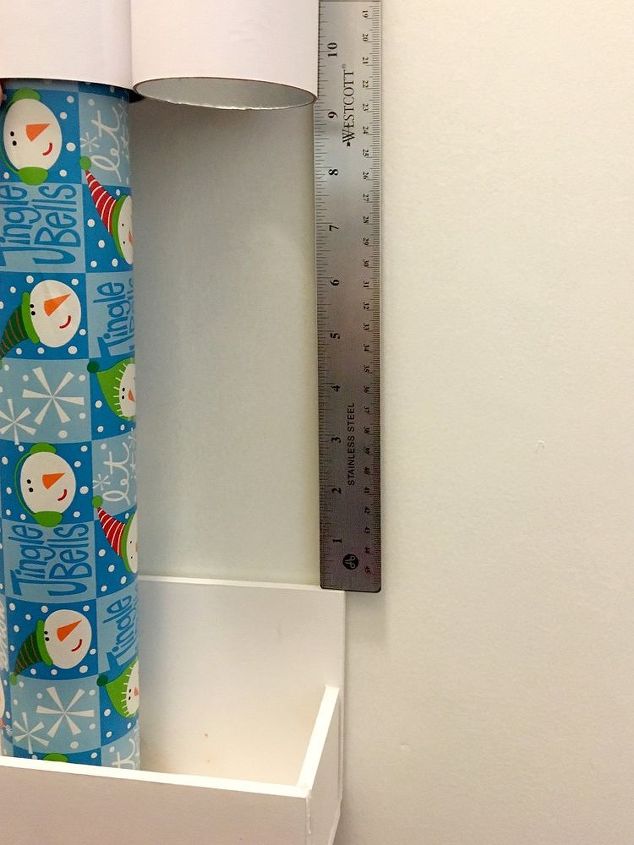
When attaching your tubes onto the wall I found that pressing from inside helped avoid denting your containers.
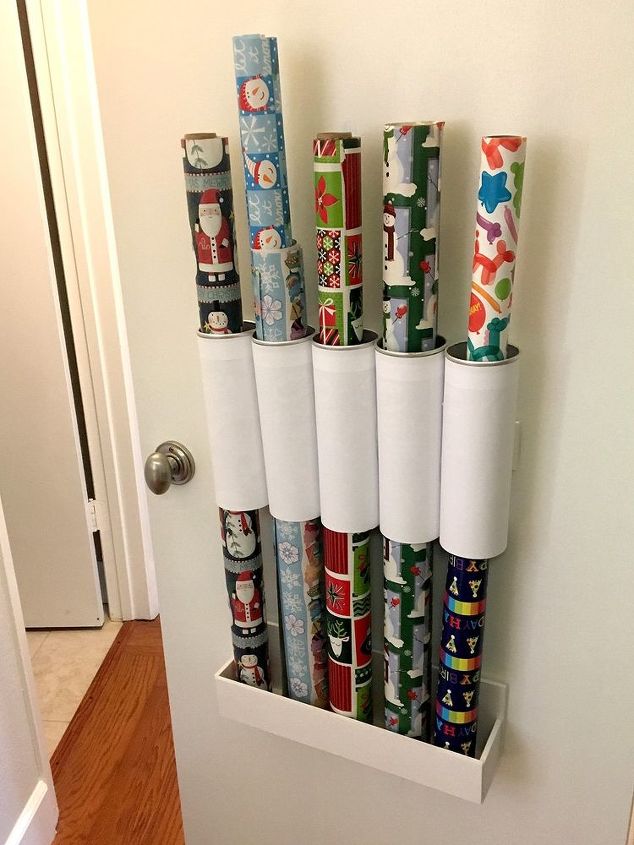
Now you can insert your paper and get your organization on!
Resources for this project:
See all materials


Comments
Join the conversation
-
you could also use additional cans on the bottom leaving the bottoms intact
-
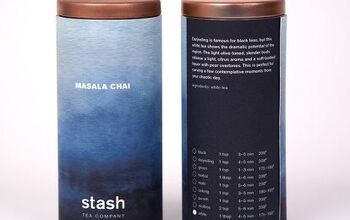
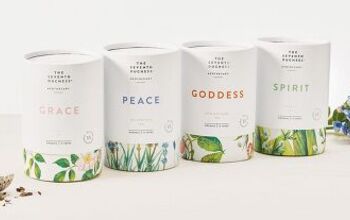
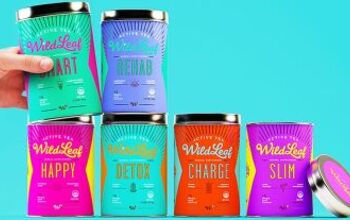
Some brands of tea come in cylinder containers. These could be used as well as the chip containers, and would not need to be de-greased first. Here are some examples.


Frequently asked questions
Have a question about this project?
How do you get the grease residue out of the inside? You really can’t wash cardboard...so the grease would transfer to the good wrapping paper.
Why not just use PVC pipe and forget the chip containers?