


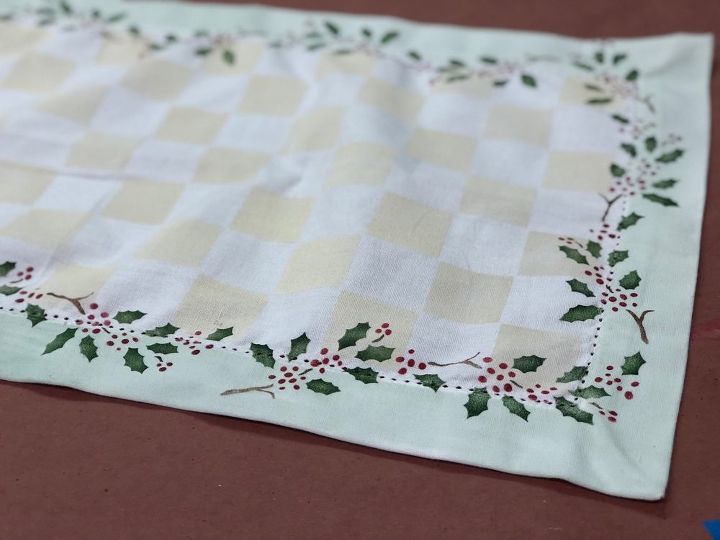
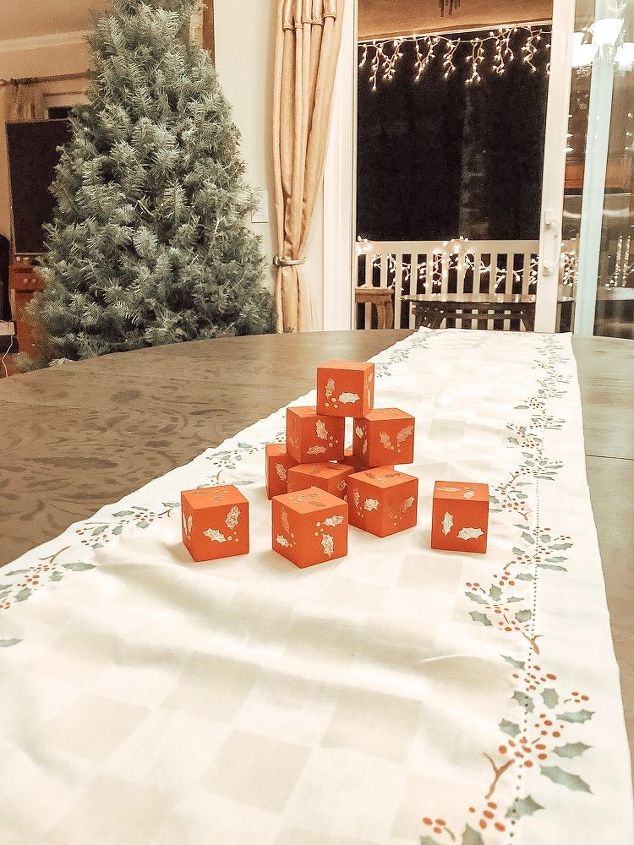
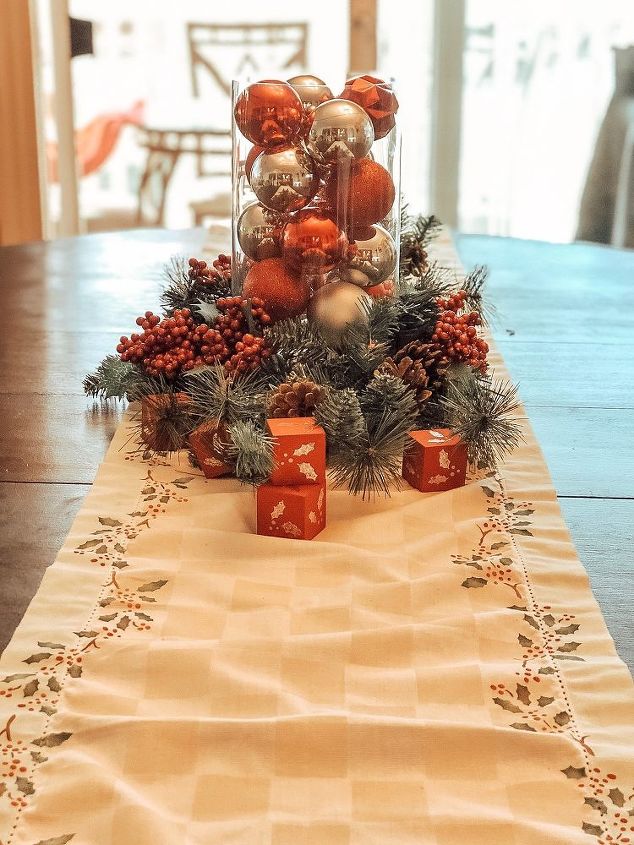
Holiday Table Runner
Every Holiday deserves a custom table runner and here is a way to create a custom table runners for all your holidays!!!
Today I am working on another fabulous table runner to help spark some creativity for you to create a “show-stopper” holiday centerpiece for your next party.
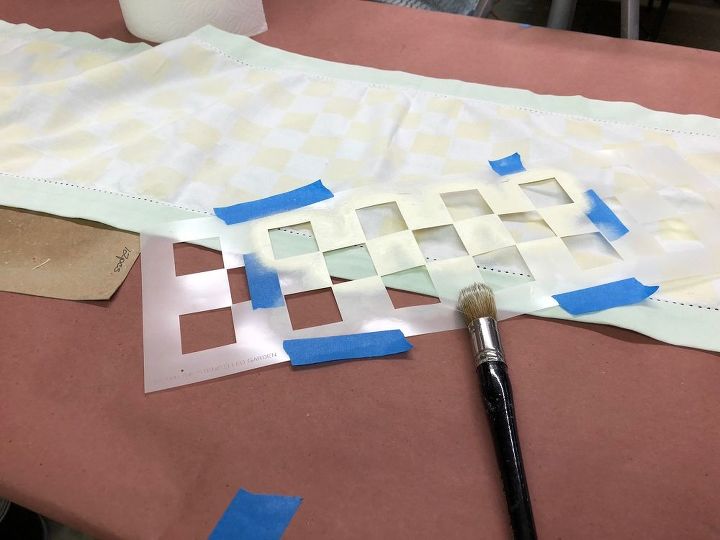
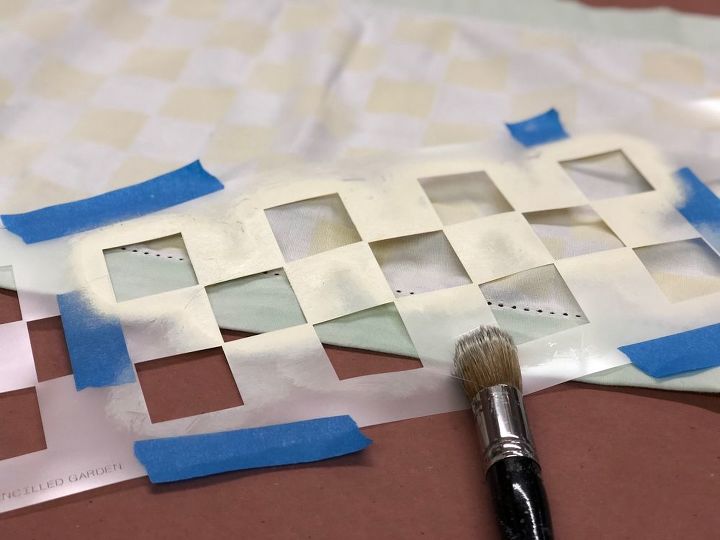
I am going to be using multiple techniques on this table runner, including stenciling and painting.
Stenciling is such a fun and simple way to express your creativity. If you have never stenciled before, head to this BLOG or you can purchase my Stipples & Swirls Instructional Stenciling Video for only $5 to get more extensive training on the art of stenciling.
Step 1 - Prepping Your Table Runner!
First, you will want to get out your iron. This will help the linen table runner lay a little bit flatter and make it easier to paint and stencil. Next, you will want to spray a thin piece of cardboard with some Stick It Stencil Spray. This adhesive is repositionable, which makes it perfect for this project. Stick It will help to keep the table runner flat and keep it from moving around while you are painting and stenciling. You will need to respray your cardboard after 1 or 2 uses to keep it sticking properly. I would highly recommend spraying it outside to eliminate the fumes and toxins indoors. (You don’t want to be breathing this stuff in!)
Once you have the cardboard sprayed and your table runner smoothly laid out, you are ready to get started painting!
Step 2 - Let’s Get Painting!
Next, you will start by painting the outer edge of the table runner. I am going to be using my favorite “chalk type” paint DIY Paint in the color Apothecary. You can grab some DIY Paint HERE. To get the “washed” look I was going for, you will start by watering down the paint. Make sure you grab enough paint to finish the entire project so that your “wash” is the same throughout the entire table runner. Grab a paper towel to see how diluted your color is. If it is not diluted enough, then you can add a little more water to dilute it more. This mixture is about 70% water and 30% DIY Paint. You will want to use a stiff bristled brush, this way you can scrub it into the fabric. You can grab a Filbert Brush HERE. This type of brush also allows you to create a straight line along the stitching. Since we are using very watered down paint, it will take about 24 hours to dry. Allow this to dry overnight before you move on to the next step.
For additional steps and more information on this project - make sure to check out the complete blog post at: https://www.artisticpaintingstudio.com/blog/final-holiday-project/

Comments
Join the conversation
-
That is awesome but you could also make one for other holidays or occasions - I want to create one that I can use daily :)


Frequently asked questions
Have a question about this project?