


Hat Rack Made From Scrap Wood

We have a ton of scrap wood, so I am always looking for ways to use it in my DIY projects. My son has started collecting baseball caps and needed somewhere to hang them, so I got to work in my scrap wood pile. I have made several coat racks using scrap wood, so I knew it would be an easy project!
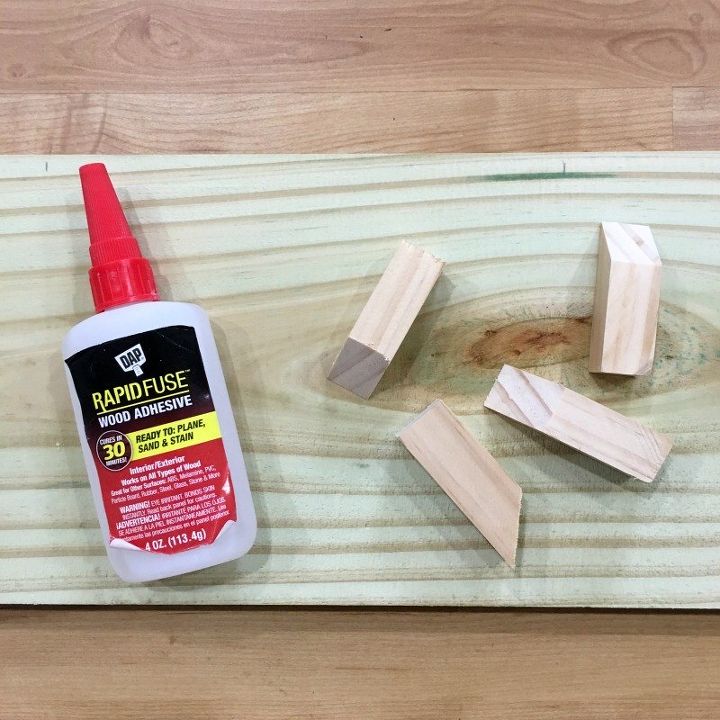
You only need a few supplies:
1" x 8" board cut to length, 1 piece of square molding, Rapid Fuse wood adhesive, and Paint (I used Deco Art Outdoor in White and Blue that I already had)
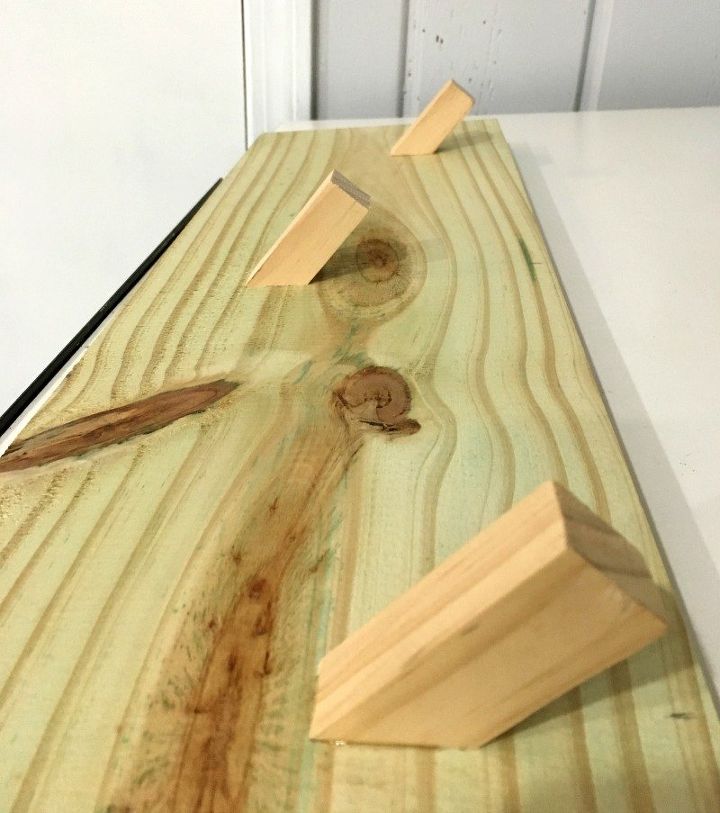
First, I laid the baseball caps out on my board to determine how many hooks I needed to cut. Next, I used a pencil to mark where I wanted the hooks to go and ended up with four. Then, I measured the length of the "hooks" and cut the molding pieces with the chop saw, using a 45 degree angle. Lastly, I glued them onto the board.

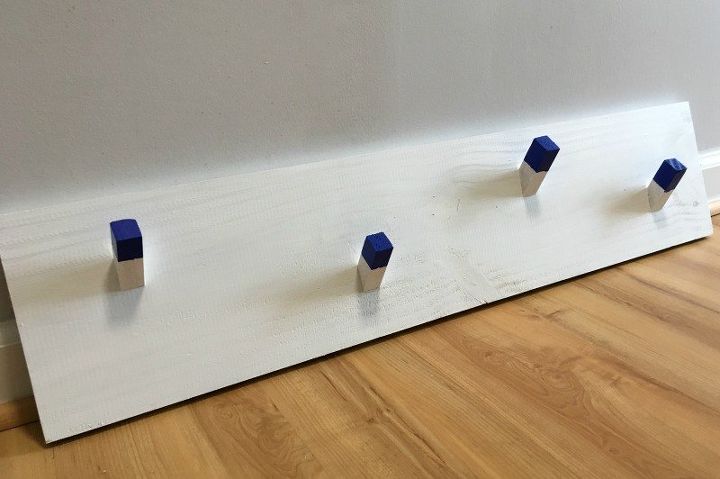
I painted two coats of white onto the board, letting dry in between coats. Once everything was dry, I taped off the bottom of the hooks to add a pop of color to the top half of the hangers.
The whole project (excluding drying time) took me less than an hour and I used up some of the supplies I had on hand...so it was FREE!
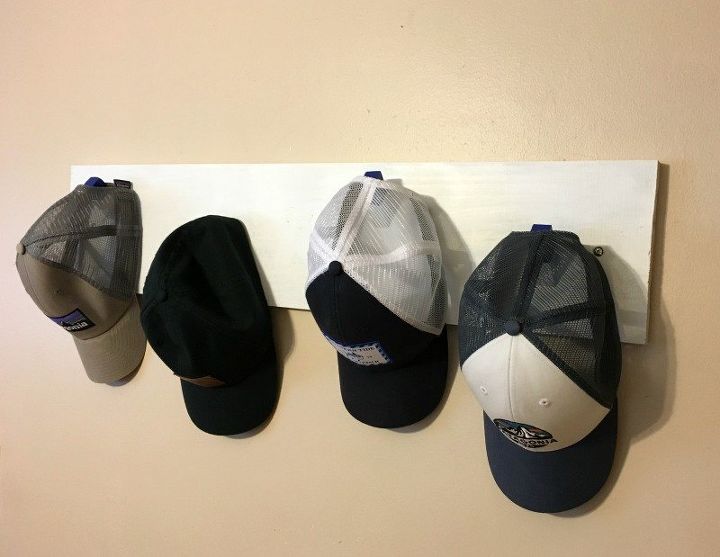
I hung it by using wall anchors/screws, but you could also use a french cleat or picture hangers, which would be hidden on the back.


Frequently asked questions
Have a question about this project?
What’s the maximum Number of hats