


How We Installed Beadboard Planks in Our Half Bathroom
Installing beadboard wall planks is an easy and inexpensive DIY project that adds timeless character in a bathroom. Our half bathroom started off as a blank slate and now it fits right in with the era is was built in the early 1900's. We also go over which type of beadboard to buy.
To give you a little history, we decided to turn an unused room adjacent to our master bedroom into 3 spaces: a half bathroom, a walk-in closet, and an en-suite master bathroom. You can read more about our thought process behind that decision in this post on our blog. When it came time to finish the half bathroom, we started off with a blank space.
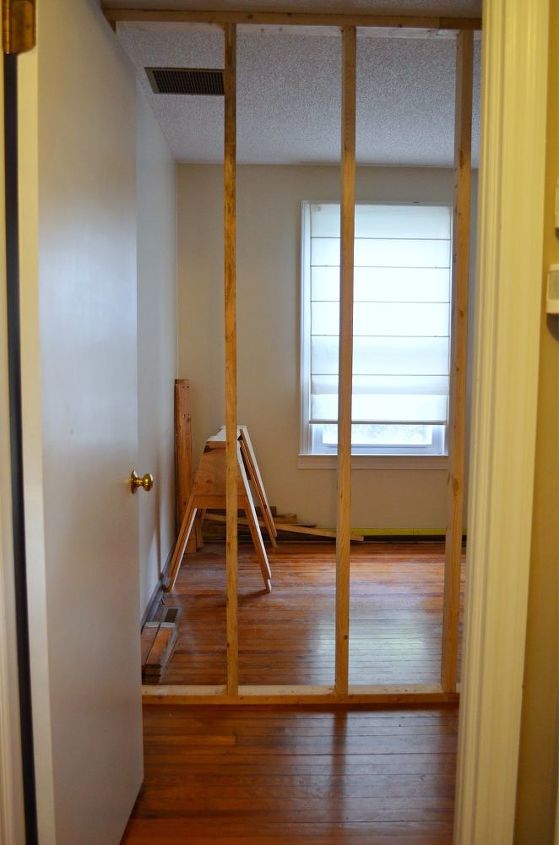
BEFORE- We started off with four blank walls and a small budget. Our goal was to make the half bathroom look as if it was original to our one-hundred-year-old home.
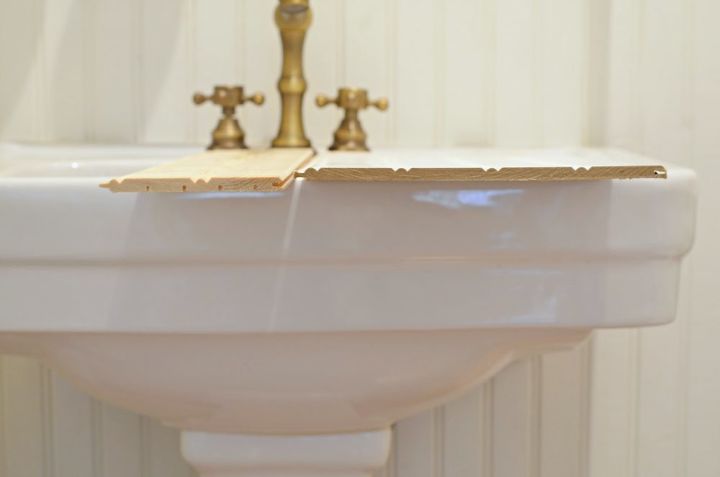
Click over to our post to find out what type of beadboard planks we recommend and the problems we encountered when choosing between our options. We also give a tutorial on how to install beadboard.
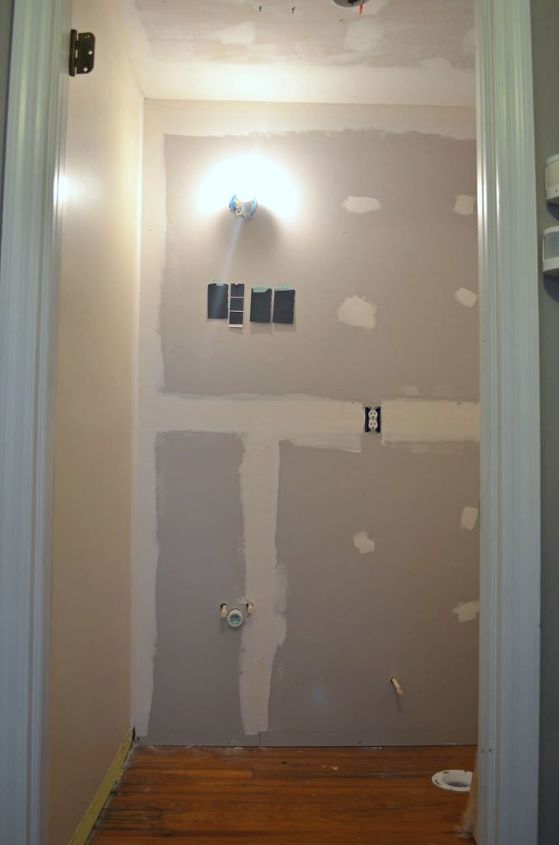
DURING
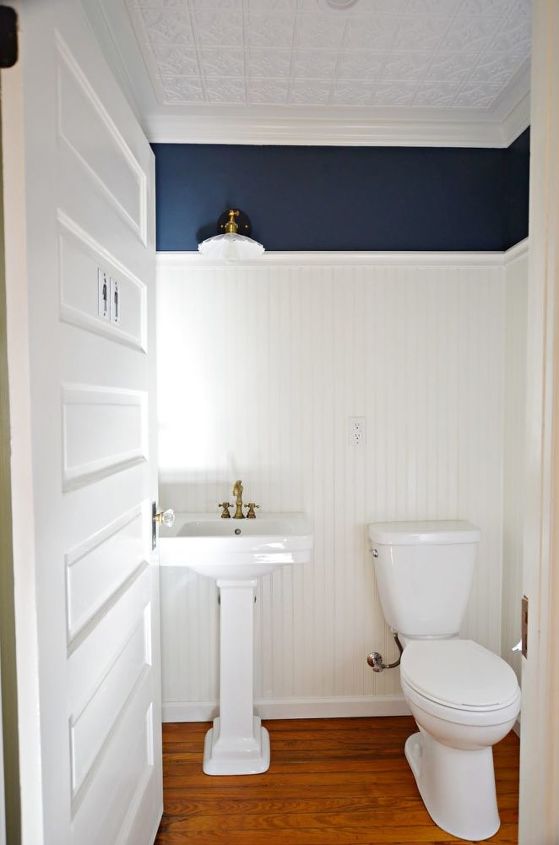
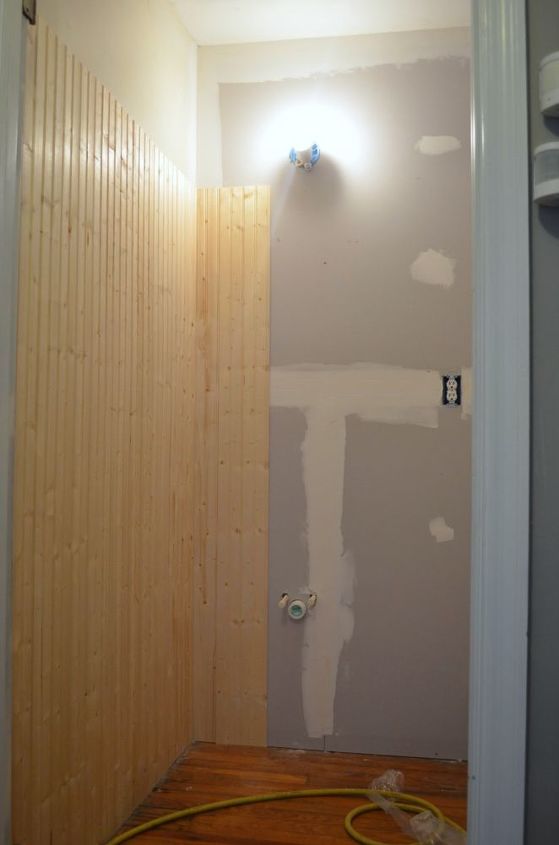
AFTER- Within a weekend's time and $150, we were able to add character to this room by installing the beadboard paneling, chair rail, and baseboard. Instead of going the usually height of 3 feet, we extended the beadboard two-thirds the way up the wall and added contrast with a rich navy paint above. The full tutorial along with some tips can be found on our blog, Simplicity in the South. I hope we inspired some of you to tackle this project on your own!


Comments
Join the conversation
-
Beautiful. Does look vintage with a modern flair. Great share and job.


Frequently asked questions
Have a question about this project?