


Easy Farmhouse Headboard for $60

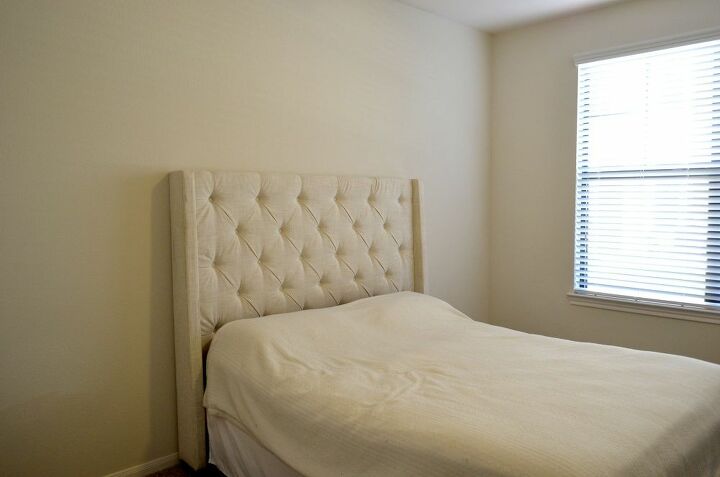
Hey everyone, it's Hayley! Today I am tackling my bedroom. As you can tell from the photo below... It's been neglected. Every other room in my house is full of DIY projects and decor, but the bedroom has fallen behind. So today I am correcting that (and I mean TODAY! I was able to finish this project in 3 hours -not including 2 more hours to make the nightstands which I will cover in another post!)
What you'll need:
- Two 1x4x8's cut to 5' long
- Two 1x4x8's cut to 62" long
- One 1x2x8 cut to 71"
- One piece of 1/4" plywood cut to 69" x 38"
- One pack of Walmart Inhome Grasscloth Wallpaper
- Minwax Coffee Gel Stain
Now, here's how I saved some time... I asked Lowe's to cut my wood for me. If you don't have a saw at home, or -like me- you wanted to save time I recommend bringing your measurements to Lowe's and asking them to cut it for you. It really shaves off some prep-time!
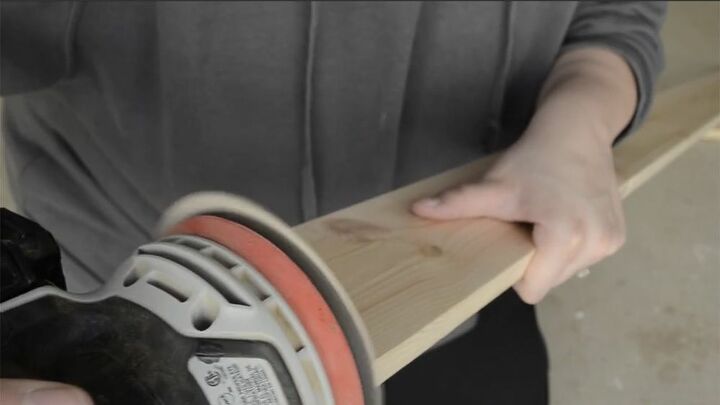
Once I got home with my lumber, I gave the cut edges a really good sand. If you want a really even stain, I recommend sanding all of the wood really really well and then going over all of it with a wood conditioner. But I wanted a blotchy, rustic "unfinished" finish so I only sanded the edges to get rid of splinters.
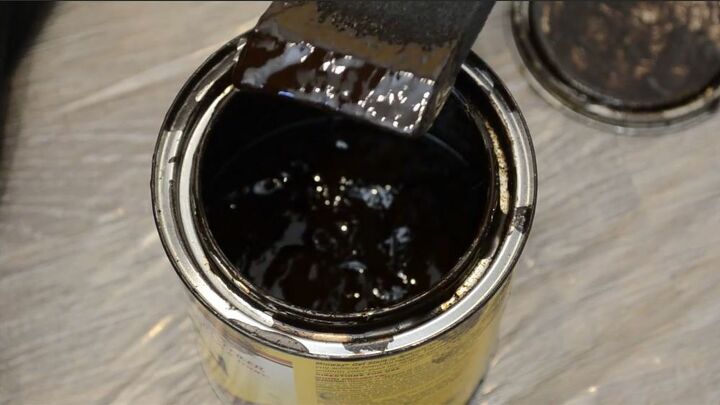
Minwax's Coffee Gel Stain is my absolute favorite. I highly recommend when purchasing your stain to go with the larger can. It might seem like a waste if you have a smaller project you're working on but I bought this $16 can around a year ago, have used it on sooo many projects and I never seem to need more!
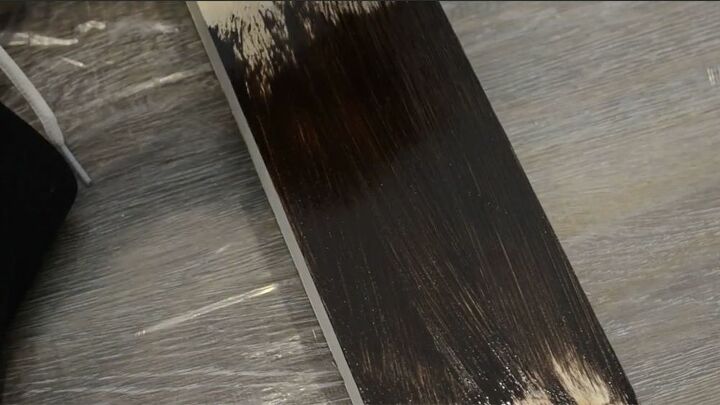
Paint on your stain thickly but not too 'globby'. I use a foam brush to brush on my stain as I find I have a lot of control that way. You could always use a rag, this is just my preference.
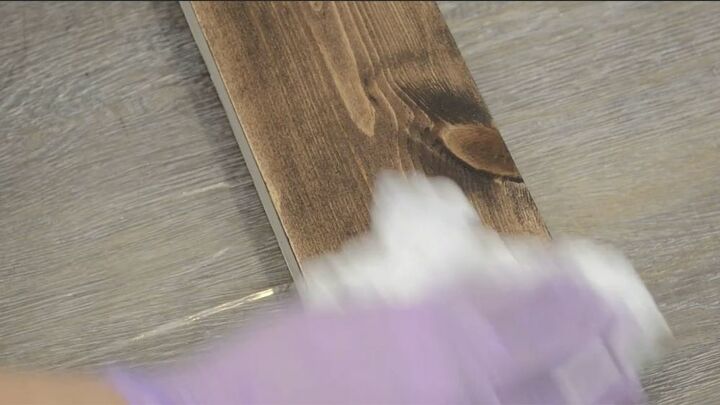
Give your stain a moment, and then wipe off the excess with a dry rag. You'll see this amazing warm rustic color in your wood come through. If you want it to be darker you can leave it for 30 minutes to dry and then come back with another layer. Repeat until you have the desired color. I loved the tone of the wood so I continued after one layer.
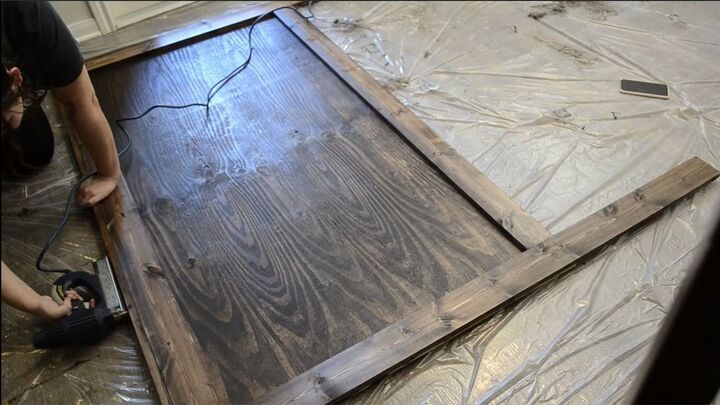
And now for the assembly!
- The plywood is the base that you will be nailing your planks to, meeting the outer edges of the planks to the outer edges of the plywood.
- The two 5' long planks will be the vertical legs.
- The two 62" planks will be the top and bottom
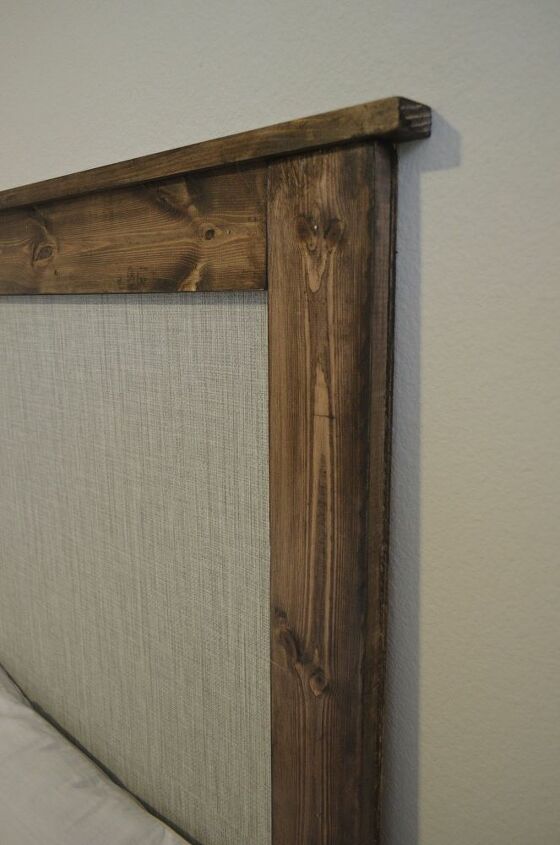
- The 1x2 plank will be the header, which should have a 1" overhang on either side.
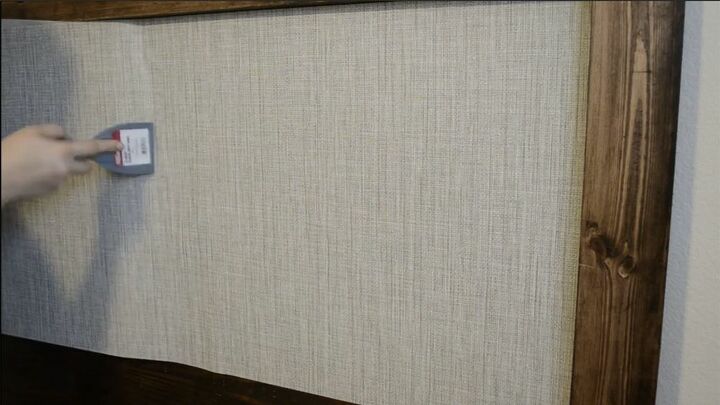
Now for -in my opinion- the star of the show! This was an amazing find at Walmart. A peel and stick grasscloth wallpaper. It has an amazing realistic texture, is easy to apply, and costs only $29 a roll!
Cut a piece that is a few inches longer than you need. Peel back a small corner of the wallpaper, match the top corner of the roll and the top corner of the panel and press down. Then pull back the paper from behind it, scrapping with a credit card or putty knife as you continue pulling the paper.

When you reach the end, use the card or putty knife to make a really clean crease and cut down the crease with a box cutter or exacto.
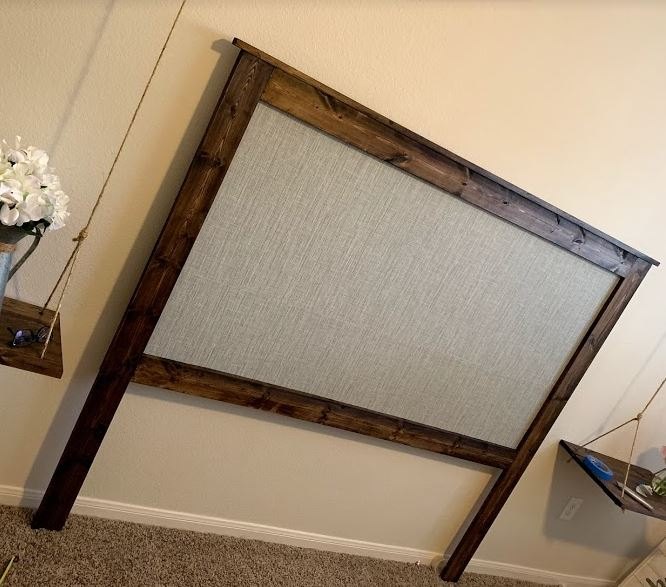
Here's a pre-bed/pre-staging look at the headboard. It came out even better than I imagined, and it only took me 3 hours start to finish!
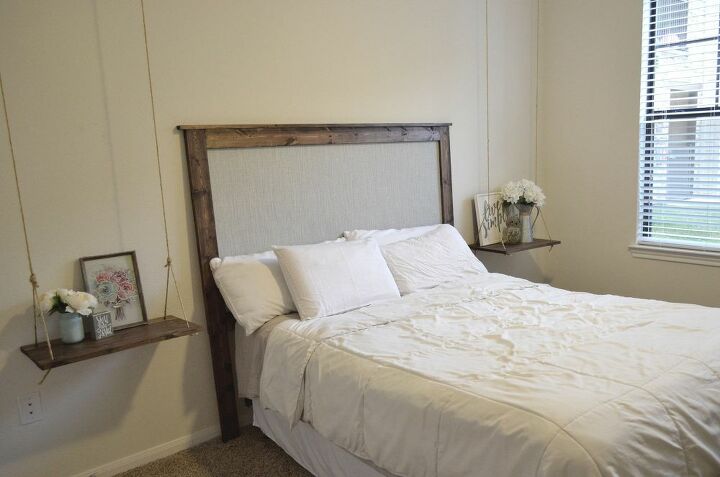
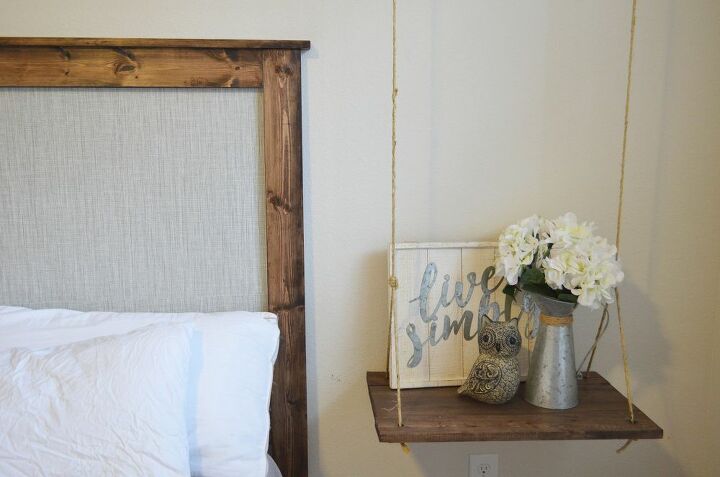
I mean WOW! I absolutely ADORE our bedroom now. It's cute and rustic and comfy and warm. Basically everything I wanted from a bedroom! And stay tuned if you'd like to see how I made these adorable swing nightstands!
And for more farmhouse DIY projects check out my blog!
Resources for this project:
See all materials


Comments
Join the conversation
-
Really loving the simplicity of the design and the materials used...the star is certainly the grass cloth wall paper...easily adaptable to other ideas...I can see adding upholstery tacks to the top and sides or also adding pillow filler and material...LOVELY
-
Clean and simple. Love it


Frequently asked questions
Have a question about this project?
What size bed? (Queen or king)
I was wondering if you had it attached to the bed when you finished, I think I could do this but I don’t want it attached to my bed will that be a problem?