


Renter-friendly and Budget Friendly Bedroom Makeover
Sometimes you just need a change. When I moved into my LA rental apartment a few years ago, I did many DIY projects to transform my bedroom into a lovely peaceful oasis. But it was time for a change and I was ready for a completely different look - time for another makeover! The plan was to reuse as much of what I had as possible to give my bedroom a cozy boutique hotel feel, all with renter-friendly DIY projects. On the list of things I wanted was a new headboard, new side tables, and replace the vertical blinds with sheer and black-out curtains.
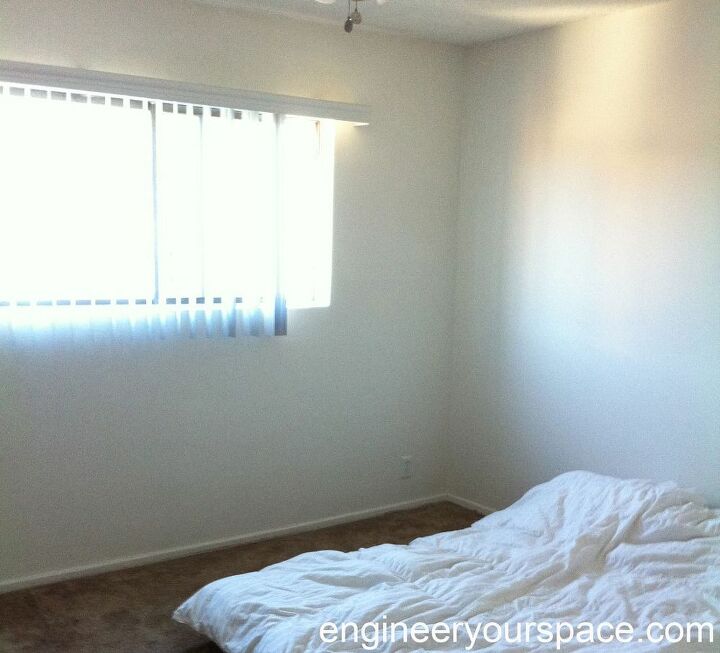
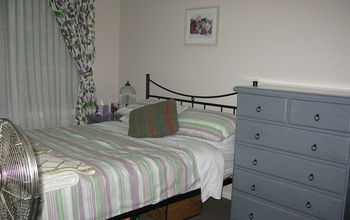
This is what the room looked like before makeover #1.
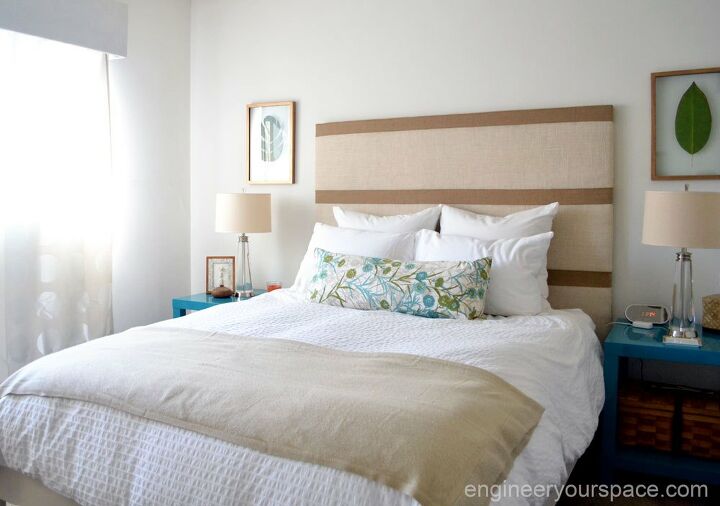
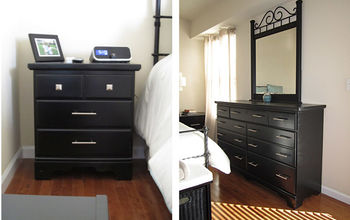
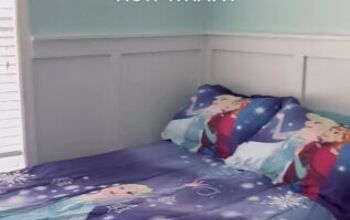
This is what the room looked like after makeover my starting point for makeover #2.
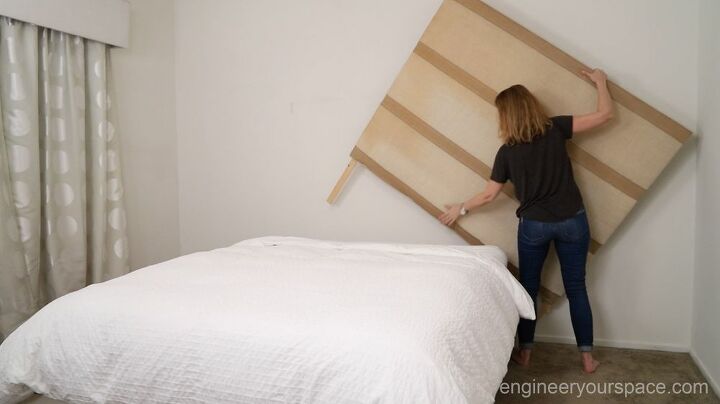
I took everything out of the bedroom, except for the bed.
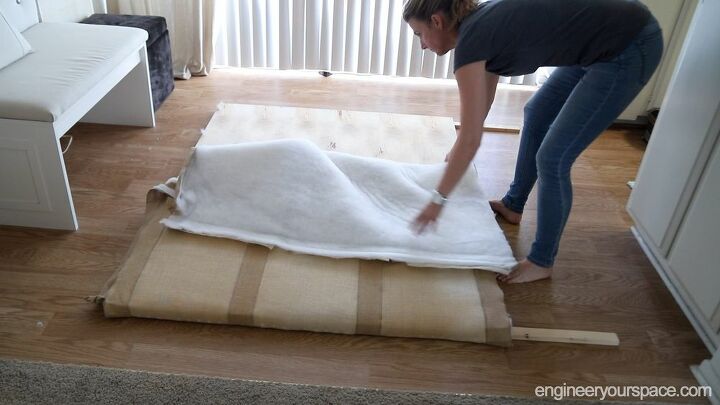
I wanted to reuse the headboard that I had made but the upholstery was a bit tired and worn so I took it off to get a fresh start.
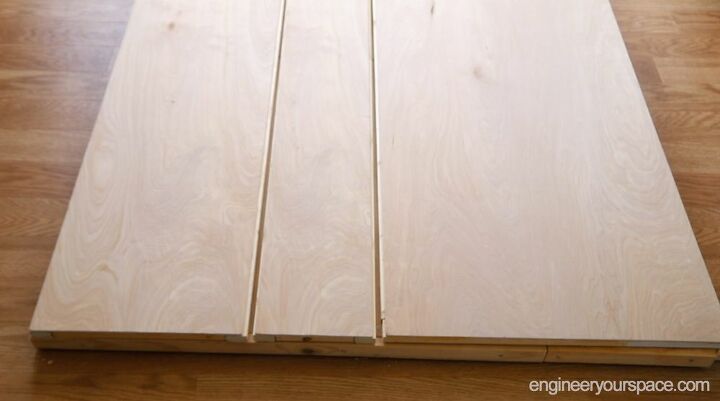
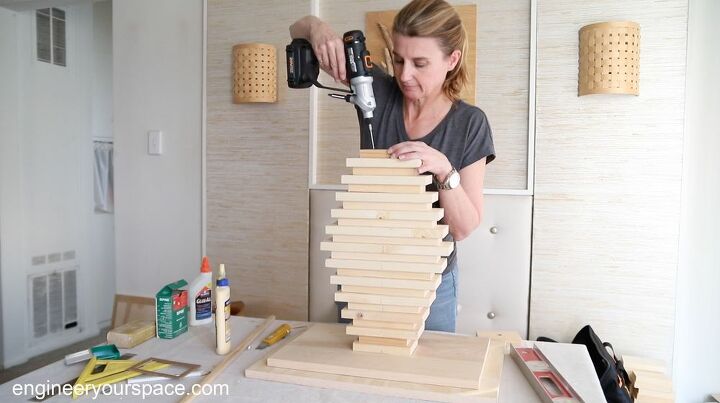
I covered the front of the structure with wood panels that I made with 1"x2" furring strips and 1/4" thick plywood, and I filled the gap in between the panels with screen molding. Then I screwed the panels to the structure, and sealed everything with shellac.
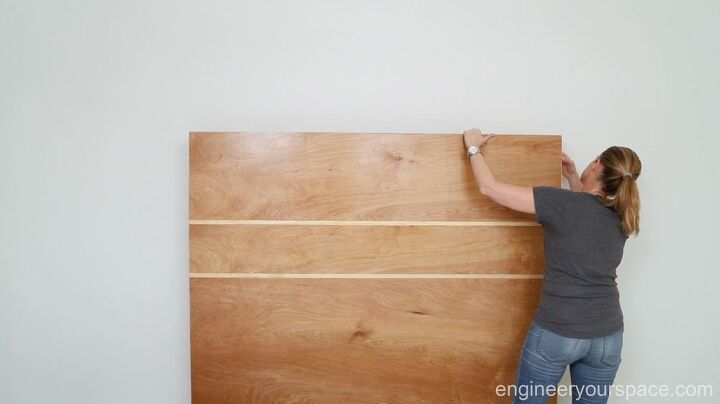
Because the headboard has legs, it can stand on its own and I didn't have to attach it to the bed frame or screw it into the wall.
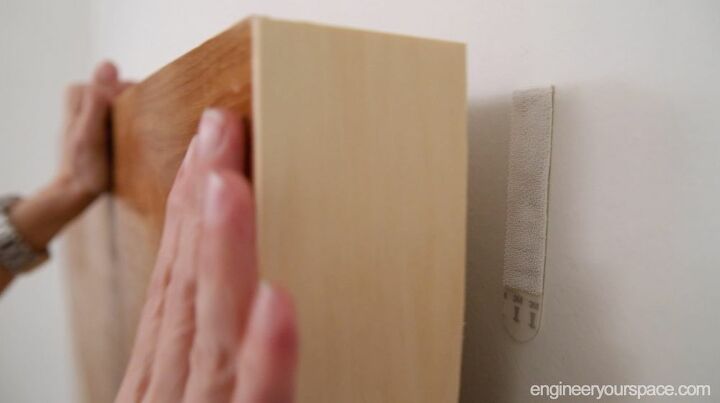
Instead, I used removable 3M Command strips to secure it to the wall.
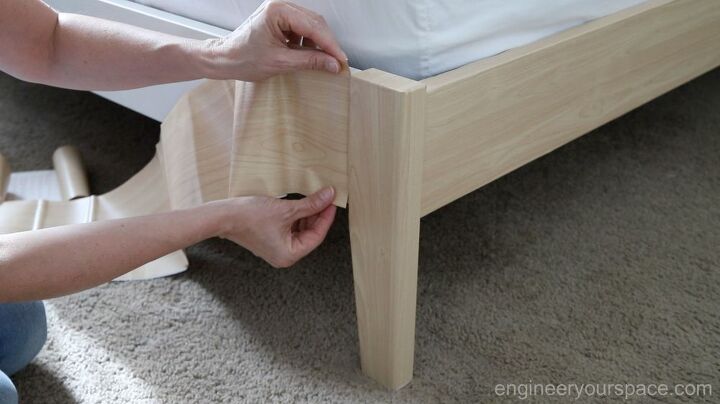
After installing the headboard I realized that it didn't go with the white bed frame anymore, so a quick fix for that was to use contact paper in a light wood pattern to match the lighter wood tones in the headboard. I don't normally like to use contact paper on furniture but I love how good this looks!
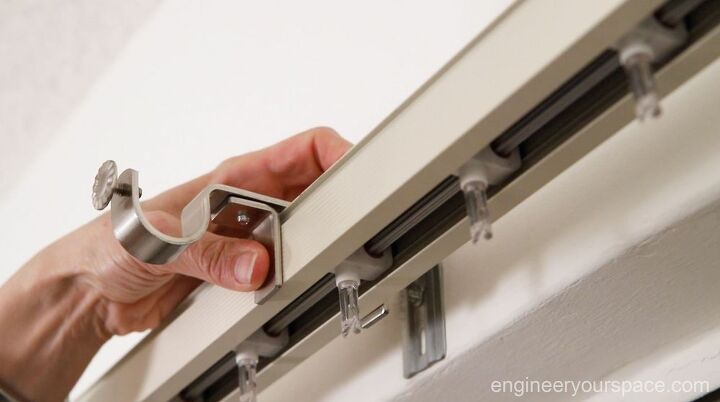
Next came window treatments. The apartment had vertical blinds when I moved in and I really don't like how they look. With this makeover, I wanted to hang black out curtains and have sheer curtains. I was able to do that by using nono curtain brackets - they fit over the vertical blind track so you can hang the curtain rod without having to drill holes in the wall. Perfect solution when you're a renter!
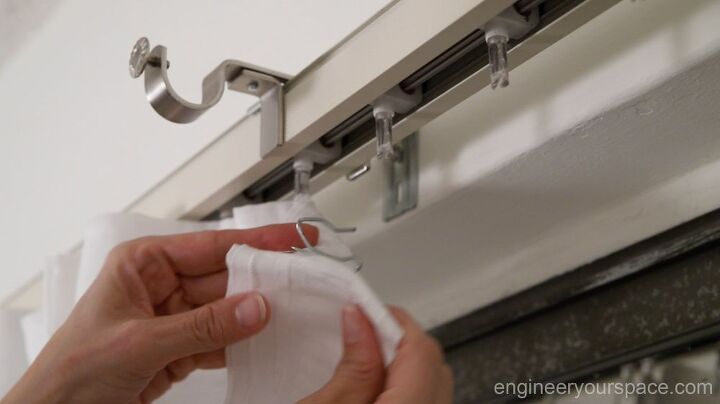
My solution to hang the sheer curtains was to use drapery pins that just cost a few dollars - they slide right into the existing vertical blind slat clips.
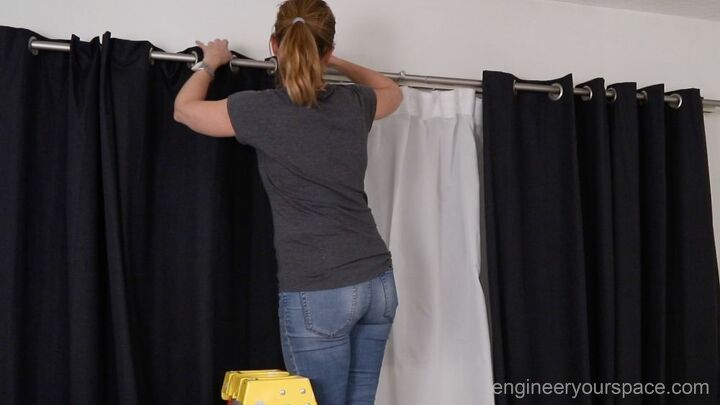
After hanging the sheers, I slid the curtain rod into the brackets and then hung the black out curtains. Very easy and it only took minutes to do!
Next I built a side table with some wood scraps, and for the other side of the bed, I bought an inexpensive nightstand from IKEA.
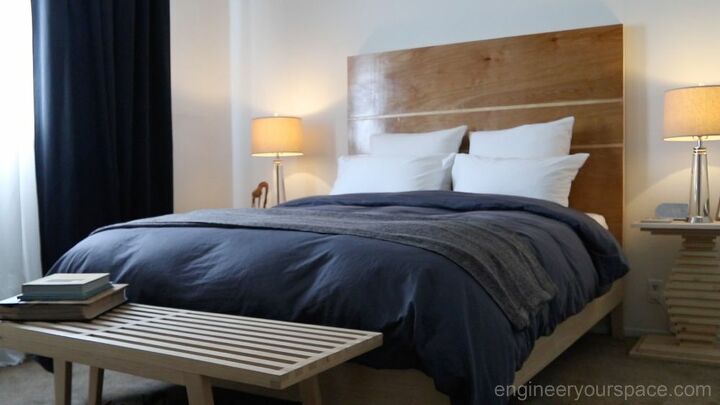
I absolutely love the new look of the bedroom - it's so cozy and exactly what I was going for, a more elegant boutique hotel vibe!
I also changed out the lightbulbs for smart LED bulbs and did a few other little things to make it more comfortable, so take a look at the video so you can see everything I did! You can also visit my blog for a complete list of the things that I used in all the projects, and details on the headboard build, and side table project.
And if you're curious to see all the DIY projects that I did in my first makeover, watch this video!

Comments
Join the conversation
-
It is beautiful, it would make a lovely guest room as well. I like the fact you used contact paper on the bed, I never would have thought of that !


Frequently asked questions
Have a question about this project?