


Modern Shiplap DIY Knockoff On The Cheap
Last Spring, we did a 6 week makeover on our dining room. During this makeover, we removed the stuffy wainscoting and planned to install shiplap. Only we ran into budgetary issues and realized the cost of shiplap was way too prohibitive for us. So instead, we spent less than $200 to get a modern board and batten look in our dining room and we love it! Today, I’m finally breaking down the full process so you can DIY!
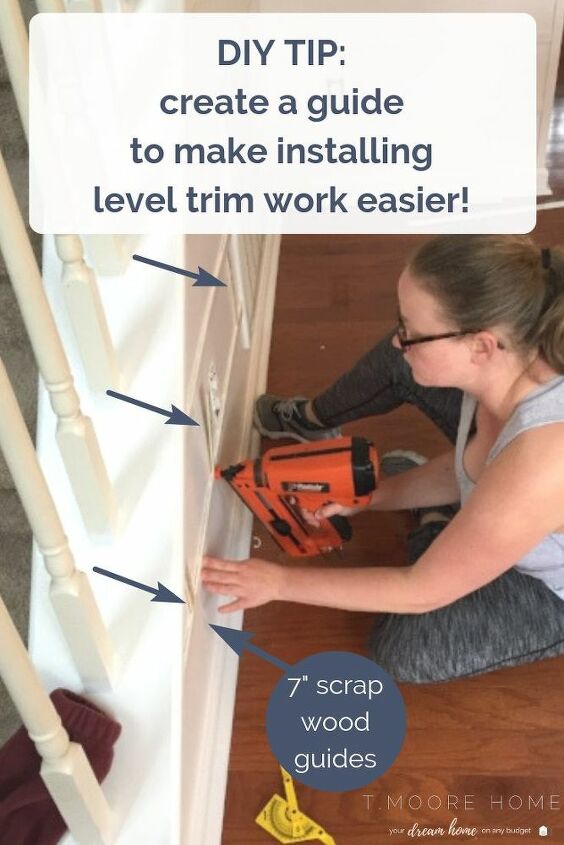
STEP ONE - Make it level.
Determine your level line. Do this by marking a single line 7” (or however far apart you want your strips spaced) up from the baseboard. Then use a long level to mark a straight line across the entire wall. You’ll install one strip at this line, using a level to insure it maintains level. Do not rely on your baseboards or floor to determine levelness, as they are almost always uneven.
STEP TWO - Cut your guides.
Once your first slat has been installed evenly around the room, you can now use a guide to install every new slat to the wall. Do this by cutting 3 pieces of scrap trim to the desired distance between each slat. For instance, we were doing 7 inches between every slat, so we cut 3 pieces of scrap down to 7” each.
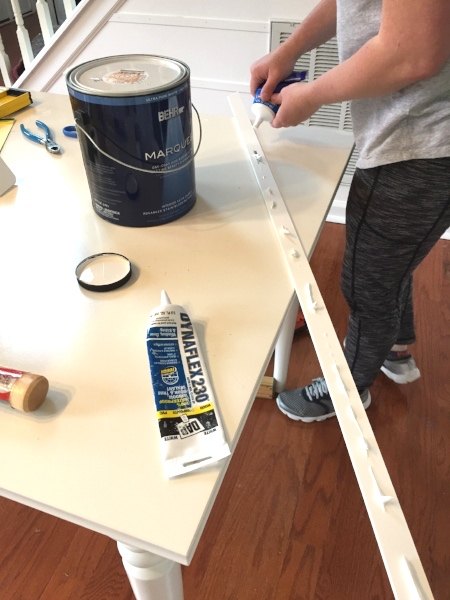
STEP THREE - Secure each piece with glue and trim nails.
Form a bead of construction glue along the backside of the strip. Did you know that creating a “bead” pattern with your glue, rather than a straight line, actually gets you better adherence? It’s true. The bead creates suction that acts as a double force of protection. A straight line? No suction. Plus you’re wasting glue that way.
Secure your slat to the wall and slide a guide between each piece, vertically (see photo above). Then nail each piece in place with a finish nailer. You can also use a hammer and a nailset if you don’t have a finish nailer.
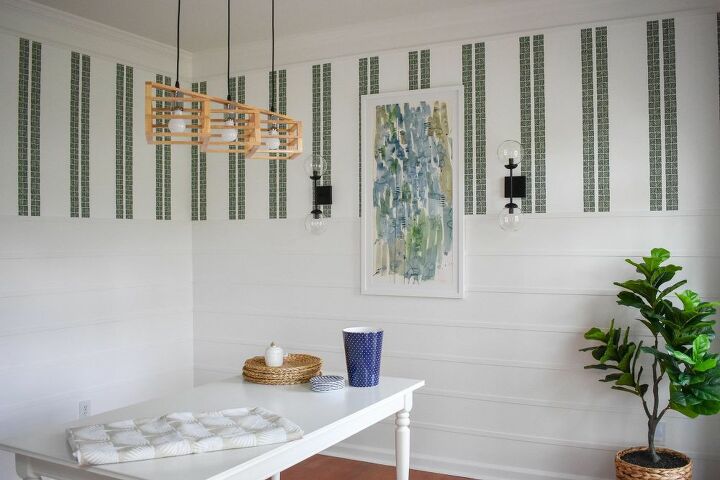
STEP FOUR - Caulk + paint.
Caulk each piece of trim where it meets the wall and paint it the same color as the wall.
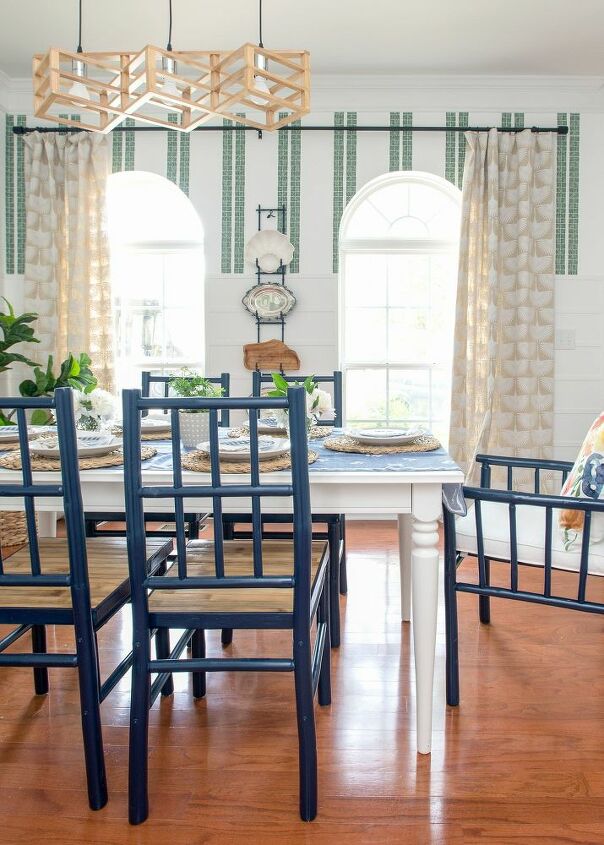
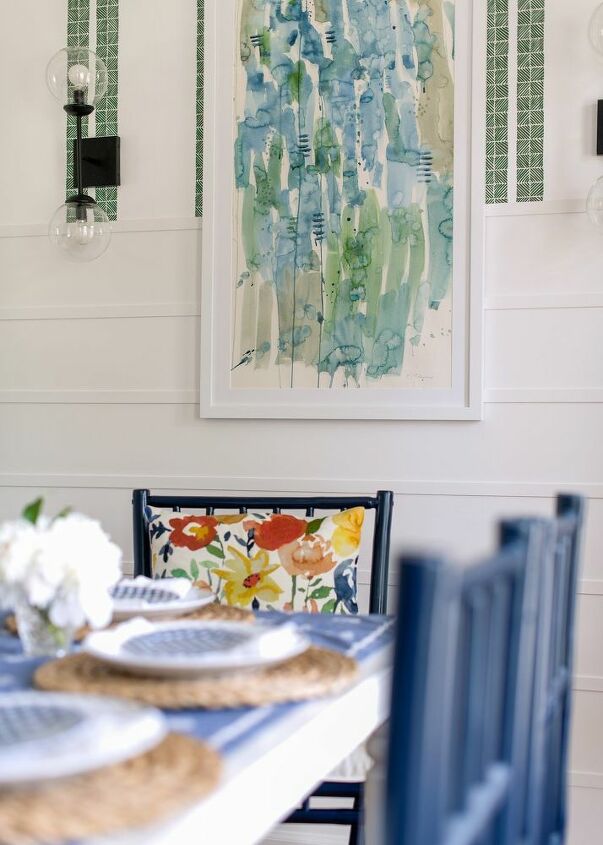
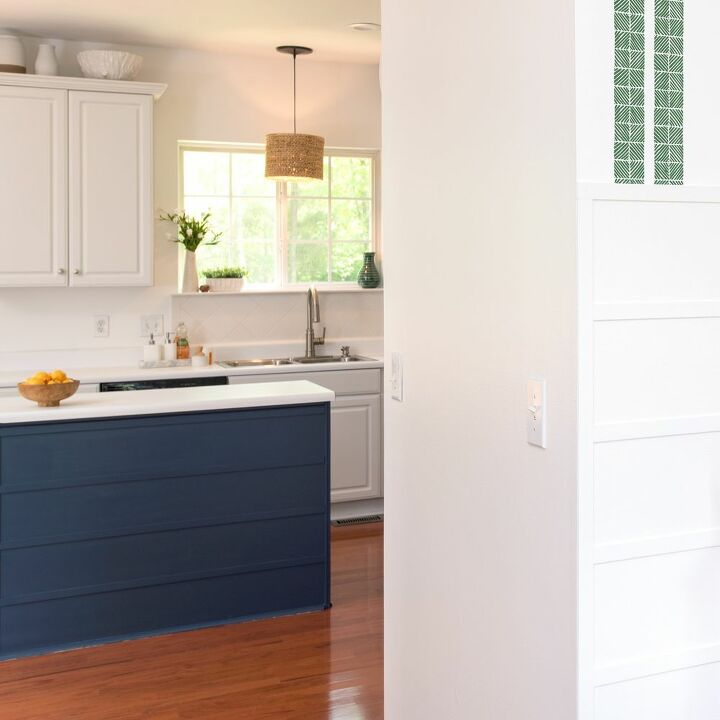
The end result is a look that winks at shiplap, but is even more modern. It's certainly not a fake shiplap. The dimensions are exactly the opposite. I’ve even noticed that lately it’s heading up on the list of modern wainscoting trends.
But I really like that it's not what everyone else has. It's unique and fun. It's really lightened up the space.

Comments
Join the conversation
-
beautiful think I might try this
-
This is genius. Love the shiplap look but don't like the gaps between boards. Doesn't look modern and a perfect dust catcher. This is a great alternative. Also great for someone who wants to put of fake shiplap to cover unsightly walls but doesn't want the gaps. Great share.


Frequently asked questions
Have a question about this project?
Can I ask exactly what color of paint did you used for the wall? Thanks