


How to Make a Wood Crate Cat Tower With Bonus Cat Toy Storage
DIY Cat Condo Tower with Upcycled Materials.
Please take a minute to click here to sign up for the Mother Daughter Projects weekly newsletter. You'll get notification about our new projects and what is up and coming.
When the grandsons said they wanted a cat tower for their kitty, Axel, how could we say no? We decided to make this a "use what we have" project and we were able to find most everything we needed in the garage. Sometimes it pays to have a "stash" of stuff at the ready!
Please take a few minutes to watch the video. It gives you a lot of detail of the project and will probably answer any questions you may have. Also, a full post of the project is always available on our website.
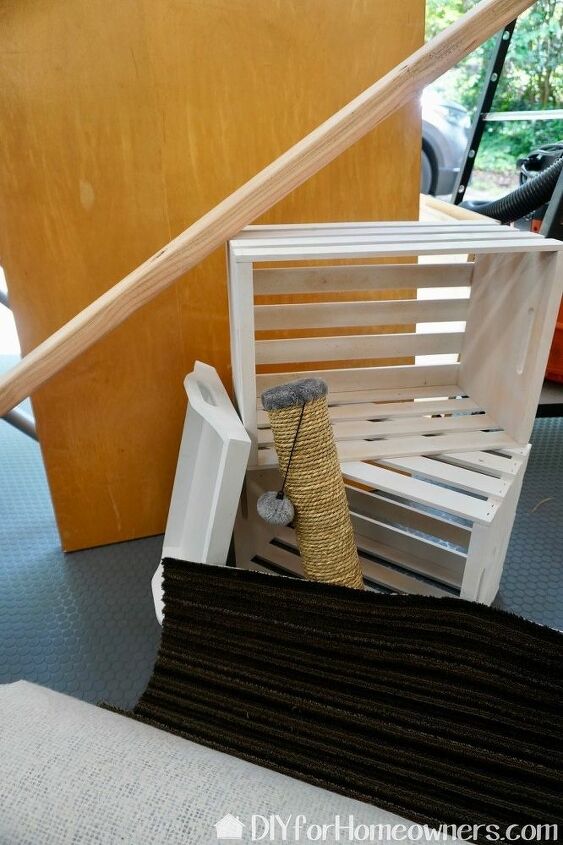
Here are some of the materials we "sourced" from my garage. We are using a couple of wood crates, an old scratching post that lost its base, wood tray, an old tabletop and scrap carpet.
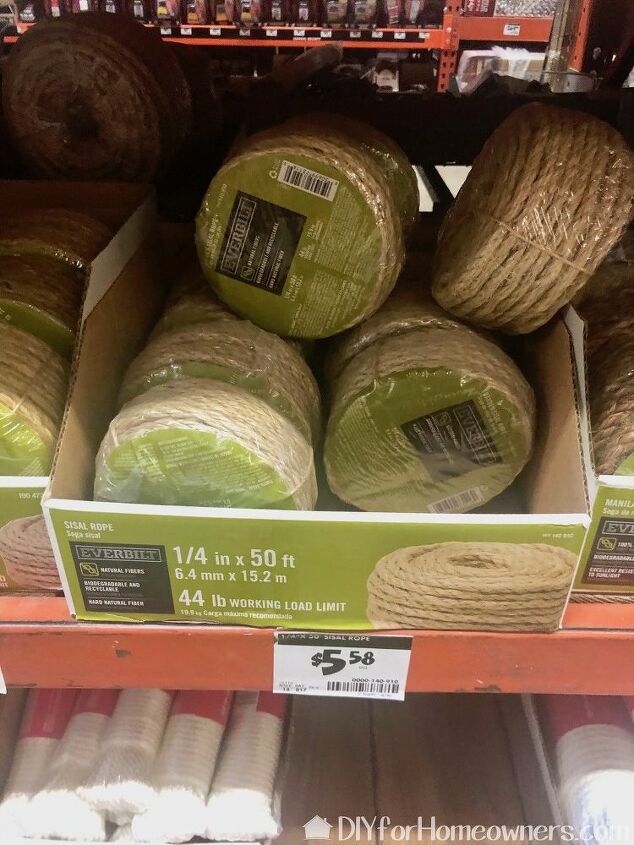
We did go buy some rope and a fun cat toy. You can spend a little or a lot depending on what you have on hand, so keep that in mind when you read the estimate of cost below.
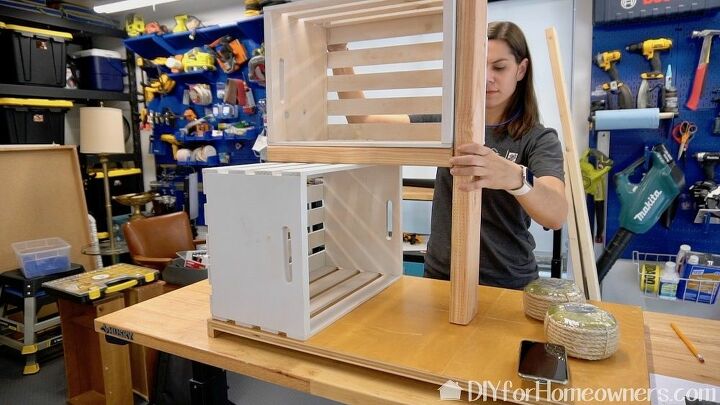
The first step was to determine the size of the platform and the configuration of the elements. We decided on a farmhouse style by tying all the pieces together with white spray paint and staining the 2x4s for contrast.
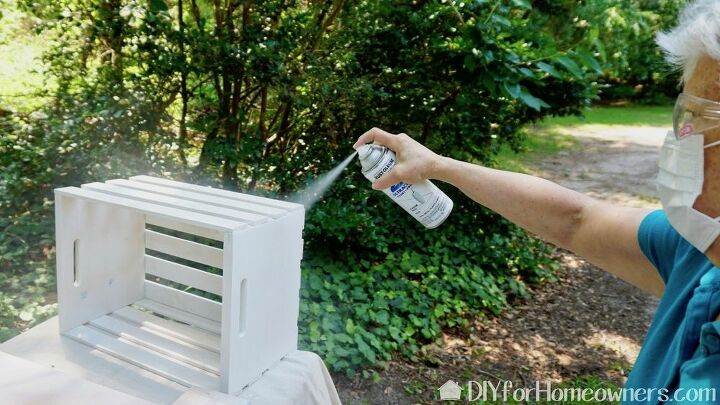
Once we determined placement of the pieces, I took everything outside to sand and paint. I'm using Rust-Oleum paint and primer spray paint in white. Be sure to sand the crates as they are really pretty rough. They will look a lot better finished if you don't skip this step. We stained the 2x4 pieces with Varathane Briar smoke stain. We let everything dry overnight and then it was time to assemble.
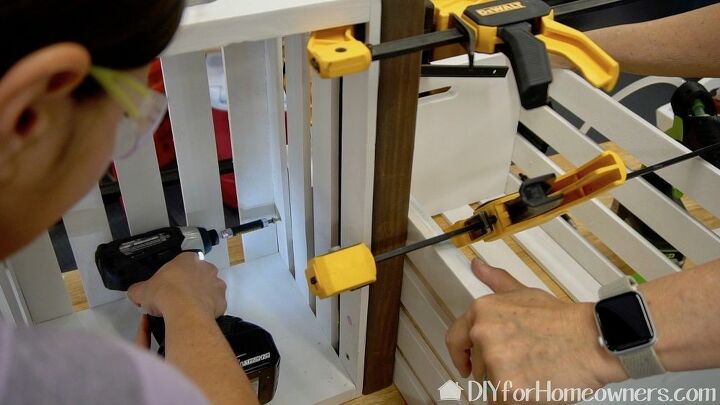
Here we are attaching the crates to each other. We used wood glue with a lot of clamps and finished with a few screws to securely hold the pieces in place.
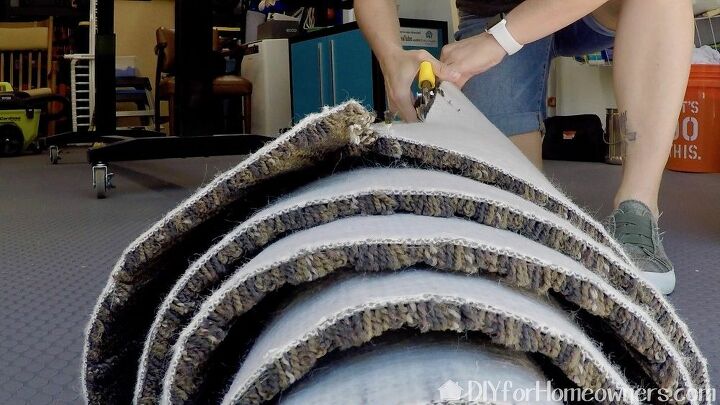
Steph cut pieces of carpet to line the crates. The carpet cut easily with tin snips. By the way, tin snips are a pretty handy homeowner tool. We use ours all the time!
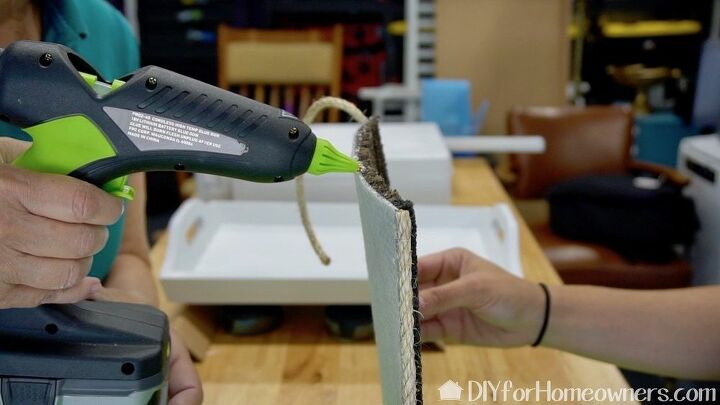
To help reduce fraying and to upgrade the look of the cut carpet, we hot glued rope to the edges. You can certainly do this by yourself, but it's much easier with a buddy.
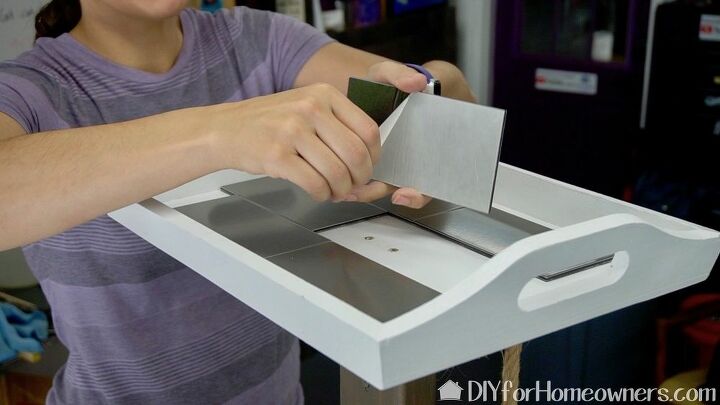
The very top of the tower is a cat perch made from an old wood serving tray. It is screwed and glued into the top of the 2x4. We used six peel and stick tiles to the top. This will be a cool spot for Axel to sit during our hot summer months.
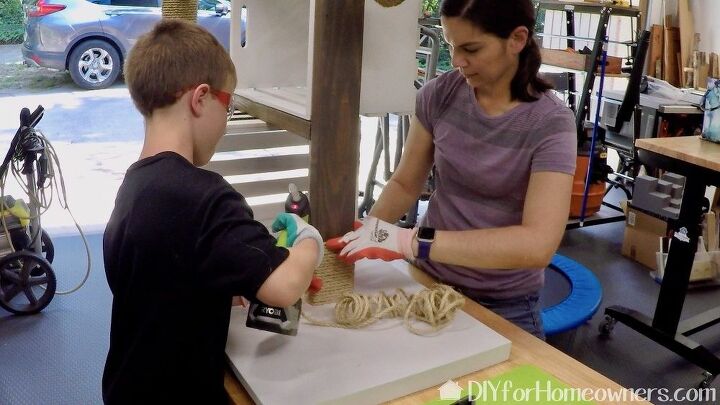
We invited over the grandsons to help out with the last of the assembly. Here Tyler is helping to hot glue rope around the post. He's wearing gloves to help prevent burns. He encouraged Steph to do the same, that's why she has hers on!
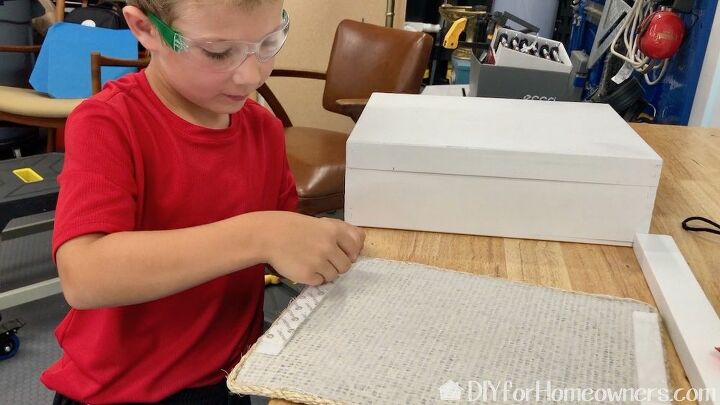
Andrew helped out by adding strips of velcro (hook and loop fastener) to the back side of the carpet squares. This is so the carpet can be removed for cleaning or replaced.
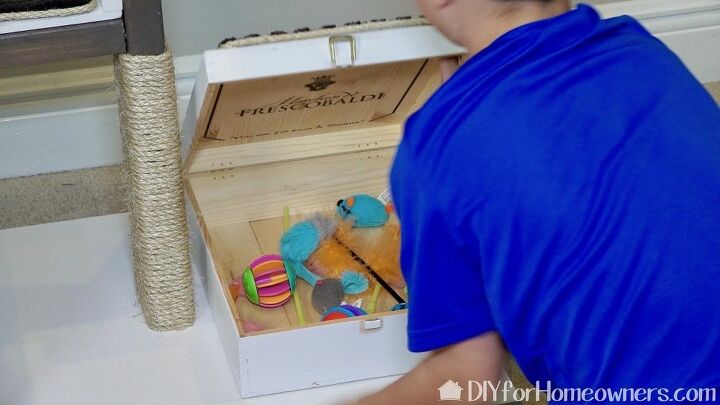
The last step was to glue the hinged wine box to the platform. This added feature will store cat toys out of the way, but still easy to access. We placed carpet on top as another place for Axel to perch although she really likes being up high.

She likes it! Better yet, her humans like it as well.
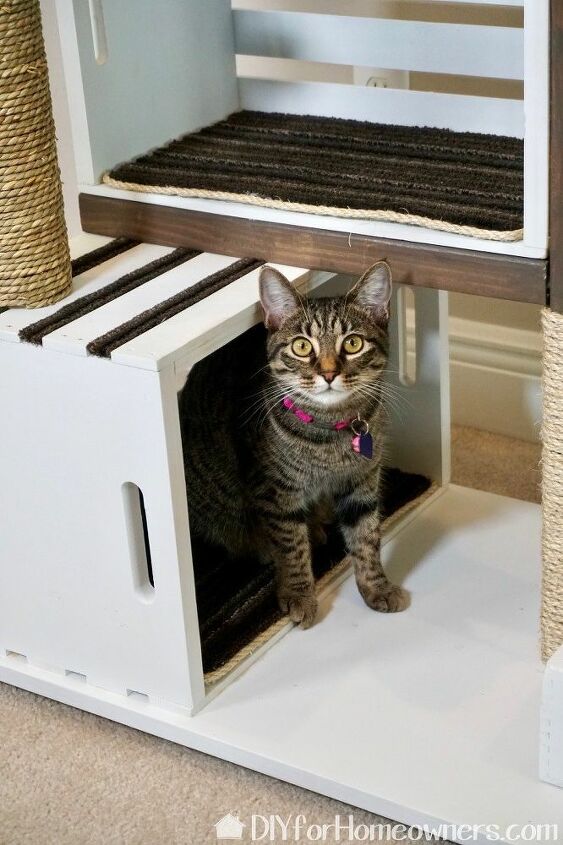
One more cute kitty pic! She was tentative about the tower at first, but explored every inch of it and now calls it home!
Resources for this project:
See all materials


Comments
Join the conversation
-
What an awesome cat house!
-
Love this ! How is the perch holding up?


Frequently asked questions
Have a question about this project?
This is great what did you use and how did you attach the round scratch pole please