


DIY Tomato Cages

My experience with tomatoes is that they normally grow very tall and robust. The tomato cages at any local store just never seem to work for us, our tomatoes usually outgrow them and end up swallowing the cage itself. We made our own cages and wanted to share with everyone how we did it and how easy they are to store year after year.
Cattle panel (or hog panel could be used) is available from any local farm supply store. These are heavy duty wire panels so they stand up well to the weight of tomato plants.
The cattle panel comes in different lengths. Ours was a 16 foot piece. We cut our cages to be 3 squares wide and about 4-5 squares tall. I don't know the exact dimensions but we used the panel squares as our guide. The reason I say 4-5 squares tall is that this will all depend on how tall you want your cages to be. I would say that minimum is 3 squares tall.
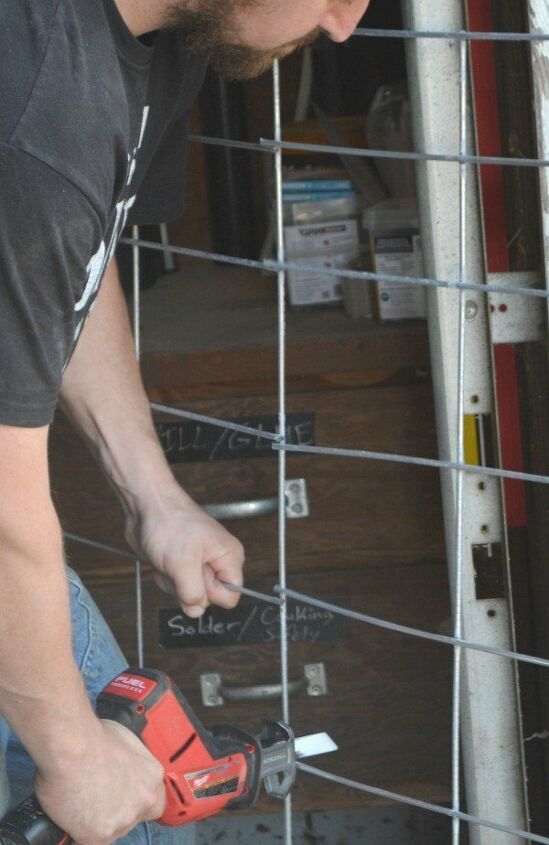
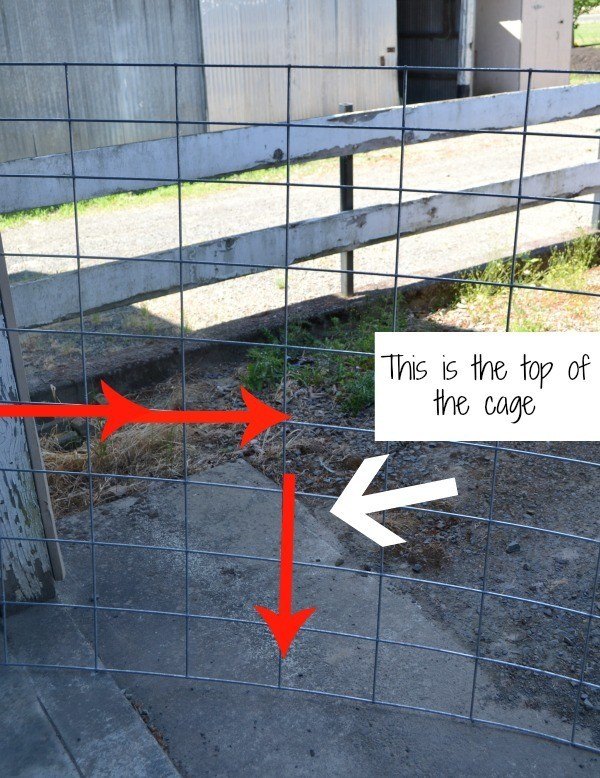
Using your reciprocating saw or a bolt cutter you will want to cut the wire as pictured above. This way the pointed ends will stick into the ground.
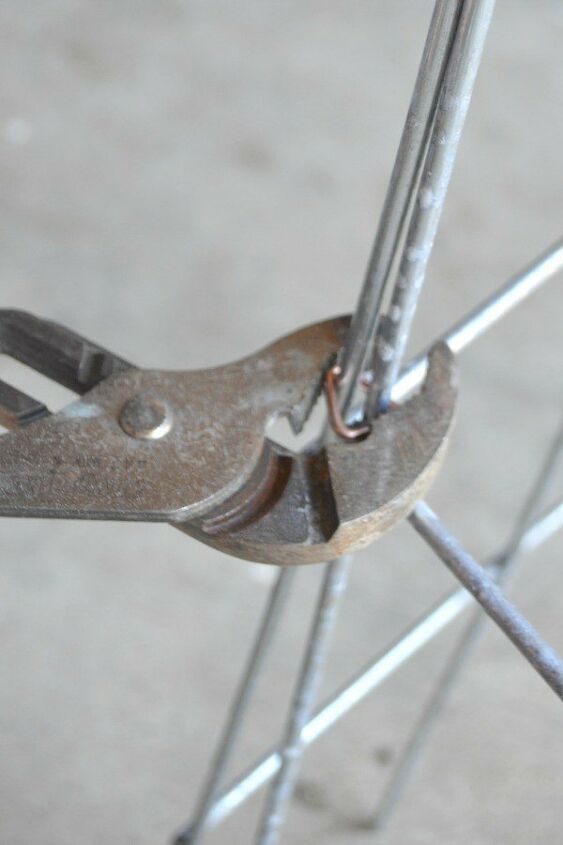
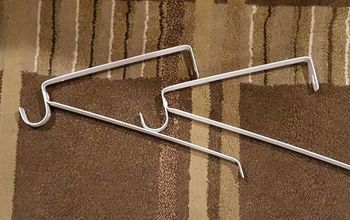
The shoat rings are used to keep the panels together in a square and allow for them to be folded up at the end of the year. Shoat rings are triangular shaped pieces of wire that can be opened and closed with a pliers. We attached these near the top and bottom on every corner, so you will use 8 per cage.
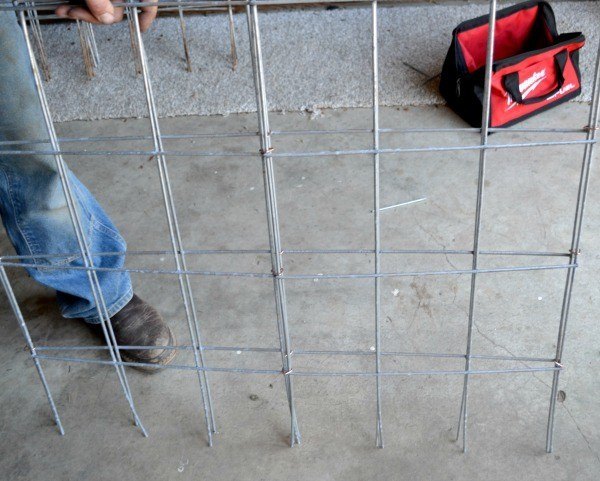
This picture is to show how the cages will fold flat when not in use. This makes for easier storing in the winter.
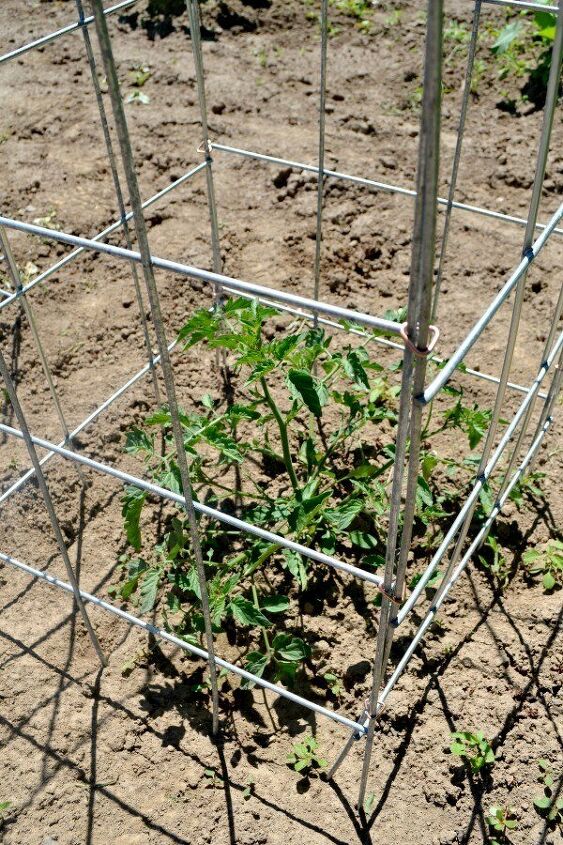
The completed tomato cage ready for awesome tomato growth!


Frequently asked questions
Have a question about this project?