


How to Make Limewashed Look With Dry Brush Painting Technique
Learn in just a few steps with detailed step-by-step and video tutorial on how to create Limewashed look with Dry brush painting technique.
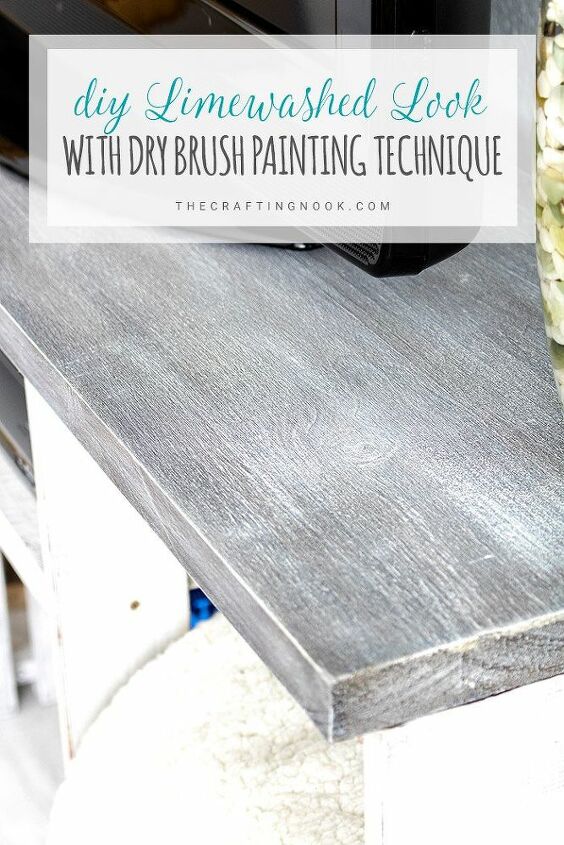
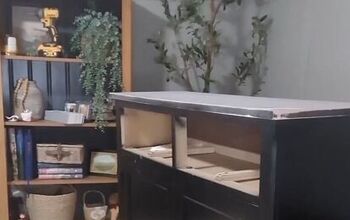
After I published my Rustic TV Console Table I got many questions about how I painted it. I thought the best way to explain was through a detailed tutorial and a video.
This look might not be the same as the original Limewash technique but it's close enough for me. I loved how it turned out after many trial and errors.
It's amazing what you can achieve from a natural wood board to the final result. I'm just hooked with the wood painting thing!
The best part is that you don't need to be a pro or an artists, this technique requires zero experience, just wood, paint, brush and love!
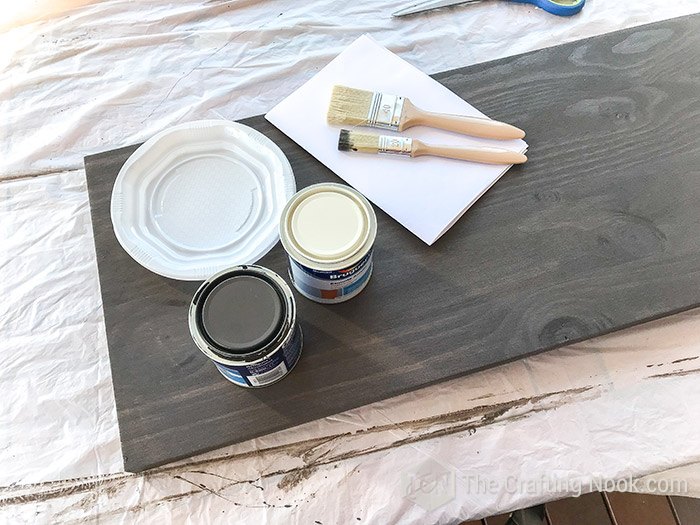
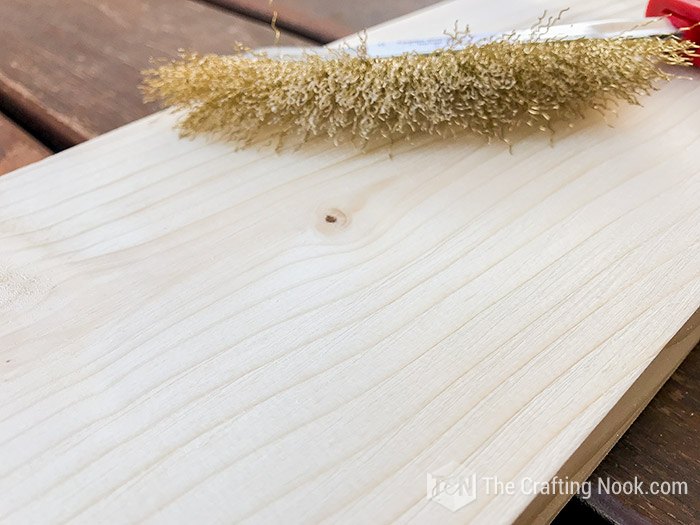
As usual, the first thing you need to do is prep your wood. I brushed it with a brass-bristle scrub brush to accent the wood marks, sanded the edges and clean it well. Then I stained it. I created my stain mixing 50-50 grey paint and water.
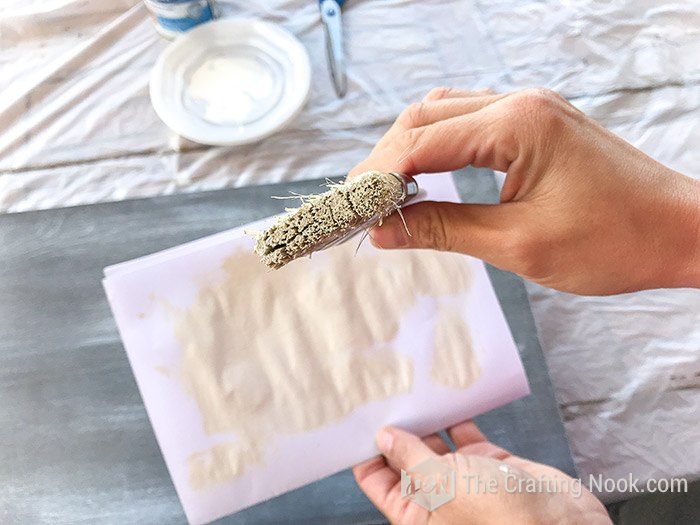
Then the fun begins. Dry brushing technique is super easy. Just very gently dab the tip of your dry paintbrush into the paint and dabbed it on a piece f paper or paper towel to remove any excess paint (keep the tip of your paintbrush “dry” and not saturated with paint)
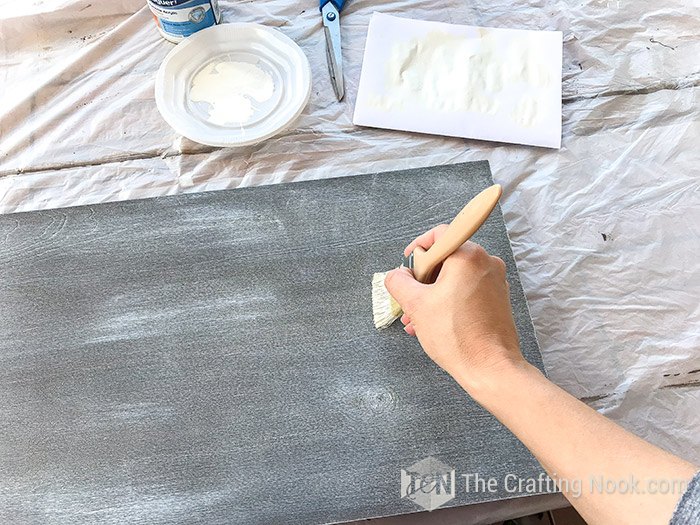
Use short, quick brush strokes in both directions (along the wood grain and across them) to give it a textured and accent the wood lines. Let it dry.
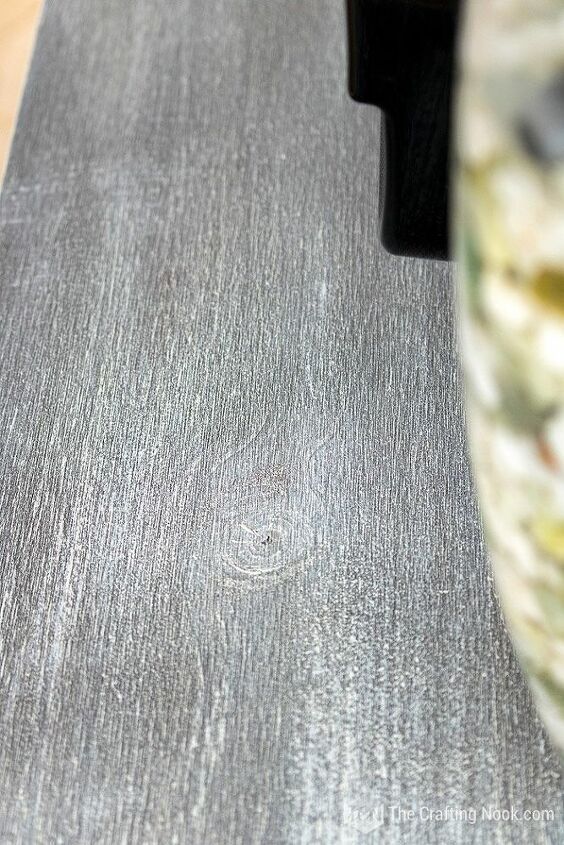
I repeated this process with just a few strokes but with the gray paint to accent some dark spots.
There’s no right or wrong way to dry brush; so get creative with your painting, you might discover looks you didn’t even know you could love!
Finally, when your piece is completely ready and dry, spray your clear matte varnish to protect and finish your masterpiece.
Isn’t it super easy and look amazing?
Now, it’s your time to get creative and bring your crafty and creative side to use!
Hope you like it!
The estimates cost and times are subjective and relative since I'm talking about the technique and not the finished project. It will depend on your project specific needs.
If you want to get the full step-by-step tutorial plus Video, jump over to the blog and check it out!
Resources for this project:
See all materials


Frequently asked questions
Have a question about this project?