


DIY Easter Bunny Peeps Topiary
Peeps are not just for Spring snack time anymore. Add this sweet and festive holiday classic to your tablescape as a Spring decoration instead of an Easter treat.
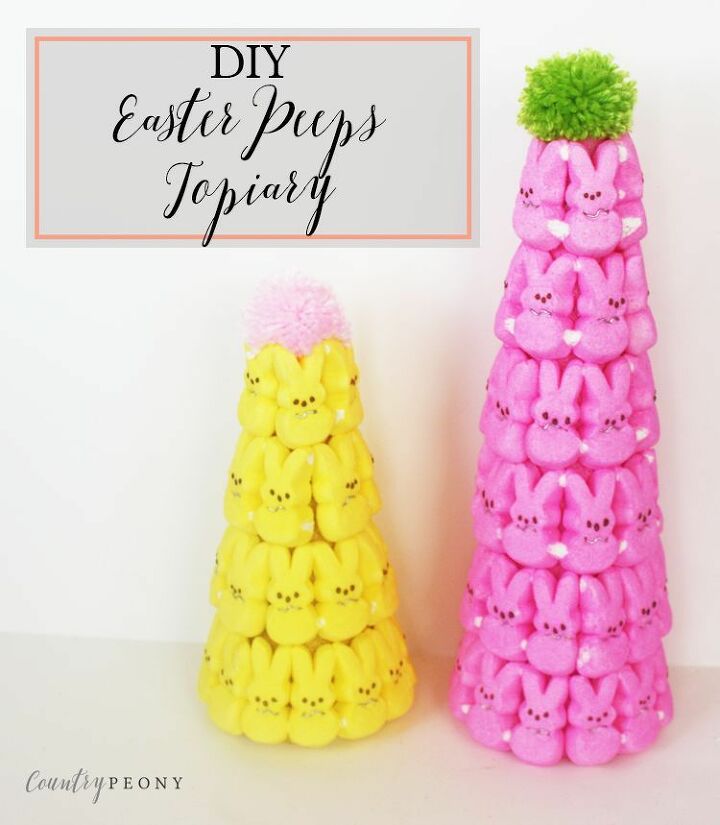
This project was really fun to make, and it adds the perfect pop of color to your Spring decorations. It also makes my children smile every time they see it in the hallway (which makes all of my fun crafting worth it).
Click here to see the full blog post.
*Please keep in mind that this project is only good for one season, because it is made of perishable items.
I hope you enjoy following the steps below, and making your own Easter topiary. Just try not to eat all of the peeps along the way!
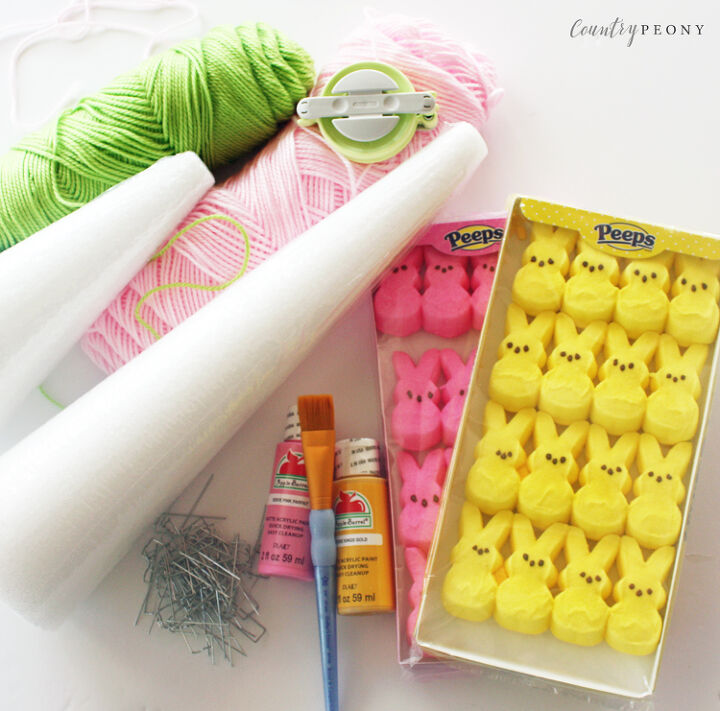
To make your own Easter bunny peeps topiary, you will need:
- (affiliate link) Clover Pom Pom Maker
- yarn
- Styrofoam Cone. I used a 3.8" X 8.8" and a 3.8" X 14.8" styrofoam cone.
- Easter Bunny Peeps
- Floral Greening Pins
- Craft Paint
- Paintbrush
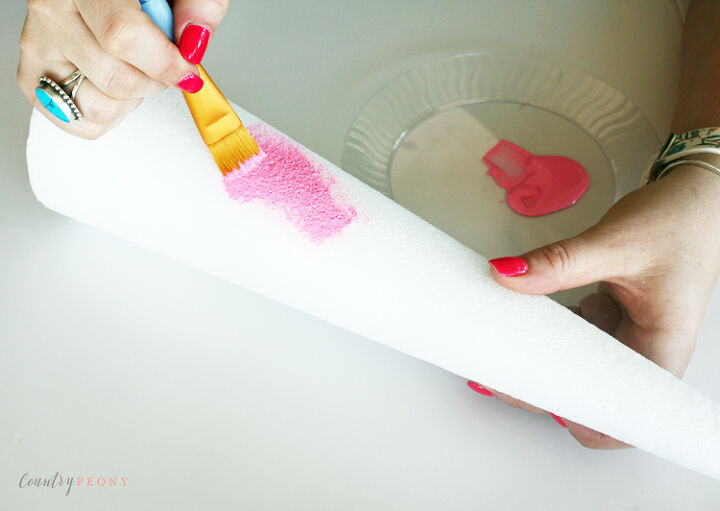
Step 1: Find the corresponding paint color to your Bunny peeps, then apply a light layer of paint to the entire styrofoam cone. Let it dry completely.
*If you want to be able to eat your peeps once they have been added to the topiary, skip this step and use blank styrofoam as the base for your topiary.
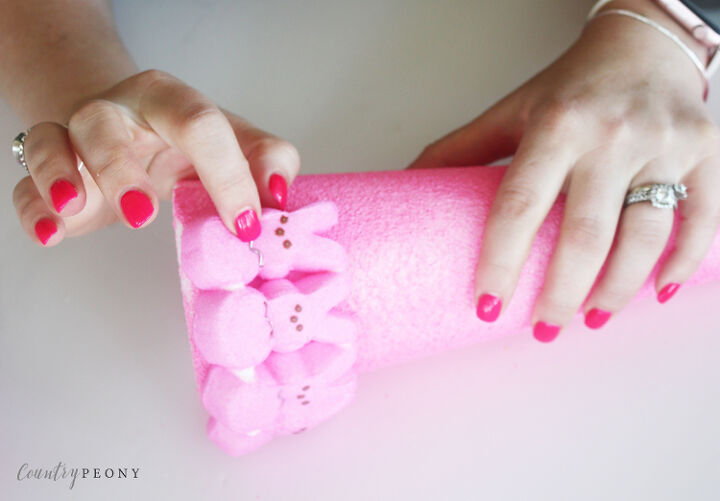
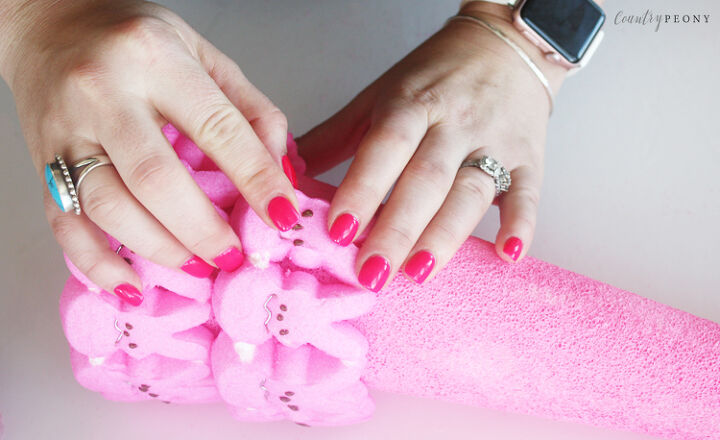
Step 2: Once the styrofoam cone is dry, start at the bottom and attach each bunny to the styrofoam cone with a floral greening pin. Attach the pin around the neck of the bunny so it can act as a bowtie. Continue to add the bunnies in one row (right next to each other) on the bottom of the cone.
*The peeps are attached by fours. Keep them attached so they easily line up. Apply a floral greening pin to each peep to ensure each peep will stay, and to allow for consistency with the “bowtie” look.
*You will need to break some of the bunnies apart in order to fill out the row.
*Don’t press too hard on the floral greening pins. You want the pins to sit flat onto the marshmallow peep, not into it.
Step 3: Continue to add rows of bunnies until you reach the top of the cone.
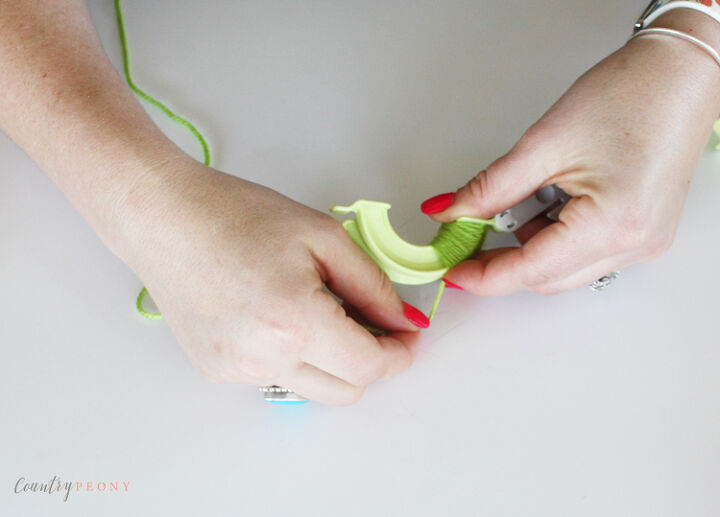
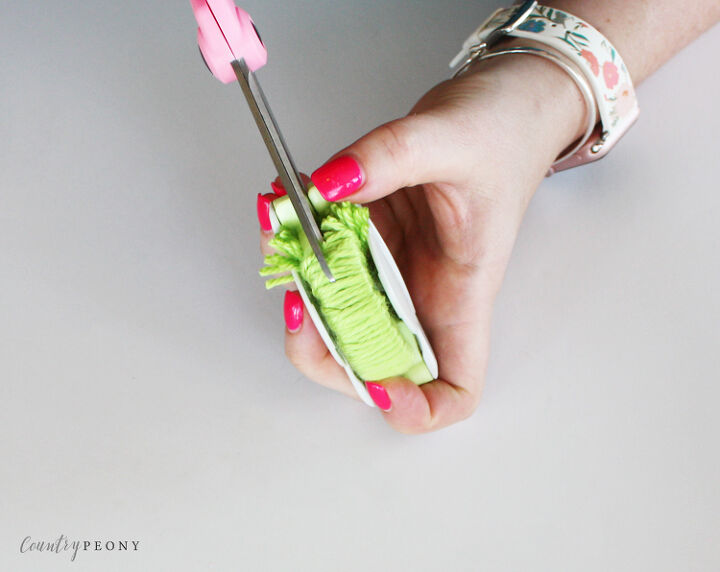
Step 4: Make your pom pom. If you don’t have a pom pom maker, you can use toilet paper rolls like I did for my DIY Pom Pom Blanket. (Found on my blog)
However, I recently purchased this Clover Pom Pom Maker Set (link found in supplies list above) on Amazon, and it was so much easier (and more fun) to make the pom poms with a maker. So if you see yourself creating a lot of pom poms in the future, I would invest in a pom pom maker. I used the large size for this project.
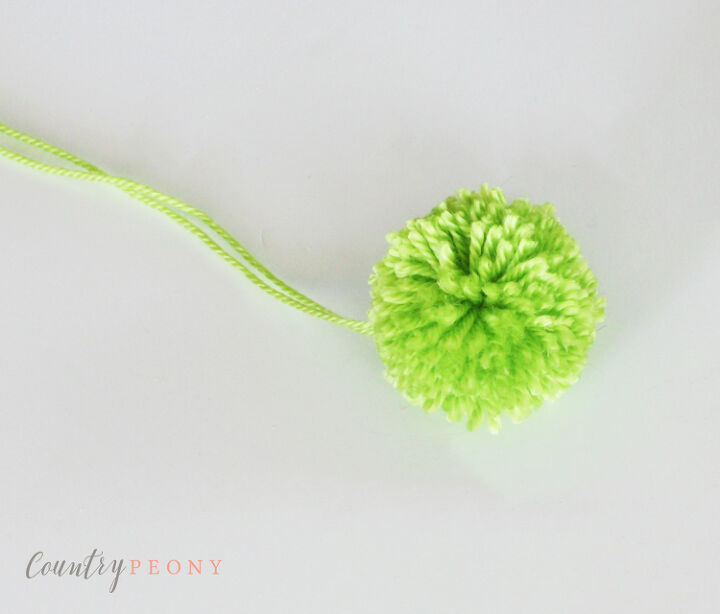

Step 5: Once you create your own pom pom, add a greening pin through the middle of the pom pom. Then insert the pom pom into the top of the topiary. Then you are done!
I really hope you enjoy adding this festive and whimsical Easter decoration to your holiday table.
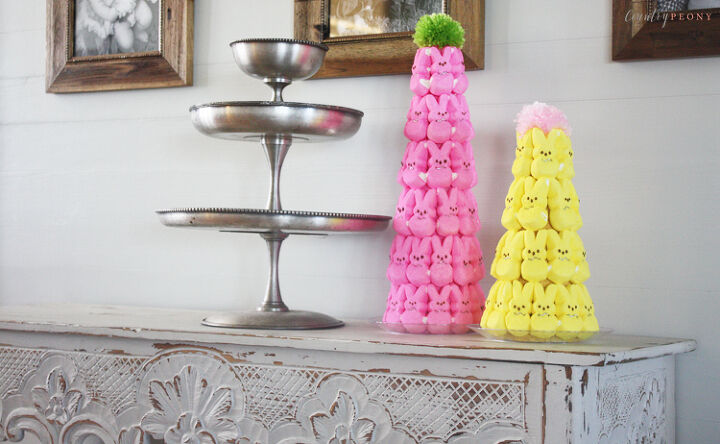
I placed my topiaries on top of clear plastic plates, then I added them to my hallway table. They are adding a nice pop of Spring to my gray hall.
Happy Crafting, and happy Spring!
Resources for this project:
See all materials


Comments
Join the conversation
-
adorable
-
Thank you so much, Georgia!


Frequently asked questions
Have a question about this project?