


How to Make a Fringed Envelope Pillow
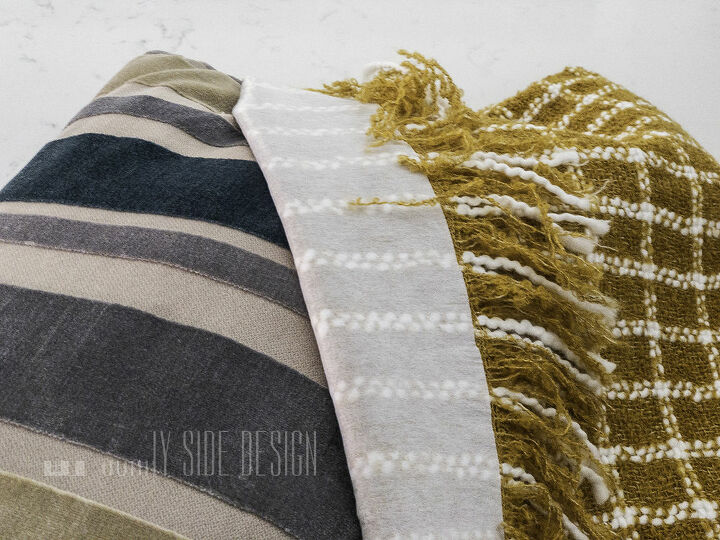
This fall I have been loving this fabulous mustard color. I was attracted to it in several stores from Old Navy to JoAnns. I found a throw blanket at JoAnns that I had to add to my fall collection. It is so rich and reminds me of the beautiful fall leaves. I love the way this color looks with my peacock blue throw and pillows. It just feels cozy!
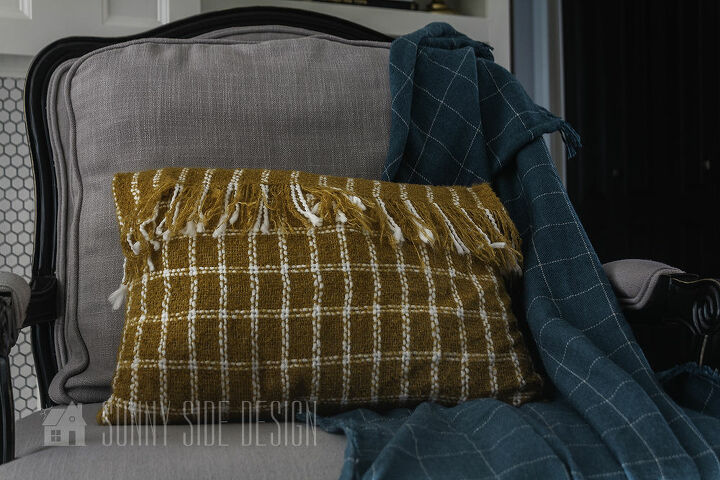
I brought the throw home and placed it on my gray sectional with my blue pillows and LOVED it! I knew that it would be fun to spread a little more of that color around the room for fall and quickly went back to JoAnns to buy a 2nd throw to make into pillows for the chairs by my fireplace.
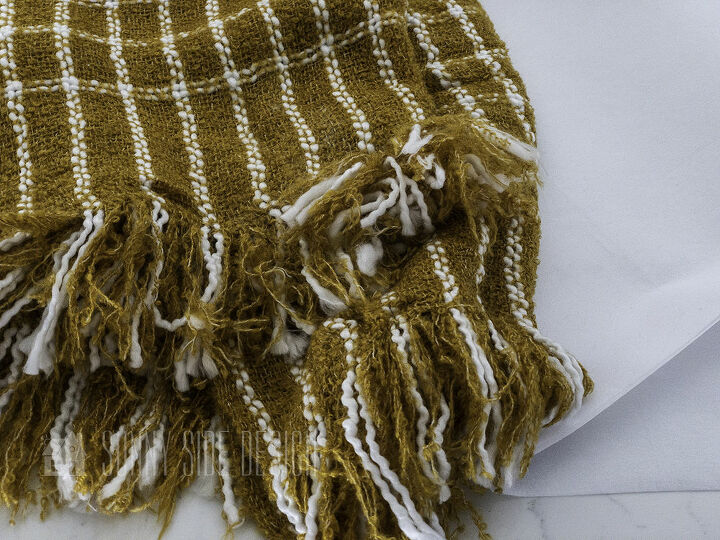
Let’s get started with this quick and easy project. I was able to make 2 pillows in less than an hour. Can’t beat that! The throw was loosely woven so I choose to apply an interfacing to it so it didn’t unravel when I cut it to size.
Supplies needed are:
- fringed throw
- interfacing (if desired)
- scissors
- measuring tape
- thread
- sewing machine
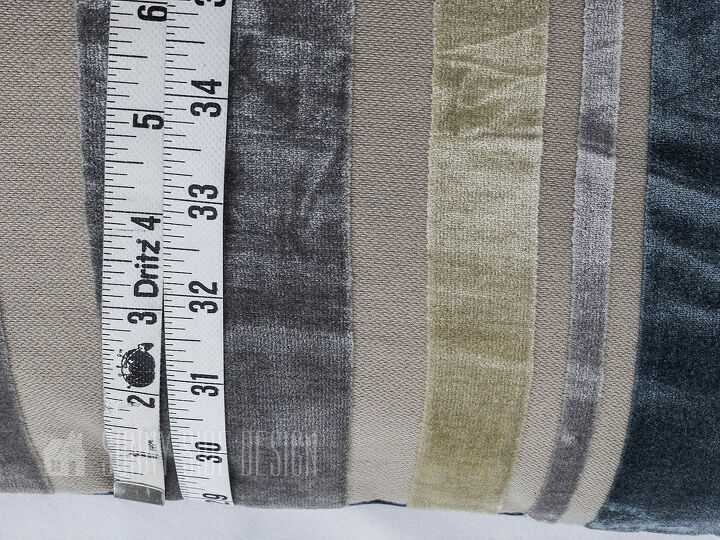
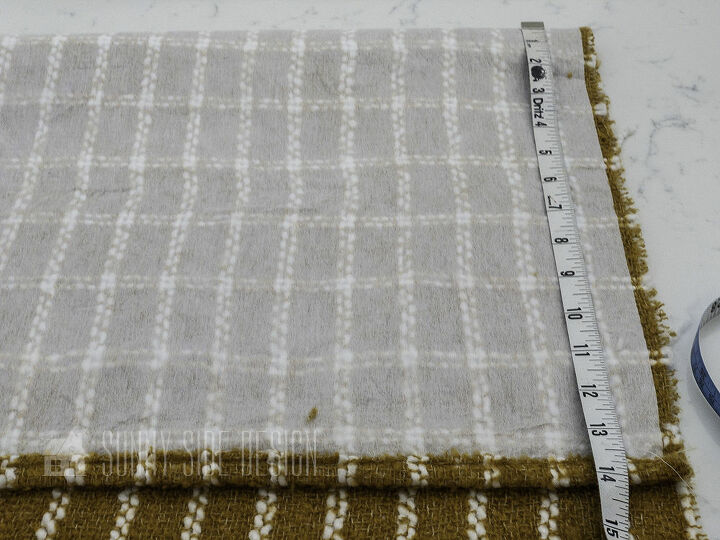
I began by measuring the pillow I was going to cover. My pillow measured 20″ x 14 1/2″. I wanted to make a simple envelope pillow with a flap on the top with the fringe edge of the throw. I decided on an 8″ flap, so the measurement for cutting the throw was 21″ x 37 1/2″. I added 1″ to the width of the pillow for a seam allowance and length I added 8″ for the flap and another 1/2″ for a hem.
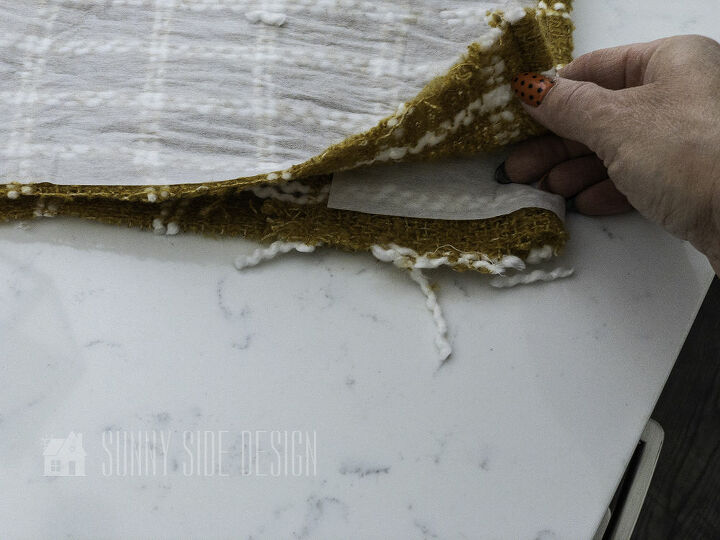
I first cut the interfacing 21″ x 33 1/2″, my fringe was 4″ long and I didn’t want interfacing there.
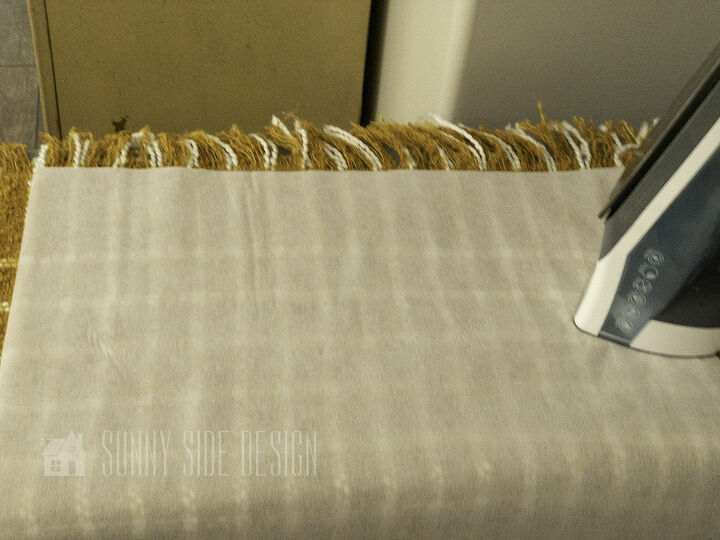
I then aligned the edge of the interfacing with where the fringe area began. I adhered the interfacing using the manufactures directions.
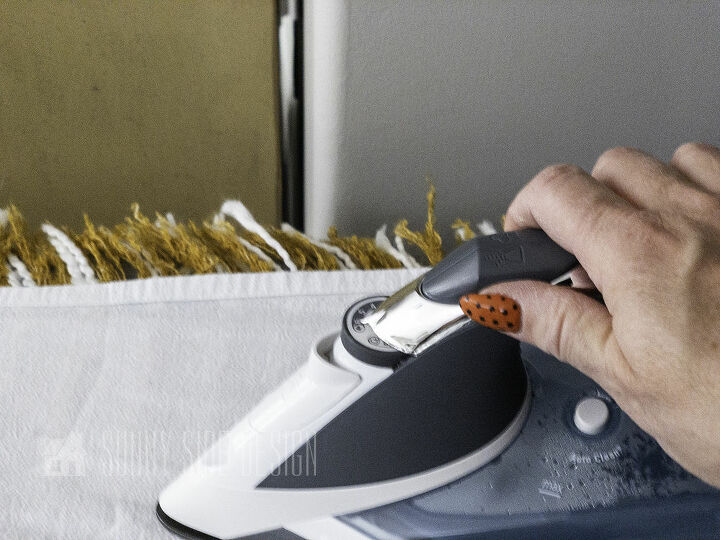
I placed a press cloth over the interfacing and ironed until it was all adhered to the throw. I then cut out the pillow size from the throw. This step actually took the longest, because you need to press and hold the iron for 15 seconds, then lift and move the iron to the next spot and repeat for another 15 seconds until the entire piece it well adhered.
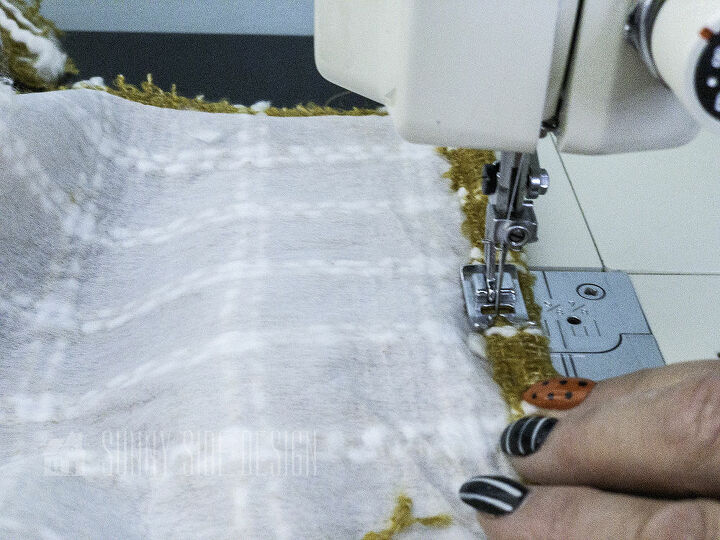
I folded over a 1/2″ hem for the top edge of the pillow, pinned in place and then stitched with my sewing machine.
The height of the pillow I was covering was 14 1/2″, so I folded my cut throw fabric, right sides together at 14 1/2″. This is where we will be making the pocket for the pillow to slip in.
Then fold down the fringe edge, folding it inside the previous fold. Make sure the fringe edge is lying flat before stitching up the sides. This fold will align with the hemmed edge.
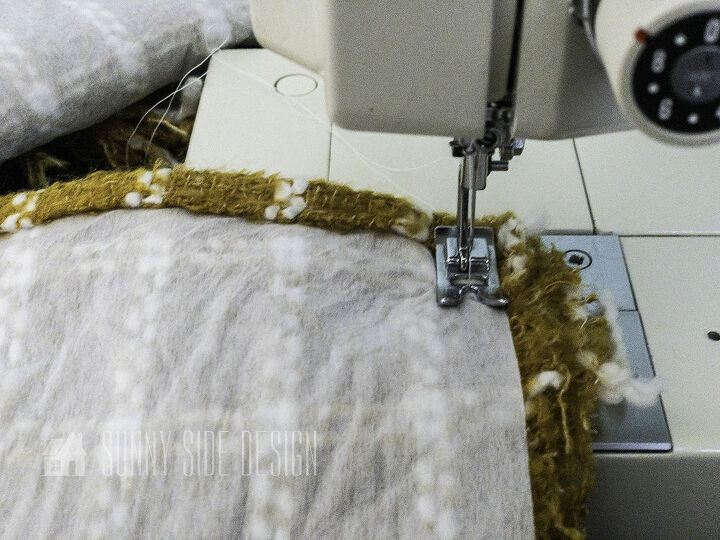
Then stitch down both sides of the folded throw fabric, forming a pocket at the top edge.
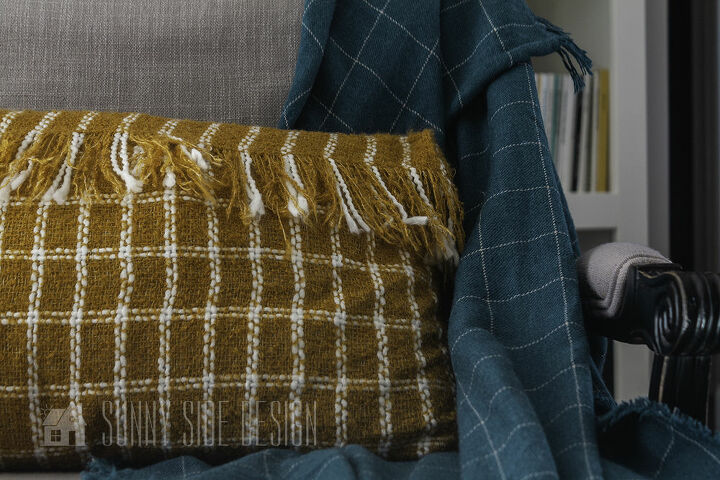
Turn right side out, press with an iron and insert the pillow. Now wasn’t that an easy little project! For more photos and more details be sure to check out our post here!
Thanks for stopping by! Have you used a throw in any unique ways? We’d love to hear from you, we love inspiration!


Comments
Join the conversation
-
lovely, and cozy!
-
I have a Buffalo Checked throw, definitely going to try this to put on my daybed!!❤


Frequently asked questions
Have a question about this project?