


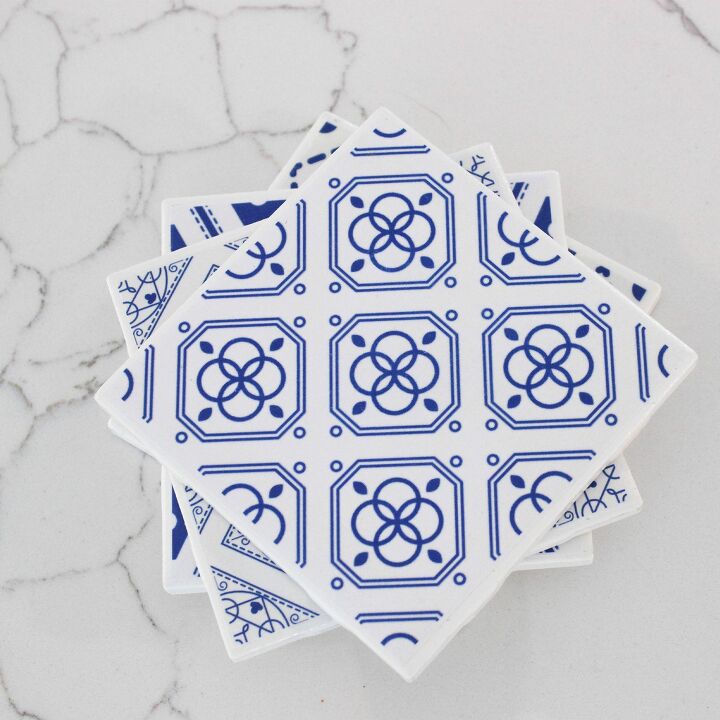
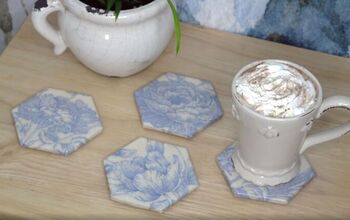
How To Make Coasters From Tiles
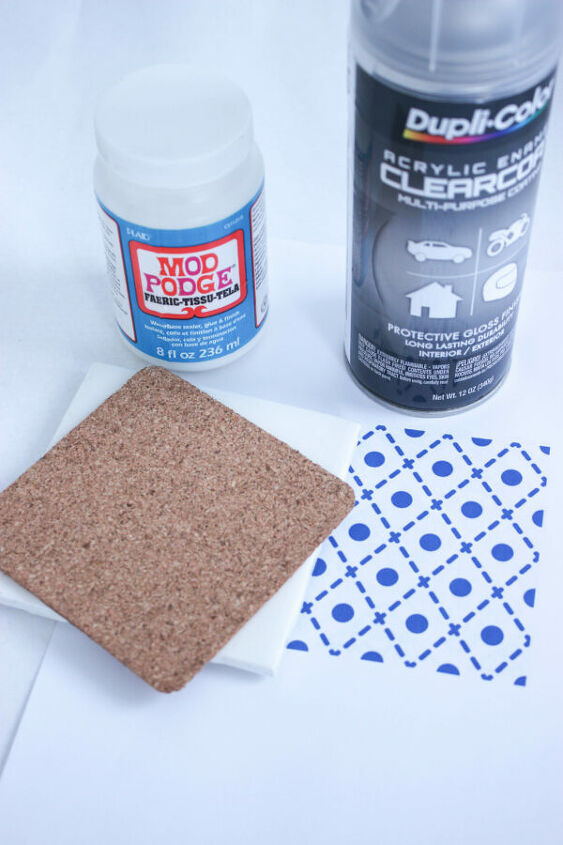
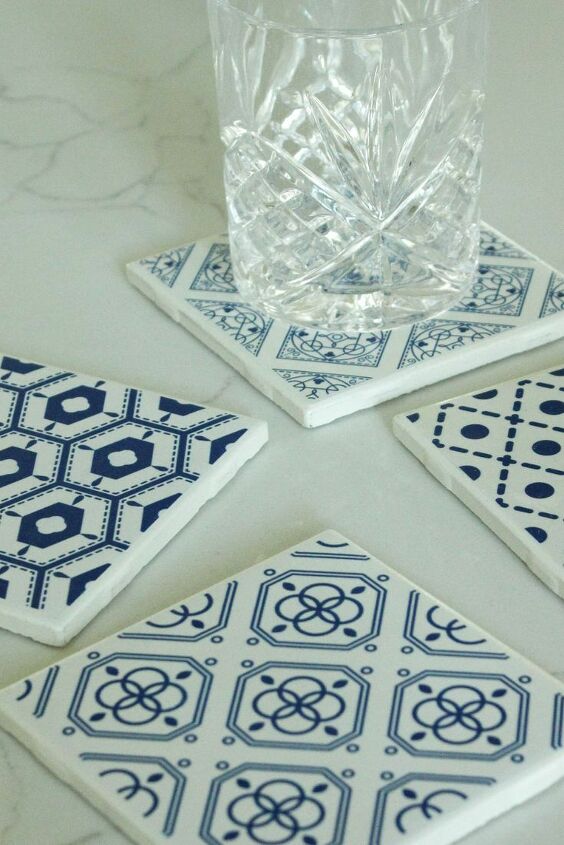
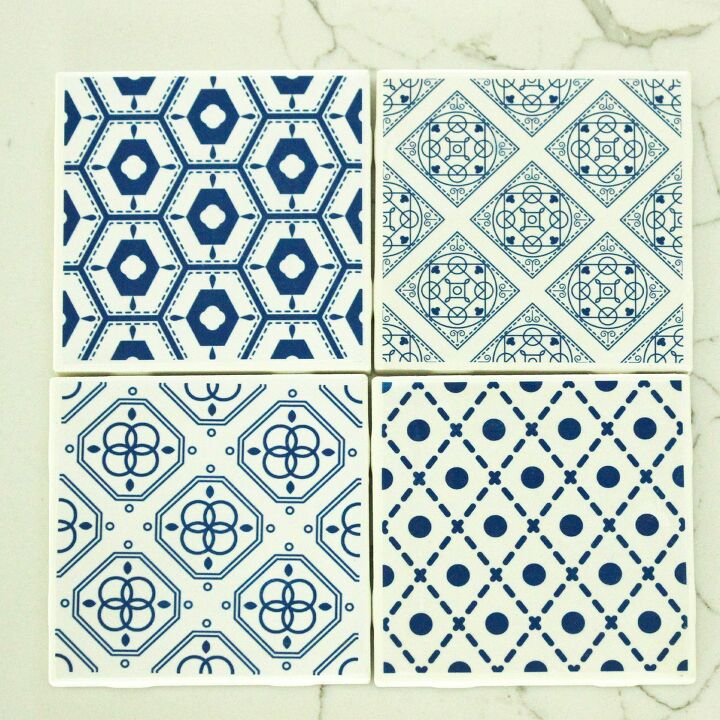
Here’s a fun and easy project that anyone can make. These decoupage tile coasters make perfect gifts for the holiday for your family or friends. I used clip art in a blue Mediterranean design which I printed in a 4 by 4 size to fit perfectly on the tile. Here is a step by step tutorial.
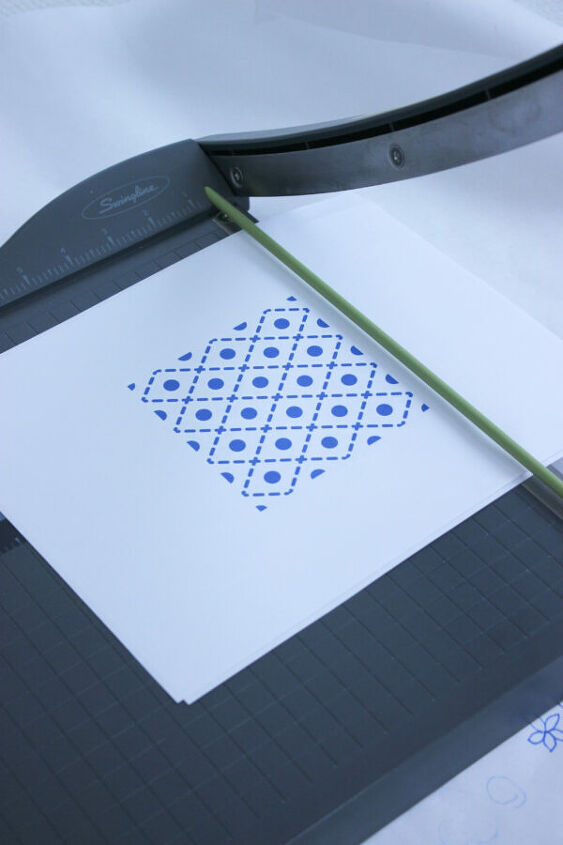
Step 1:
Measure the paper with the design onto the back of your tile and cut the paper with a paper cutter for straighter edges.
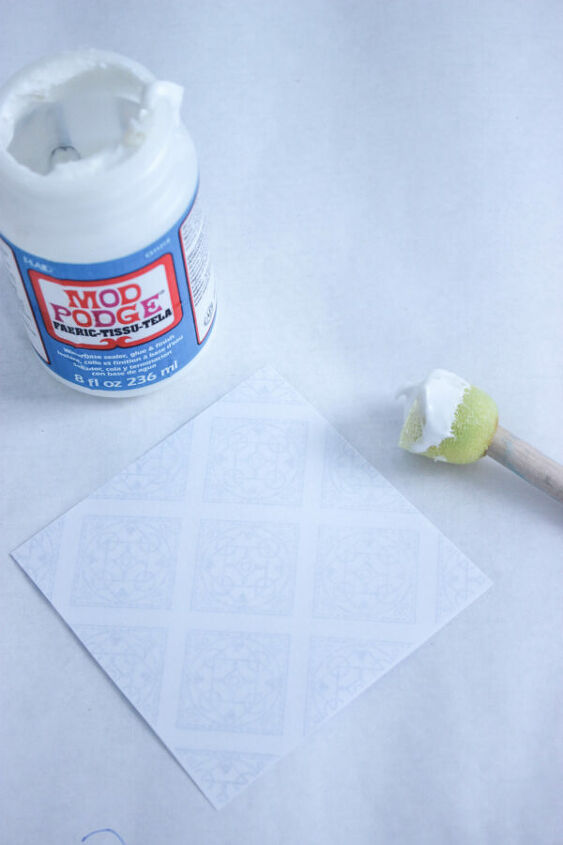
Step 2:
With a brush spread Modpodge glue on the back of the paper and place on tile smoothing all the bubbles using a paper towel.
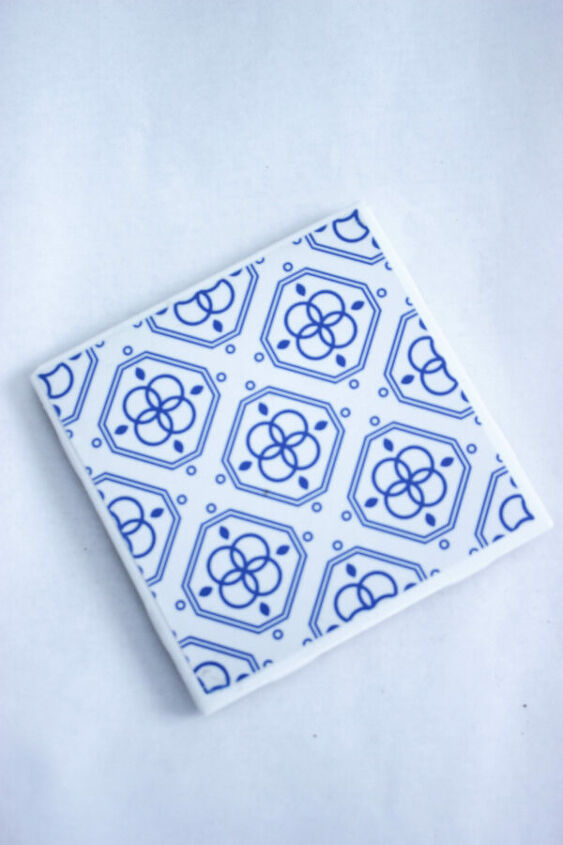
Step 3:
Spray a sealer 12 inches away from the tile and let dry for 20 minutes before you spray again. Do this 4 times and let cure for 24 hours before you use them.
Step 4:
Add a cork backing to protect your furniture and counter tops. You can purchase 4 by 4 corks backing on amazon or any hobby store. I used liquid nail on the back of the cork. It really stuck well.
Now your coaster are ready for use. You can make 4 and stack them up and tie with ribbon for gift. You don't need to wrap them up just put them in a small bag with tissue paper.
Resources for this project:
See all materials


Comments
Join the conversation
-
These look so elegant. Planning to try to make some summer themed ones, Thanks for the tutorial.
-
Love them.


Frequently asked questions
Have a question about this project?
I will be trying this project very soon. Wondering on Napkins. Do you have to take the back layer off or did u just use all of it (I mean with the part you wanted)?
Does the top of the coaster absorb liquid like condensation from a glass
What keeps the water from running off of it when the glass sweats?