


Table Makeover Using Bronze Leaf
3 Materials
$30
1 Day
Easy
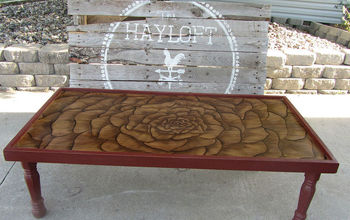
I had this little coffee table given to me, I loved the shape and wanted to try and come up with something different. Because the veneer was damaged and had to be removed I knew I would have to paint it. I had recently ordered some bronze leaf and when it arrived there was loads of it. That's when I came up with the idea of a bronze leaf mandala on the tabletop and shelf. I had no idea if it would work, but it was a free table so I was happy to take a chance.
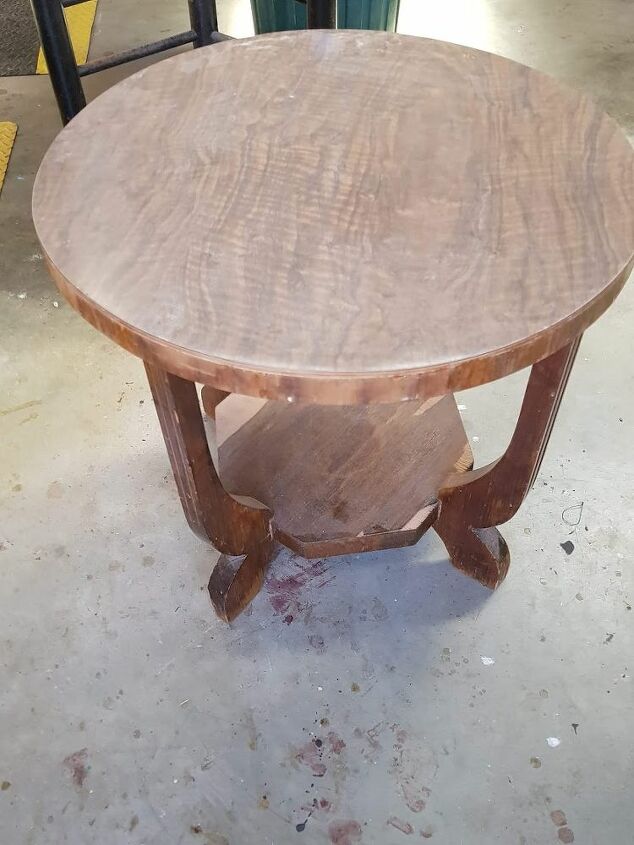
The shape on this table is what attracted me in the first place. I would usually restore lovely tables like this but the veneer was too damaged.
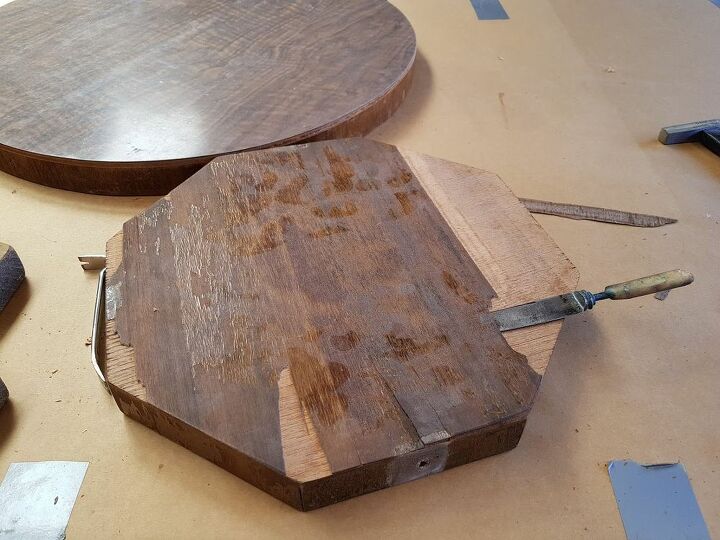
I removed all the old veneer using an old butter knife just pushed under the veneer and it just lifted off. Veneer does not always come off this easy but this table was so dried out. For stubborn veneer heating it up with a heat gun will release the glue and you should be able to remove it the same way.
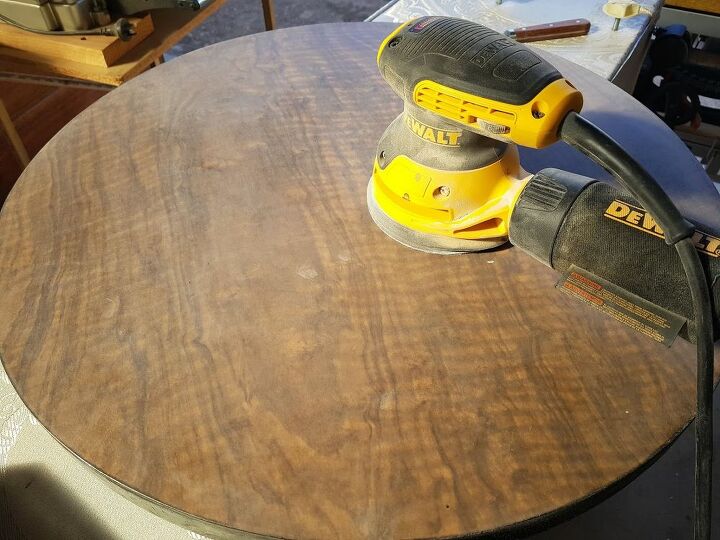
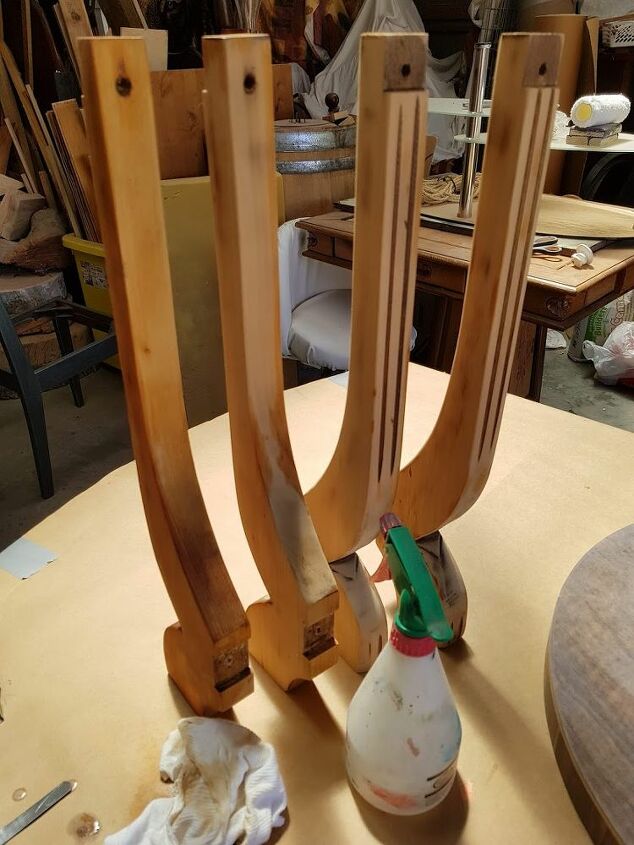
I sanded the shelves and the legs using an orbital sander. The top shelf was sanded to remove the shiny surface so the paint has something to grab onto to. The bottom shelf needed more sanding to remove the rough surface left by the veneer.
Once the table was all sanded, I cleaned the surface ready for painting.
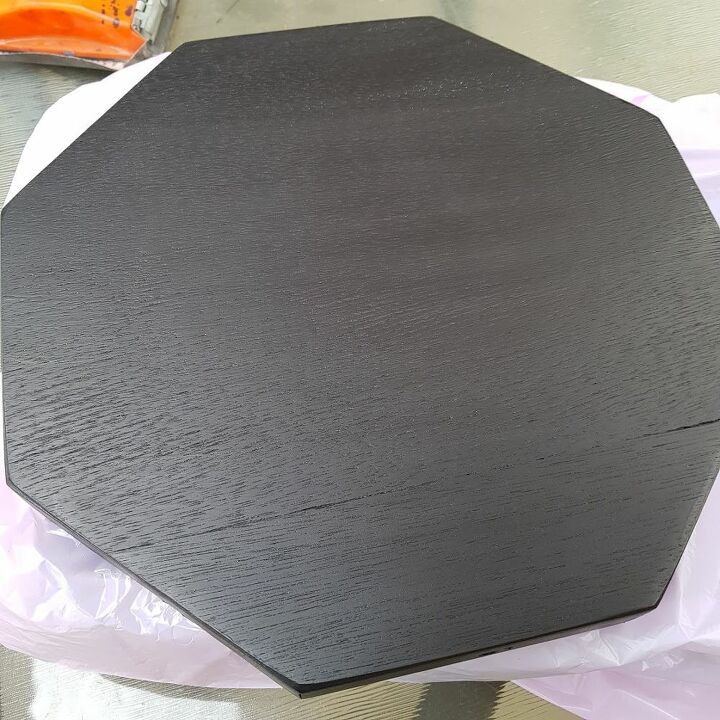
Because the removal on the veneer left the surface porous I had to use a primer first. I used black because it was what I had at home and I did want the table black. I felt the bronze leaf against the black would stand out. After 2 coats the surface looked really good so I decided to not paint and just use the black primer. This can be done when using black or white as long as you seal the surface.
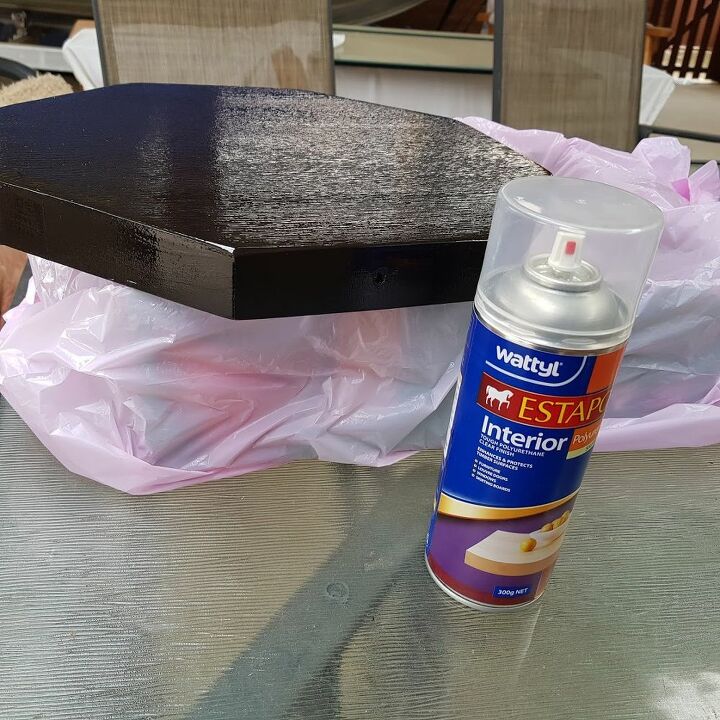
To seal the primer I used 4 coats of spray polyurethane. I would normally used an paint on polyurethane but in the cold weather thin coats of the spray dry quicker.
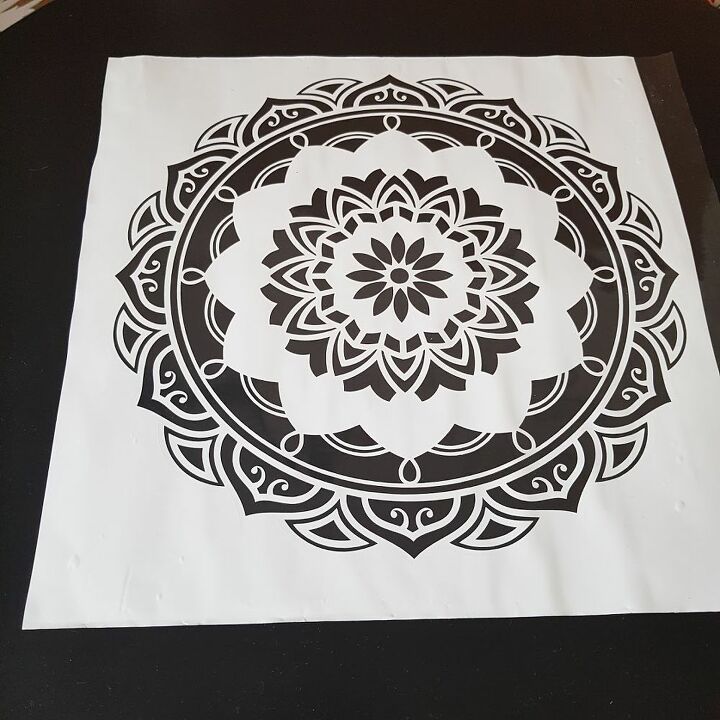
I chose a mandala wall decal for this project which was centred on the 2 shelves. This method could possible work using a stencil if you added the adhesive carefully.
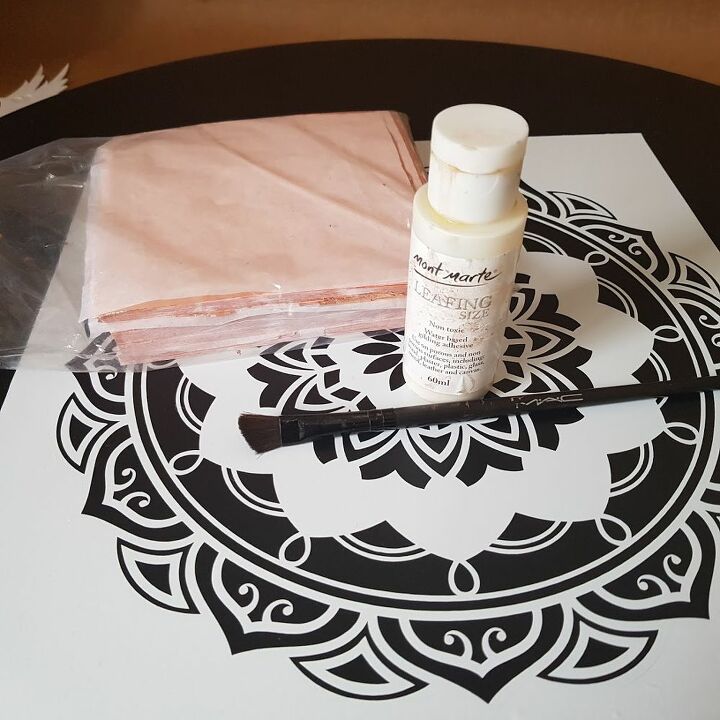
To add the bronze leaf you will need the size leafing adhesive. You will also need a soft brush to smooth out the bronze leaf.
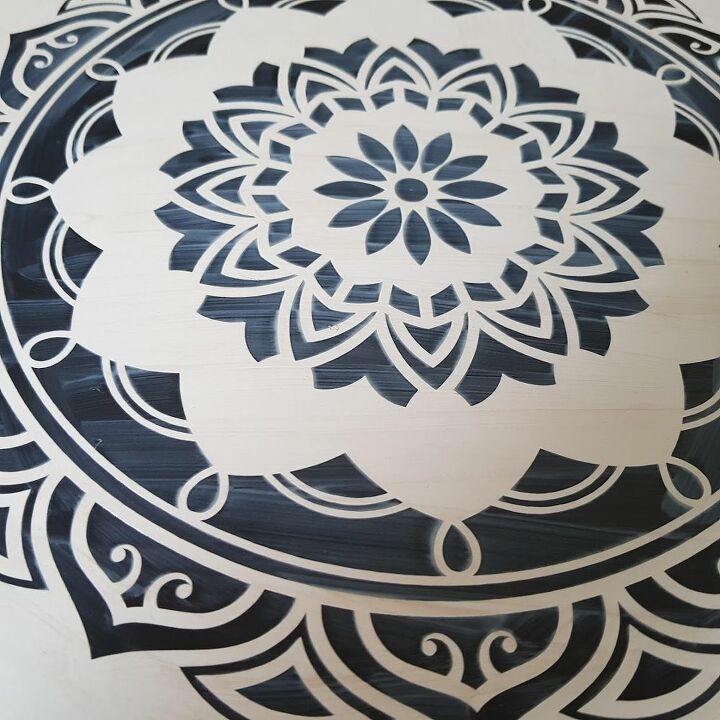
Add a thin layer of the size adhesive to the inside of the mandala. I used the small brush at first then smoothed it out with a credit card. The size adhesive needs to be left for about 20 minutes to become tacky as per instructions on the bottle.
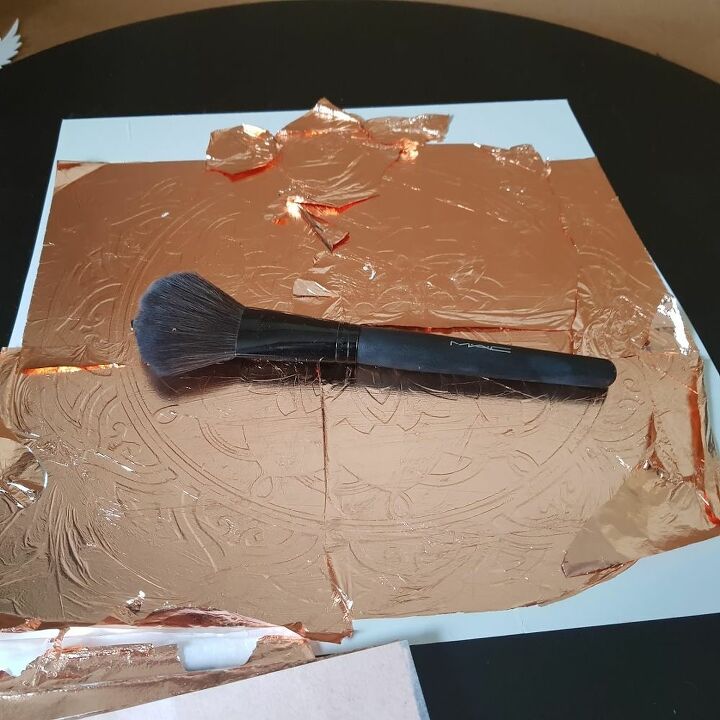
Start adding the sheets of bronze leaf to the size adhesive. Cover all the areas and then smooth down with a soft brush to push the bronze leaf into the adhesive. I left mine to dry overnight because I had no idea if this would work.
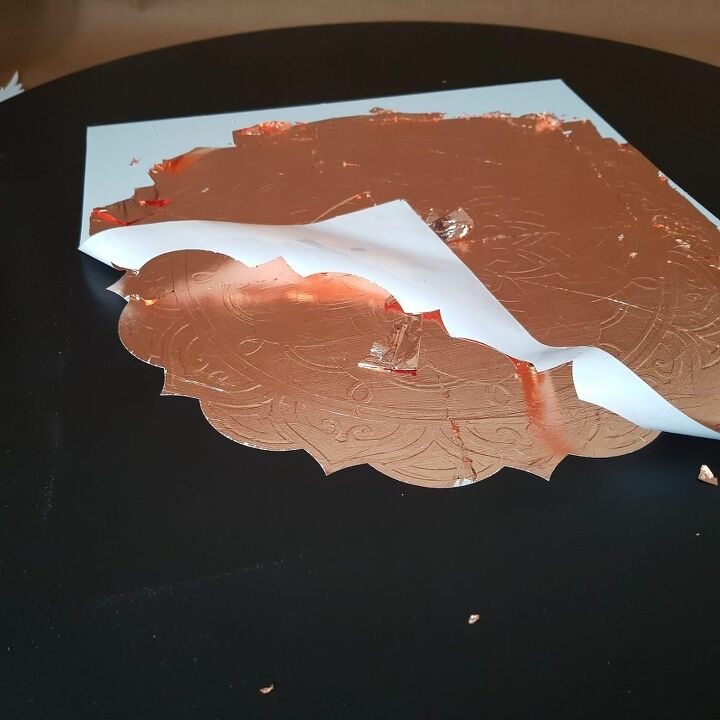
Using the soft brush again brush away the excess bronze leaf and remove the decal slowly.

Once the decal was removed I added another 4 coats of spray polyurethane. 2 coats of brush on polyurethane should be enough. When I did some reading up on the bronze leaf it said as long as it was sealed it will stay the same colour and not tarnish.

And that was my bronze leaf makeover complete.
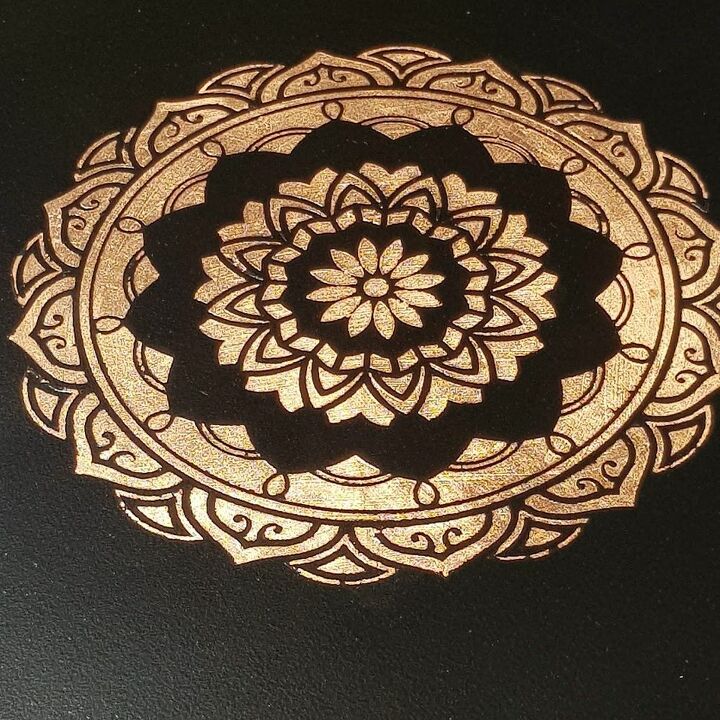
This is the mandala with the 4 coats of polyurethane. This was a very quick project to do, but the drying time spread it out to 1 day.
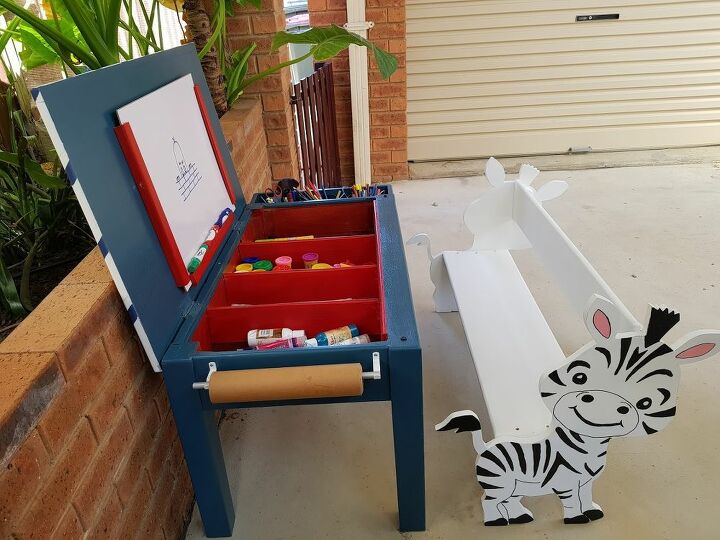
For more DIY projects checkout this old table repurposed into a toddlers craft table with a cute zebra bench.
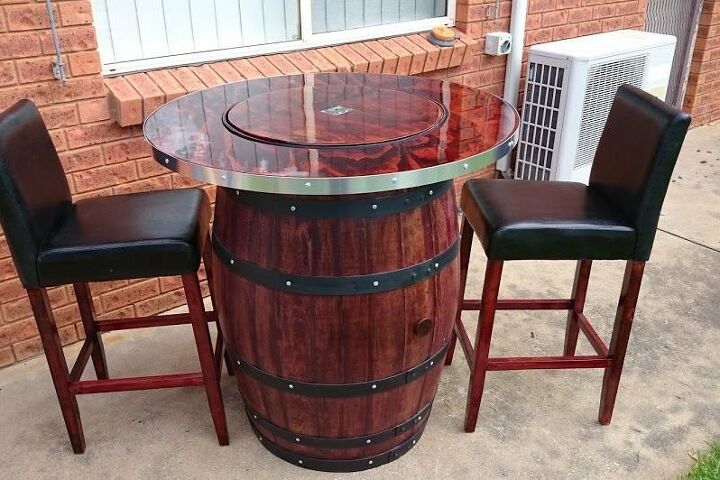
Or this wine barrel table with built in wine bucket. When you are sitting around the table the middle can be remove and the centre can be filled with ice to keep you drinks cold while you socialise.


Any price and availability information displayed on [relevant Amazon Site(s), as applicable] at the time of purchase will apply to the purchase of this product.
Hometalk may collect a small share of sales from the links on this page.More info

Want more details about this and other DIY projects? Check out my blog post!
Comments
Join the conversation
6 of 49 comments
-
I'm usually not a big fan of the "leafing" process mostly b/c it isn't put on cleanly - most people use it and it looks textured. This however, looks FABULOUS and I love how it stands out against the black table.
-
You did a Wonderful job adn made a fine piece of conversational furniture!


Frequently asked questions
Have a question about this project?
I see you lifting the mandala paper up but how do you apply it to the table and how o you remove the inserts
Would it be possible for you to share a link to the actual decal you used? I love this idea and especially like the mandala you chose.