


How to Create the Faux Granite Look in Five Easy Steps

Welcome to my easy guide on how to create stunning faux granite furniture using old furniture and just a few materials and, most importantly, with a small budget!
If you are looking to refresh some old furniture and make it look like new, then the faux granite look could transform your old table, or any other piece of furniture, into a stunning centerpiece for any room in your home. Amaze your visitors with your DIY skills, or leave them thinking you have spent a small fortune on a real granite surface.
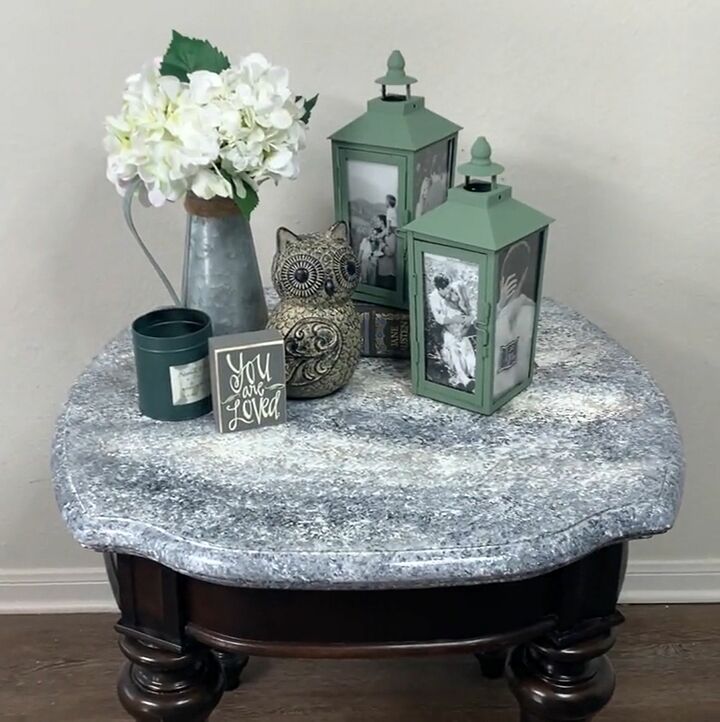
Creating my very own DIY faux granite table was a fun and exciting project and here is how I did it:
Step 1: Gather Your Tools and Materials
For this project I needed:
- Painter's tape
- Primer paint
- Mini foam paint roller and tray
- White matter acrylic paint
- Warm grey matte acrylic paint
- Dark grey matter acrylic paint
- Paper plates
- Sponges (one per color)
- Polyurethane
- Paintbrush
I chose to use three different shades of gray, but the shades and number of acrylic paints that you choose depend on the effect you want to achieve. Using these different shades, in addition to white, helped me achieve my desired result.

Step 2: Prime the Surface
Once I collated all of my tools and materials, I applied the painter's tape to protect any edges that I didn't want to get paint onto.
The next part was to prime the surface with the primer, using the mini roller to apply it all over the surface. There was no need to take too much care to make this even, as it will not affect the end results if it appears messy - there are plenty more layers to come!
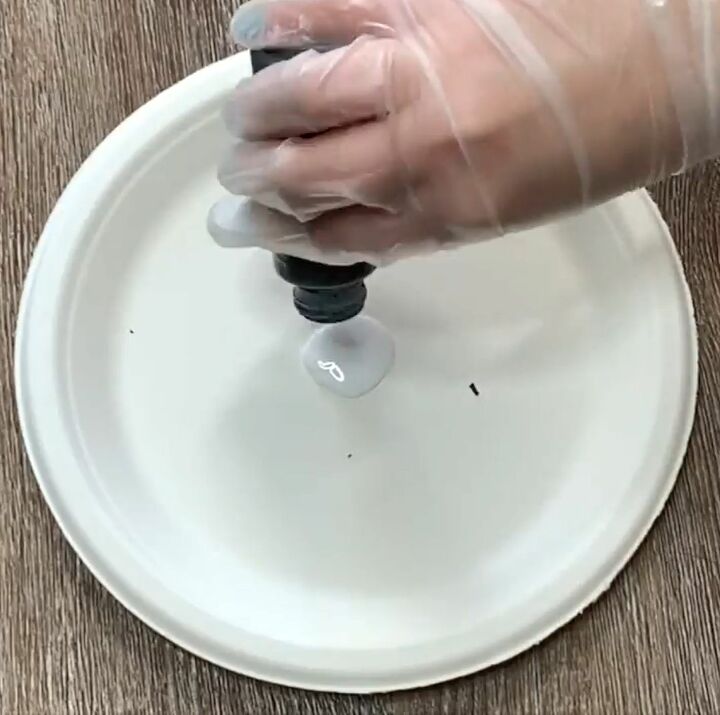
Step 3: Mix Your Paint
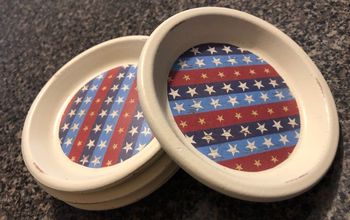
I created custom colors by mixing the different shades together and adding some of the white paint. I simply used some paper plates as a makeshift palette, but you can use any other containers you have available around the home, such as cutting the bottom out of a large plastic bottle. I then added the custom colors that I had mixed into an individual container.
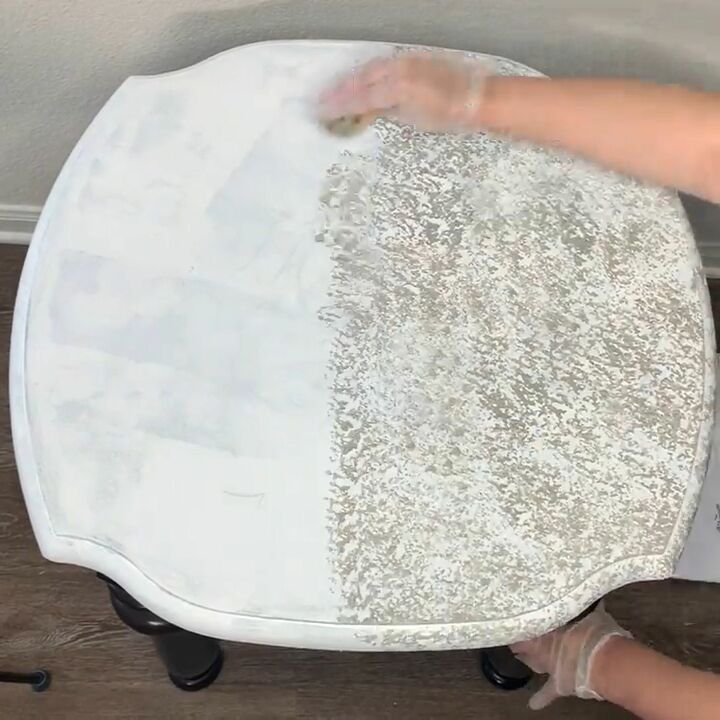
Step 4: Apply the Paint
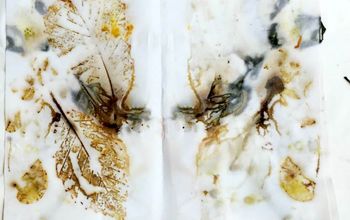
Next, I started applying the paint onto the surface, using a different sponge for each color. The warm gray went on first of all, and I covered the whole surface with sponge prints. I had to take care not to press the color on in too big of a patch, as the granite effect requires smaller sponge prints to capture the right look. Therefore, it took a little patience to continue to apply the different layers using small strokes and pats.
After this, I used the dark gray shade for the next layer of my granite pattern. Then I used a mixture of the white and dark gray to provide transition and variation. I continued to add the mix of white and dark gray across the surface until I was happy with the final look.
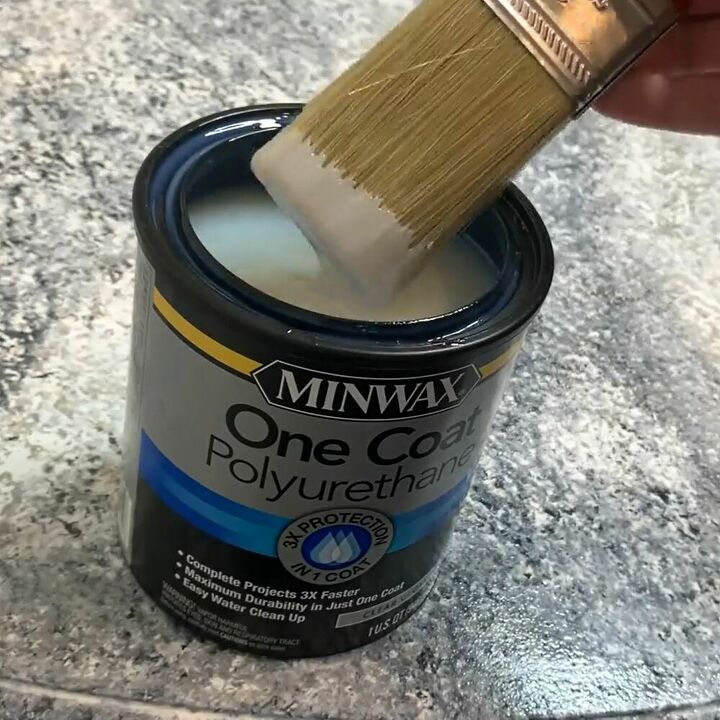
Step 5: Once Dry, Apply Polyurethane
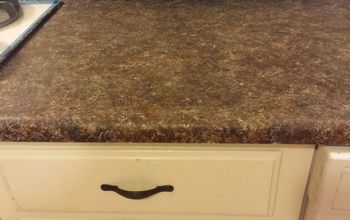
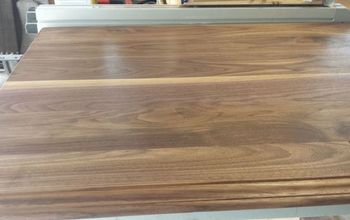
I allowed the paint to dry thoroughly and then applied the polyurethane using a paintbrush. It needed a couple of coats, and I ensured each coat dried completely in between each application. The drying process after the initial paint job and in-between each layer is the most important part of the faux granite process - so be patient! A quick-dry polyurethane was re-applied after two hours, which dried in less than 24 hours. This gave the surface a smooth finish and protects the faux granite paint pattern.
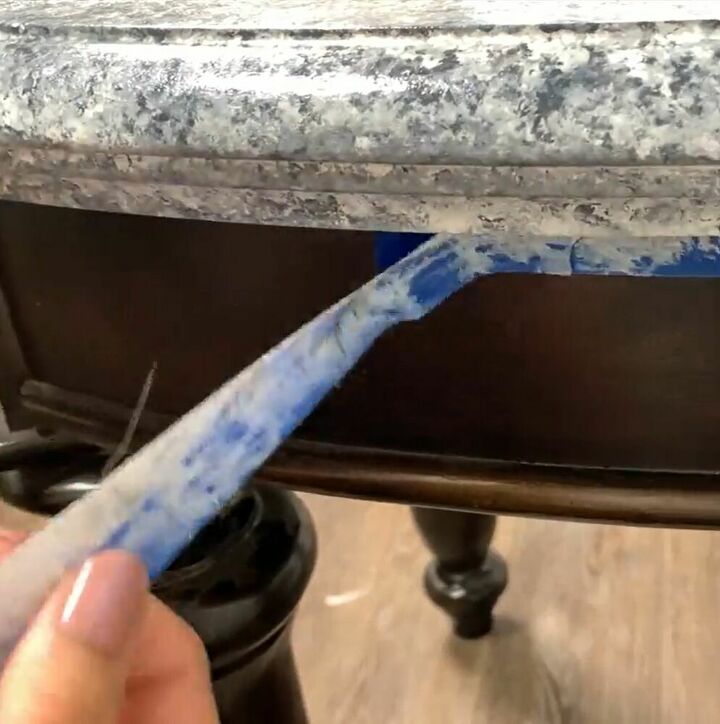
Step 6: Remove the Painter’s Tape
To finish off, I removed the painter's tape from around the surface and admired the amazing faux granite finish.
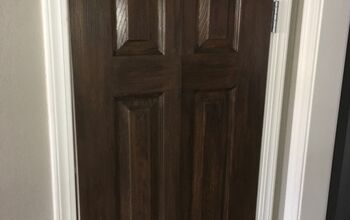
The DIY faux granite technique can be used on a range of different surfaces and you can use different colors too. For tables, you might want to try painting the legs a different color to give a further level of customization.
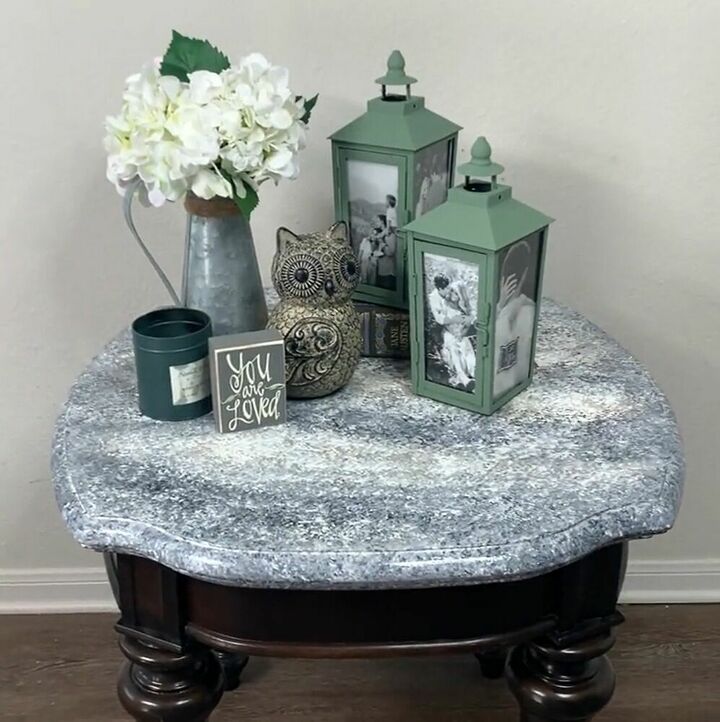
Finally, Admire Your Work!
If you would like to learn how to do more of these great DIY projects, why not become a Hometalker and join a huge community of DIYers to discuss your projects with and share any tips and tricks with? I'd also love to see your faux granite DIY projects!
Resources for this project:
See all materials


Comments
Join the conversation
-
That really came out great! Good job!
-
Beautiful job! Looks so real.


Frequently asked questions
Have a question about this project?
Can this be done on Formica countertops?
Would this work on a bathroom vanity? Would the steaminess or splashes of water now and again ruin it?
Why won’t you answer the above questions?