


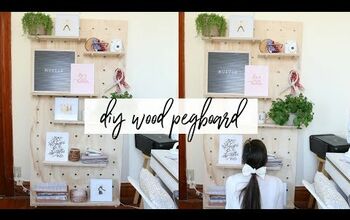
How to Build a Pegboard Wall

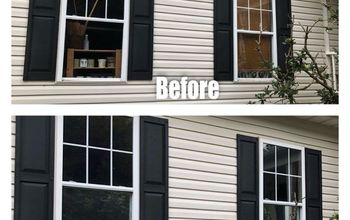
I had a bad drywall job in my laundry room that needed to be covered quickly. A pegboard wall was the perfect thing to add storage to the area at the same time!
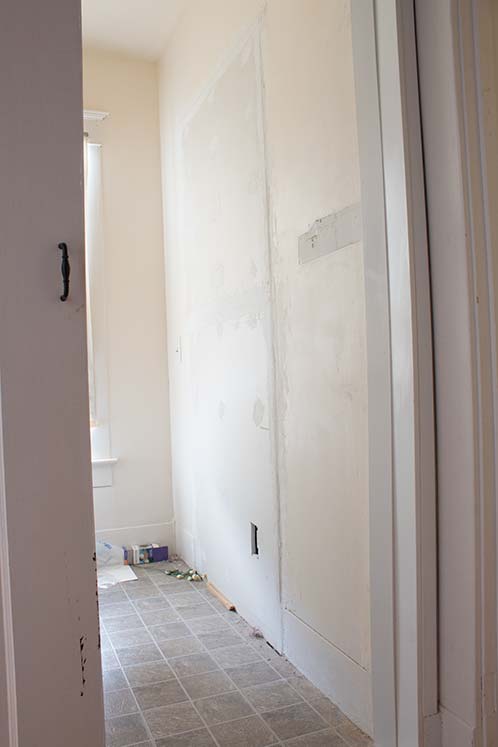
Clearly, some work was needed!
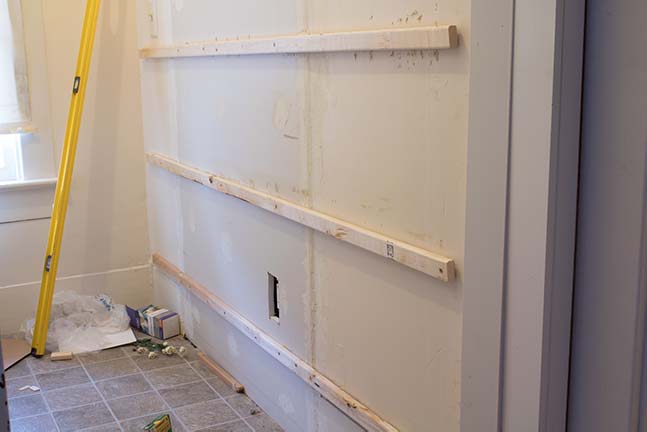
I started by attaching 1"x2" furring strips to the wall, adding screws at every stud.
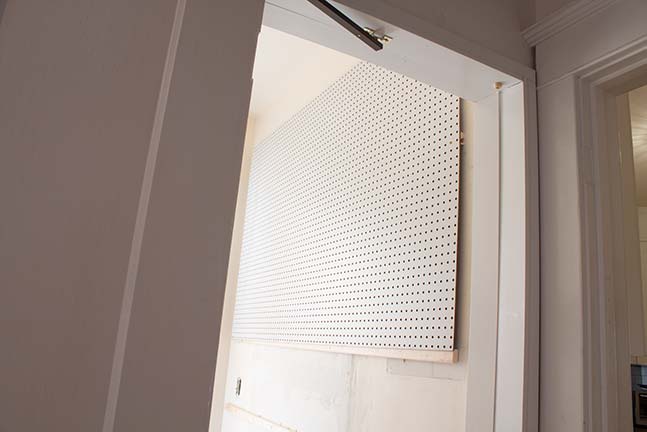
I attached the pegboard to the strips temporarily with brad nails, then permanently with screws across the top row of holes, and on either end at each furring strip.
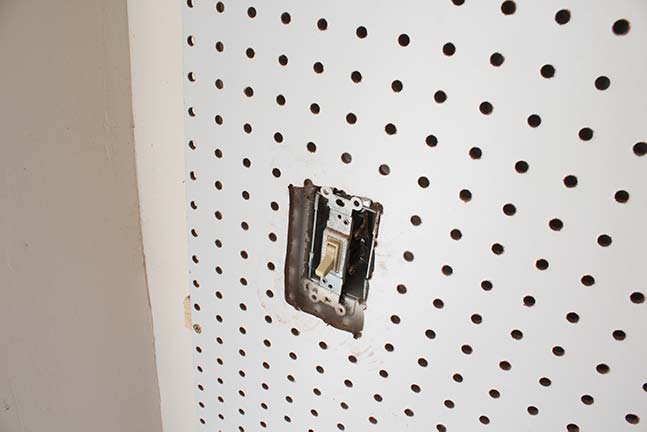
Once both pieces of pegboard were attached to the wall, I cut holes for the switches and outlets into the pegboard using a Dremel. If you don't have a Dremel, be sure to cut the holes before attaching the pegboard to the wall.
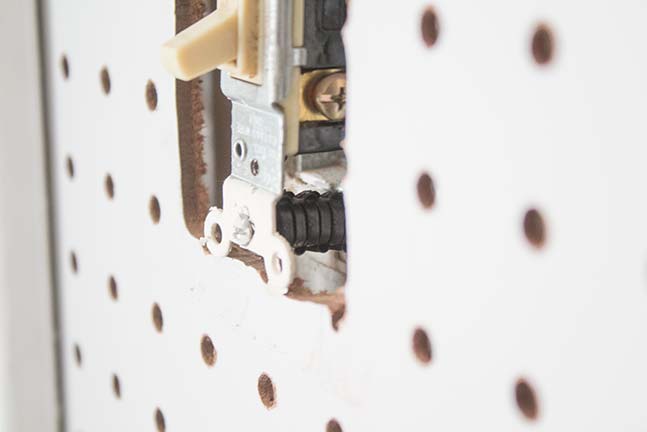
I bumped out the switches using electrical spacers. For more details on this, check out the full blog post.
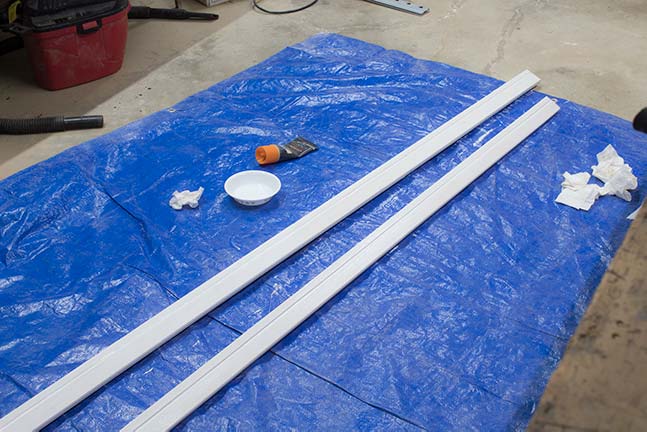
Then I used furring strips to make a frame for the pegboard. The pieces were secured together with wood glue and brad nails, then painted white.
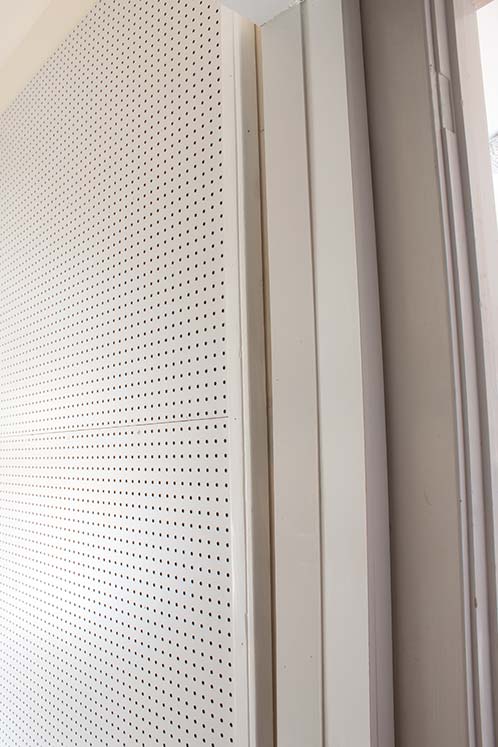
Finally, I attached the frame to the pegboard using construction adhesive and brad nails.
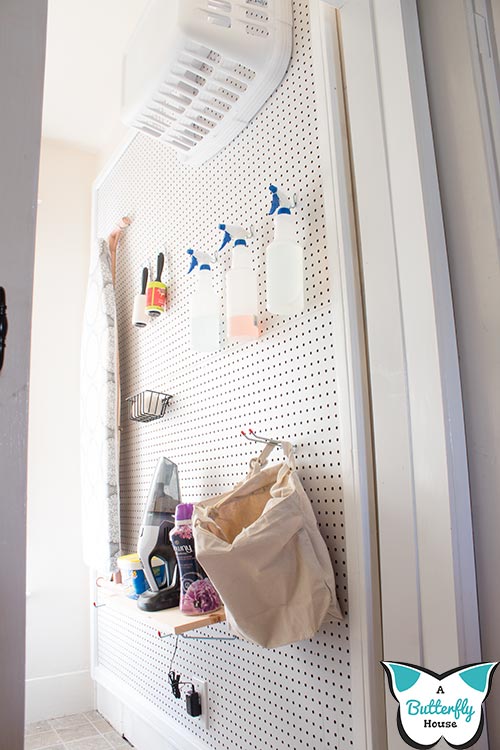
Then the pegboard was done! Want more information? More pictures? Think you might do this project? Check out the full blog post for details on every single step!


Comments
Join the conversation
-
Yes, my laundry room has an ugly wall as well. This is a perfect project to remedy the problem, adding much needed storage space as well. I'm anxious to get started. Thank you!
-
You are amazing! You made a peg-board look great. I’m going to build a mini version of your peg-board. I have a tiny laundry 🧺 room, where you have to walk out to change your mind 🤨 Thanks for the storage idea! You are in my “TOP 5 DIYer’s” 😘


Frequently asked questions
Have a question about this project?