


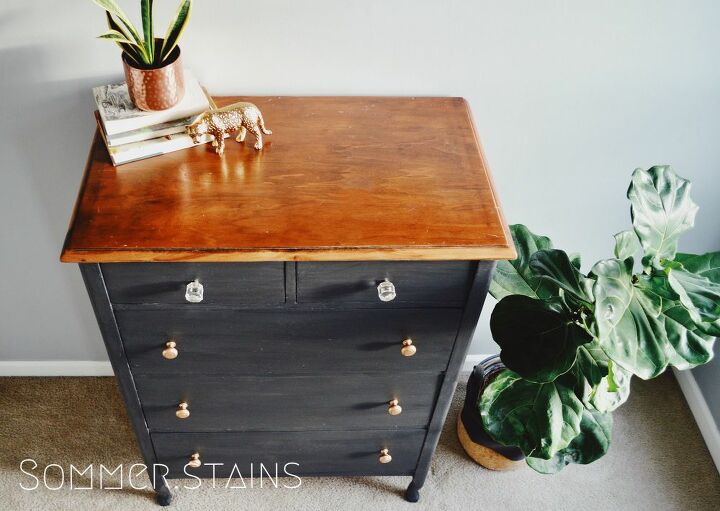
24 Hour Dresser Make Over

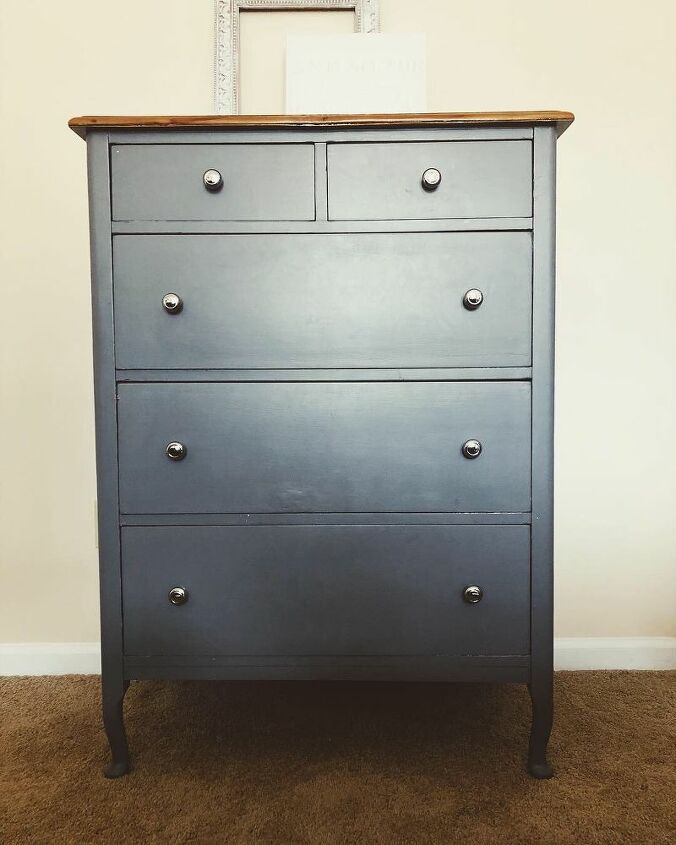
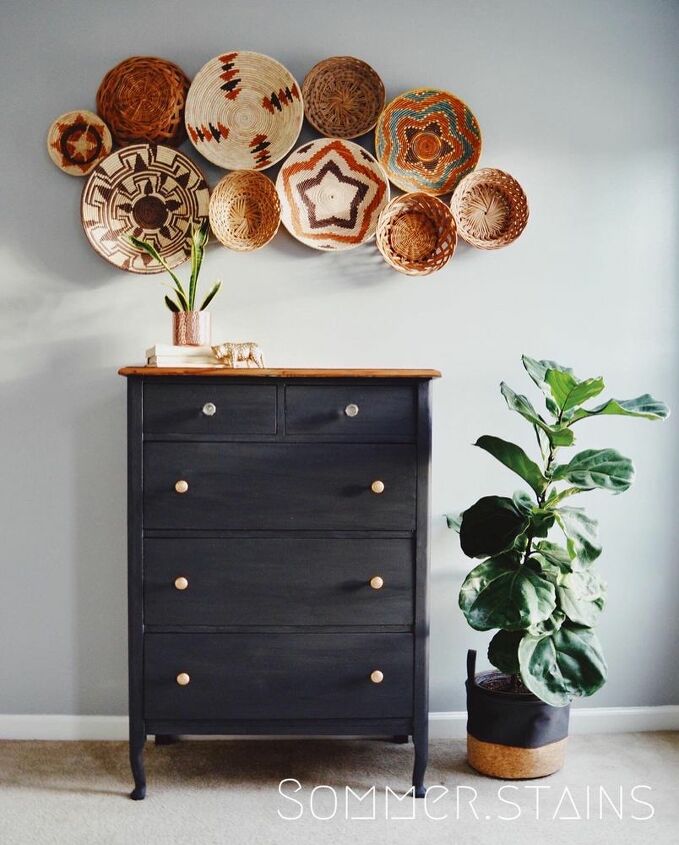
I've had this dresser for years now, it actually was a free, left on the curb piece I snatched up. When I first got it, it was white and then I refinished it and painted the bottom grey and stained the top. It never matched my bedroom furniture so I decided to give it another make over and I am OBSESSED with how it turned out! It's amazing what 24 hours and a little hard work can do! Overall I only spent $6 to redo this piece. The only thing I had to purchase at the time was the Rub and Buff!
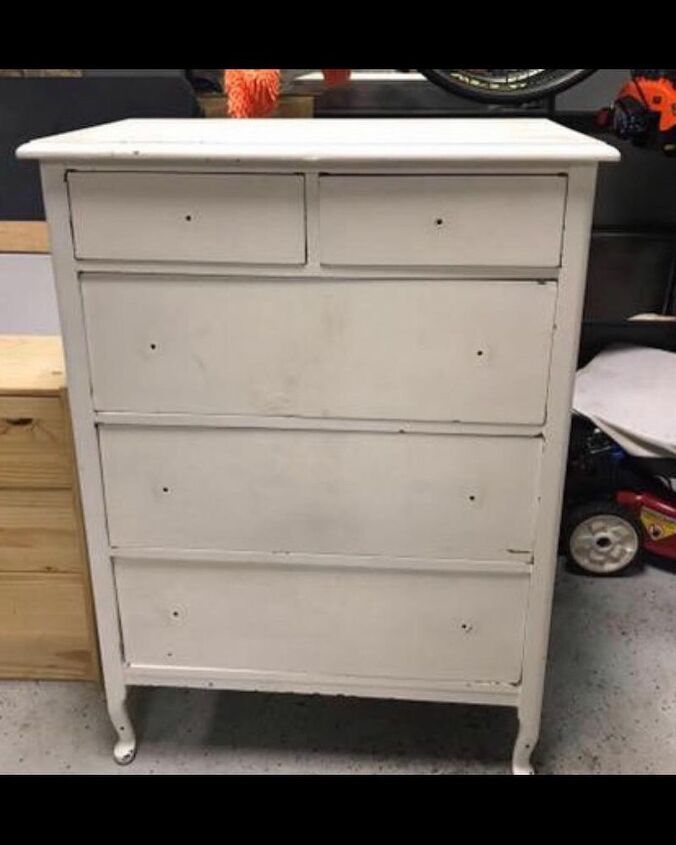
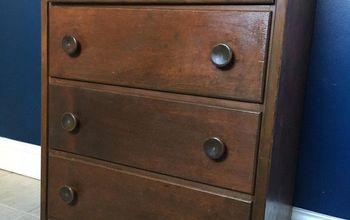
This is what it looked like when I got it.
First time I refinished it
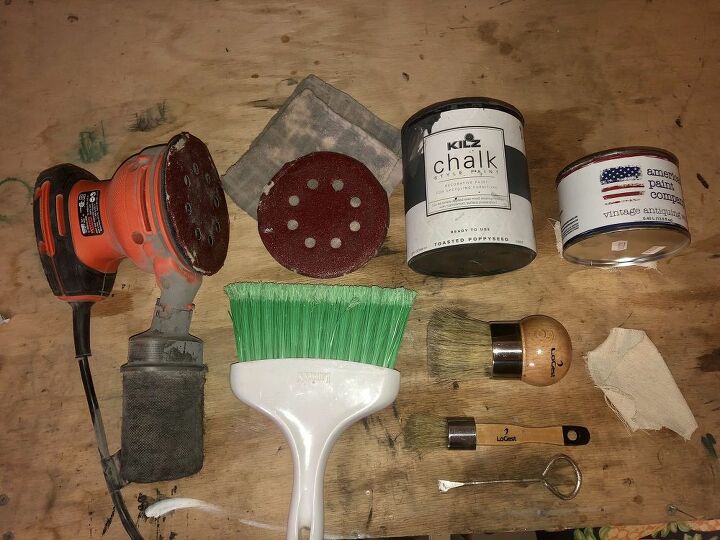
Materials Needed. Not pictured rub and buff and gloves.
Link to sanders -
https://www.amazon.com/BLACK-DECKER-BDERO100-Random-Sander/dp/B00MLSS1SW/ref=sr_1_59?pf_rd_i=328182011&pf_rd_m=ATVPDKIKX0DER&pf_rd_p=aebdcf2a-c487-557d-8d80-d62a0ddc594d&pf_rd_r=P9Y6J57AW03QNCJYNWM5&pf_rd_s=merchandised-search-10&pf_rd_t=101&qid=1557660956&refinements=p_72%3A1248909011&s=power-hand-tools&sr=1-59
https://www.amazon.com/TACKLIFE-Multifunction-Sandpapers-Efficient-Collection/dp/B07X148FRH/ref=sr_1_3_sspa?dchild=1&keywords=electric+sander&qid=1585832868&sr=8-3-spons&psc=1&spLa=ZW5jcnlwdGVkUXVhbGlmaWVyPUEyVkQ3U0gzVkI4WTYzJmVuY3J5cHRlZElkPUEwNzc0NjYzMkVYVEUyU1kzVkRBViZlbmNyeXB0ZWRBZElkPUEwMzI5ODQ1OTNKS0c3UTg1UjlMJndpZGdldE5hbWU9c3BfYXRmJmFjdGlvbj1jbGlja1JlZGlyZWN0JmRvTm90TG9nQ2xpY2s9dHJ1ZQ==
Link to my paint brushes I always use to paint with -
https://www.amazon.com/dp/B07DT5YJQ2/ref=cm_sw_r_cp_api_i_vNXWDb3CWGHJW
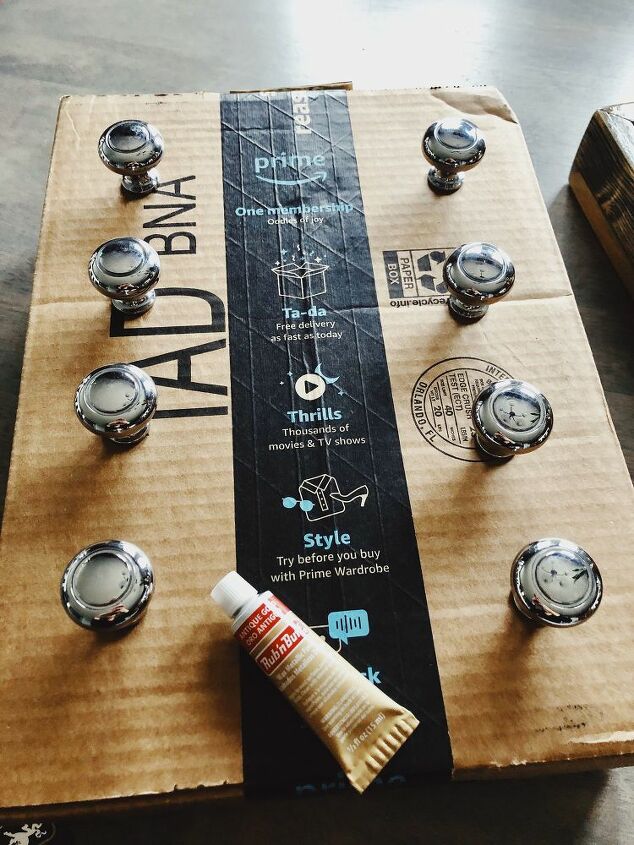
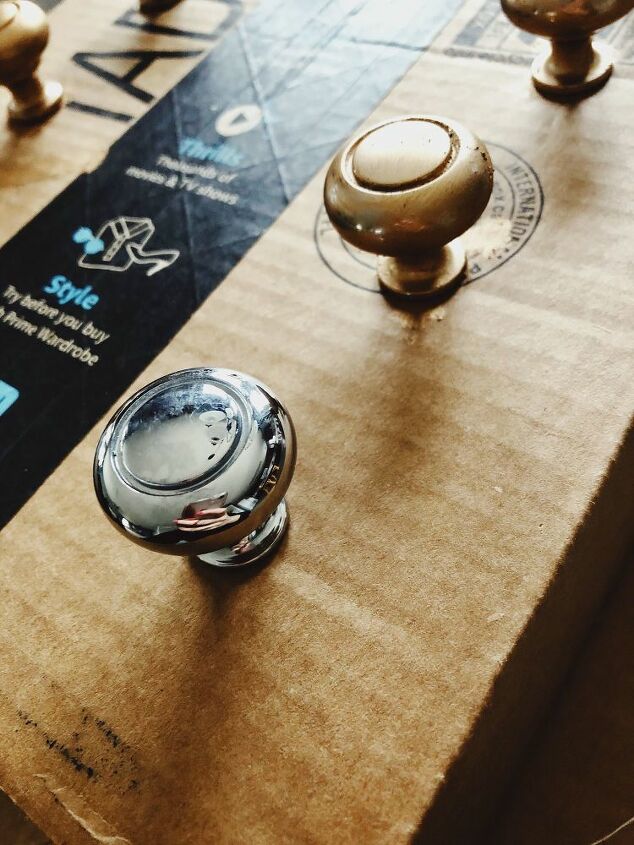
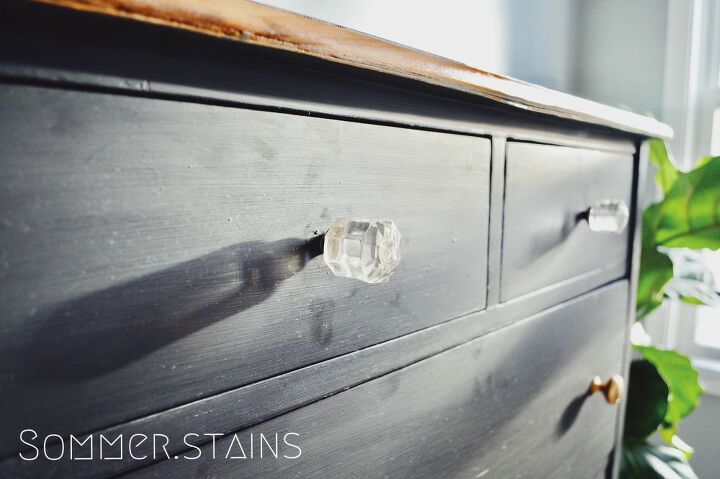
I decided to just reuse the existing hardware to save money. I wasn't a fan of the silver so I bought some rub and buff from Michael's and applied it to the hardware.
I found it was easiest to apply this with my hands while wearing a glove.
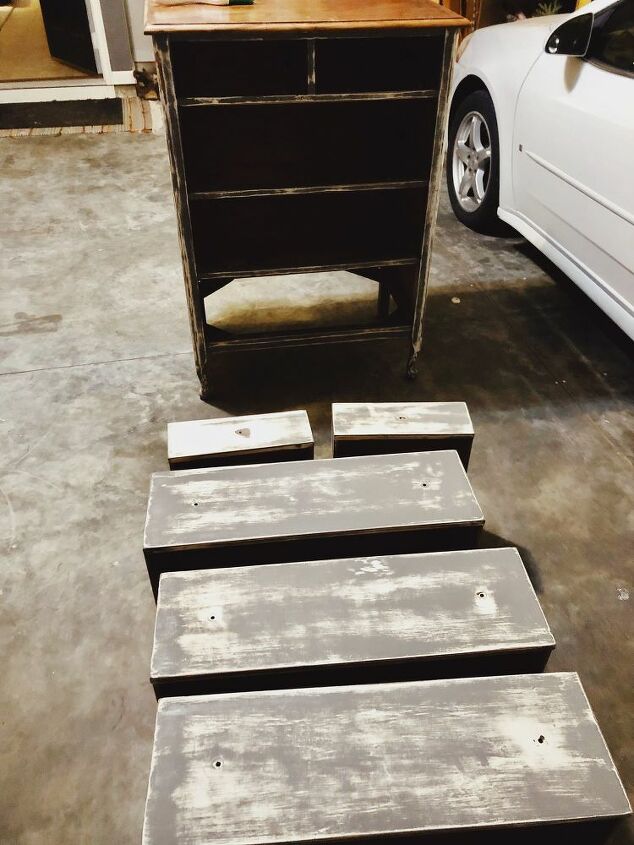
Sand down the existing paint so the new paint can adhere as well as possible. If you're painting, you don't need to completely sand down, just enough to rough up the surface you're going to paint. I used 120 + 60 grit to do this. Make sure your clean off your piece and make sure it's free of any dust before continuing to the next step.
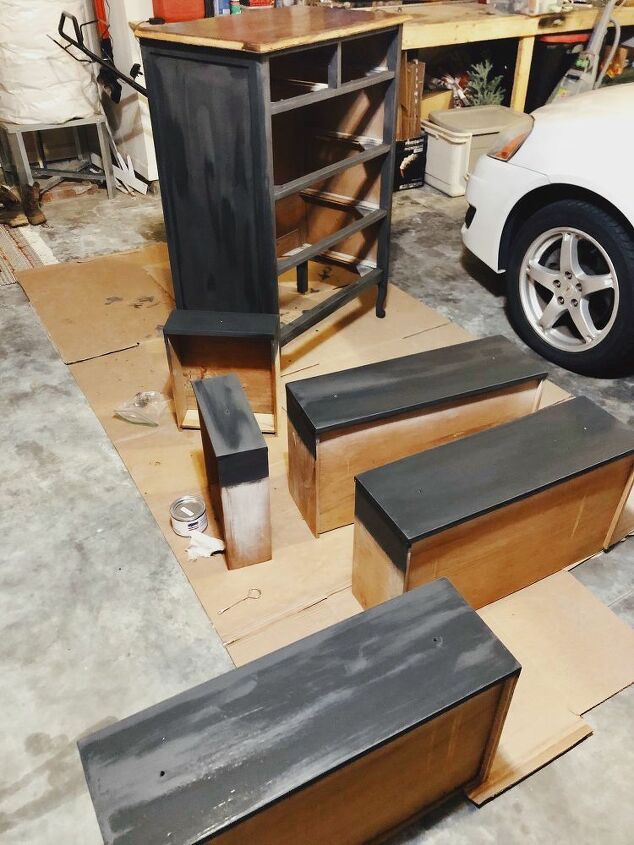
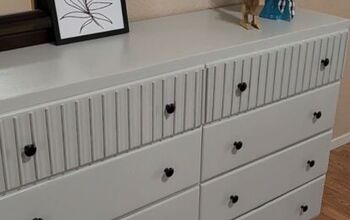
Paint away! I used Kilz Chalk paint in Toasted Poppy Seed for this.
Paint, Paint, Paint!
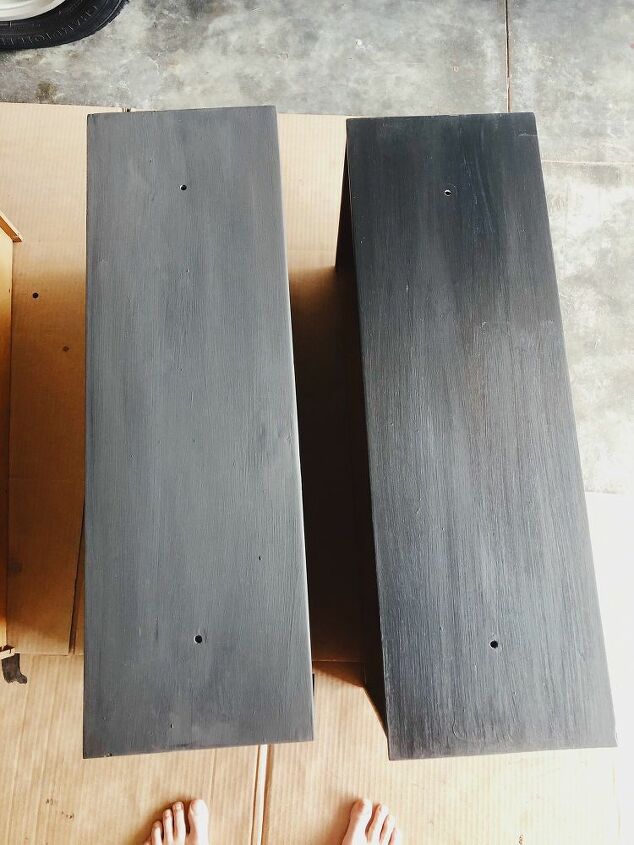
This is a great photo to show the difference between not sealed vs sealed. I used Clear Wax from American Paint Company to seal this. You could also use an antique wax or a glaze to seal chalk paint, it's just a personal preference.
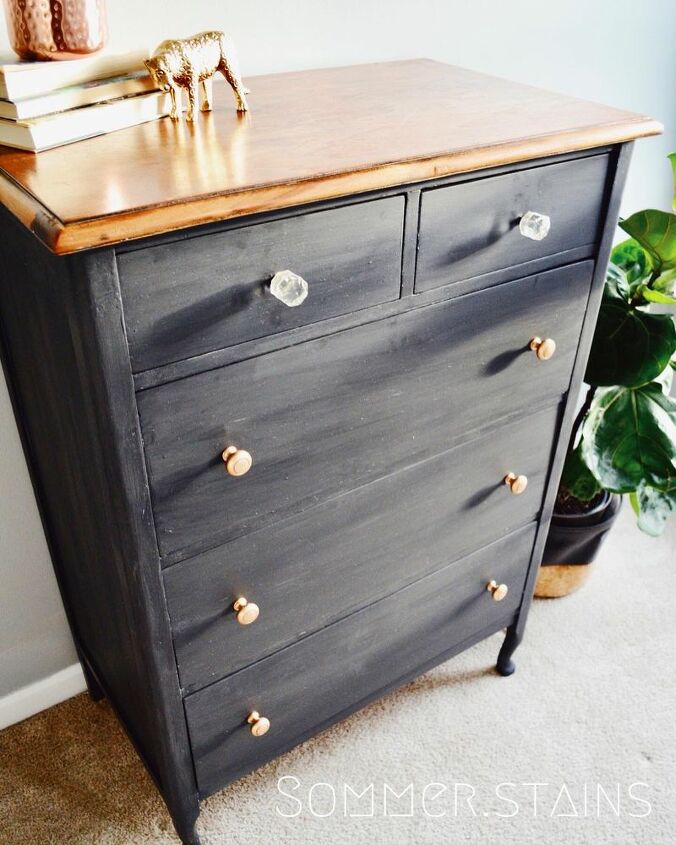
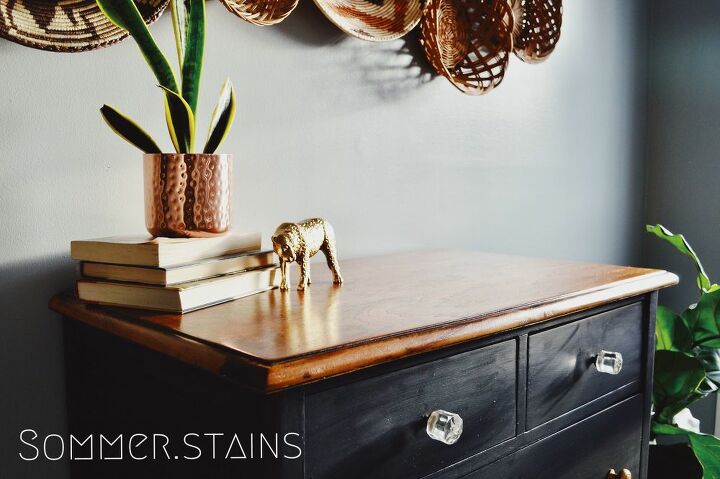
I replaced the top two knobs with new ones I purchased from Hobby Lobby that I found on super sale a while back. I love the pop it gives this piece. I couldn't be happier with the end result!


Comments
Join the conversation
-
I have noticed the older chest of drawers ( dressers) have tall curved legs. If you want it to look a little more modern, cut off the legs about the middle of the curve. The leg will flare out slightly and be about 4 inches long.
-
Well done! Love the sweet curved legs😻


Frequently asked questions
Have a question about this project?
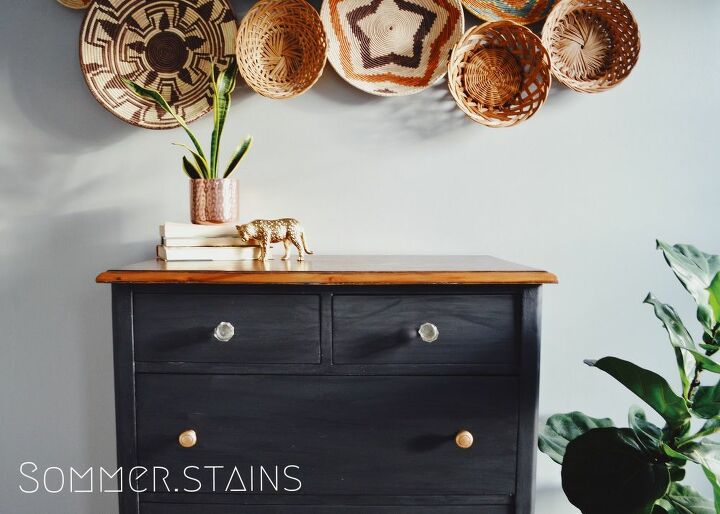
Very nice! Also love the baskets - could you tell me where you found those?
It appears the two top pulls ended up being very different than the originals. Any particular reason why you chose the two top pulls be different?
I have been planning on refinishing a dresser and I already have the paint however, it is not as shining as I hoped. Why does Car Guys Wax come up in the supplies list?