


How to Create a Mud Kitchen

This creation was a little less of an up-cycle and more of a creation from scratch.
The idea was to reuse pallets etc. This would have also kept the cost down.
However as we are in the middle of lock down acquiring these items became a little harder, and the need to keep my 20month old entertained was becoming top of my list.
Luckily my other half had to collect some bits for work and while he was there came back with all the bits I would have needed (and then some)
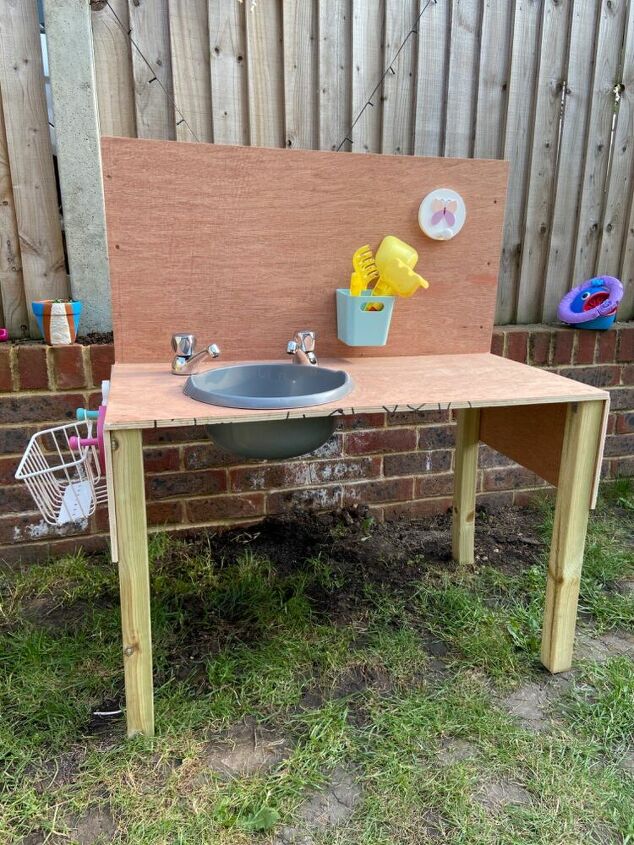
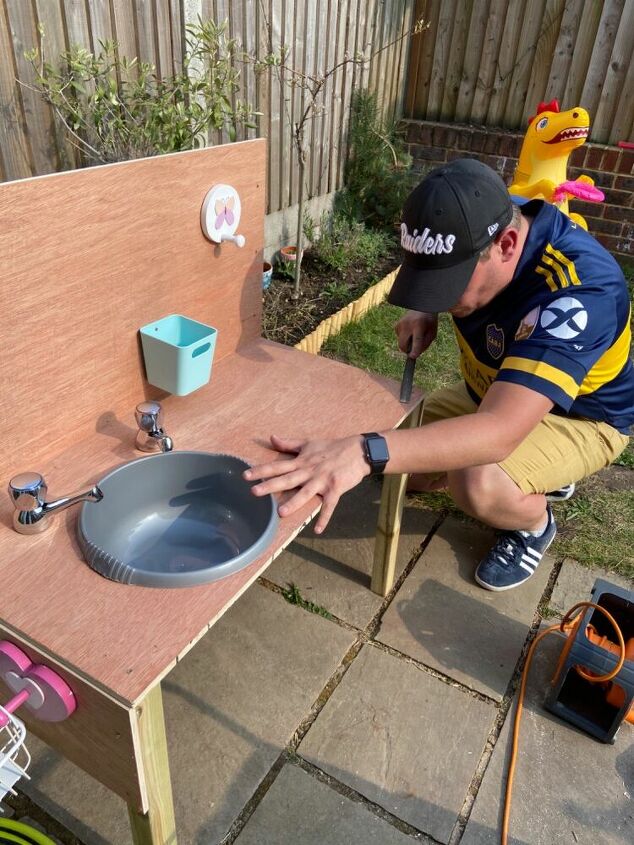
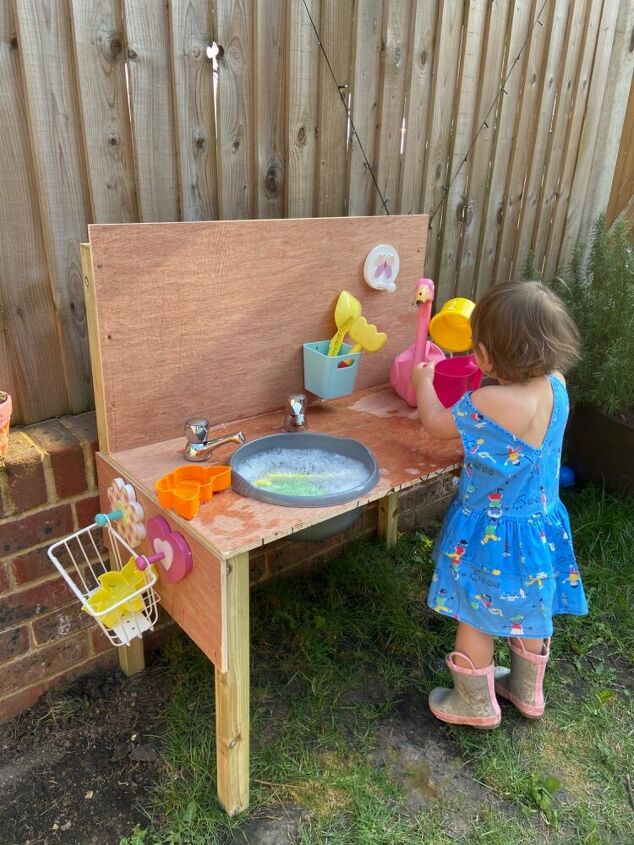
As you can see we have put a basket and taps etc on. You can keep the cost down by only have a bowl or 2 with no taps etc. This cost about £130 in all for everything in this picture but the wood itself was more like £90.
I saw we used....
basically it was my idea and my design (the wooden structure anyway) but the other half is very protective over his toys.... I mean tools. And so I basically was his assistant to my own project.
My theory is that he needed something to keep himself sane, so used this as an excuse. 😂
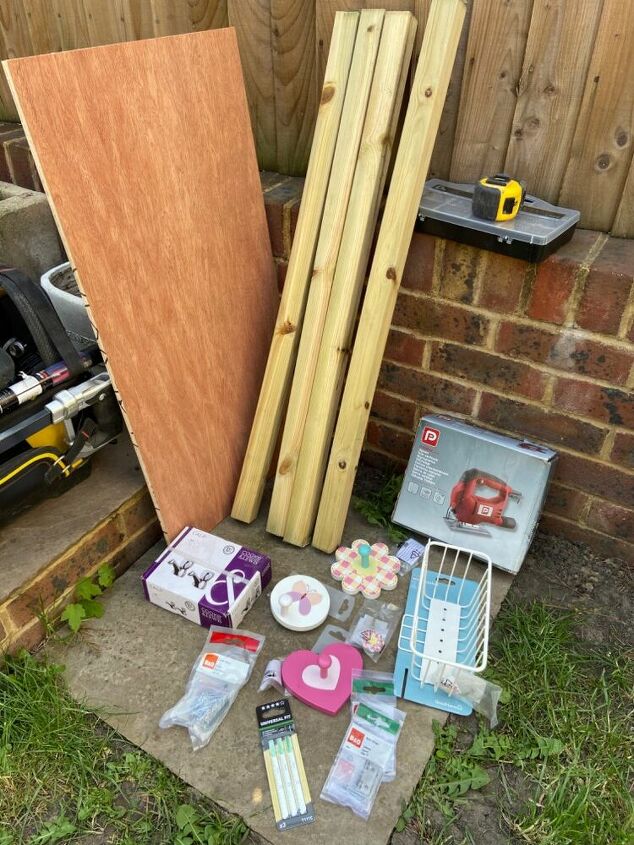
Tools:
drill, jigsaw and file/sander
Materials:
2-3 sheets of ply board
4 wooden batons
screws
90 degree brackets
plastic bucket
Taps
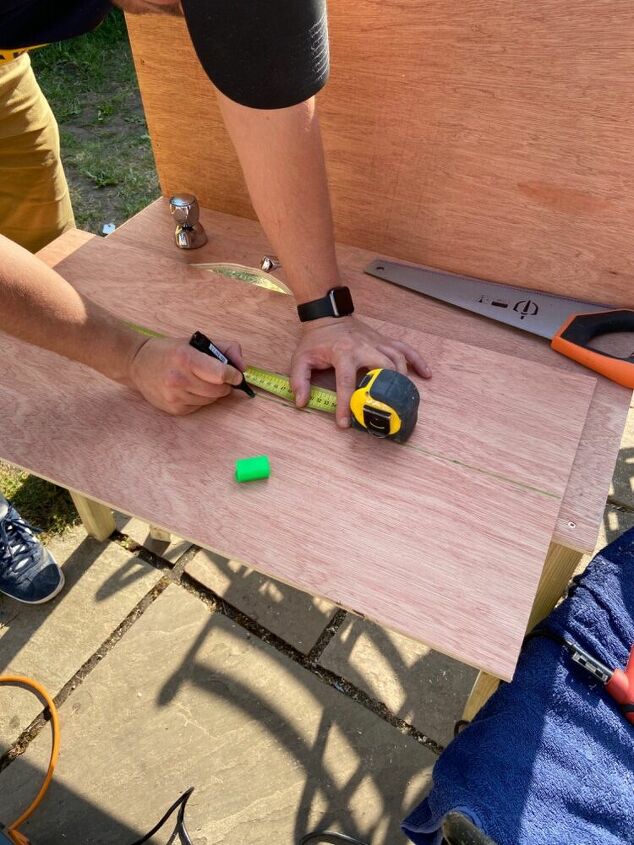
Work our how tall you want the table top to be.
My daughter is small her her age. We opted for 44inches tall.
We wanted it to be short enough for her to be able to use now but not so short that she’ll grow out of it quickly.
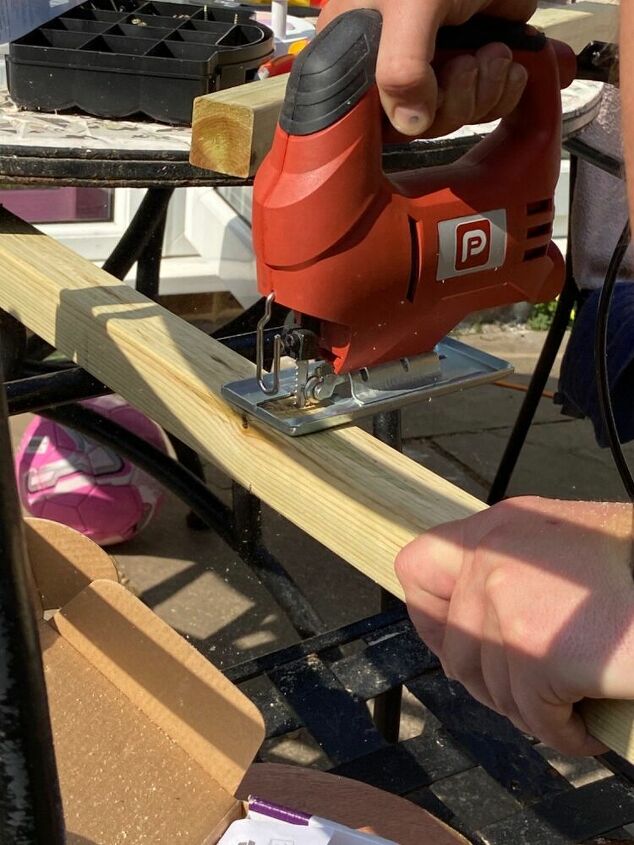
Mark out all 4 of the wooden batons to your chosen height and cut 2 of them to size.
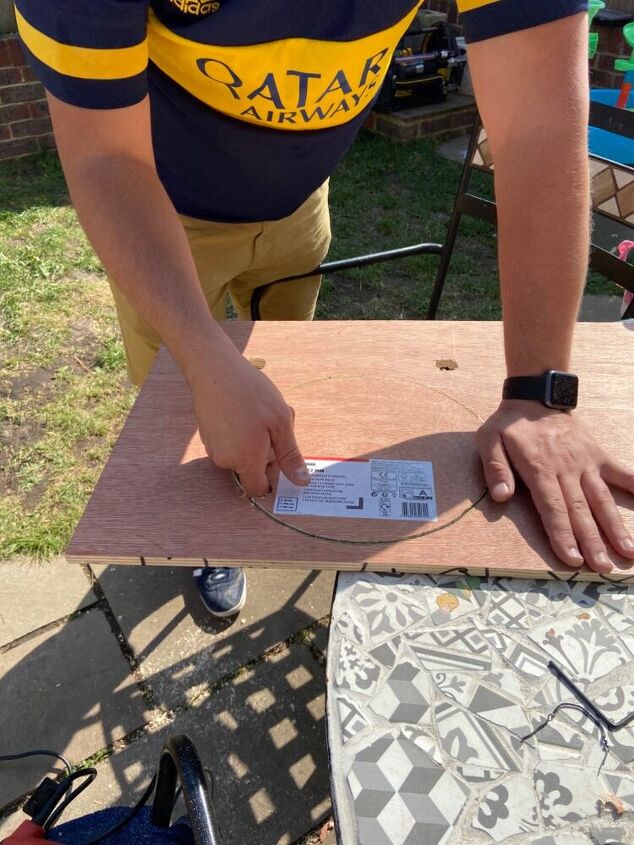
In order for the bowl to sit in the ply board. You will need to cut a hole.
Messure around the bowl, remember if you draw around the outside of the bowl and cut on that line the bowl will fall though. You will need you ensure you go a little smaller. You can always make it bigger, but making it smaller will be difficult.
To cut the bowl shape using the jizsaw you will need to drill a whole into the ply wood, inside the hole you have just made. Then the jigsaw will have a starting point.
go round the inside of your outline. This should then snuggly fit your bowl.
ignore this step if you’ve chosen to not use taps.
My little one loves taps, turning them on and off is her favourite pastime atm. So a mud kitchen kind of had to have them for her.
to get the perfect size hole. He used a flat wood bit.
Fasten the tap using the nut that comes with your taps (this is the black part seen in this video)
Making the table.
Now all the holes are in the top you can start turning this into a table.
Use the 2 cut down batons to fit to the front of the table top.
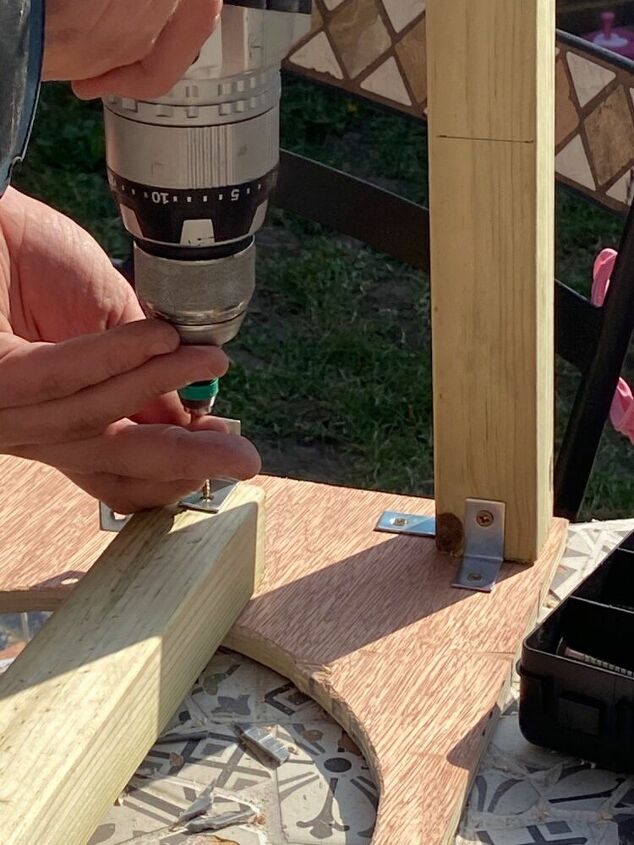
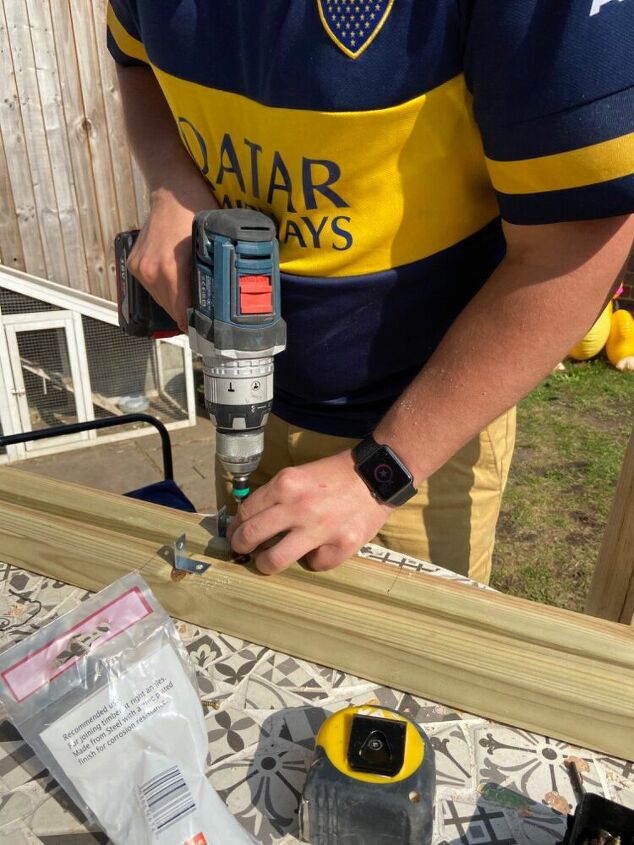
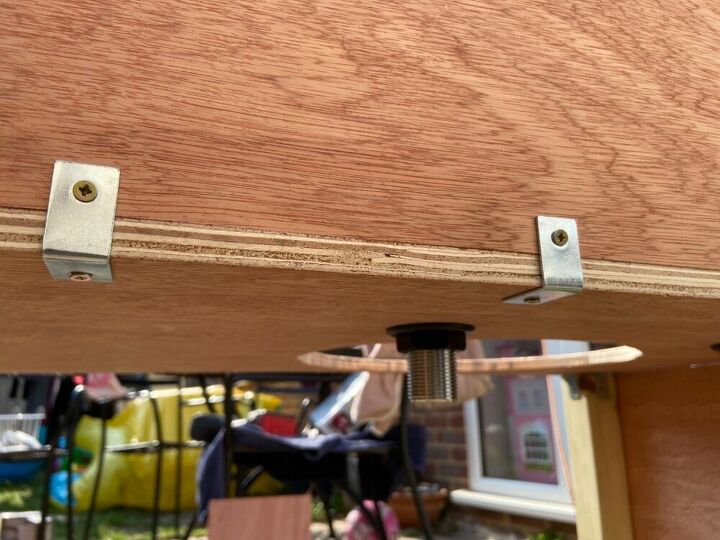
Use the 90 degree brackets to fix the batons in place.
An extra screw can be placed from the top into the Baton for extra support if needed.
With the 2 left batons screw the 90 degree brackets so the corner lines up with your desired height.
Then screw the table top (ply board) to the bracket.
this should then start to look like a table.
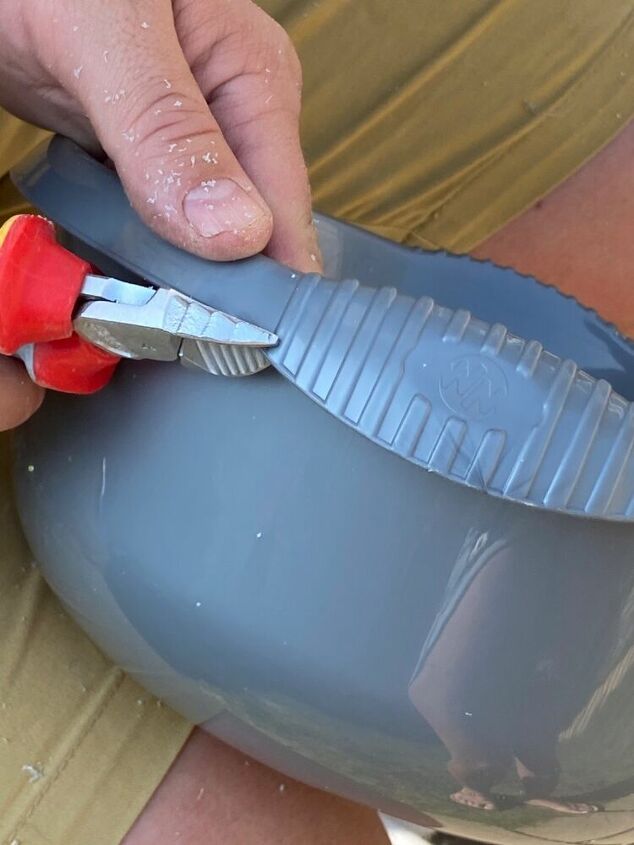
If your not lucky enough to have a flush edging to your bowl you’ll need to trim down this part.
We used side cutters and then filed this down to make sure there wasn’t any sharp edges for little fingers.
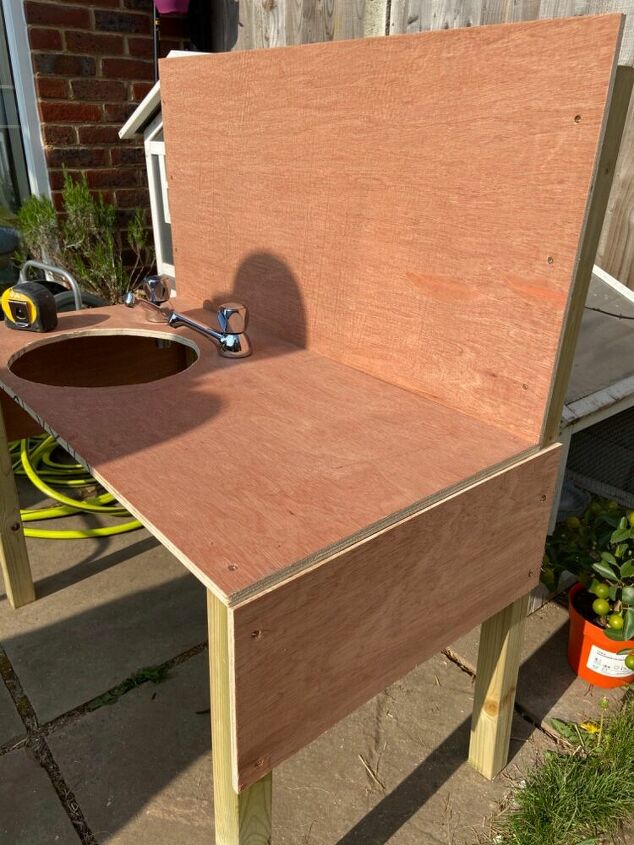
Screw the ply board to the taller back created with the batons.
We also used some of the 90 degree brackets to secure the middle area.
Top Tip.
Try make this nice and tight. This will prevent any bowing.
Adding sides adds support and makes the table more sturdy.
you can either use ply board or the spare cut offs from the batons.
we opened for ply board.
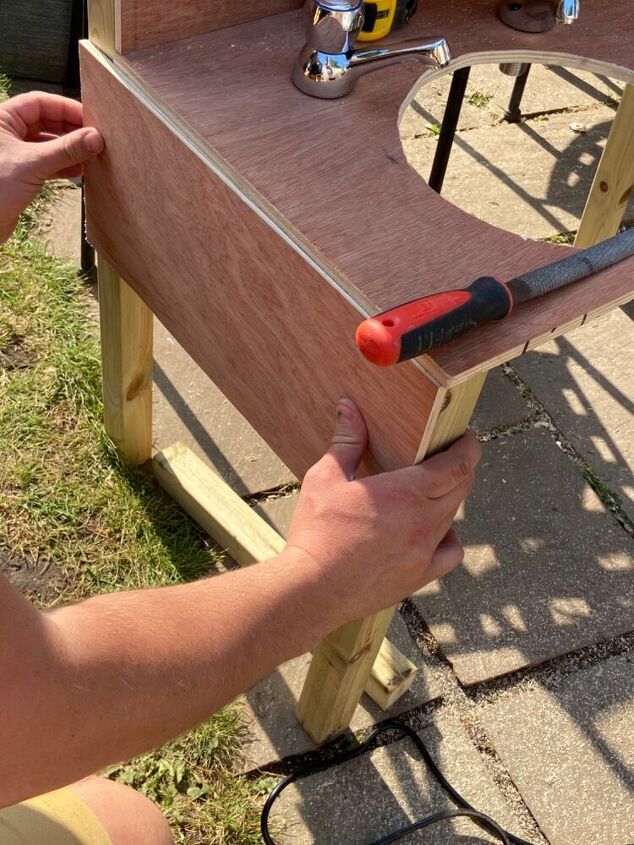
Trim this down to size and screw in place.
Top Top; make sure your legs are straight and taught which will ensure your table isn’t wobbly.
File or sand down and of the sides, including the hole for the bowl.
This is to ensure there aren’t any rough ends or splinters for little hands.
add hooks, trays pots etc to make it more kitchen-y.
You May even want to use wood stain to protect it even further from natural elements.
I think I’m going to order some pink wood paint and add some dinosaur stencils to the back board.
Resources for this project:
See all materials


Comments
Join the conversation
-
Cute! And so many possibilities
-
'So nice to see a child's 'toy' that does not require batteries, electricity, and that does not make noises or flash lights!!
This 'playstation' invites creativity, imagination, develops fine motor skills, and was built with room to grow.


Frequently asked questions
Have a question about this project?