


Raised Deck Build

A decking build Project to turn an unused, overgrown part of the garden into an area to entertain and unwind on a summers evening. Raising the decking helped to take advantage of the stunning views across the fields but also to make it a focal point of the garden
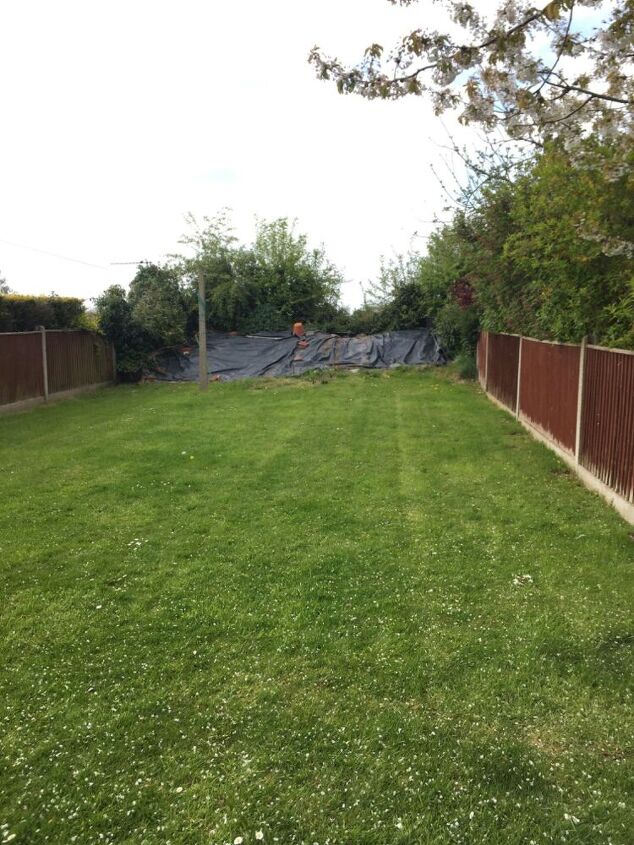
This was the top of the garden when we moved in and we knew we wanted to make something of what was behind this untidy hedgerow
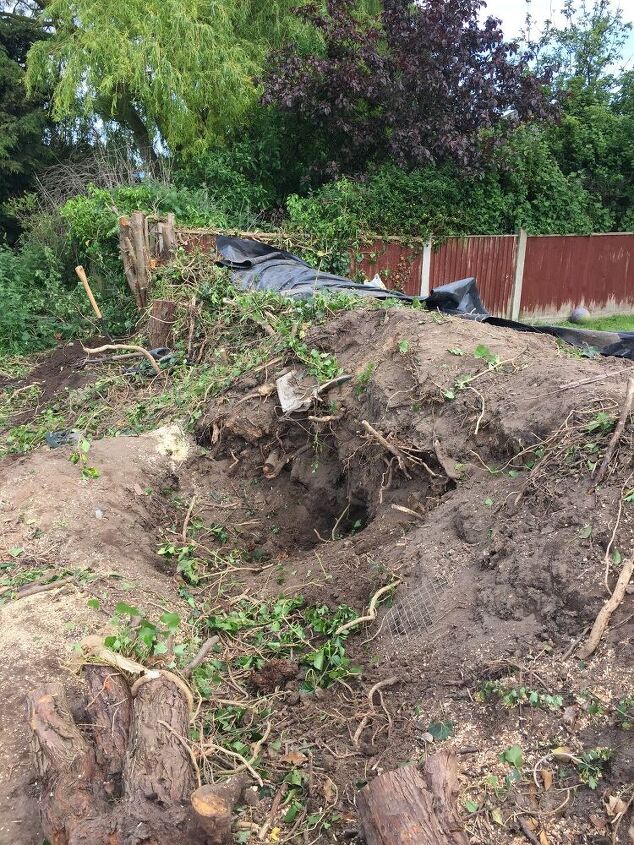
First task was to remove the hedgerow which had some pretty deep roots. Due to lack of access we couldn’t use a mini digger for this, so had to do it all by hand
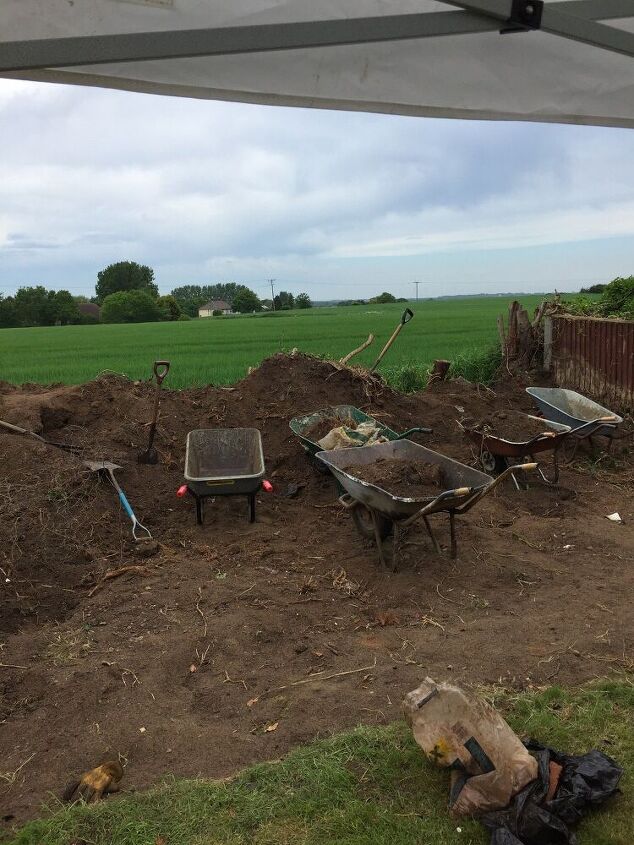
By hand, we removed this pile of soil which alone was a full days work. In total there was 22 tons of soil to be moved out of this area...we still don’t know where it came from
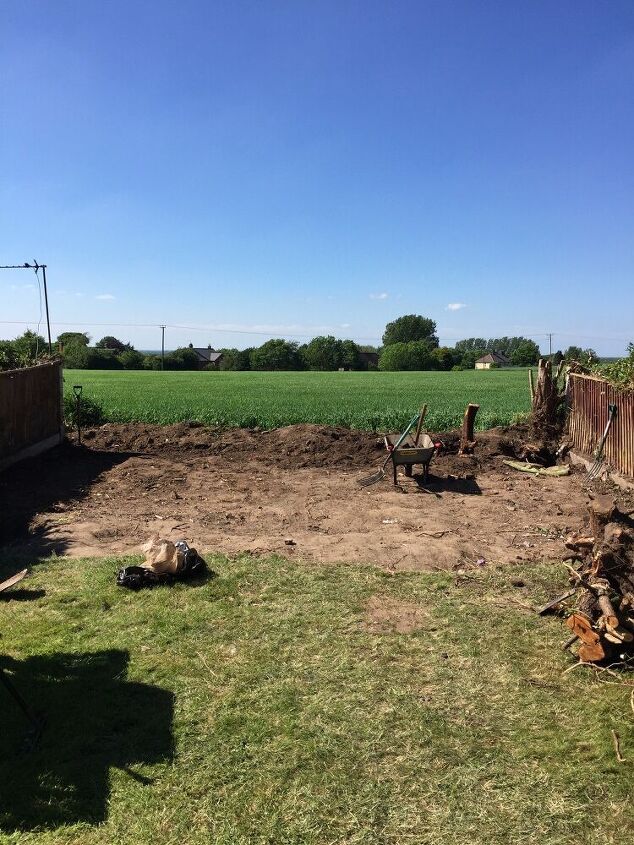
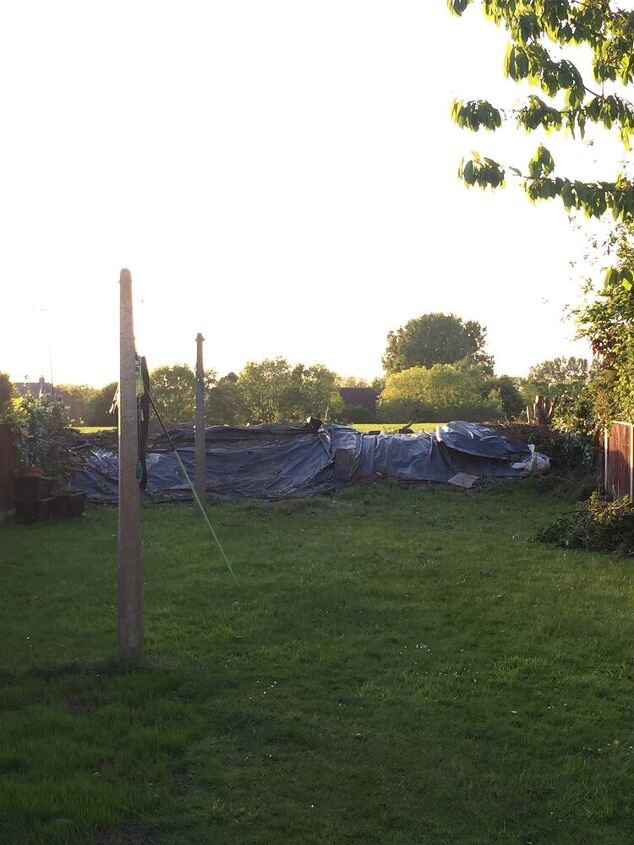
Once the soil had gone you can get an idea of the view we wanted to be able to see and enjoy
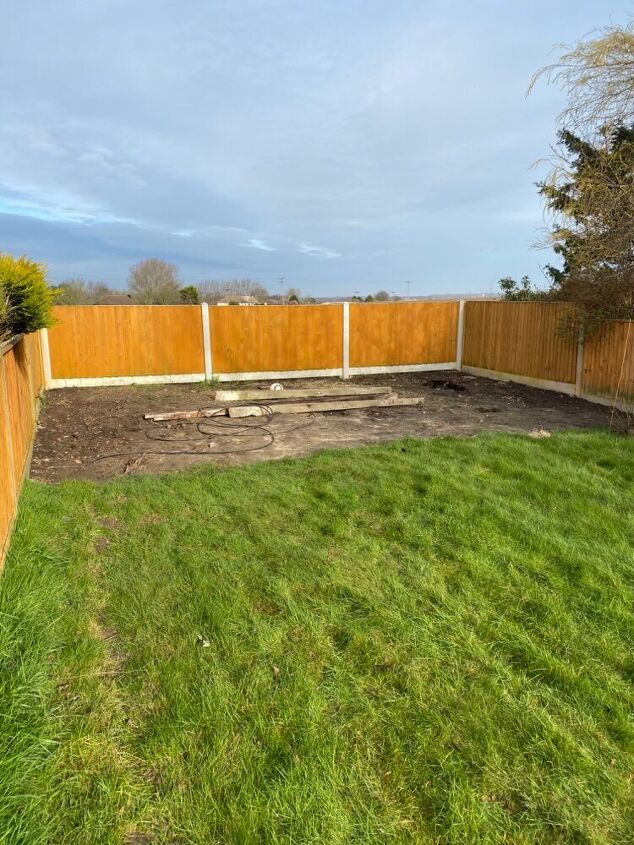
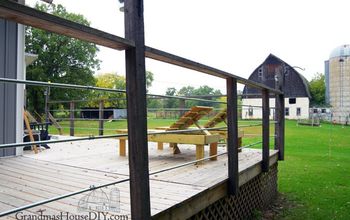
Now the site was cleared we put up a new fence and could get an idea of the area that we were working with for the decking
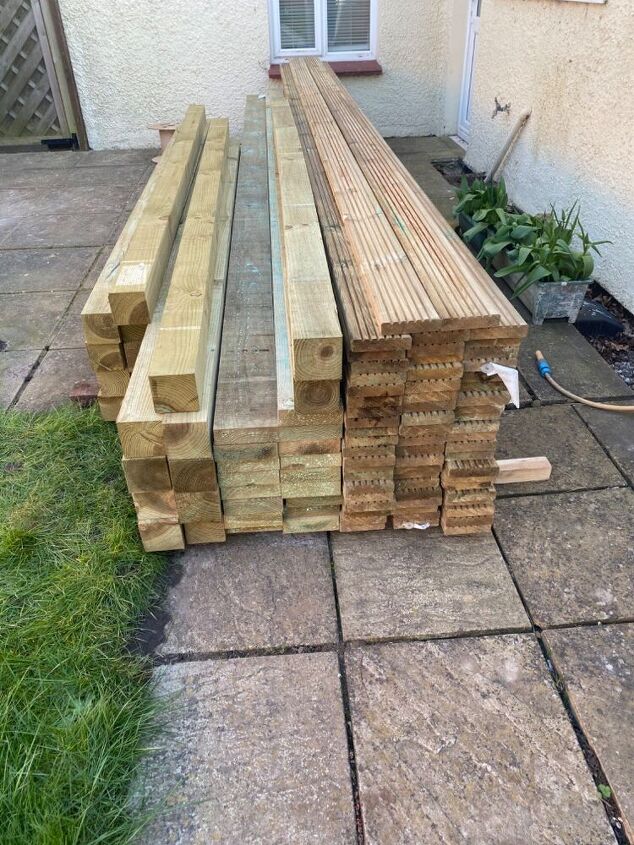
One the timber arrived there was know going back on this project! We used a local timber mill as the supplier as we found due to the quantity we had ordered, we were able to drive the price down more than a hardware store chain.
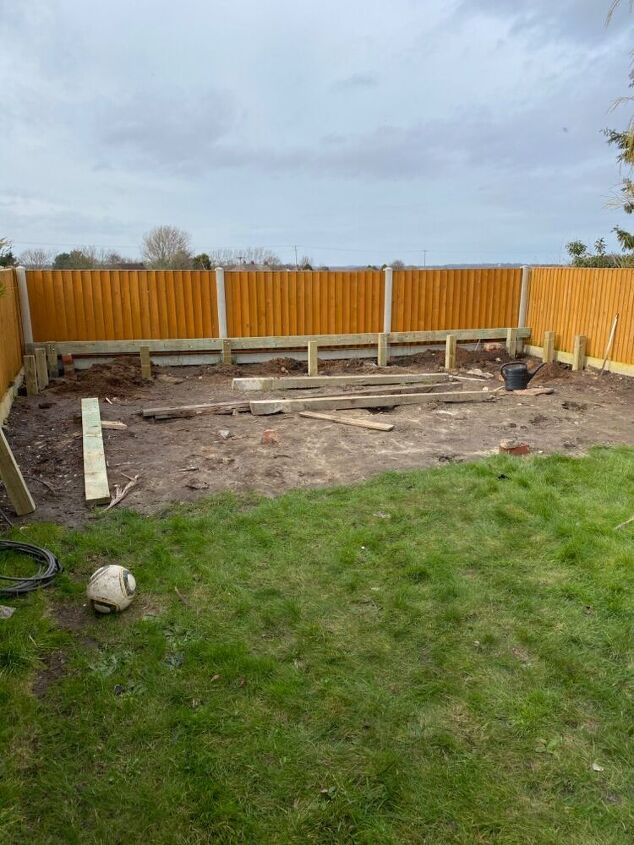
This first set of posts and joists where key as this would deem the height and of course ensure a level starting point. As a result we took our time to ensure we would benefit from it later in the build.
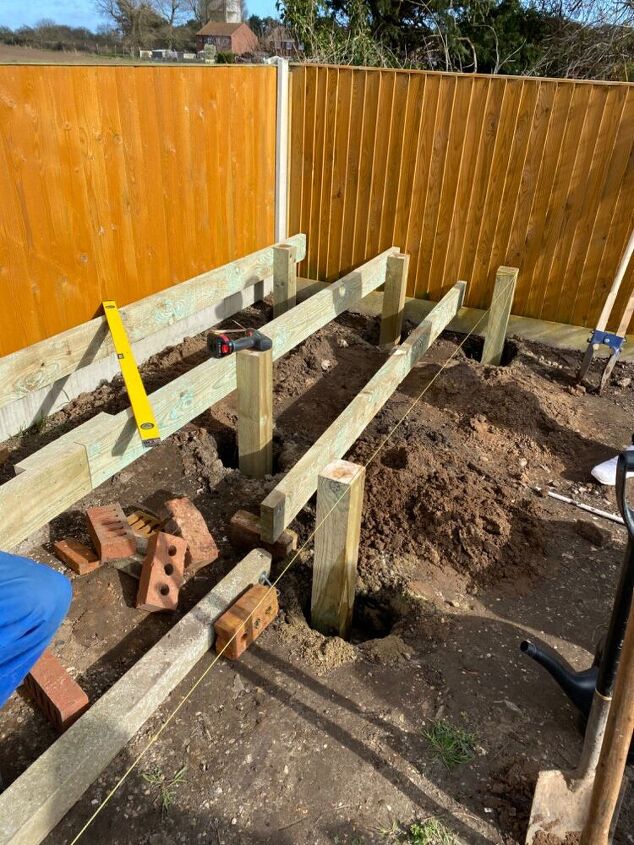
The most time consuming part we found was putting the posts in. In total nearly 50 posts were needed for the substructure to be able to support the joists and of course the decking its self

We used 2x6 joists as it was raised to ensure it was strong enough. Good strong clamps were used to keep the joists in place while we screwed them to the posts
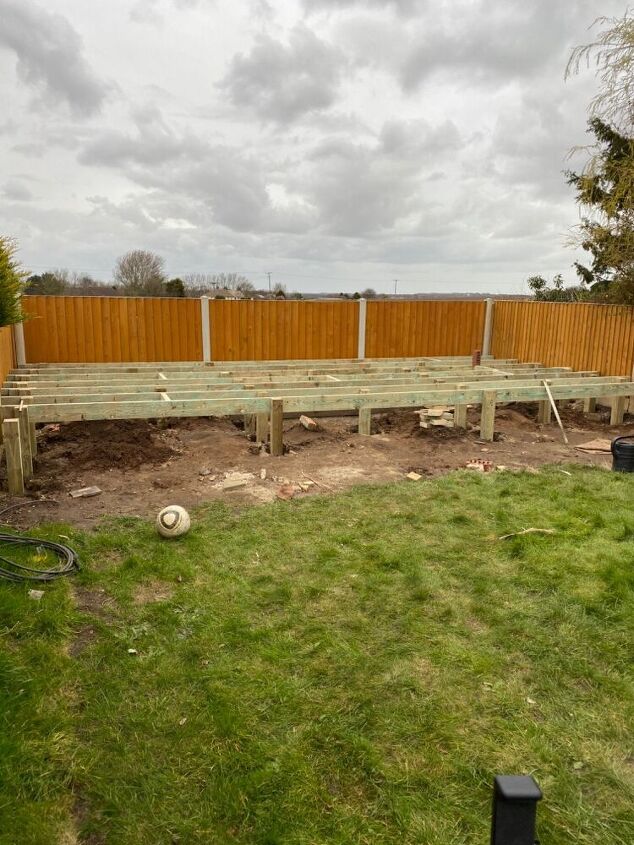
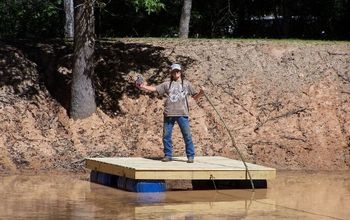
Bit by bit the joists went up and we could get an idea of the size that the decking was going to be
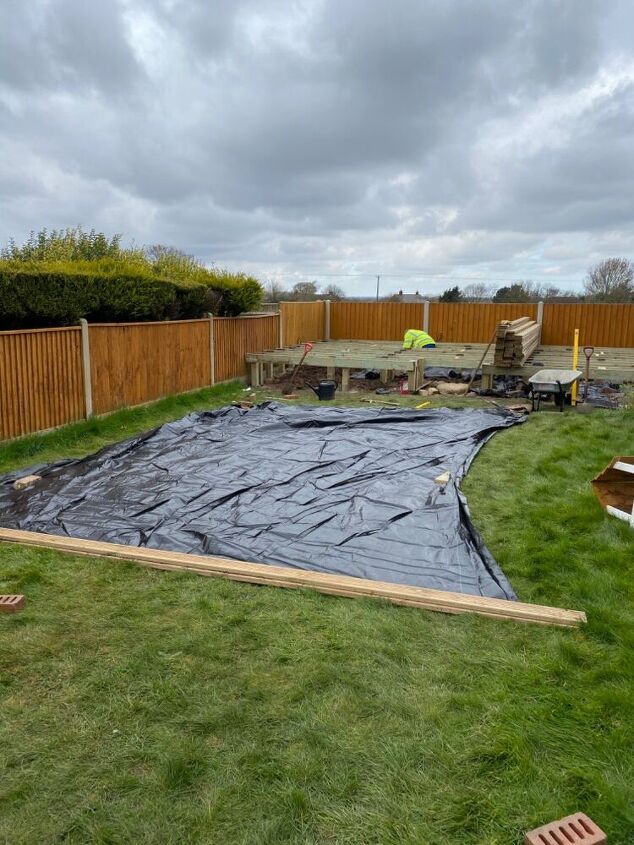
We used a good quality membrane below the decking to stop the weeds coming up. Putting this around the posts wasn’t the easiest of thing to do
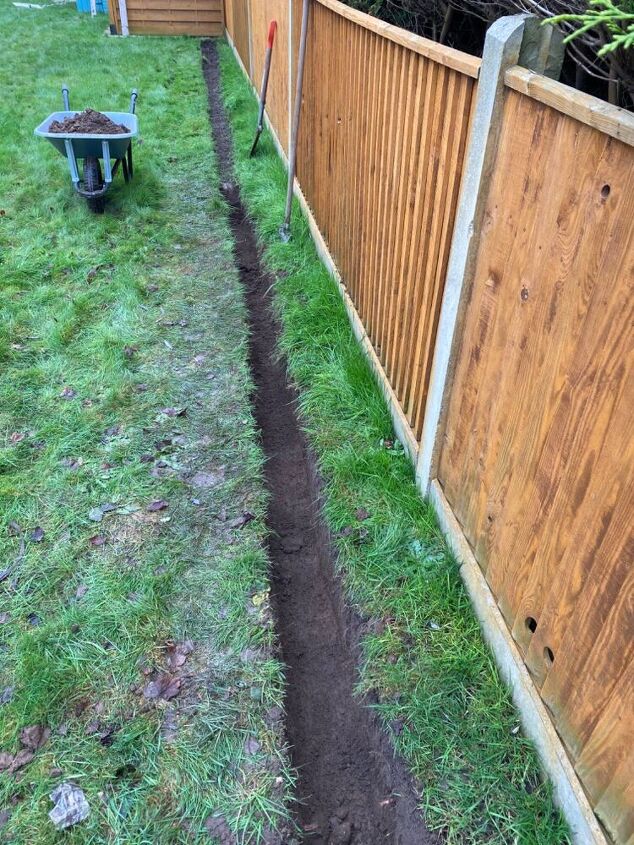
We want to have power and wifi on the decking do we dig a trench to lay some under ground armour cable. This was 20m from the shed where the power was but just using a spade it Didn’t take to long to do.
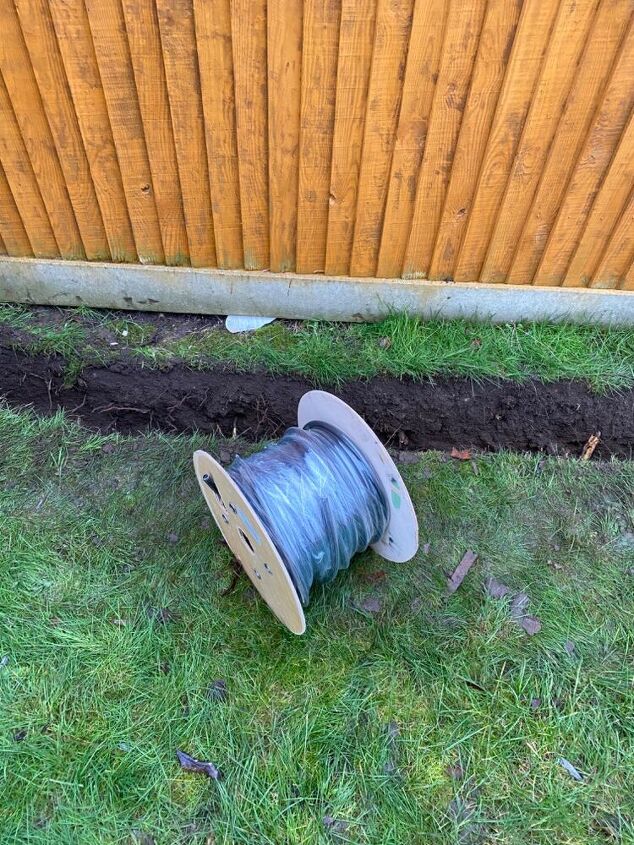
I found that CEF electrical had the best price for cut to measure 3core armoured cable. It also came on this spool which made laying it out super easy.
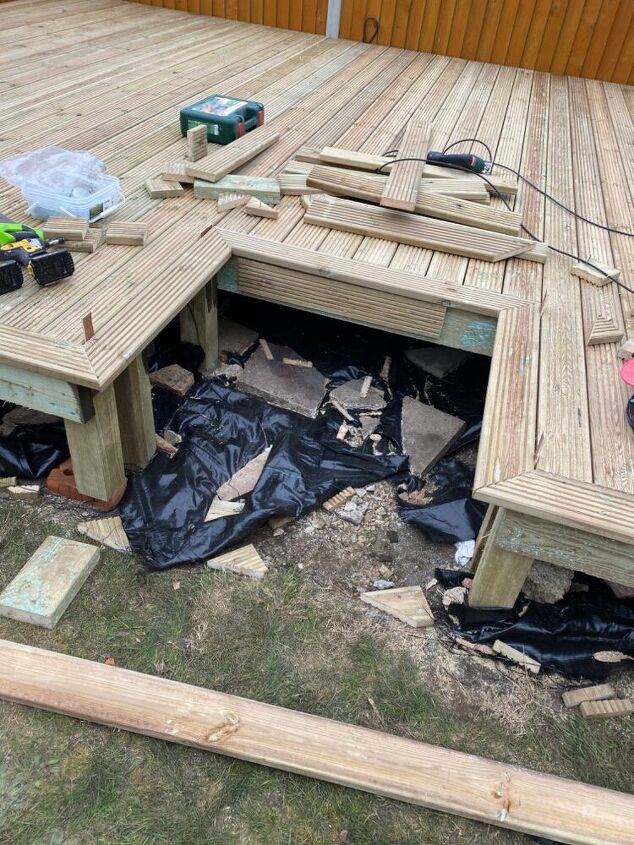
This was quite the challenge to get the steps right. Looking back at it now i wish i paid more attention to this part as the steps are further in the decking than I would of liked, but again its about learning for the future
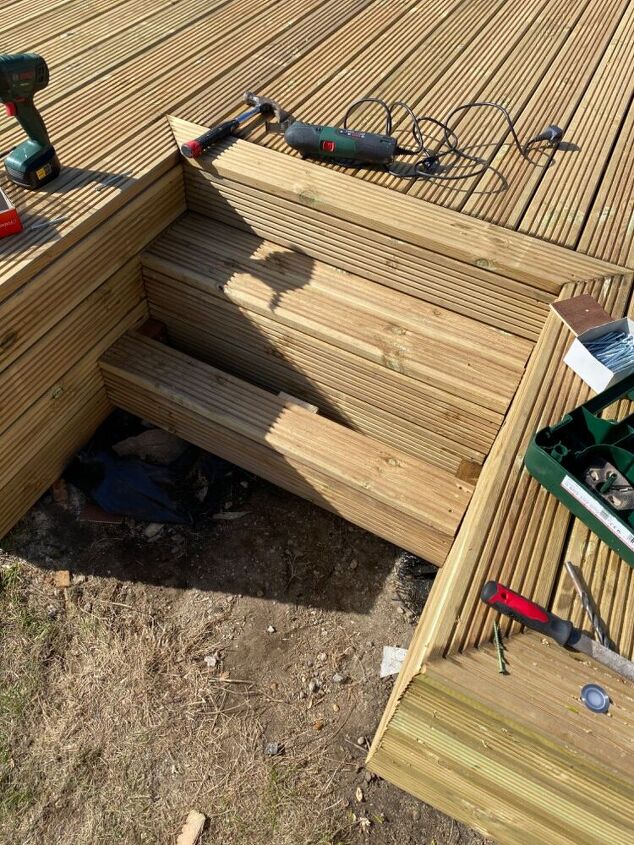
This is also where I put the waterproof housing for the electrics, that way I can just remove a stair tread to easily get to them should I want to replace or add anything
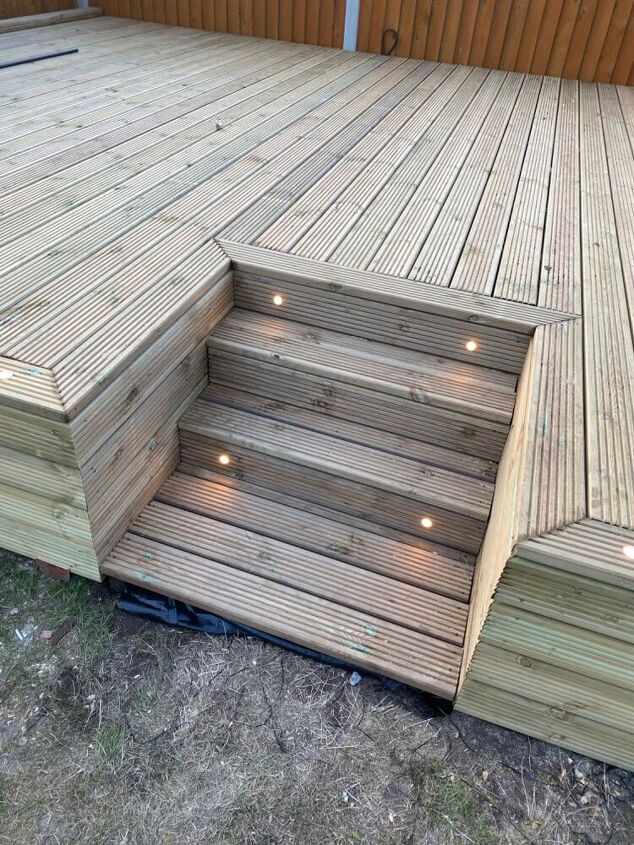
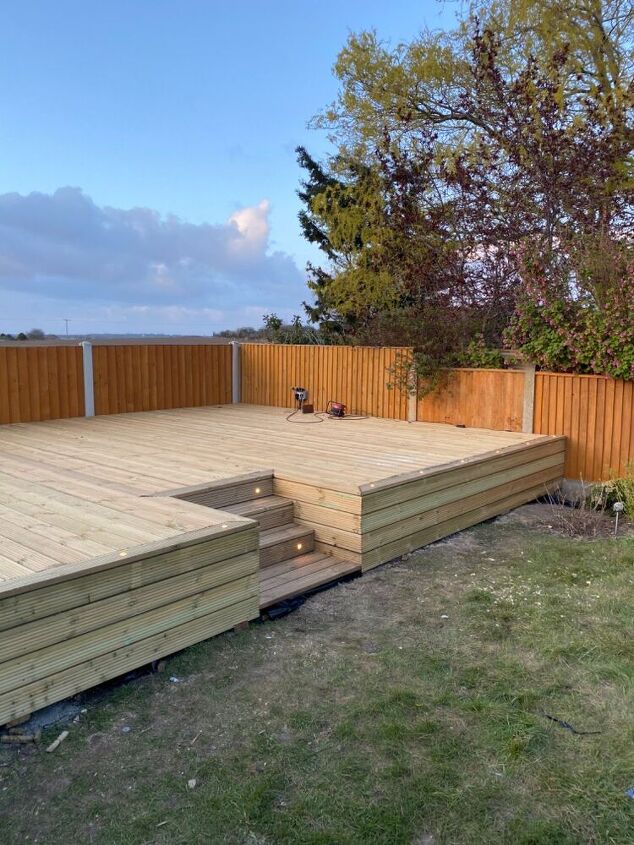
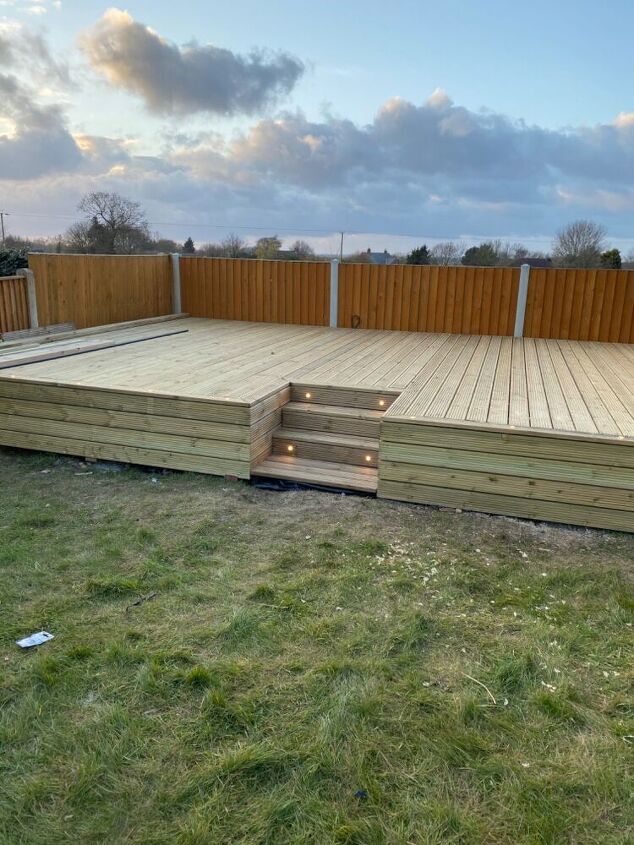
I’m still pleased how the turned out especially with the lights on them
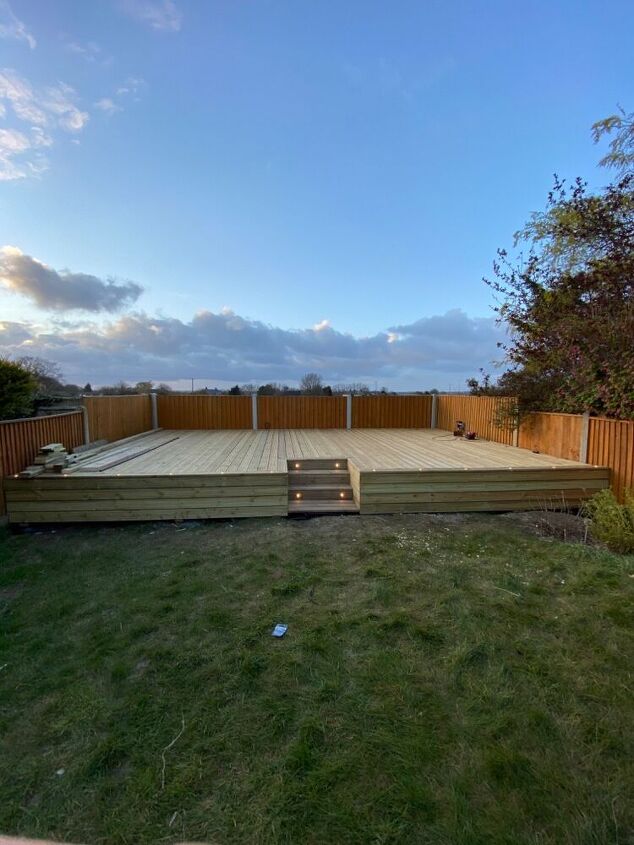
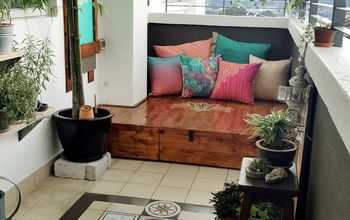
We are so pleased how this turned out in the end and has given us a really good space to entertain in the summer while being able to seat there and see across the view we are so lucky to have


Frequently asked questions
Have a question about this project?