


Bird Food Stars

With most people home a lot more than usual and lots of stories about there being more wildlife around, what better time to start feeding the birds! Here's a quick and easy tutorial to get you started- it really is worth it to be able to sit and watch all the different kinds of birds visit your garden.
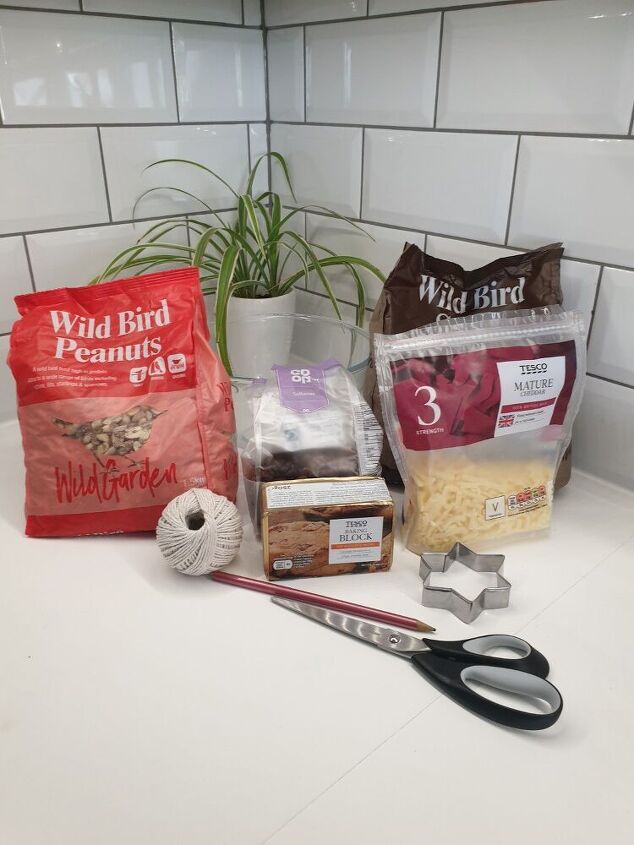
Here are all the things you'll need. Some of these are changeable or you can leave them out if you have some but not all of these things to hand, for example the cheese and the raisins. You'll need a mixing bowl, peanuts, wild bird seed, grated cheese, raisins, some form of fat either lard or a baking block as I have chosen. You'll also need a cookie cutter in whatever shape you want your bird food, some string, some scissors and a pencil.
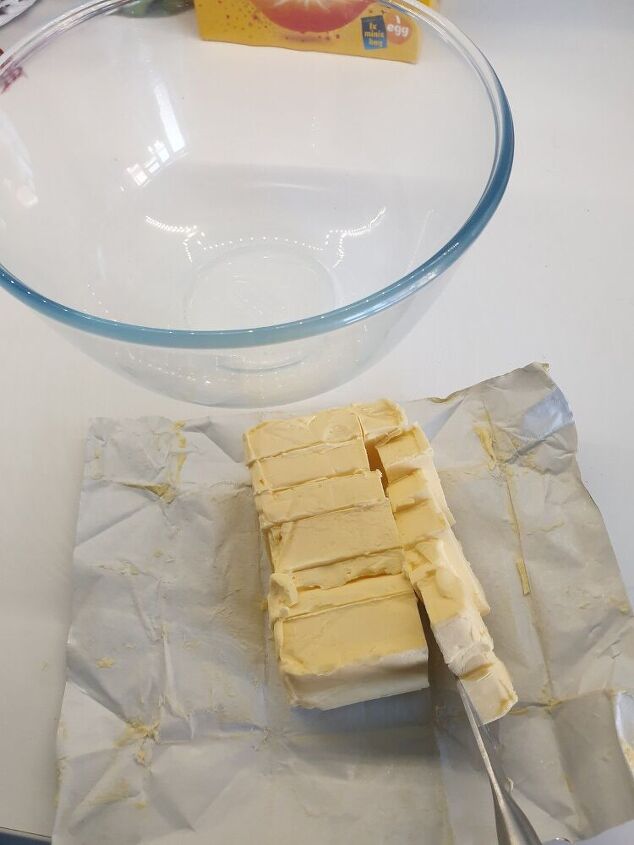
First allow your fat to get to room temperature and chop it into small cubes. This will make it easier to combine the other ingredients.
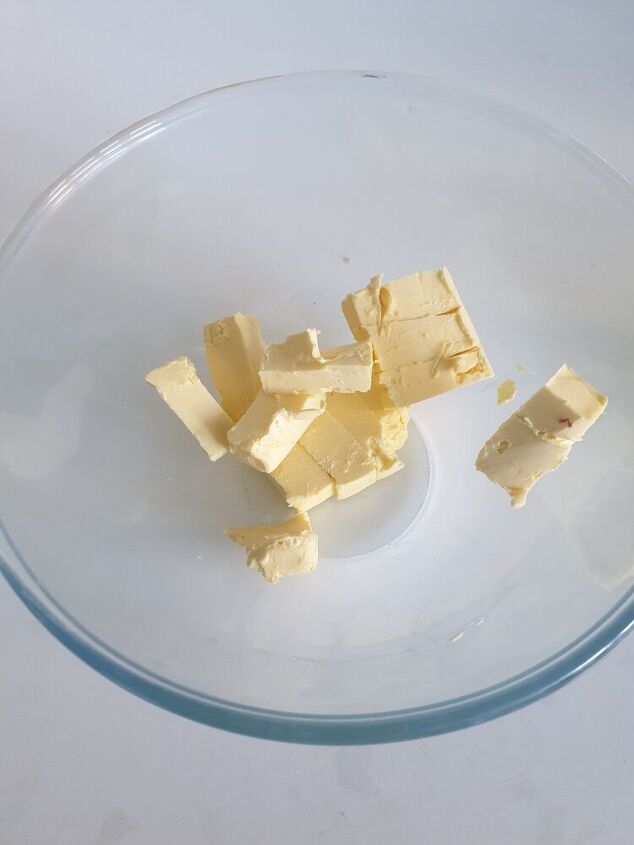
Next put your fat into your mixing bowl. I ended up using half a block because I realised that the whole block was rather a lot. If you want to make a huge batch, carry on and use the whole block just be aware you'll need quite a lot of the other ingredients too.
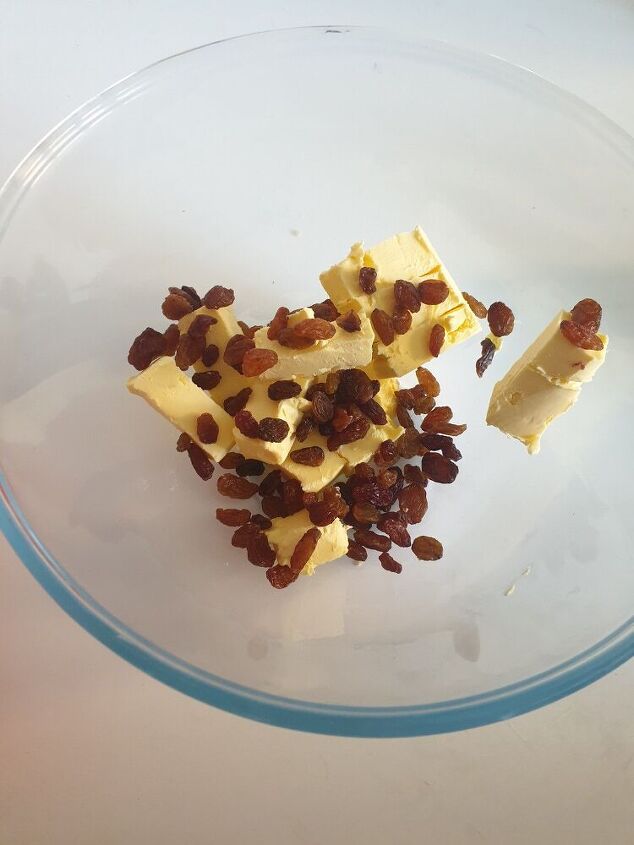
Add a large handful of raisins.
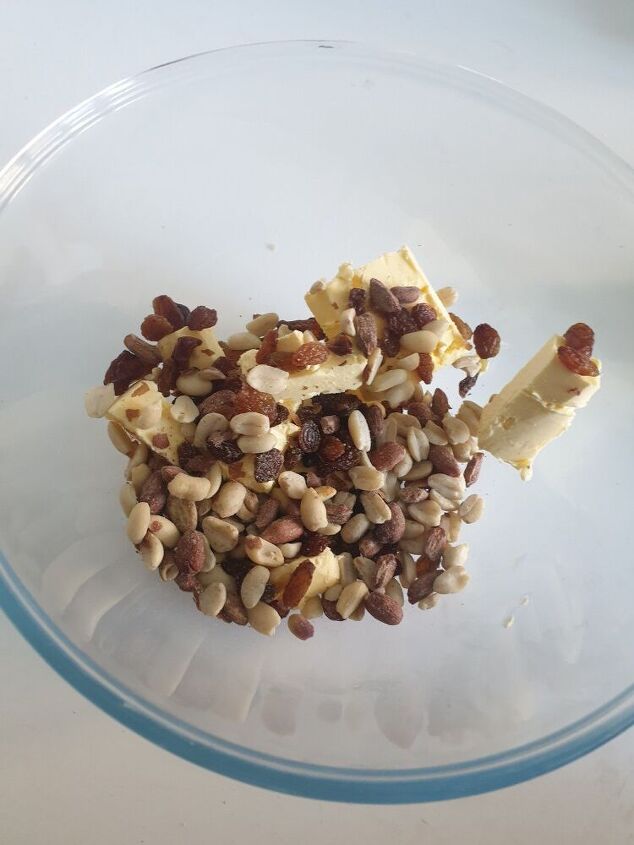
Add a large handful of peanuts.
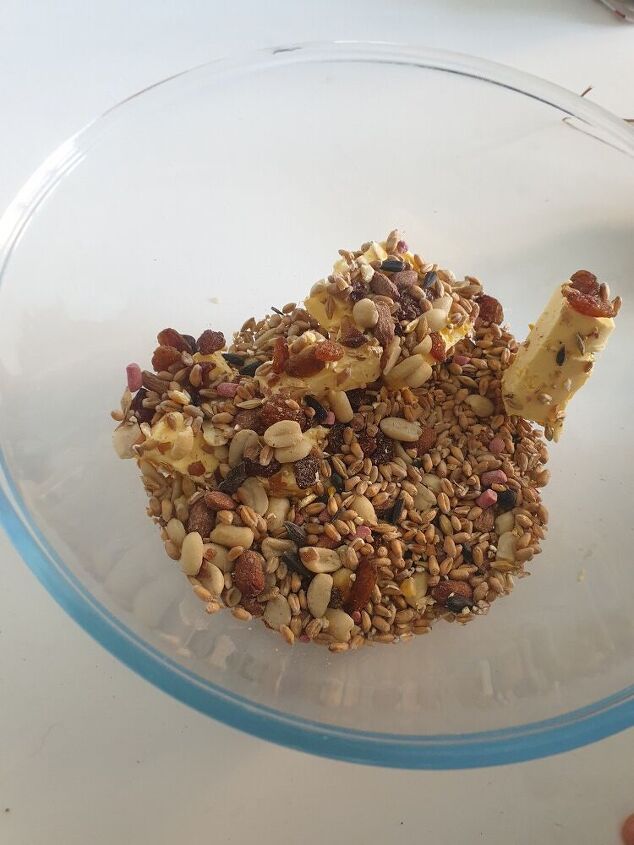
Add a large handful of seeds.
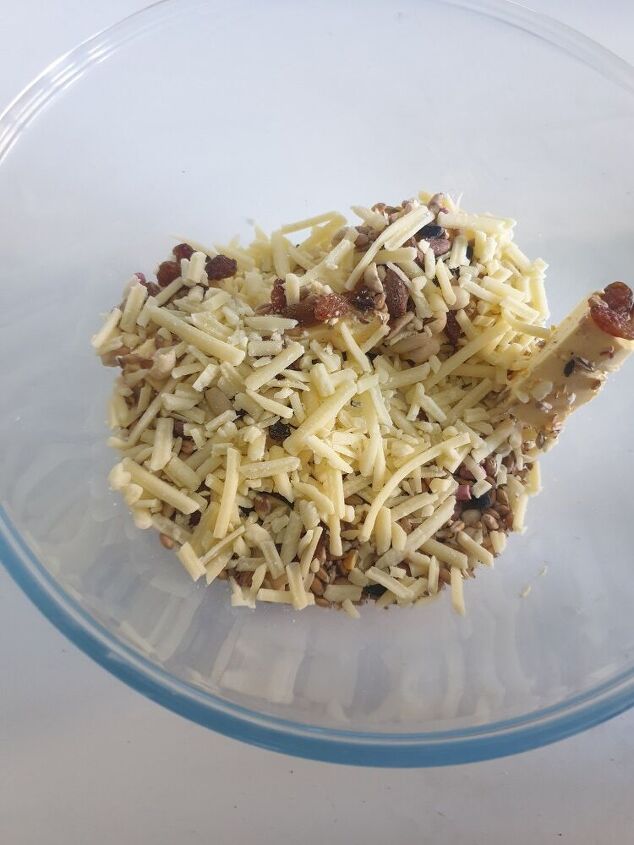
Add a large handful of grated cheese.

Combine all the ingredients with a wooden spoon and repeat previous steps to add more to your mix until it's all combined and evenly distributed but not falling apart.
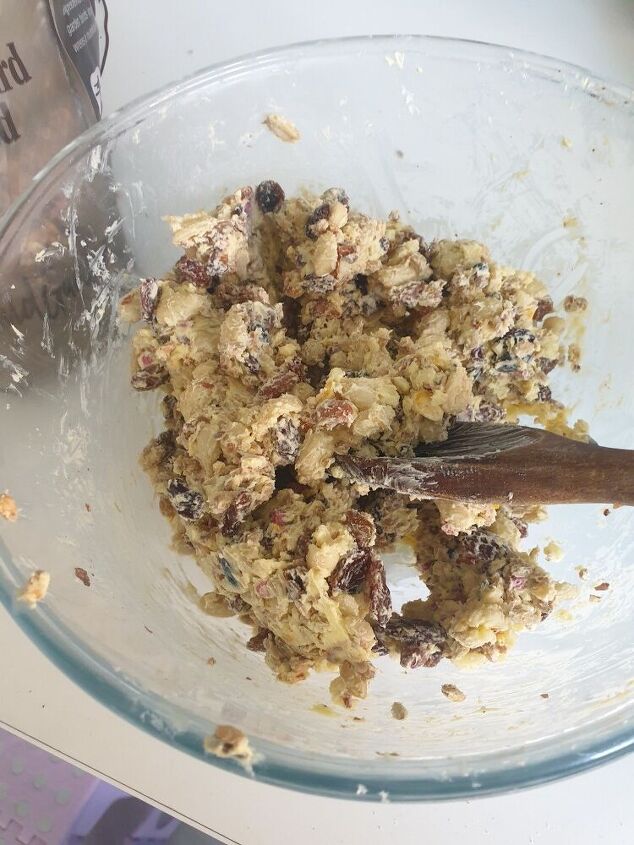
This is roughly what your mix should look like once it's ready for shaping. It will look slightly different if you've used lard as it is a different colour to the baking block I've used. There needs to be enough fat to set and hold the shape of the bird feeder.
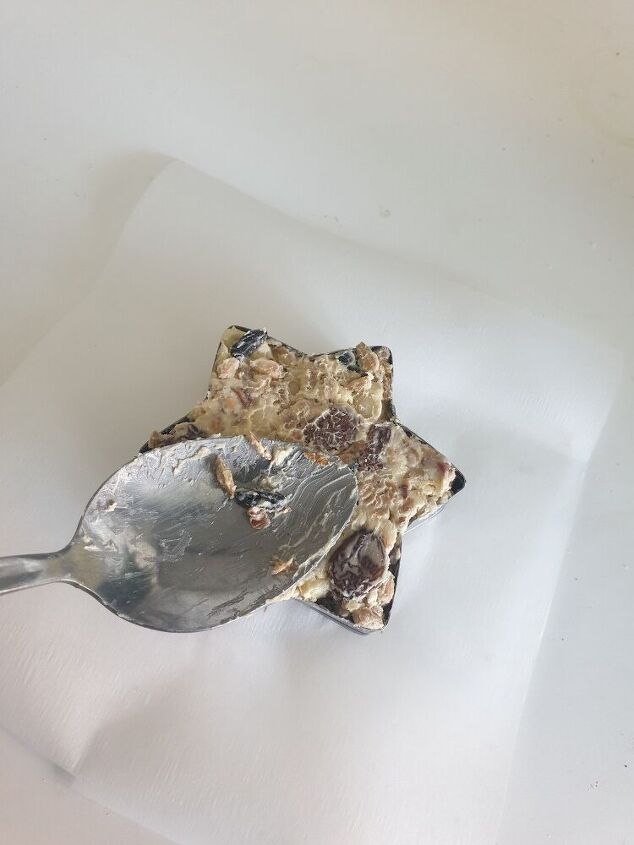
Next get some of the mix and push it into your chosen cookie cutter. Make sure you press down into all the corners so that you get a nice shape and your mix is solid.
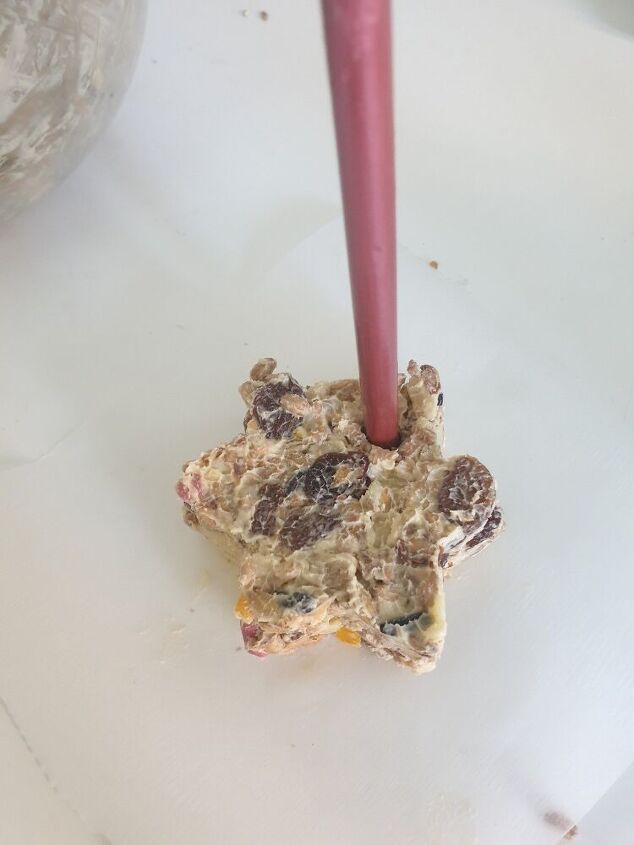
Once your mix is packed in solid, ease it out of the cutter. Now get your pencil and push thr tip through your mix wherever you want to hang it from. Take care at this stage because the mix isn't set yet so it's easy to break the shape.
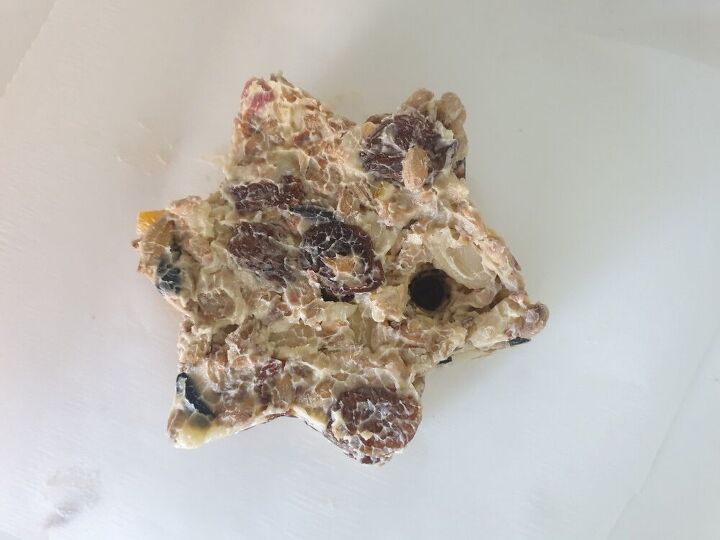
What you should have now is something that looks like this. Repeat previous steps to create more stars until your mix is used up. Place all your stars, with holes, in thr fridge to set.
I should mention at this stage that the hole and string steps are optional. If you want to place the stars onto your bird table or onto a plate as they are that's totally fine too. It could in fact be argued that it's better to leave them as they are because there's no risk of the string getting tangled onto a bird's leg or anywhere else.
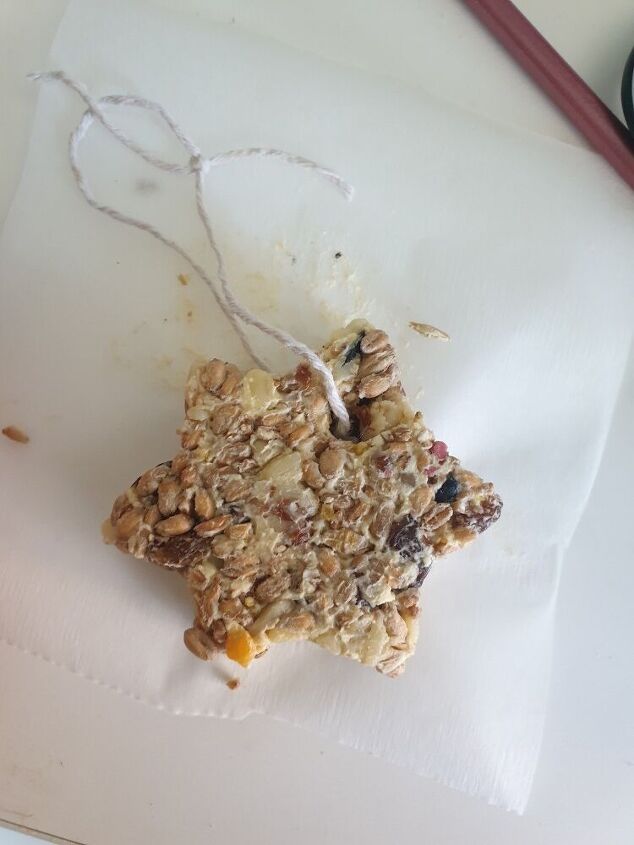
If you DO want to continue with the string, once the mix has been set in the fridge for a few hours at least (overnight is better), you should be able to thread the string through the hole and knot as shown.

Finally find somewhere to hang your star. When I do this again I'll definitely leave them without holes and put them onto a bird table because I didn't put it in the shade and within a couple of hours the star had fallen off the string as it had softened in the sun. If you want to hang them, find somewhere in the shade!
So there you have it. Simple but effective bird feeders. Ours have attracted blackbirds, wood pigeons, starlings, magpies and sparrows! Also a squirrel!
For more eco ideas visit @plastic_what_you_preach on Instagram:-)


Comments
Join the conversation
-
Just a word of warning, if you have dogs make sure they can’t get at the bird feed. Raisins are toxic to dogs, I don’t know about cats.
-
Looks like a winter project to me.


Frequently asked questions
Have a question about this project?
Does the fat hold its shape in the sun or does it run? Thanks
My question to is same as above…?
I didn’t know birds like cheese....