


Check Out This Unique Tie-Dye Technique to Create Groovy Pillow Case

We all tie-dyed our shirts and sheets at camp in big vats of boiling water and dye, but did you know that there are quicker, easier ways to tie-dye? This technique doesn’t use the stove or big vats at all. With just a few, easy to find items you can tie-dye just about anything! In this tutorial I’ll show you how I tie dyed my pillow cases to perfection! So grab a white pillow case and jump in!
Tools and Materials:
- White cotton pillow case
- Permanent markers
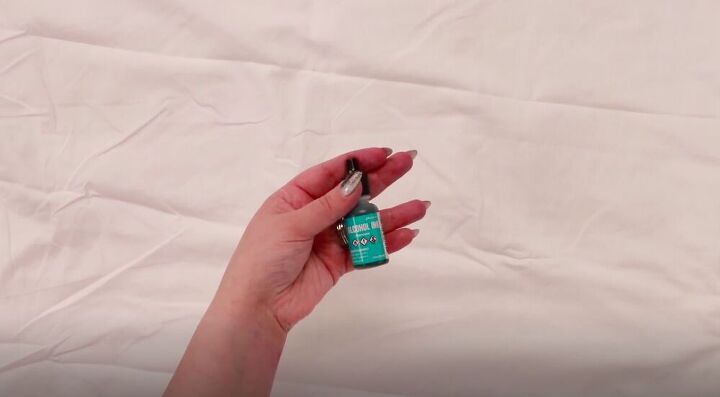
- Isopropyl alcohol
- Alcohol ink
- Spray bottle
- Heat proof paper
- Iron
- Gloves
- Plastic to protect whatever surface you work on
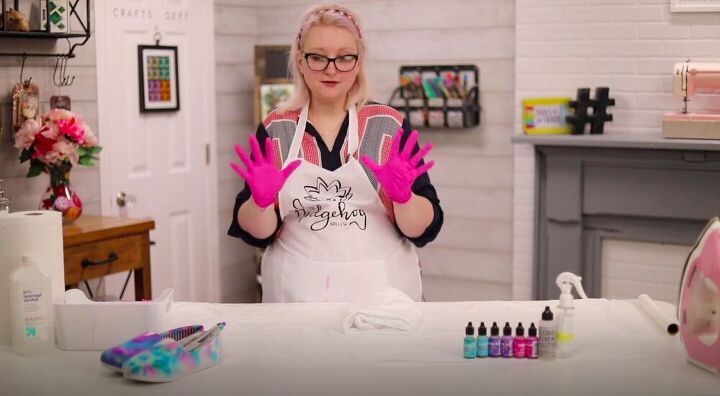
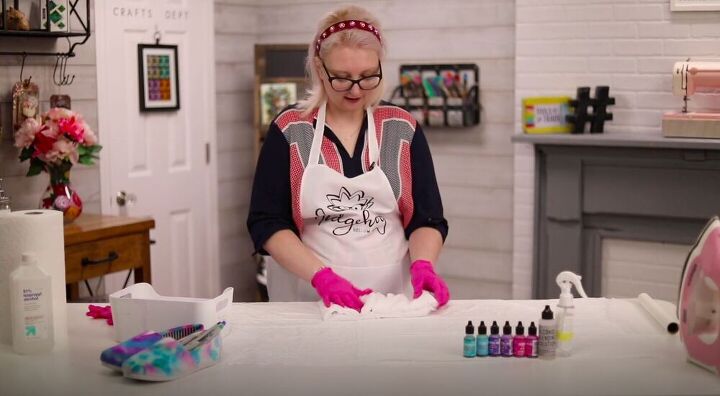
Before I started I made sure to cover my table with plastic, I used trash bags, and to put on some gloves. You can do this project without gloves, just know that the ink will stain your hands for a few days.
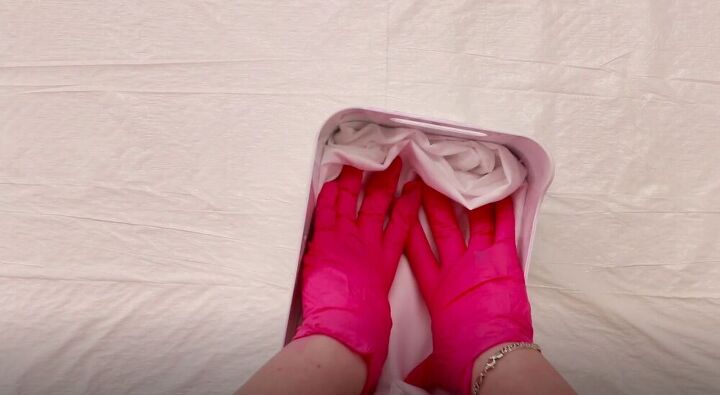
Then I saturated the whole pillow case in isopropyl alcohol. Make sure that it’s well saturated so that the colors you use will spread.
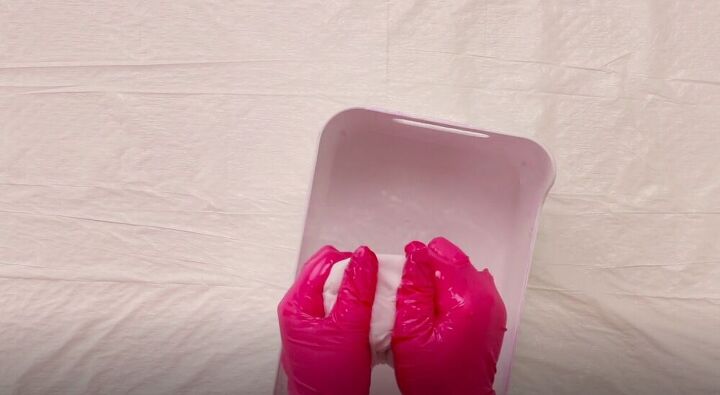
Give it a good squeeze before unfolding it on your table.
This part is really up to you. I chose to fold my pillow case into thirds and then fold the sides into the middle. You can fold however you see fit, just remember that the bits facing outside will get the most color.
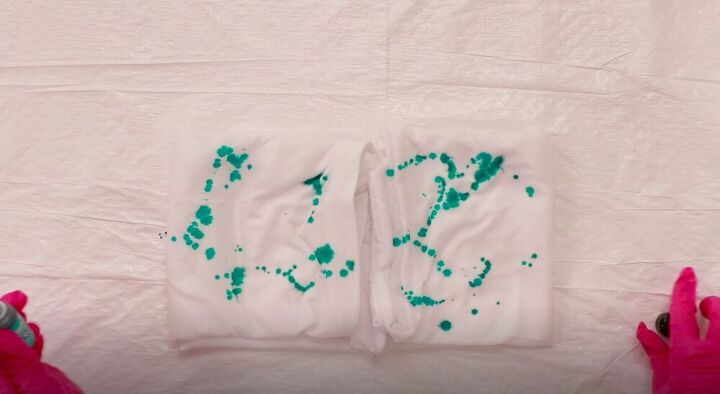
I sprinkled some alcohol ink onto the front and backs of my pillow case. You can add as many colors as you want, but they will mix together a bit so make sure not to let it get muddled. If you want to work with sharpie pens instead of alcohol ink go ahead and draw all over the fabric.
I noticed that purple tends to take over a bit, so I made sure to use a lot of the other colors and just a bit of purple. If you want you can use a blending solution to blend the colors more, but I haven’t found it necessary.
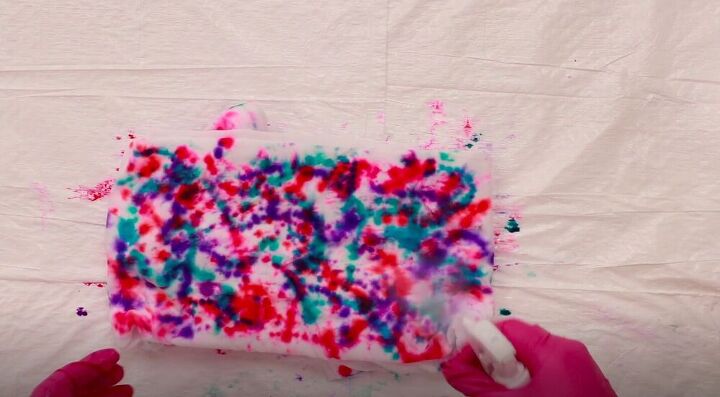
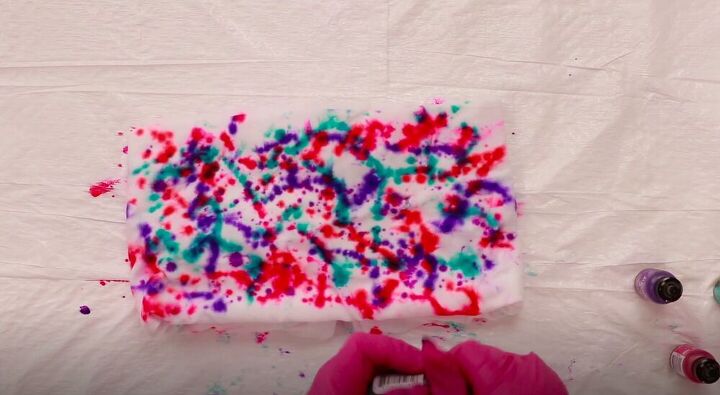
Using a spray bottle filled with isopropyl alcohol, I sprayed all over the front and back of the pillow case. If you used a blending solution, do not spray with it as it contains resin and is dangerous.
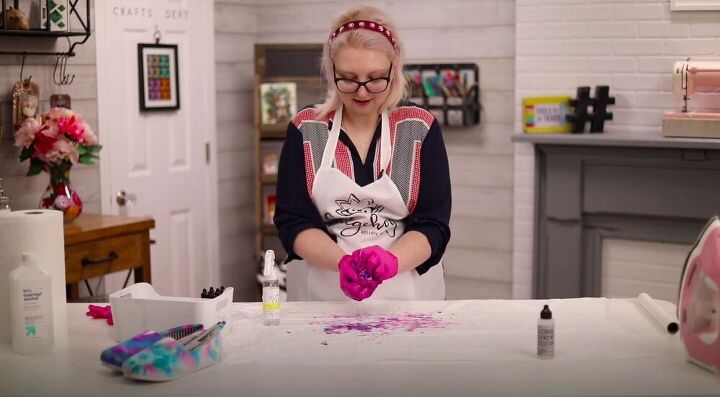
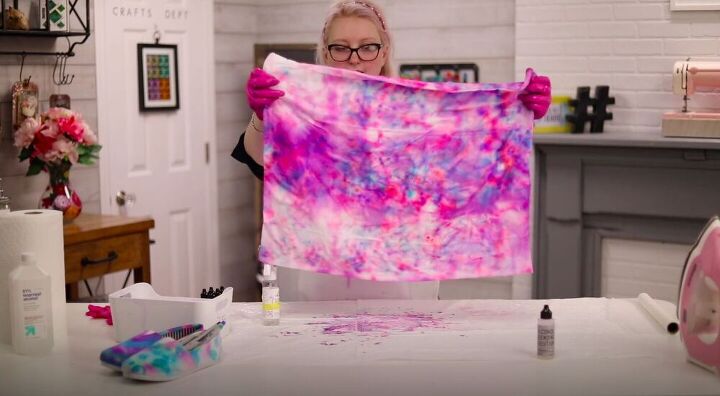
I scrunched up my pillow case and twisted it around a bit to move the color around. I love how much variation I get from the folds that I made at the beginning.
Tip:
If your surface happens to get stained in the process, spray and wipe with some isopropyl alcohol and it should come up easily.
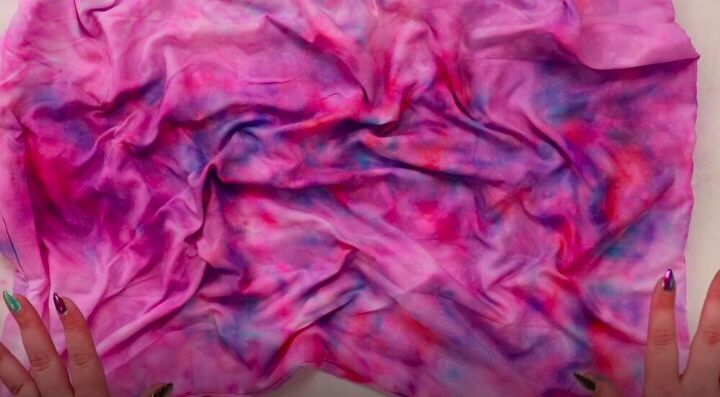
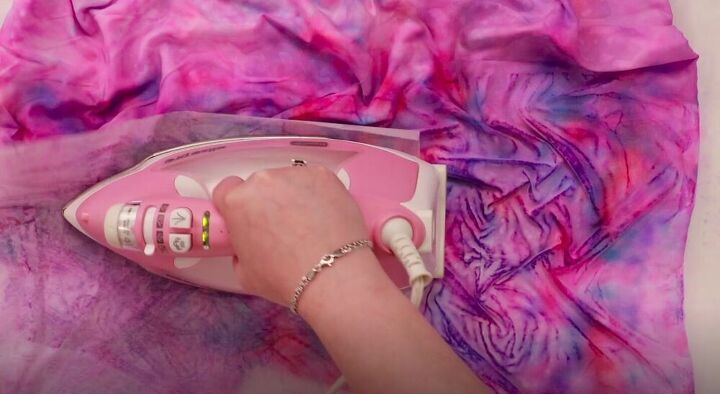
I lay the pillow case between two pieces of heat proof paper. Make sure not to lay it completely flat, you want some bits sticking up here and there to get a nice design with you iron. I set the iron to cotton on the highest temperature with no steam.
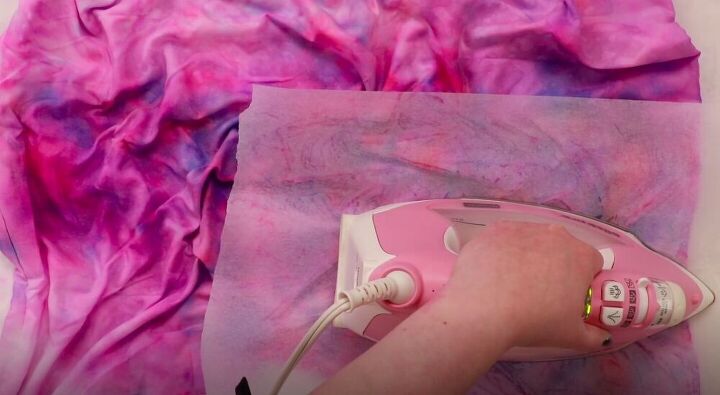
Then I pressed my iron bit by bit on different parts of the pillow case. Do not slide the iron because you’ll lose some of the design you’ve created.
Once this is finished all you need to do is pop the pillow case in the dryer and it will be ready to use.
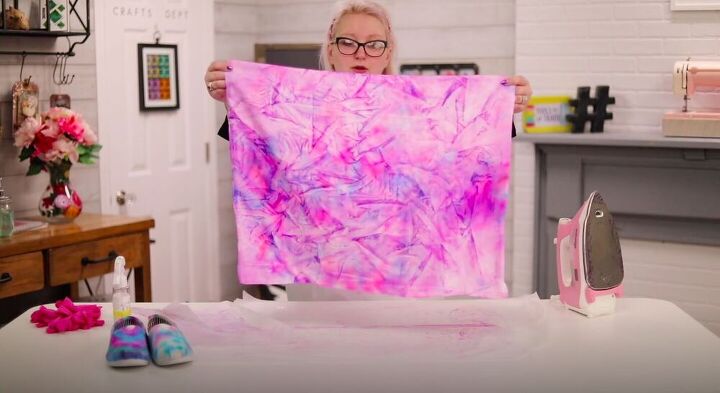

This technique can be used on any fabric! We decorated some shoes for my daughter for crazy shoe day at her school. You can customize to your heart’s desire! What would you tie-dye with this technique? Let me know in the comments below!


Comments
Join the conversation
-
It looks beautiful. How will it do in the washing machine? Will the colors bleed onto anything else?


Frequently asked questions
Have a question about this project?
AC Moore closed where I live Michael's doesn't always have stuff you need where did you find the colored ink? And how much is one bottle?I would tye dye a t shirt if I found cheap shirts but I know Michael's doesn't sell them... thanks it looks like a cool idea for the summer.
How do you heat set the shoes? Will a heat gun work?