


4 Simple Ways to Spruce Up Your Yard
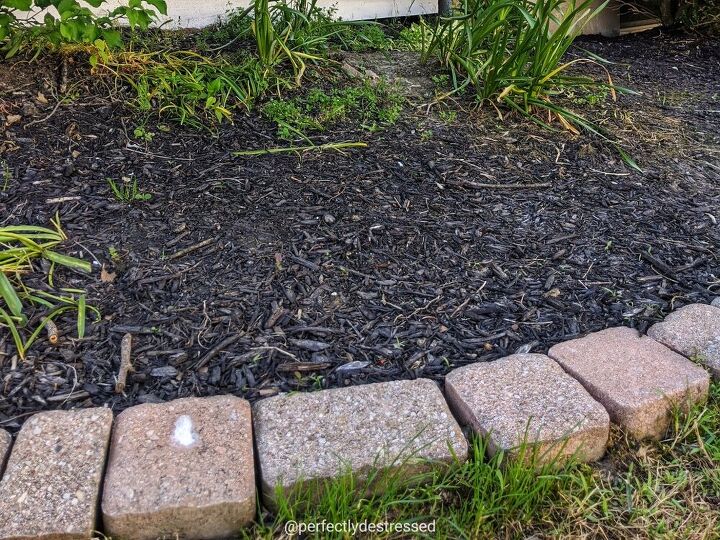
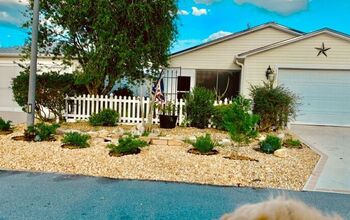
This post was sponsored by WORX Tools. All opinions are my own.Caring for my large family, instructing school at home, and basic every-day housekeeping tends to take up a majority of my time. I try to maintain our yard and flower beds to keep up the exterior appearance of my home, but sometimes the lawn just gets the best of me and the weeds and grass get out of hand! I decided it was time to tackle that side flower bed that has been left untended and unloved since we originally built our front porch (ahem, 4 years ago!) It’s one of those “out of sight, out of mind” spots outside my home and it was past time I gave it a little TLC. I’ve broken down my flower bed makeover in 4 simple steps.
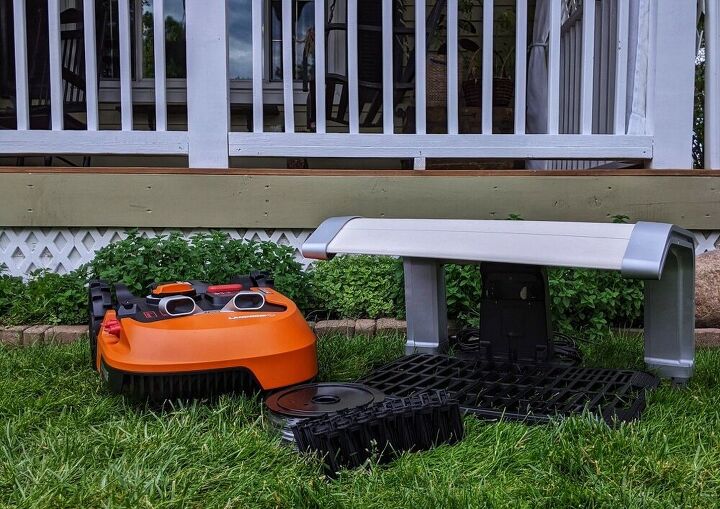
I mean, a lawn mower that mows the lawn on it’s own and even returns itself to the recharging base when it’s finished? I think I’m in love! I can’t even get my kids or my husband to put their shoes away after they wear them!
Set-up is a breeze and took just about an hour. There’s a lot of pictures in the Quick Start Guide, which is great for me. I’m a visual learner and tend to speed through the words, not to mention there’s typically kids running all around distracting me, so the pictures were definitely my friends!
Once we constructed the charging base or “garage” as my kids refer to it, we placed it on the side of our barn as it only receives the morning sun and was away from the play area.
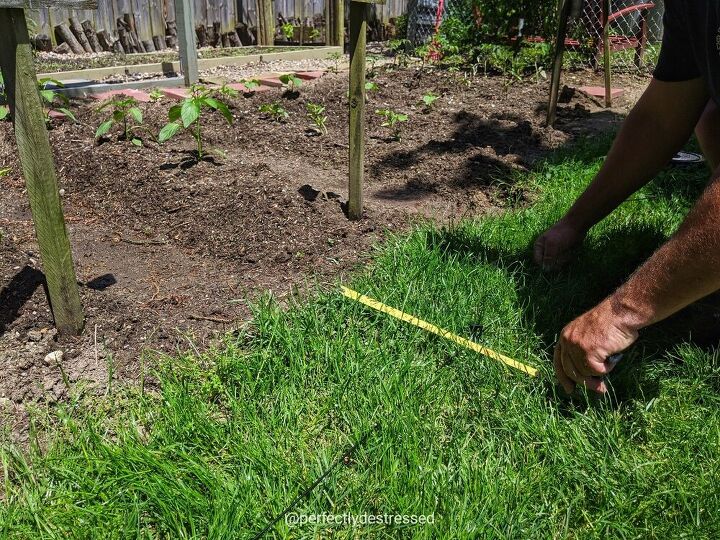
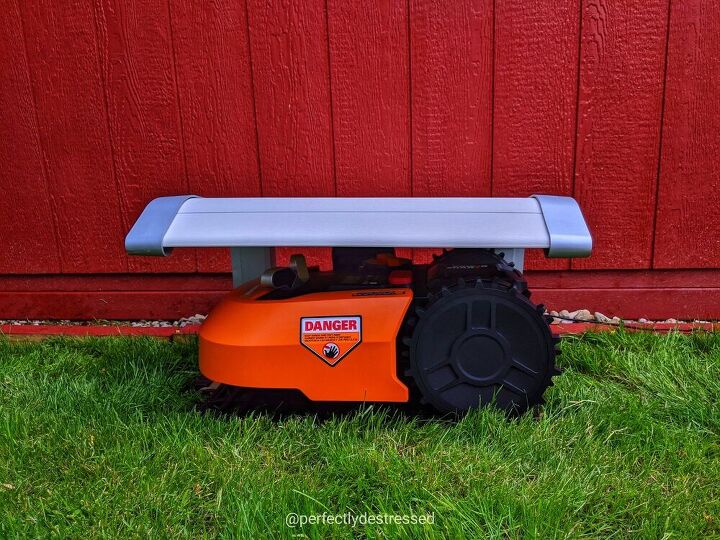
After measuring 10” from the edge of all of our lawn and gardens, we installed the boundary wire using the stakes directly to the surface of the lawn. And thanks to the Anti-Collision System, this robo guy senses my fences and even my kids playground equipment and toys (that are typically all over the place!) He simply detects them and navigates around them. No worries about anything being run over or ruined if we forget to do a toy clean-up before mowing day!
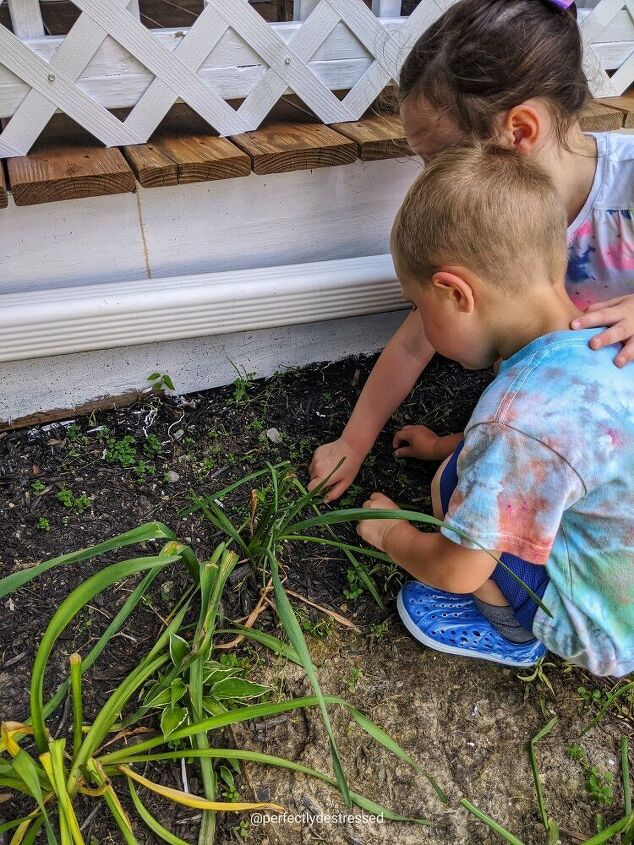
I know there are a load of spray weed killers on the market that can be used in the garden, but I prefer a “greener” route. I use a lot of elbow grease and patience and pull the weeds out at the root. Plus, if you have little helpers, they consider this tedious chore quite fun! Just be prepared for many, many, worm and bug distractions!
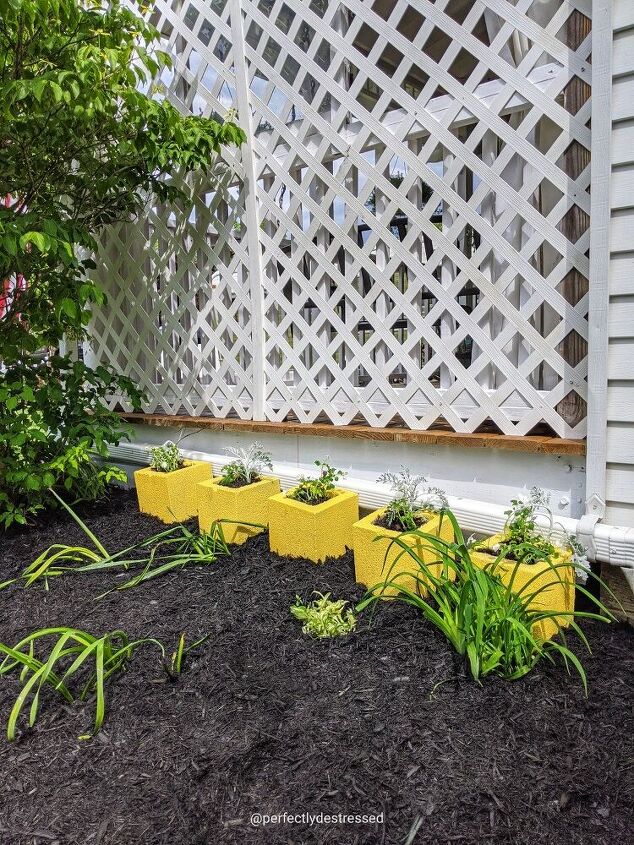
These DIY Concrete Flower Blocks were the perfect way to add some visual interest and a pop of color to this flower bed without spending a lot of money on pots.
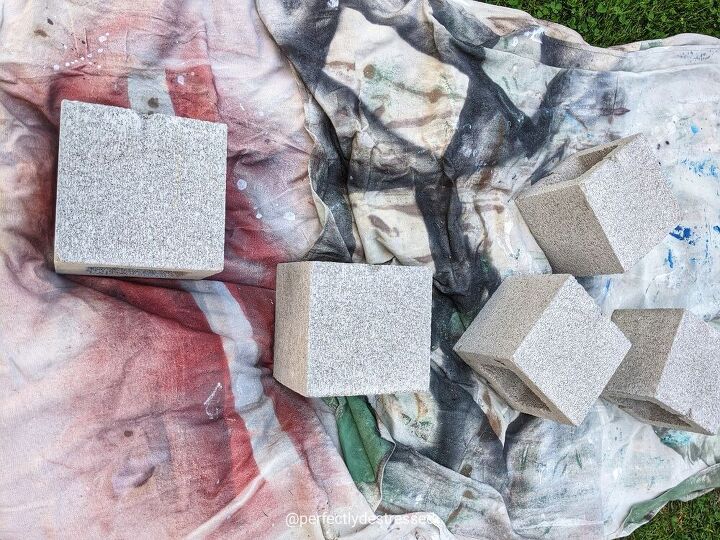
They were fast and simple to make - in under an hour I had these adorable blocks planted and in the garden!
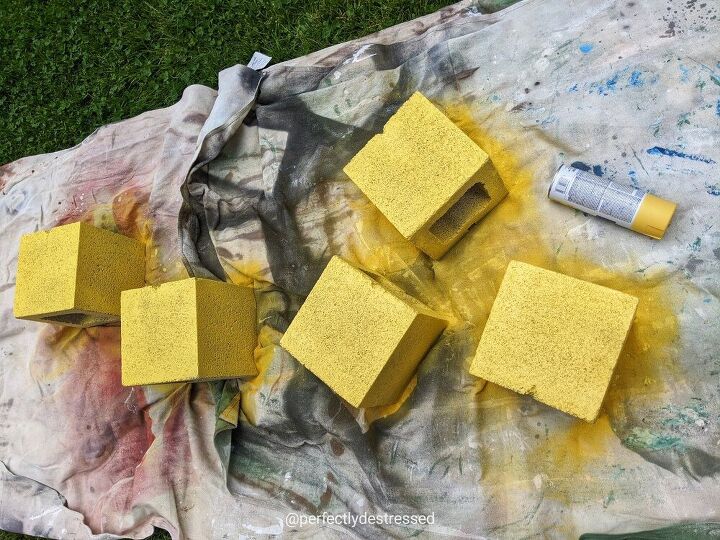
Taking 5 single, clean concrete blocks, I spray painted them yellow on the 4 sides and top. I didn’t bother with the bottom as I knew that would be sitting down in the soil.
Once dry, I filled them with potting soil and planted 3 annual flower bundles in each opening.
Don’t forget a good, thorough watering for your newly transplanted flowers!
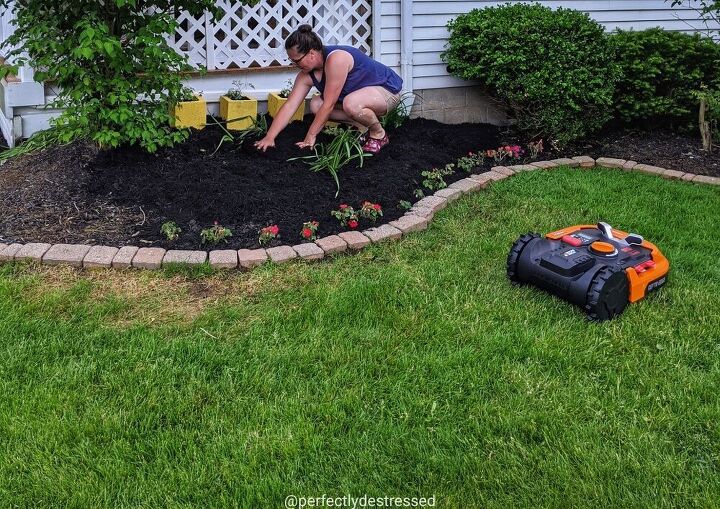
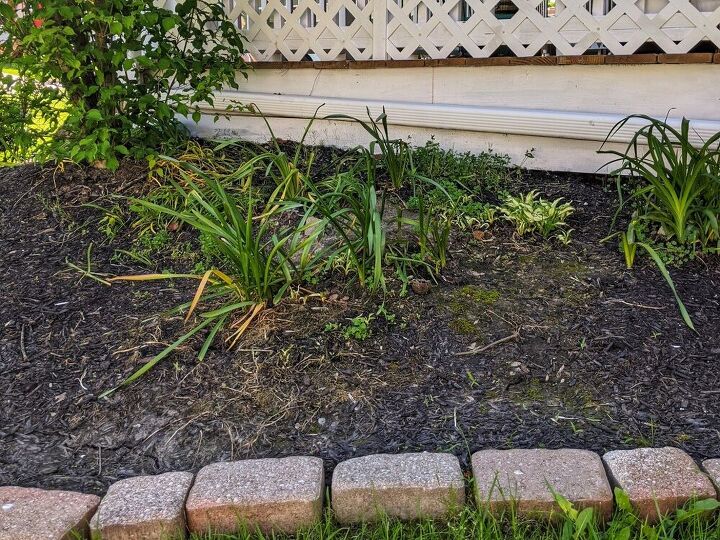
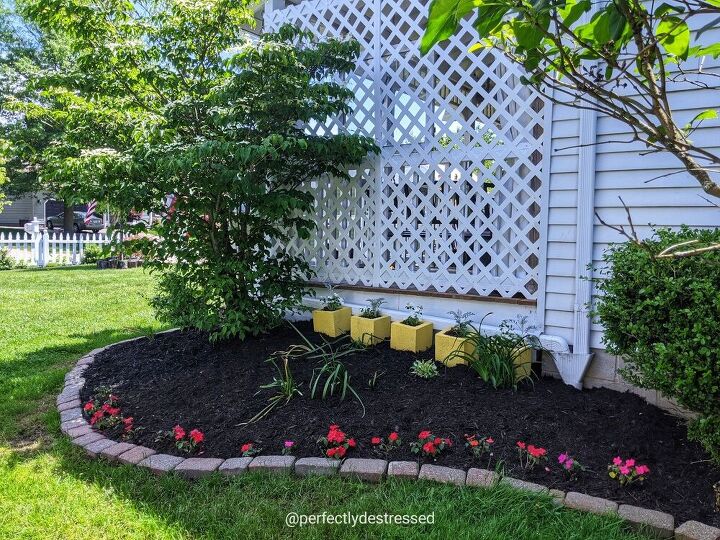
This side garden was once full of perennials. Many of the plants were destroyed due to the construction from the porch addition. I planted some temporary blooms to the garden with annual flowers along the border until the perennials (hopefully) return to their original glory. The mulch compost adds a layer of protection against future pesky weeds and controls erosion - which is great since it’s on a bit of an incline - all while adding organic matter for good soil nutrition. Win, win, win!
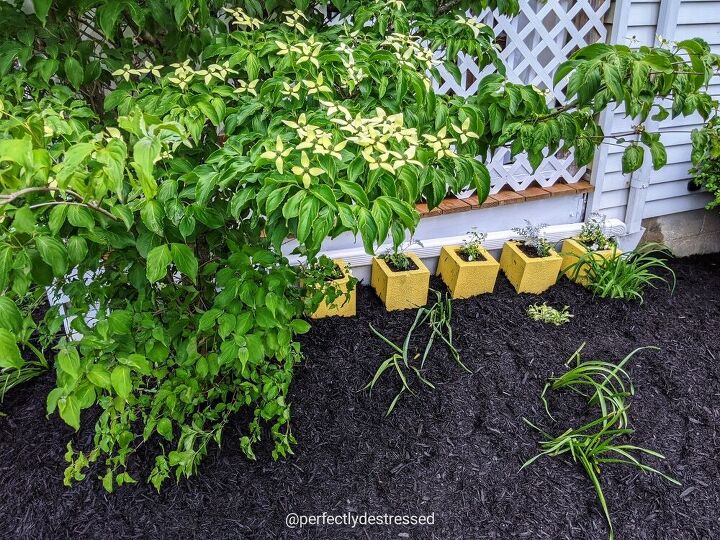
The end result is a flower bed that so many of my neighbors have complimented me on as they stroll by! It feels so good to check something off the bottom of the dreaded “To-Do” list!
Resources for this project:
See all materials


Comments
Join the conversation
-
Great idea and color in the winter when everything is dull like waiting soldiers waiting for it’s spring assignment, or pop some valentines in or shamrocks while they wait! Fail to see connection to robot lawn mower and colorful planters thought
-
Think I will borrower your idea, love the look !


Frequently asked questions
Have a question about this project?
So cute! I can’t wait to give this a whirl. Seems to be fairly inexpensive so I might try them on each side of my brick steps...and that would be 10 :-)
Love the pop of colour. The blocks shown in picture don’t look like the blocks advertised under “Resources for this project.” What are dimensions of each block and where did you purchase them? Thanks.
What made you decide to leave them all in a straight row and tucked away behind the trellis? Wouldn't they pop color better scattered around the bed?