


Update Your Space With This DIY Cabinet Makeover

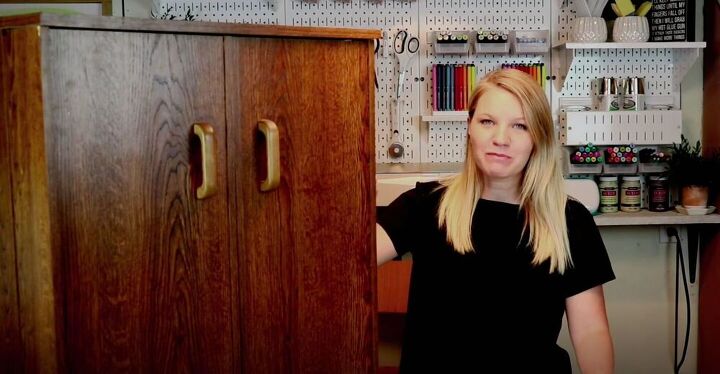
I love turning trash into treasure, and this project is no exception! My grandma was getting rid of an old VHS cabinet and I snapped it up. I knew that I could make something clean, contemporary, and functional for my home. In my step-by-step tutorial below I’ll show you how to work with MDF furniture and give you tips and tricks to help you refurbish old furniture that you may have laying around. Making over furniture doesn’t need to be intimidating, and once you’ve mastered these skills you’ll be looking for more pieces to update for your home. Check out my project to get started!
Tools and Materials:
- Old VHS cabinet
- Chalk paint
- Paintbrush
- Paint roller
- Contact paper
- Screwdriver
- Electric Sander
- Gold wax
- Lint-free cloth
- Wax brush
- Handles
- Wooden appliques
- Tape
I started by removing the handles. I’m using different handles for this project, but the original handles are pretty neat looking and made of wood so I’ll save them for another project.
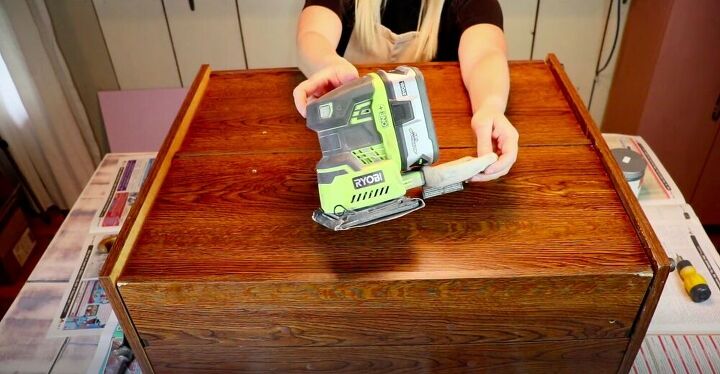
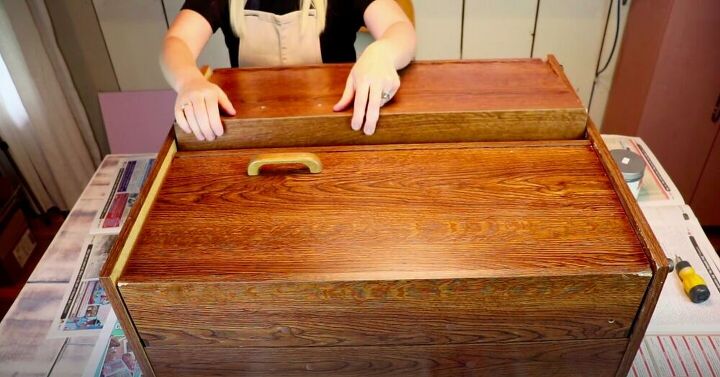
I also gave the whole piece a light sanding. Because it is made of MDF, it was important to make sure that I didn’t go too deep.
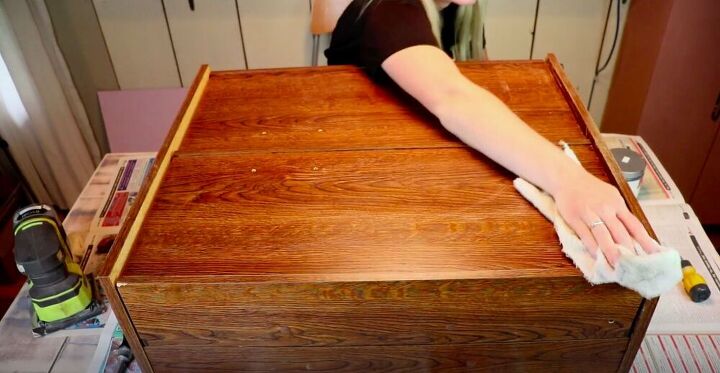
Then I wiped the whole piece clean and I was ready to paint.
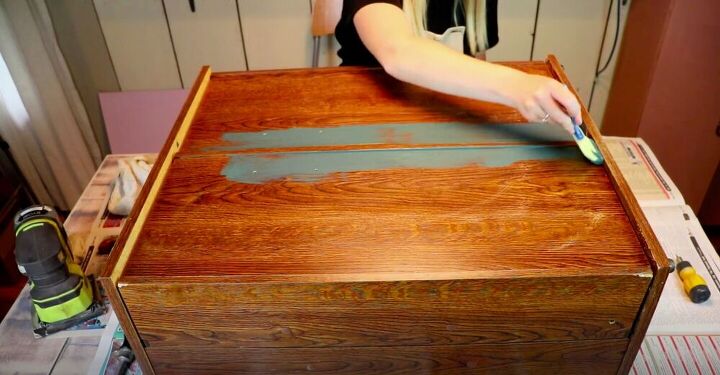
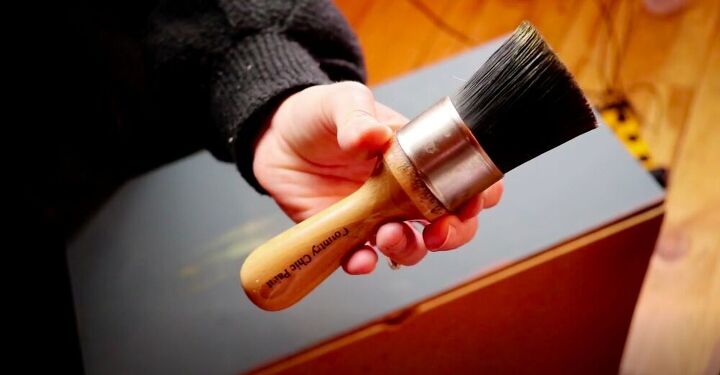
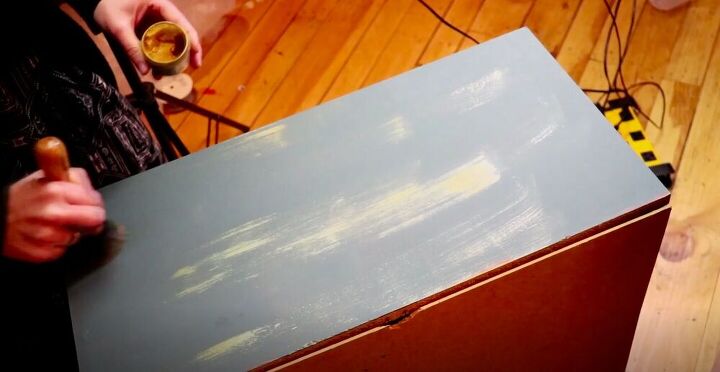
I used a foam brush to paint along spots where the foam roller would have some trouble reaching.
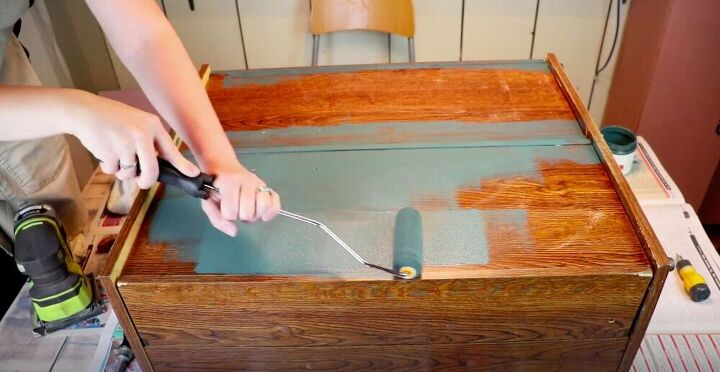
Then I used a foam roller to paint the rest of the piece. I like working with a foam roller because the paint goes on smoothly without leaving any brush strokes.
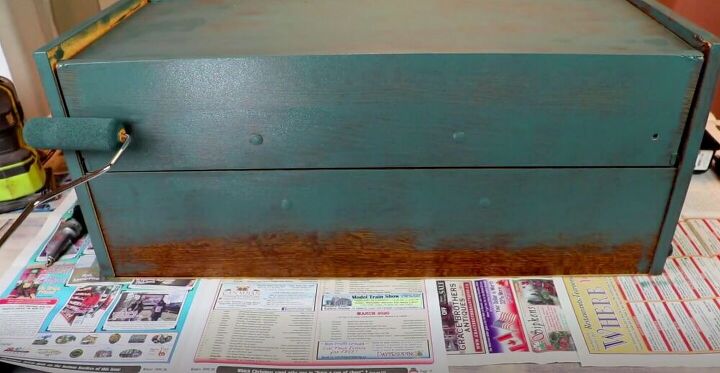
I used chalk paint for this project. When working with chalk paint you don’t need to sand or use a primer. This saves a lot of time and is also great for things that aren’t made of real wood. I painted two coats of the paint all over the piece, including the shelves on the inside.
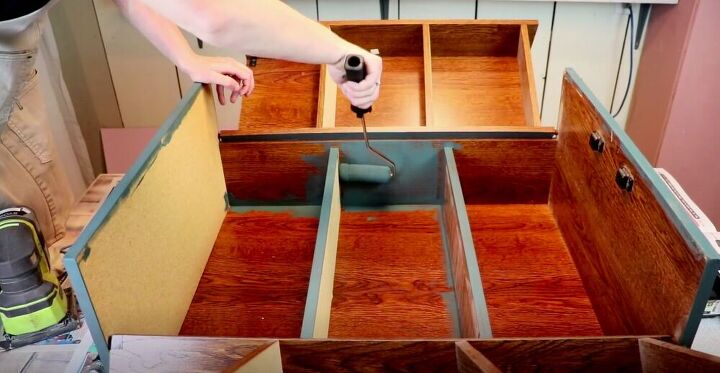
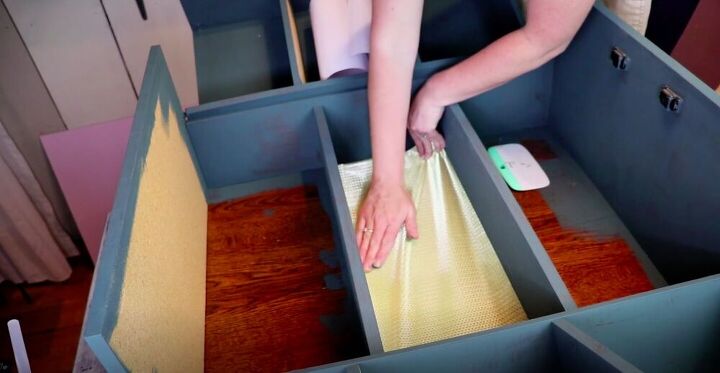
I didn’t paint the back of the inside of the piece as I was adding some contact paper there.
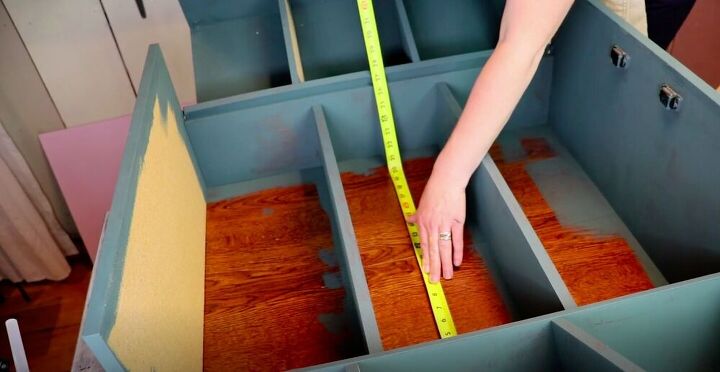
Once I had painted everything, I measured, cut, and stuck the contact paper in place.
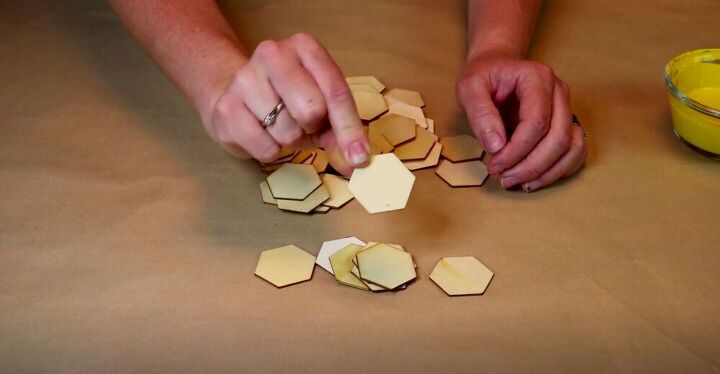
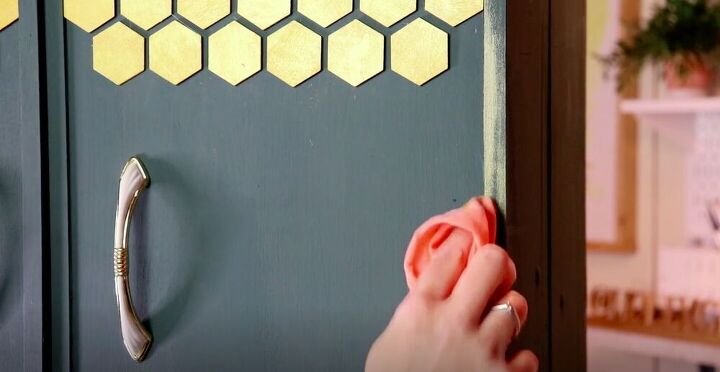
I wanted to create a nice applique with some wooden hexagons I had, but I needed to paint them first.
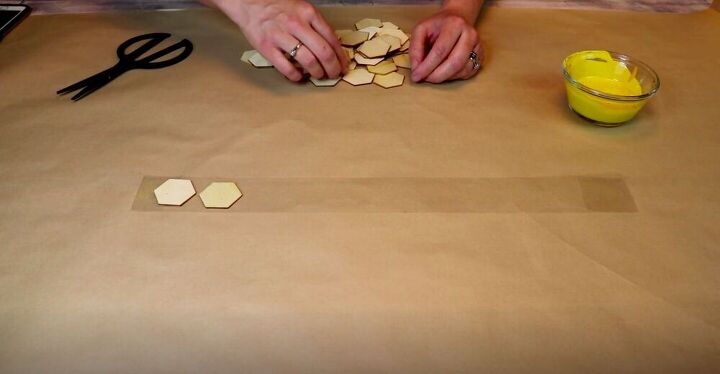
Tip:
When painting a whole bunch of little things, attach a piece of tape, sticky side up, to some butcher paper. Then stick everything you’re painting to the tape and paint then with a roller. This makes it quick and easy to get a lot done at once.
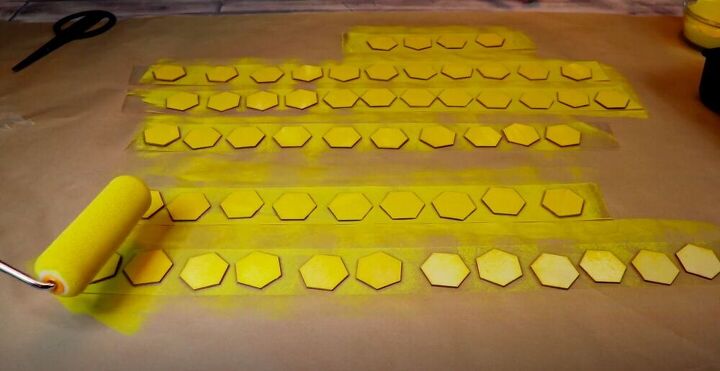
I painted all of my hexagons a nice bright yellow.
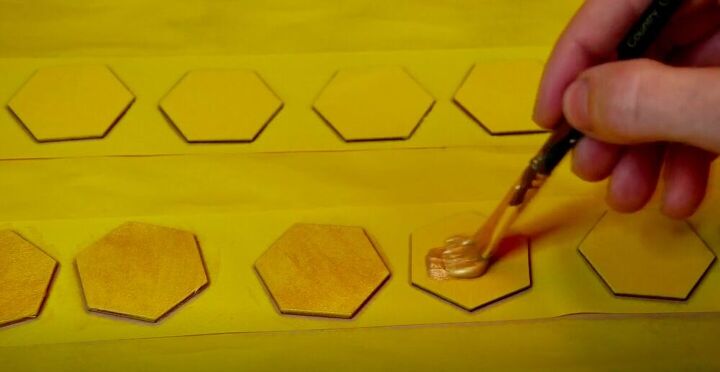
Then I added a layer of gold cream paint. I’ve found that this paint over a bright yellow really makes the piece shine and look like it’s made of gold.
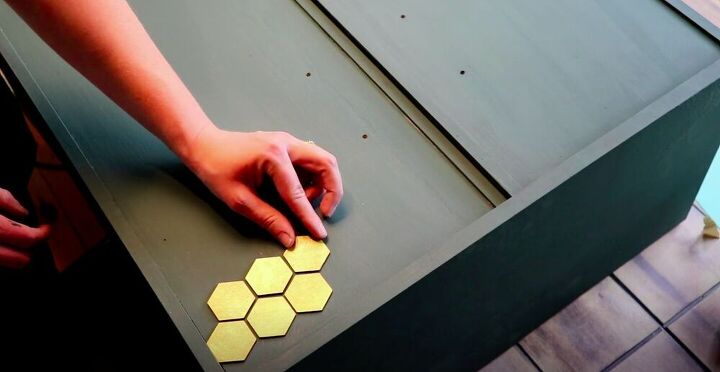
Using hot glue I glued the hexagons onto the cabinet. If you don’t want to use hot glue, E6000 or wood glue would work well here.
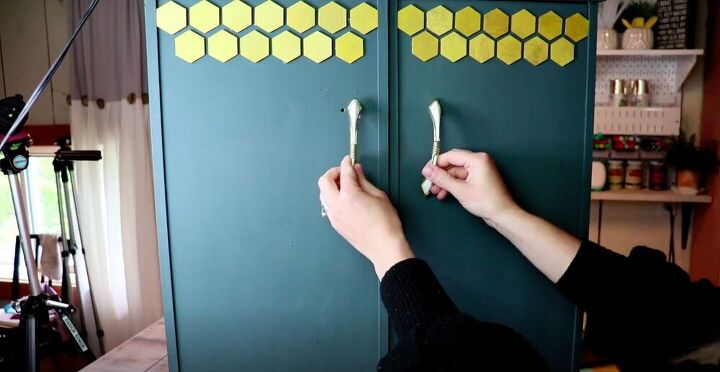
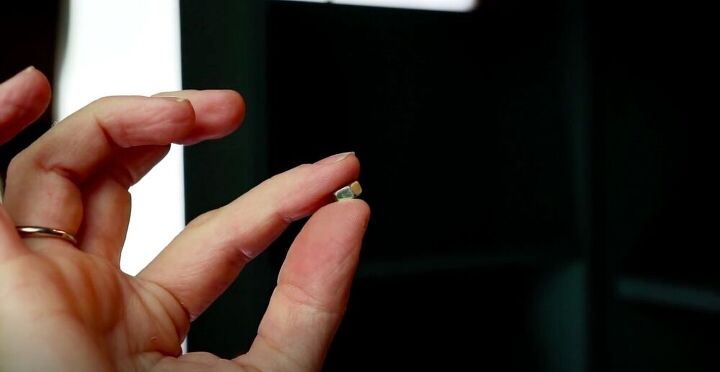
I had some handles that I loved, but the screws for them were a bit too long. Here’s a nice tip for what to do when this happens.
Tip:
If your screws are too long, add a nut on the inside and your problem is fixed. It acts as a stopper and helps your handles and drawer pulls fit nicely.
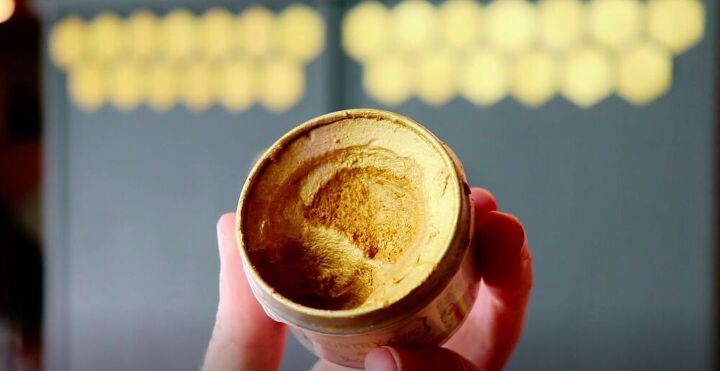
I used some gold wax and a lint-free cloth to apply the wax to my piece. I rubbed it along the edges to add some depth to my piece.
I used a wax brush to apply the gold wax to the top of my piece.
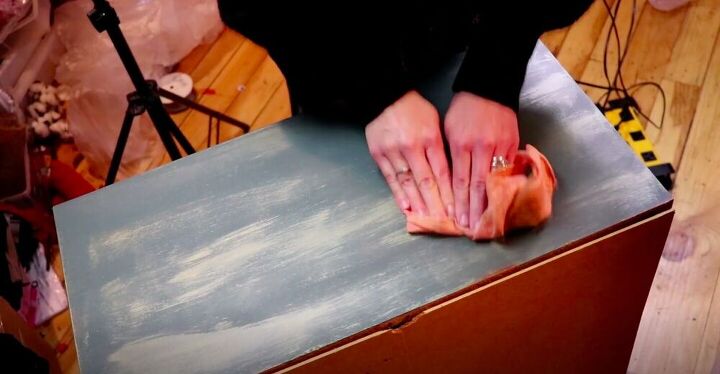
Then I let it sit for 12 hours before rubbing it in with a cloth.
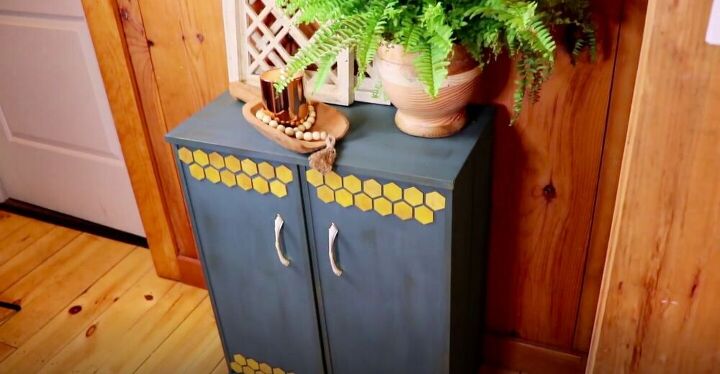
That’s it! I love how I updated an old cabinet into something contemporary and new. How have you upcycled old furniture? Let me know in the comments below!
Resources for this project:
See all materials


Comments
Join the conversation
-
Maybe you need a few honey bees stenciled on the front to go with the honeycomb design. 🐝
-
Very unique. I like it very much.


Frequently asked questions
Have a question about this project?
Did you pput legs on it to make it taller. A picture from the front would give a better view of the finished product.
How do you "attach a piece of tape, sticky side up, to some butcher paper?" It's not really "attached," it just lays on top of th paper. Does th weight of the hexagons keep it down while spray painting. I'm envisioning everything flying all over. Or, in my world anyway.