


How To Update A Lantern
I found this old lantern at a thrift store, and with a little love I turned I revamped it. I also found a way to change it up every season with a fun new twist. I'll show you how I updated this lantern and it's yellowing candle. You can see more of my crazy creations here
Here is the original lantern. It was full of cobwebs, and in need of being cleaned.
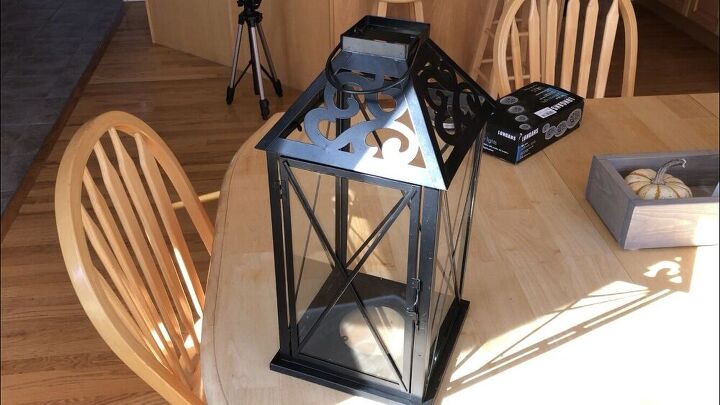
I washed the entire lantern and cleaned it all up. The metal looked great still so I didn't need to repair or paint it.
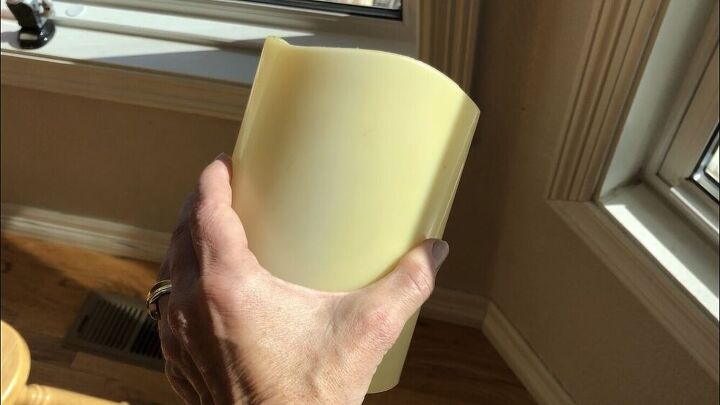
The candle inside was turning yellow and was discolored from being exposed to the sun.
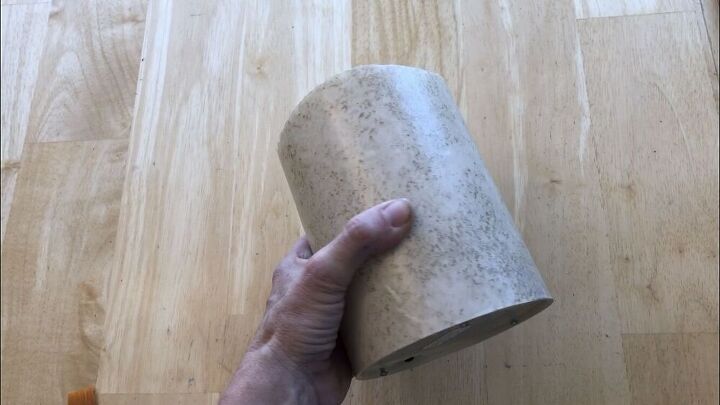
I added some contact paper to the outside from Dollar Tree.
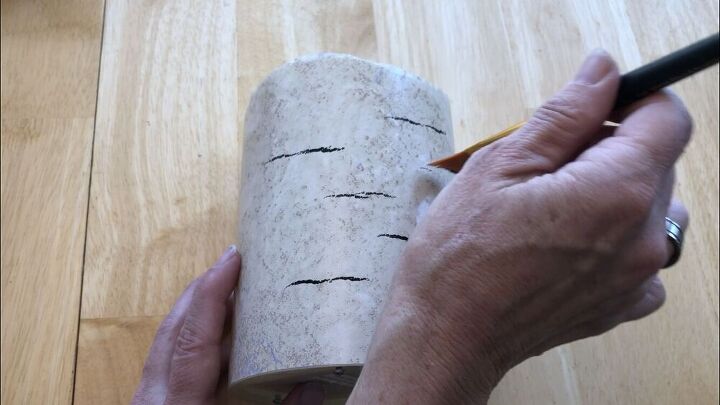
I used Apple Barrel black paint and made some little dash lines on the contact paper. My goal was to create a birch or aspen tree effect.
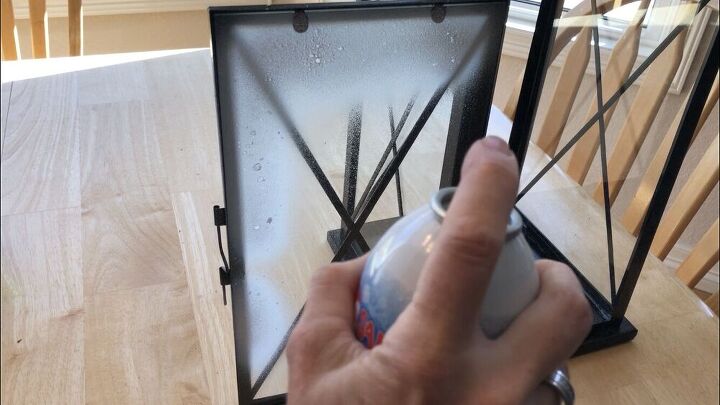
While the paint was drying, I added some spray snow to the glass window on the lantern. This would create an effect and perfect for the winter season. When the season is done, simply wipe off the spray snow. It's super easy to clean up.
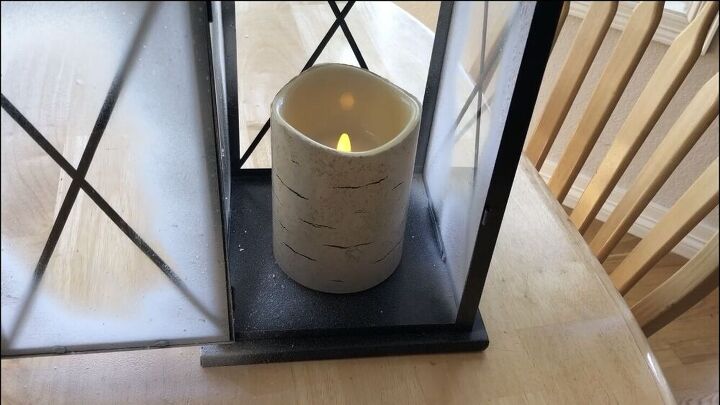
I put the candle back inside the lantern.
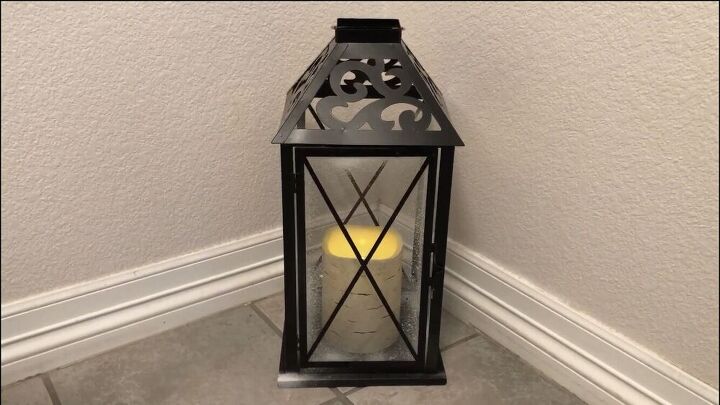
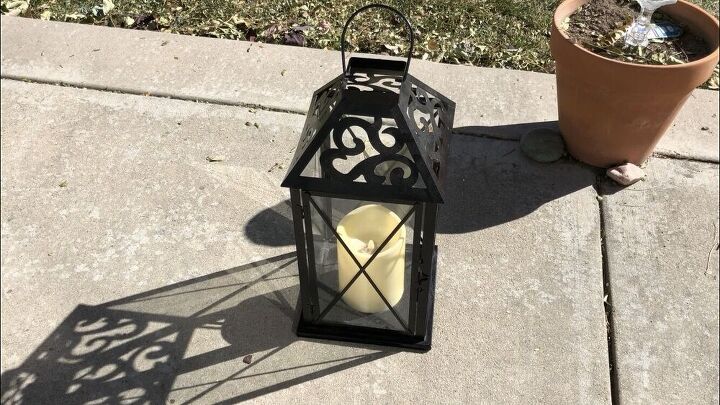
My lantern was ready for display.
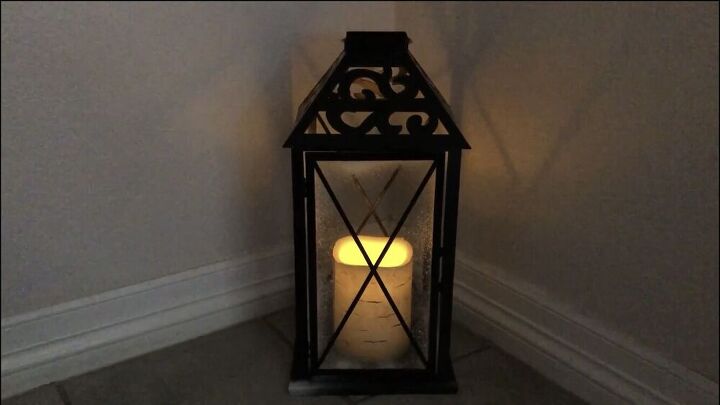
The great think I learned about this lantern is that the candle had a timer. So I turned the candle on when I wanted it to turn on in the evenings, it'll turn off after about 6 hours, and then it will turn back on the next day at the same time.
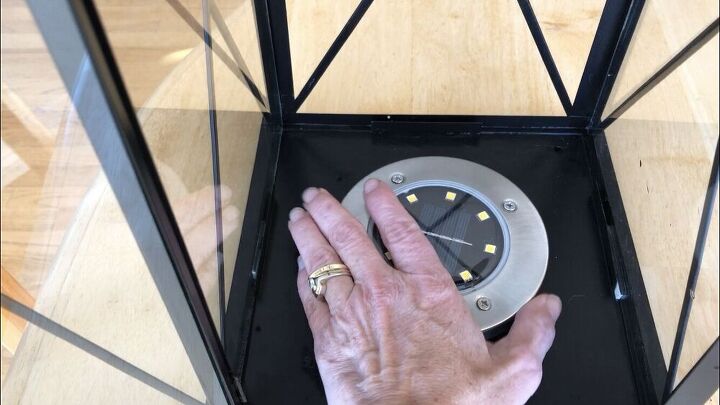
If the candle was too far gone, I was planning to add this flat solar light to the base. It fit in the candle hole perfectly.
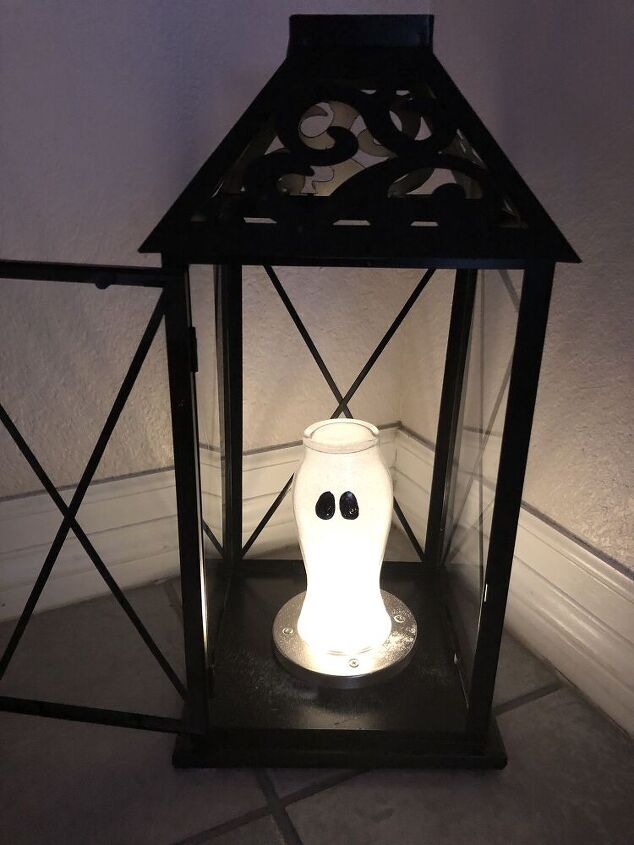
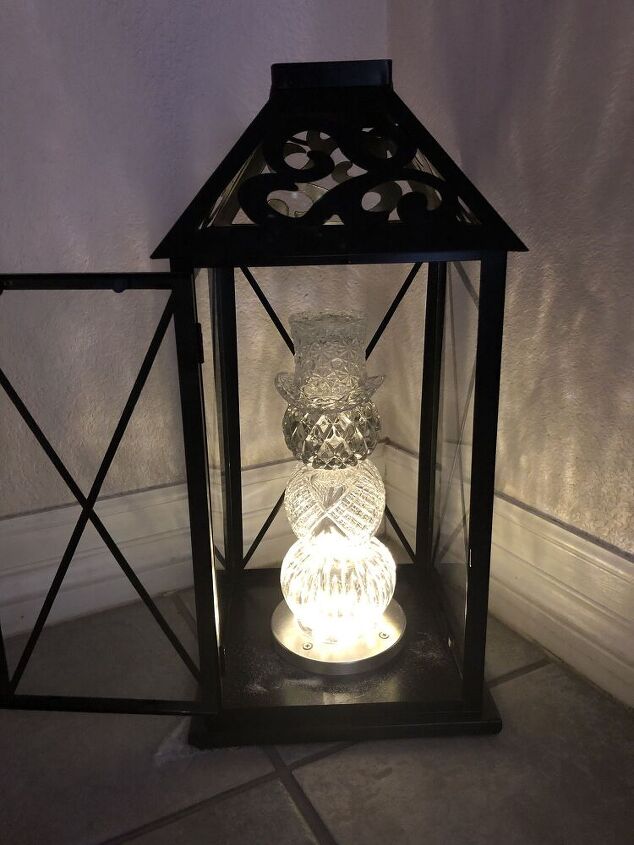
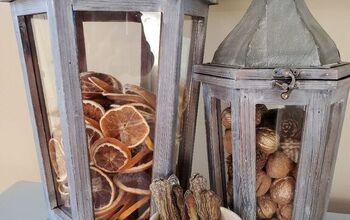
Then each season, I can add a glass decoration I have created on top of the solar light and it will glow in the evenings.
The only trick is to make sure it's glass so by day the solar light can receive enough sunlight to run in the evening.
I would love to have you stop by my blog Chas' Crazy Creations for the full tutorial as well as sign up for my latest creations, posts, recipes, exclusives, and more...
I would love for you to subscribe to my YouTube channel to see more of my crazy creations - https://www.youtube.com/c/chascrazycreations
Resources for this project:
See all materials


Comments
Join the conversation
-
Yes I am going to try it


Frequently asked questions
Have a question about this project?