


DIY Tiered Pallet Wood Planter
I recently make a wall mounted pallet bar for my daughter and I had some wood left over. I never throw away free wood so I wanted to try and make something with the leftover wood. You can never have to many planters in my opinion so it was an obvious option for me. I wanted to try and make a multi tiered planter to show off my succulents. This project can be adapted to any size you want and you can keep adding boxes if you need more.
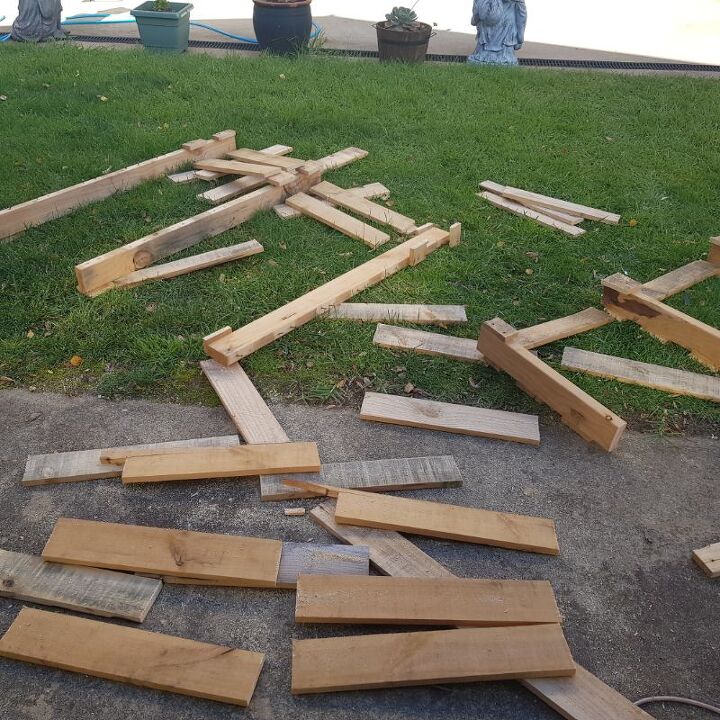
I was not strong enough to take the pallet apart, so after so struggling I gave up. Instead of having longer pieces I had to settle for shorter ones. You can use a jigsaw or handsaw and cut the wood in between the main pallet supports.
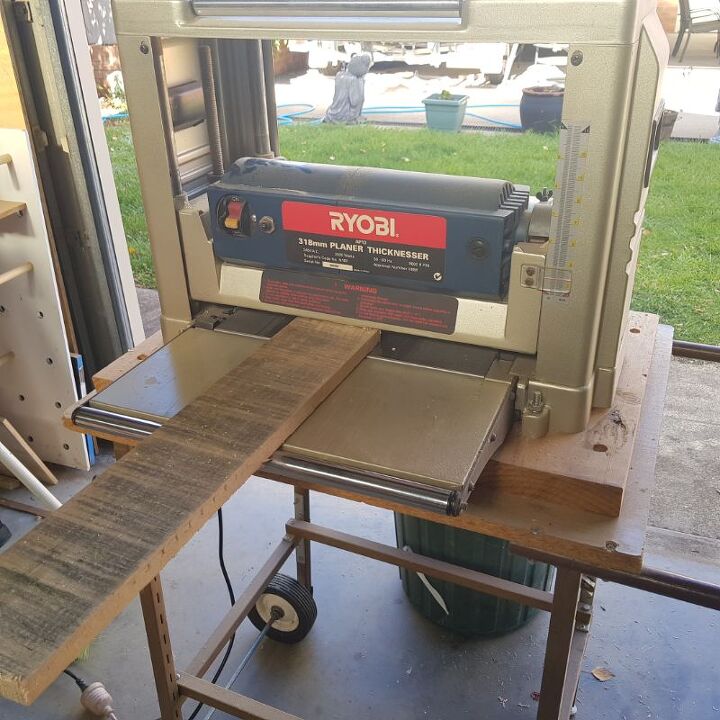
If you are after a more rustic planter there is no need to clean up the wood. My OCD would not allow this, so I passed mine through a wood planer to clean up the wood. You can use a wood sander to clean up the wood if you want a more finished look.
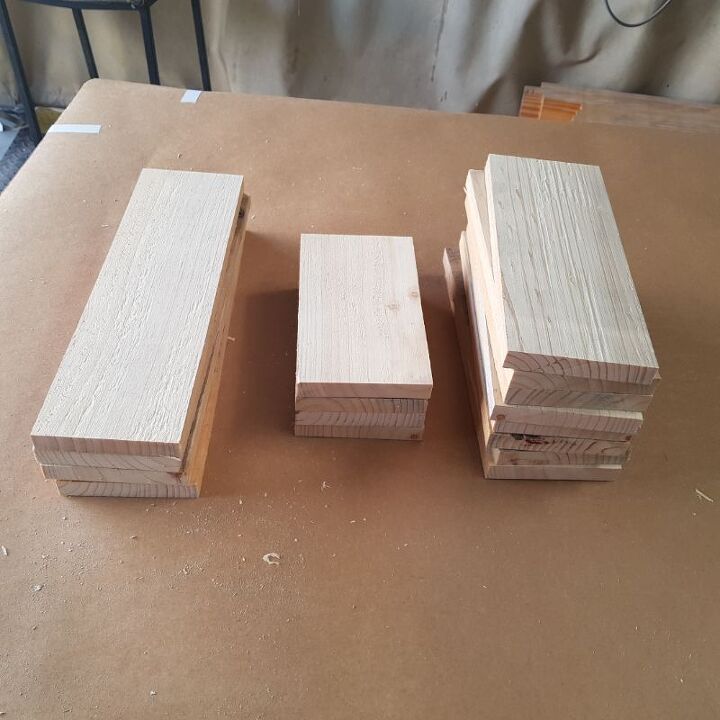
To duplicate this planter the sizes are as follows
- 4 x 180 mm
- 4 x 250 mm
- 8 x 330 mm
- 4 x 85 mm x 85 mm Approximately (I say approximately because pallet wood is not all straight or standard)
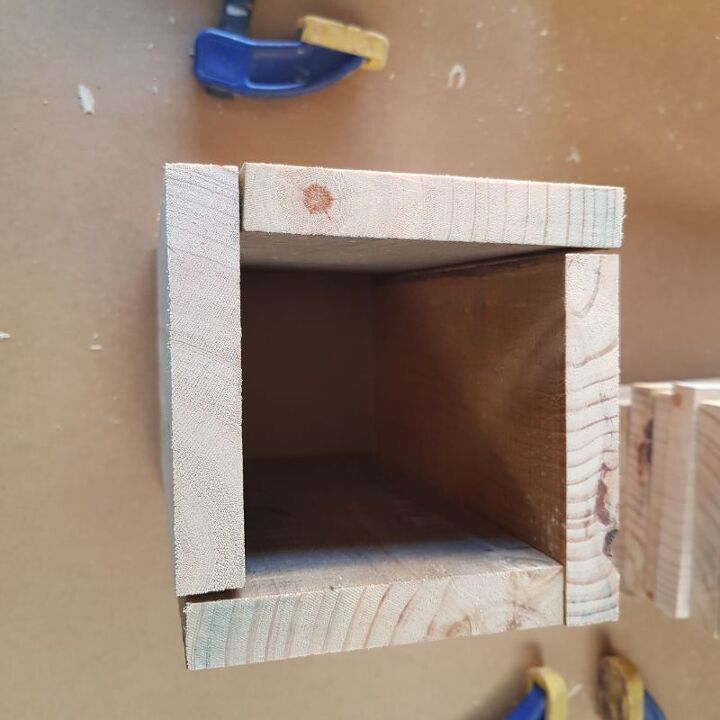
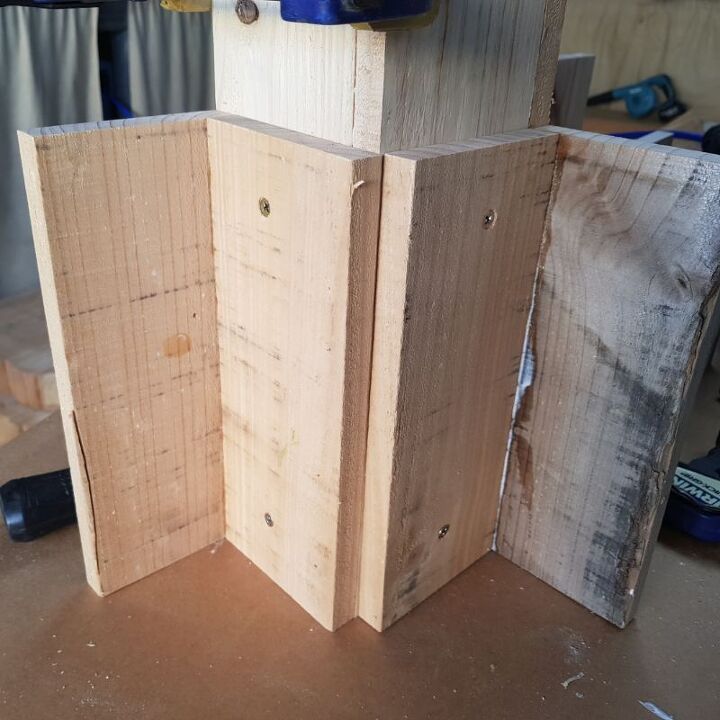
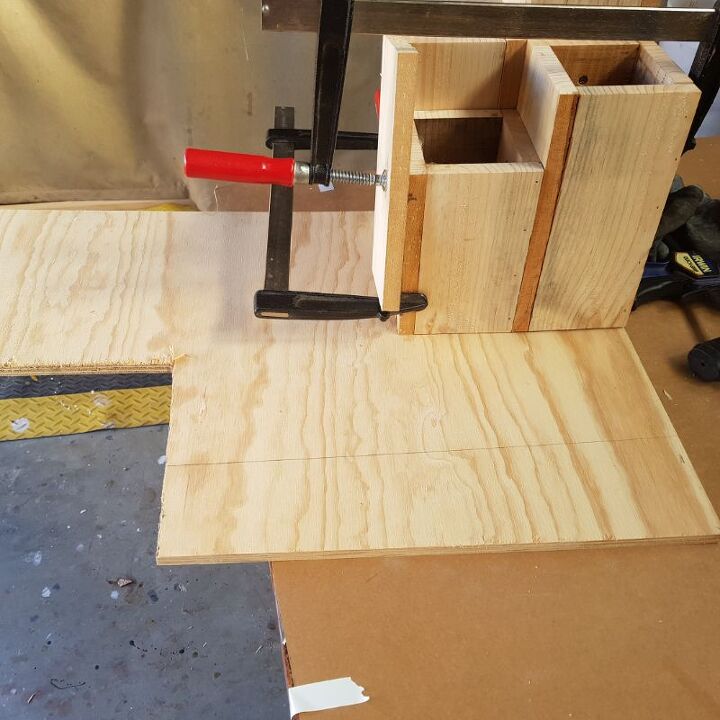
I started with the biggest box first. The box is put together like the image above. Glue the wood together and clamp while the glue dries. I did not want to wait for the glue to dry so I used a nail gun to hold the wood in place so I could continue.
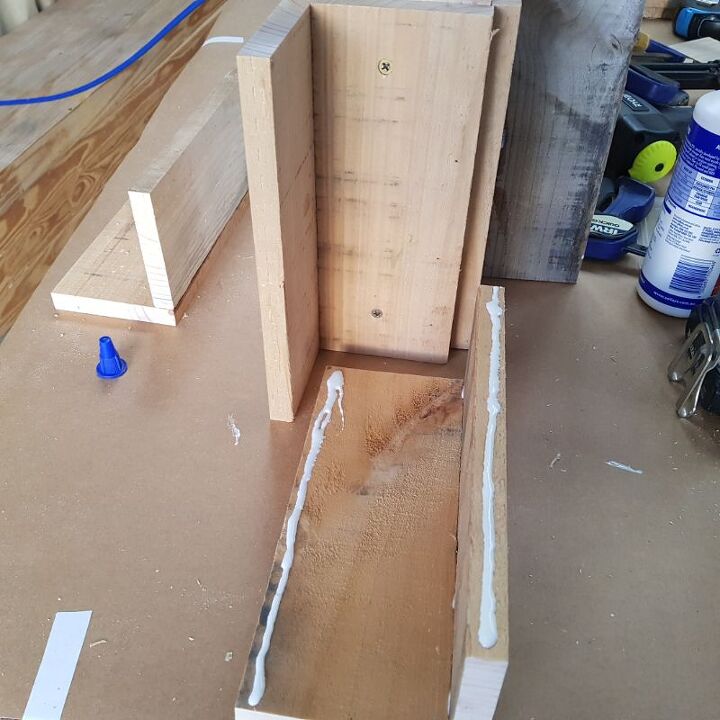
Next, glue the remainder of the wood into L shapes, this will make it easier to put together. Glue the L shapes onto the sides of the first box and screw into place like the image above.
The next L shape is then glued to the one already attached. Clamp the wood while the glue dries or use a nail gun to continue.
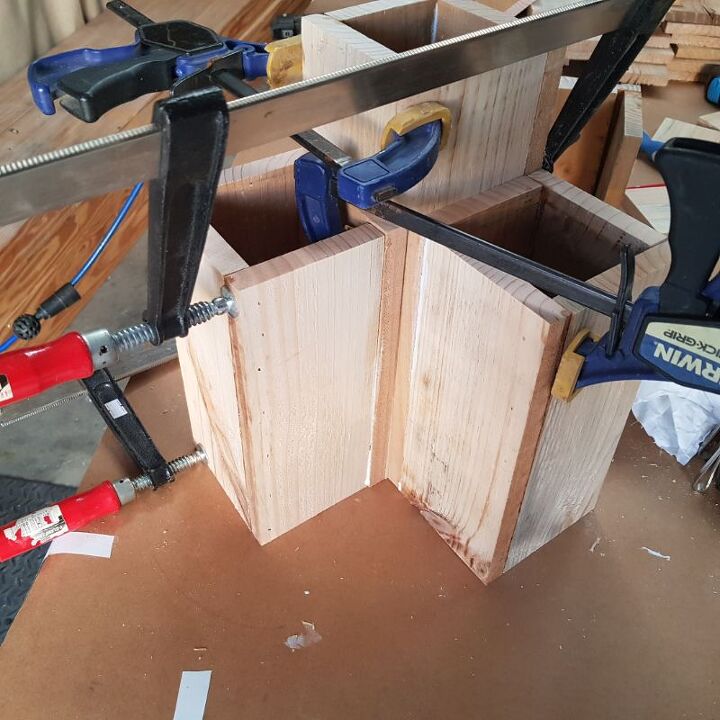
Repeat this step for both sides. This is what mine looked like all clamped up. It looks like a game of twister.
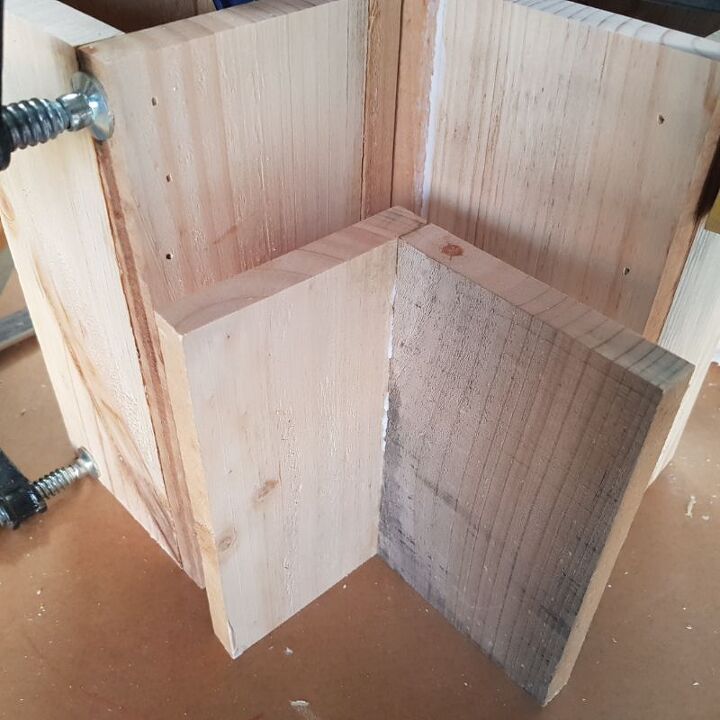
The smallest L Shape is then glued and screwed into the other boxes as you did in the step above.
Next, glue the last L shape into place and clamp. It take longer for the glue to dry than it does to build the planter.
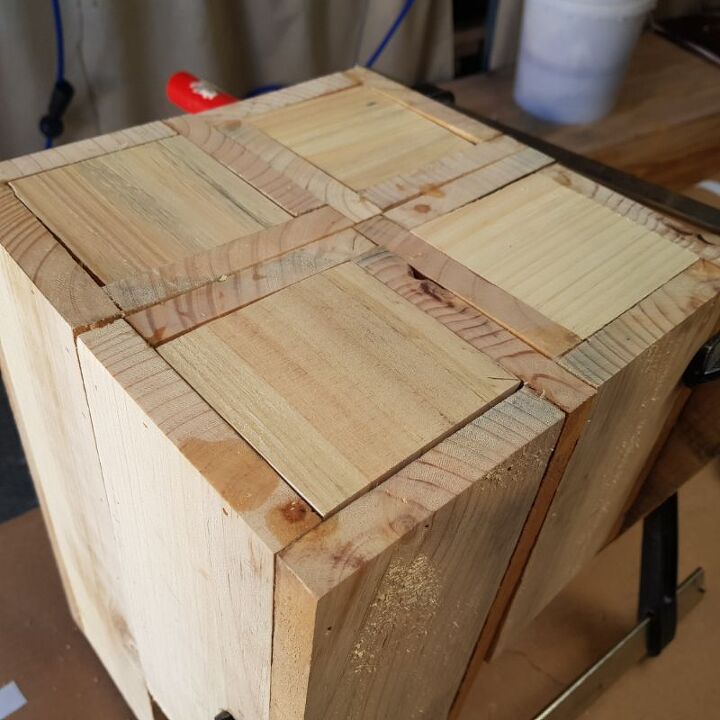
The small squares can now be added to the bottom to hold the soil in place. This was the hardest part of this project because pallet wood is not straight, so each square had to be sanded to fit the hole. They were glued into place and nailed for extra support.
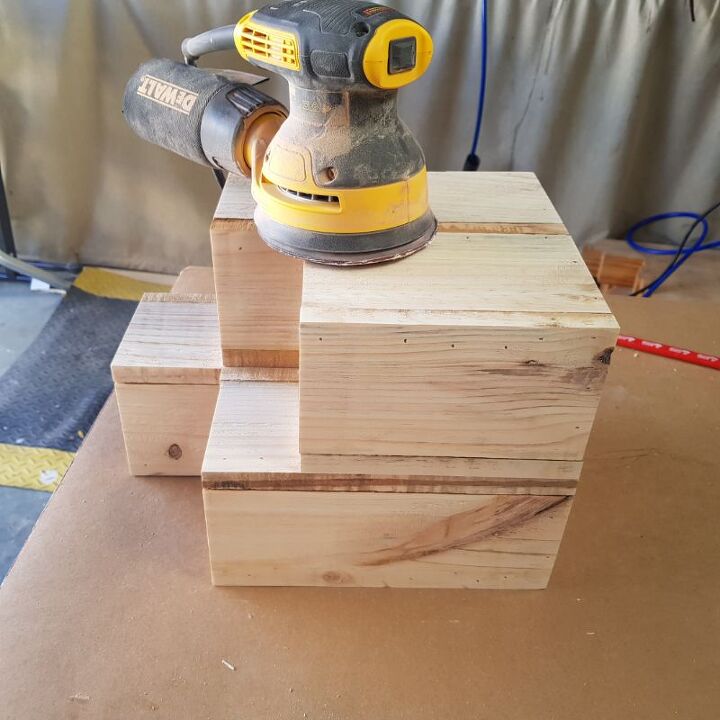
You can give the planter another quick sand if you have any edges sticking out.
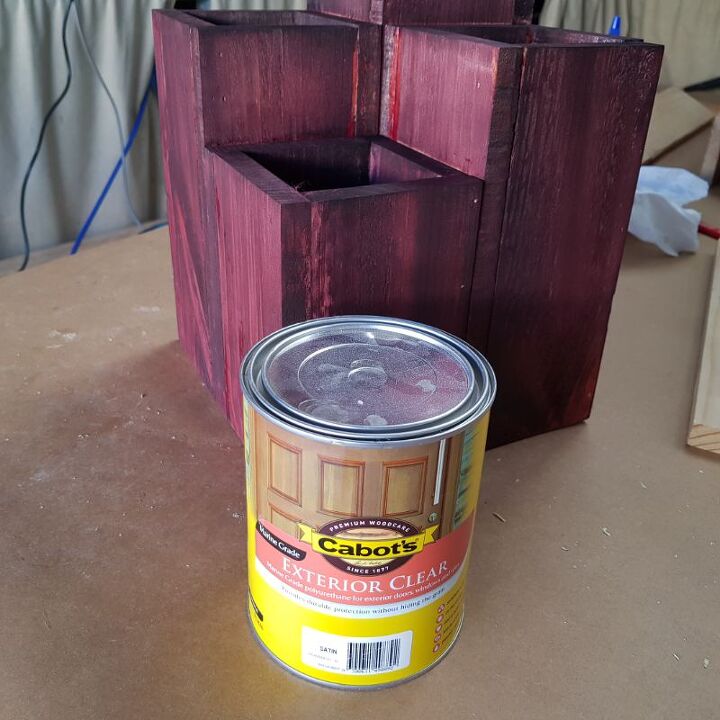
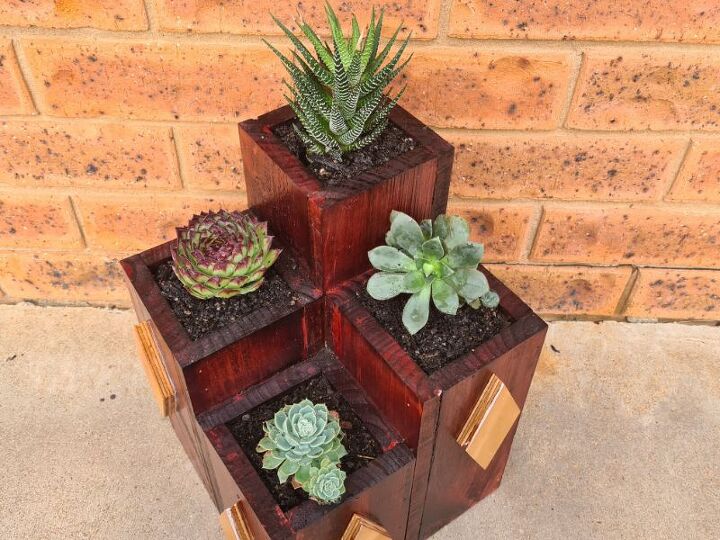
Stain the wood or paint it if desired. Mine was stained dark mahogany and given 2 coats of exterior polyurethane. As an after thought I had some shapes left over from a barn quilt I recently make. The diamond shapes were glued and nailed to the front as decoration.
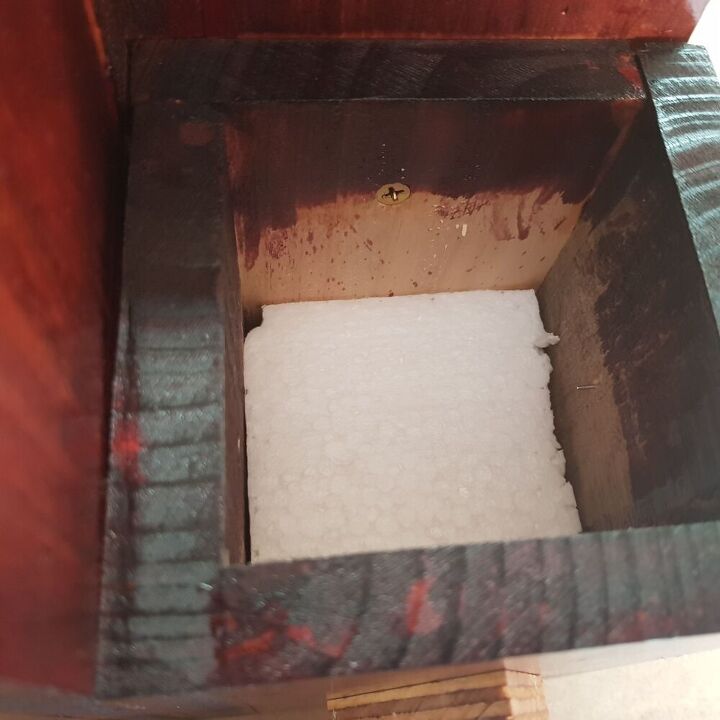
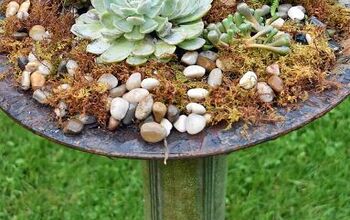
I did not want to waste so much soil filling up each box, so I added stones to fill them first. To prevent all the soil from falling out when they get watered I cut some styrofoam packaging and pushed it down into each box. Next, I added suitable succulent soil and then my succulents.
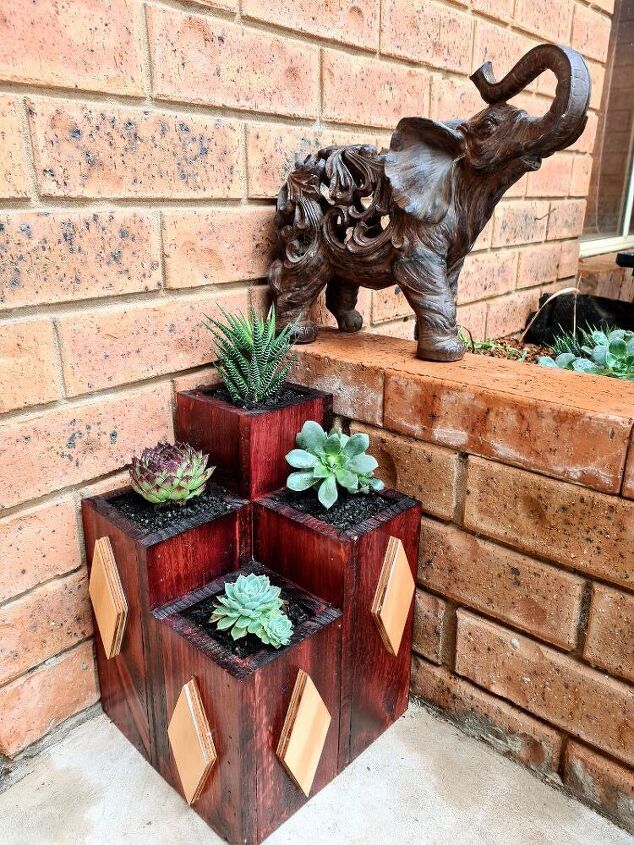
And this is my planter complete. For more details and images on this project click on the link at the end of this post.
The cost of this project for me was very small because I had all the products needed at home. Your cost will depend on what you need to buy.
Are you looking for a new way to display your perfume collection. This sparkling diamante stand will make your display dazzle.
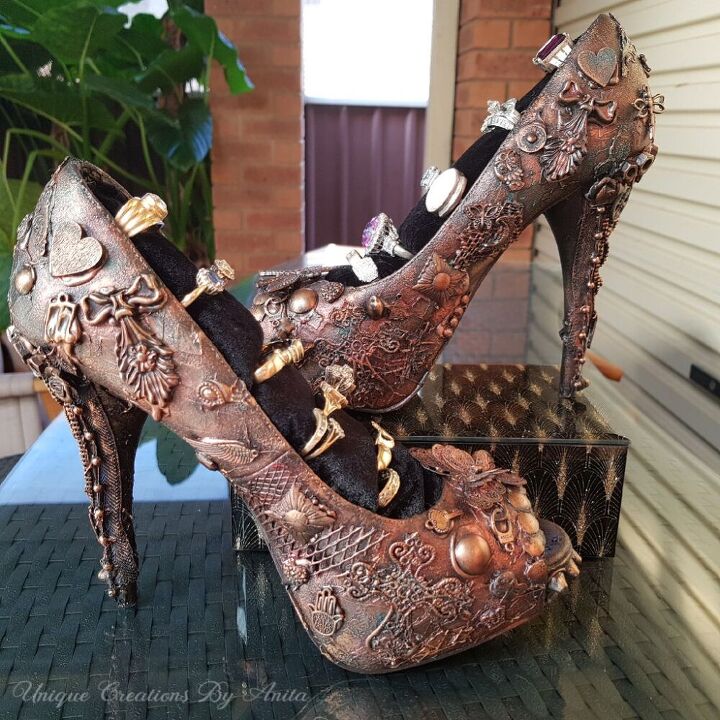
Do you have a pair of shoes that have been banished to the bottom of the cupboard because they are to high to work in. Why not repurpose them into ring holders.
Resources for this project:
See all materials


Comments
Join the conversation
-
WOW, this is such a beautiful planter. Love the finish on it and the diamond shape embelishments are awesome.
-
its very pretty, my husband would have loved making this for me, makes me think of him, he passed away in Oct, He always said, anyone can do it, with 1000. worth of tools and years of experience, ha.


Frequently asked questions
Have a question about this project?