


Party It Up With This DIY Outdoor Beverage Cooler
Looking for that perfect cooler for your next backyard bash? I’ll show you how I took a simple wooden crate and turned it into a colorful beverage cooler that everyone can enjoy. This cooler is easy to make, and also removable, so you can use your decorated crate for dozens of other things as well. I’ll also show you how to paint on some cute fruit graphics that don’t require any prior painting experience to look great! Interested? Check out my step-by-step tutorial below to start making your own outdoor beverage cooler today!
Tools and Materials:
- Wood crate
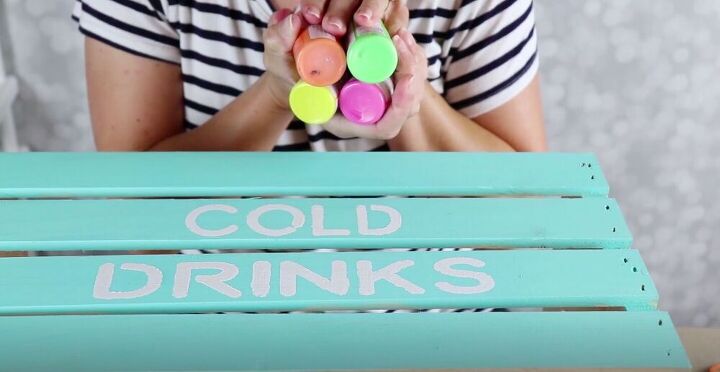
- Paint (I used light blue, white, pink, bright green, orange, and yellow)
- Stencil
- Sponge brush
- Thin angled brush
- Sharpie
- Thin brown marker
- Washtub
- Basting spray
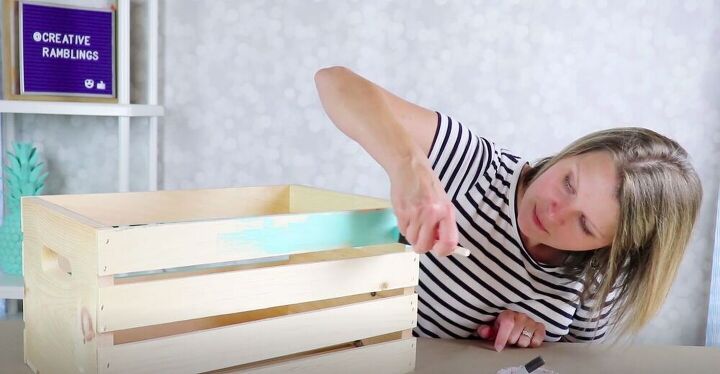
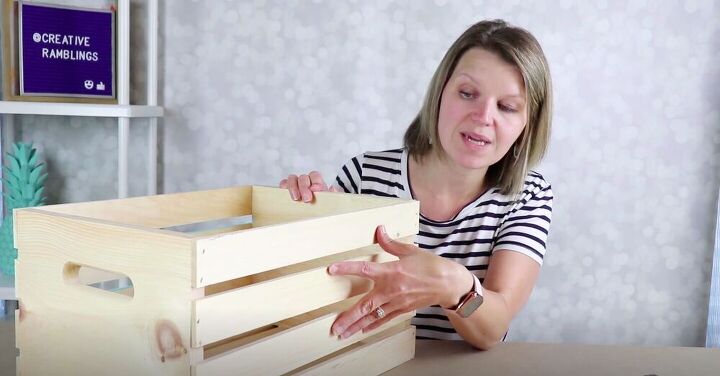
Before I could start embellishing, I needed to get a good coat of paint on the outside of the crate. Because I was working with bare wood, I needed to use quite a bit of paint to get full coverage, as bare wood tends to soak up lots of paint. No need to paint the inside, so I just got a nice even coat of paint on the outside of the crate.
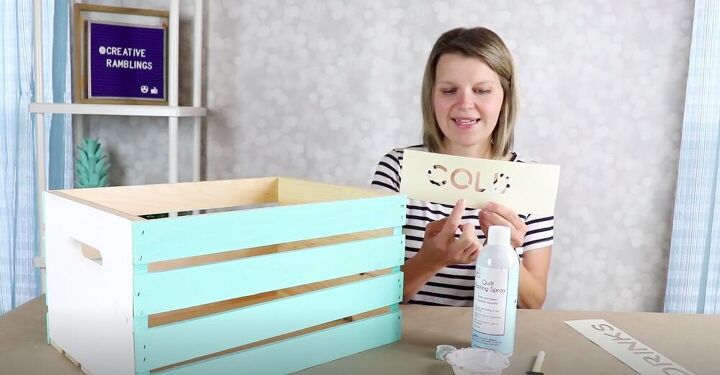
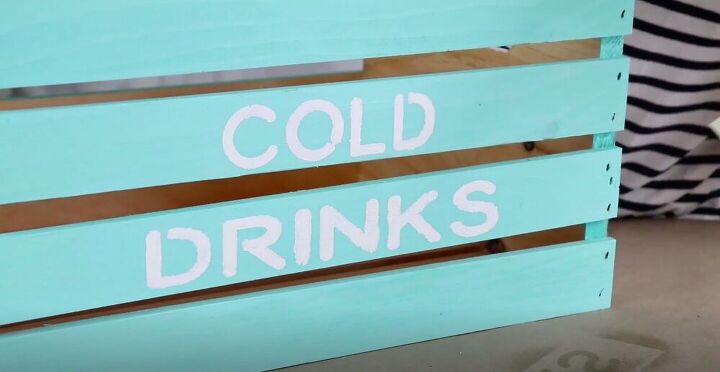
I wanted to add “COLD DRINKS” to the front of my cooler, so using my Cricut I cut out a stencil.
Tip:
When working with cardstock, make sure to choose a stencil font. A stencil font will make sure that the center of letters like O and D are connected to the outer edge, allowing you to stencil them.
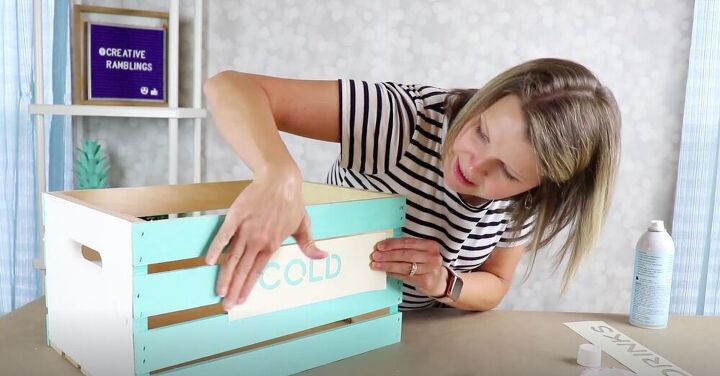
Using basting spray, a temporary adhesive, I stuck the stencil to the front of my crate. Basting spray is great because it will allow the stencil to be removed completely without leaving any residue behind.
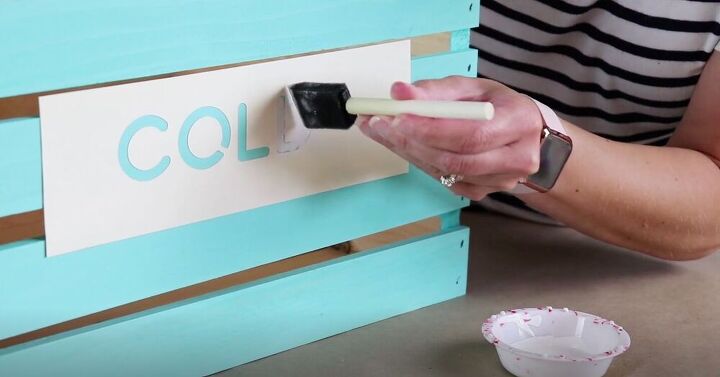
Then I dabbed paint over my stencil. Always use as little as possible. You can always come back and add more paint, but you don’t want to use too much right off the bat and risk it bleeding under the lines.
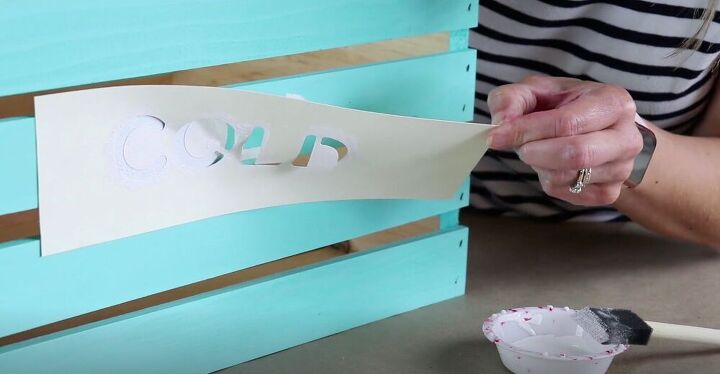
Next I removed the stencil. Don’t leave it on for too long because it may leave behind some paper if the basting spray dries completely.
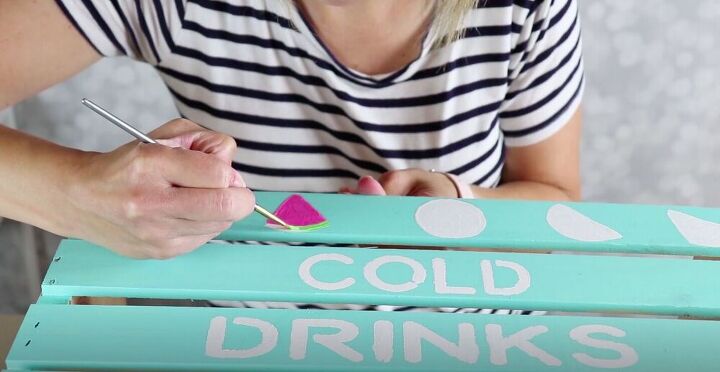
You don’t need to be a professional artist to paint some beautiful pictures! I added some fun fruit to my crate. It was easy!
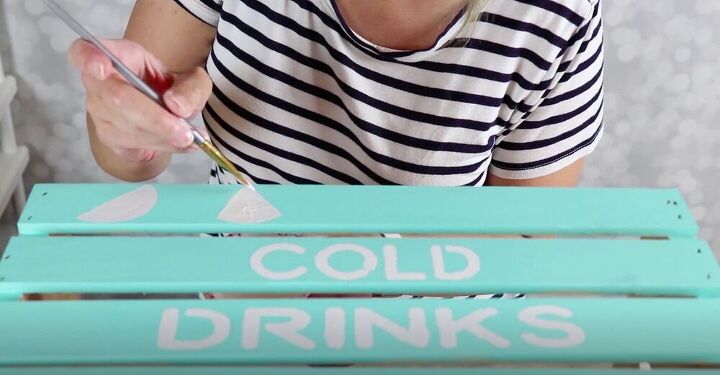
I started by painting a half circle with white paint. This would later become an orange. I also painted a triangle with a rounded bottom, which would become a slice of watermelon.
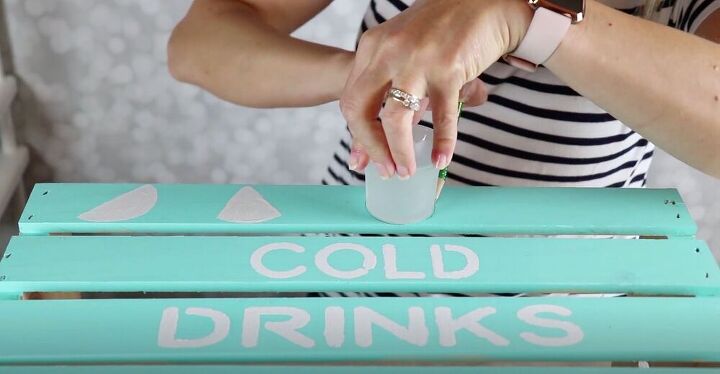
I painted a circle as well. For circles I find it easiest to trace something circular first. I traced the bottom of a votive holder with a pencil and then filled it in with white paint.
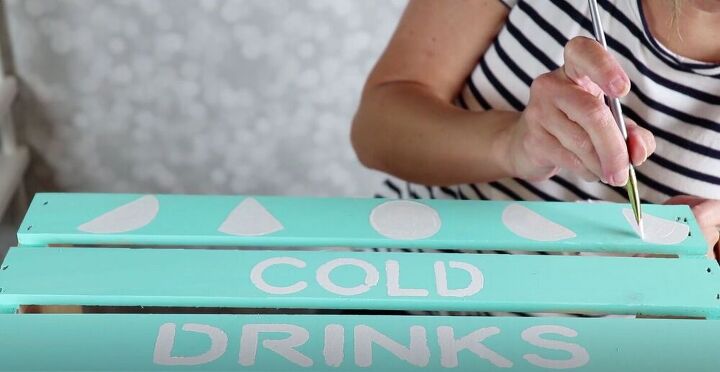
I added one more half circle and triangle and left it to dry. It would look nice to add fruit fully surrounding the “COLD DRINKS” sign, but in the interest of time I only did one line on the top for this tutorial.
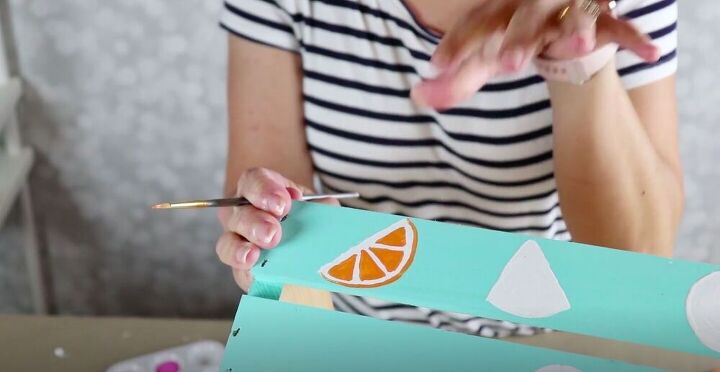
Once the white paint had dried it was time to turn them into fruit! I added four orange triangles inside the first half circle. I also added a line of orange paint along the rounded edge of the half circle and voila! An orange!
I used pink paint to fill in most of the watermelon and added a line of bright green along the bottom edge. We’ll come back later to add seeds, but first I had to let the pink paint dry.
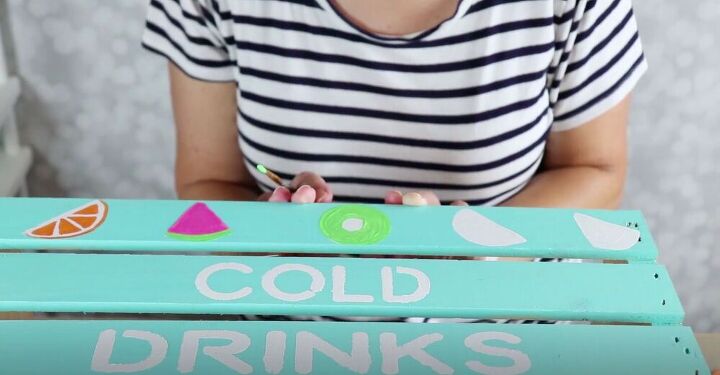
I turned the circle into a kiwi! I used a pencil to draw a small circle in the middle. I painted the outer circle with a bright green paint. We’ll also come back a bit later to add more detail.
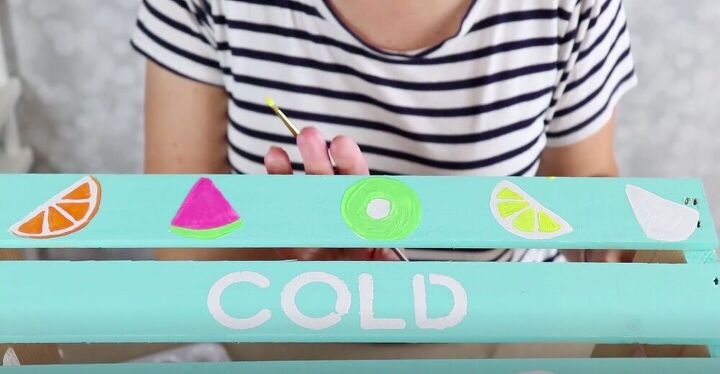
For the lemon I used the same process I used to paint the orange, but with yellow paint instead of orange paint.
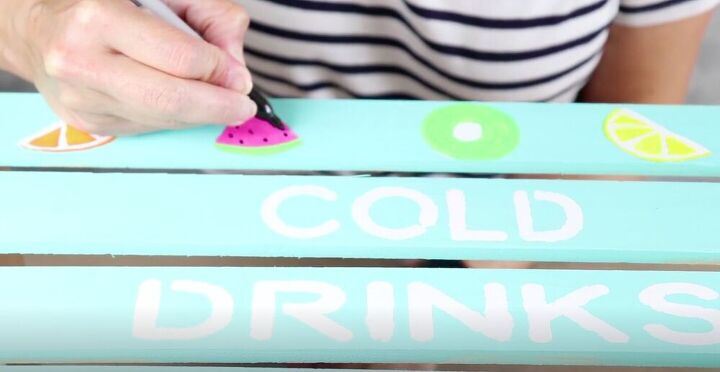
I let them dry completely and then went back in to add some detail to the watermelons and kiwi. Using a sharpie, I added seeds to the watermelon.
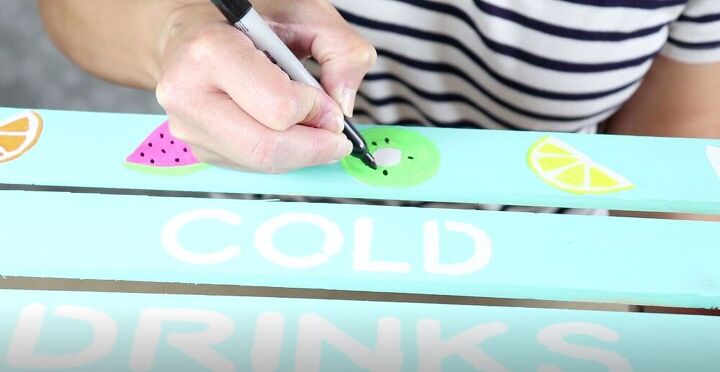
I also added seeds to the kiwi with a black sharpie.
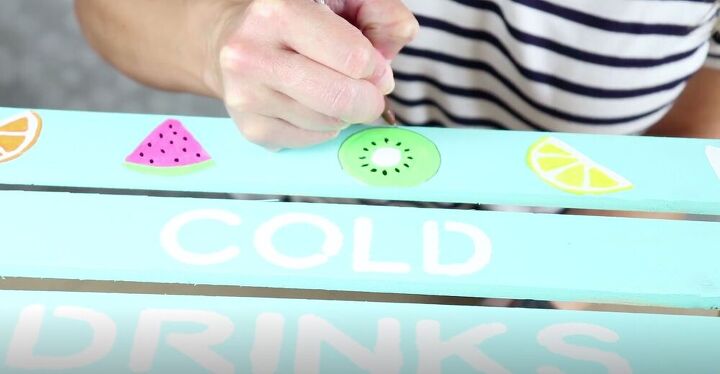
I drew a thin brown outline along the outside of the kiwi. I repeated this process all along the edge of the front of the box and filled in the back of the box as well.
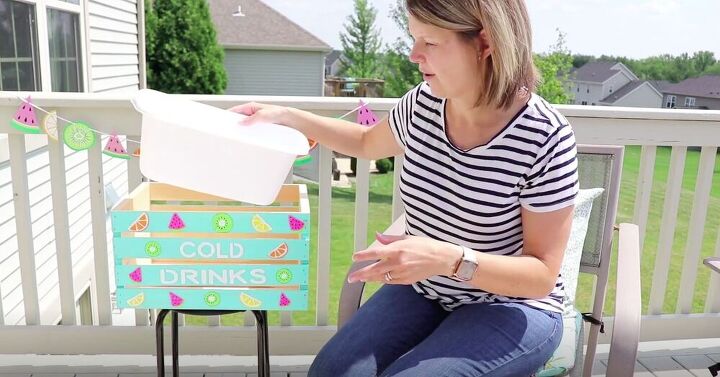
Grab yourself a washtub! You can often find these in the kitchen area of home goods stores, next to the drying racks.
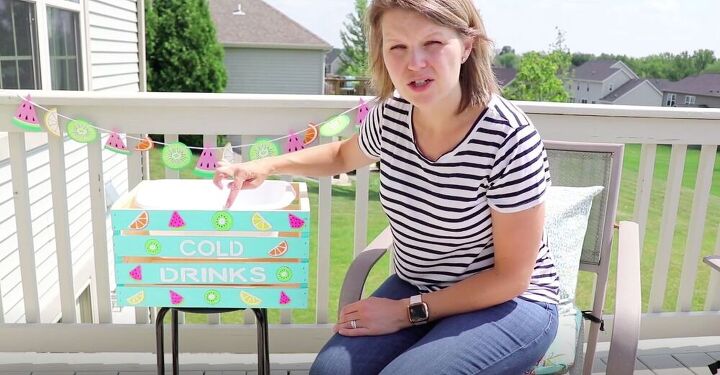
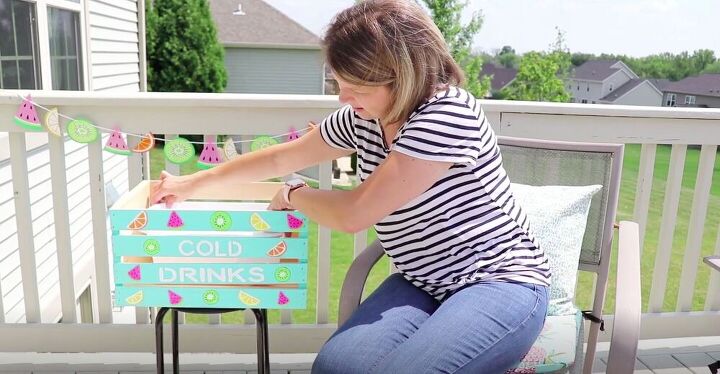
You can set it right on top, hanging on the edge of the crate, or place it inside the crate and it will hang on one of the slats.
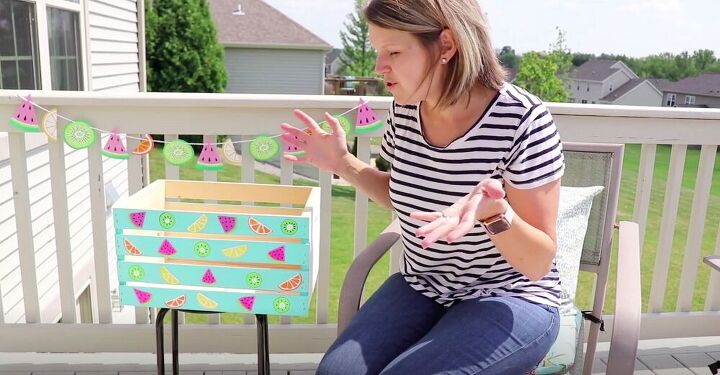
I filled it with ice and drinks and I had a fun, functional outdoor beverage cooler!
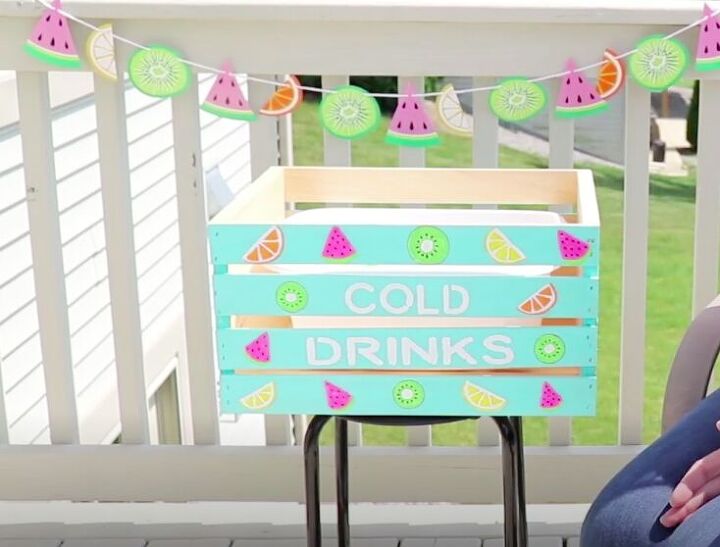
You can decorate your cooler with whatever theme you desire, but I particularly love how the fruit graphics turned out! How would you decorate for your party? Let me know in the comments below!


Comments
Join the conversation
-
I would also paint the inside to help protect the wood from drips when bottles are taken out of the tub as the ice melts but cute idea overall.
-
Now that’s a cute idea. Nice bright colors. Happy looking. Perfect for cold drinks. Great job 😊


Frequently asked questions
Have a question about this project?