


Baby Ajuga Plants as a Gift

I'm back with another easy low cost way to create a thoughtful gift for a gardening loving friend or family member! This is super easy to do so perfect even if you or your intended recipient is a novice!
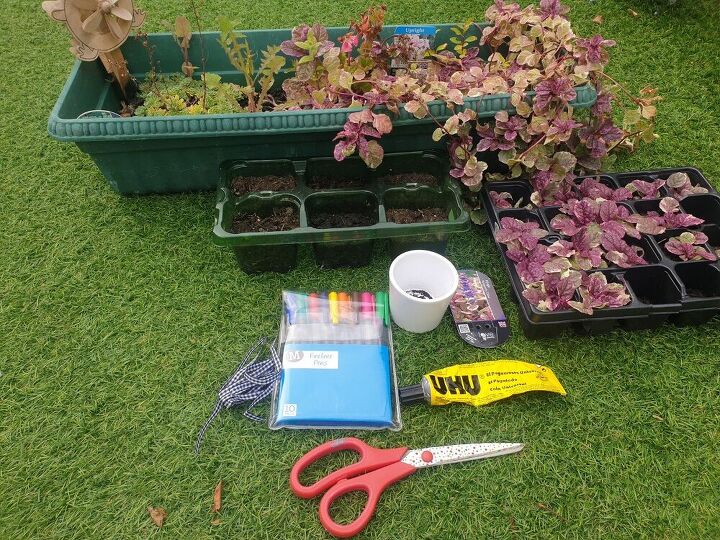
What you'll need.
An established ajuga plant.
A seed tray with the cells filled with multi purpose compost.
The label of the established plant (optional as you could Google or just copy mine for info if you're unsure).
A small decorative pot and/or something to decorate it more (the black and white ribbon in my case).
Coloured pens
Glue
Scissors
In my picture is another seed tray with babies I started off a while ago. This is not necessary of course it just means there will need to be a few weeks of waiting if you decide to give this project a go.
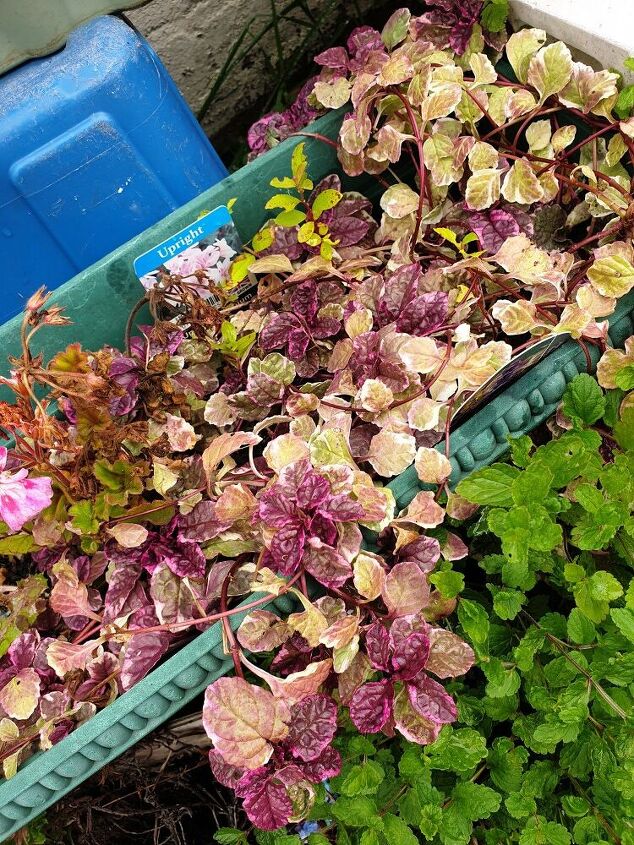
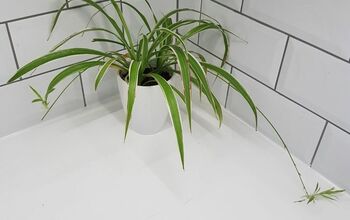
Here is the established plant (ignore the geranium in the top left corner of the pic). You'll notice there are a lot of bits hanging over the edge of the pot. These will be the bits you want to investigate.
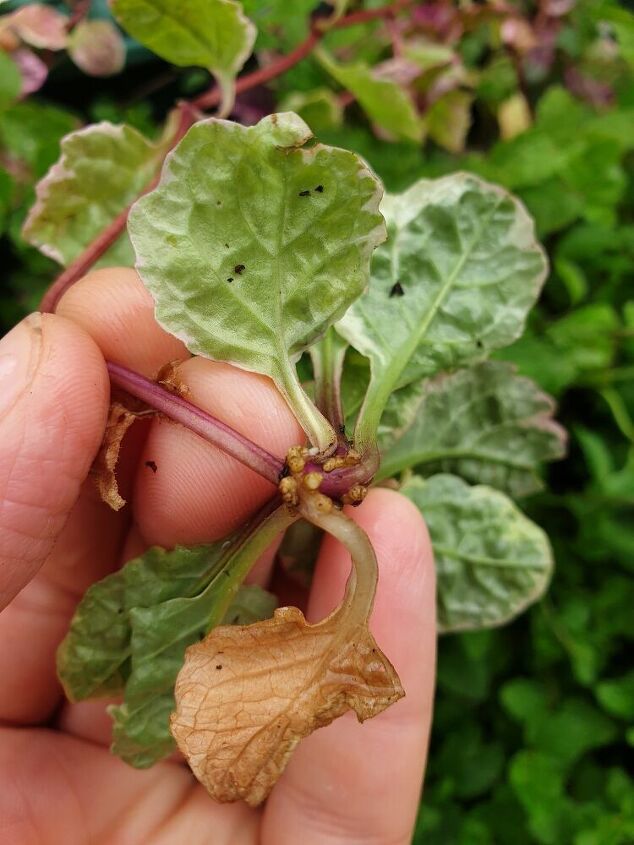
If you pick up some of the bits that are hanging over the pot, you'll see they have these little root "bumps". These are the bits you need to create a new plant.
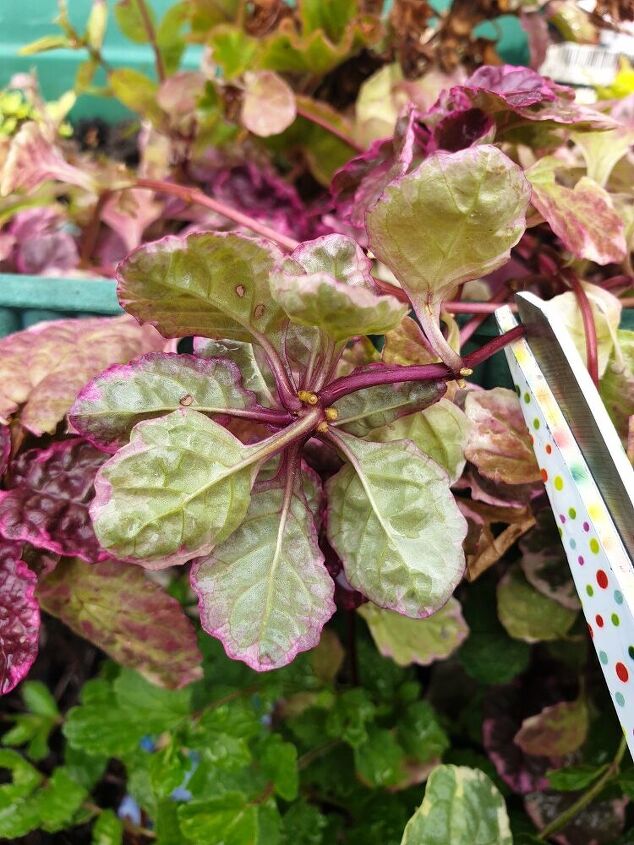
Snip the section of plant off which is showing the root system starting, as shown (with this one pictured you could even attempt to snip between the 2 sections of plant with the root "bumps" and try to make 2 plants. The smaller of the 2 is less likely to work but they really are super easy so it's worth a shot!
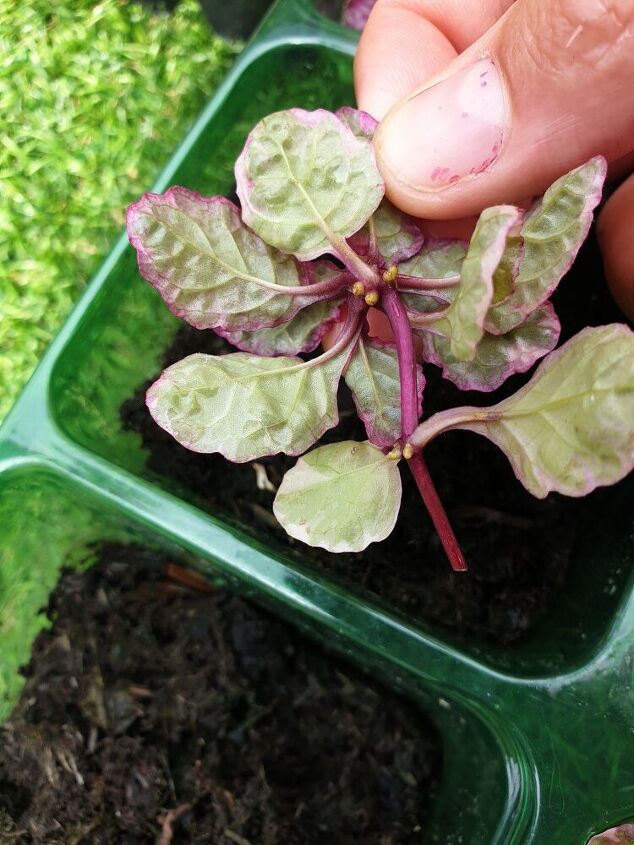
Now you have something that looks like this. It's ready for the compost.
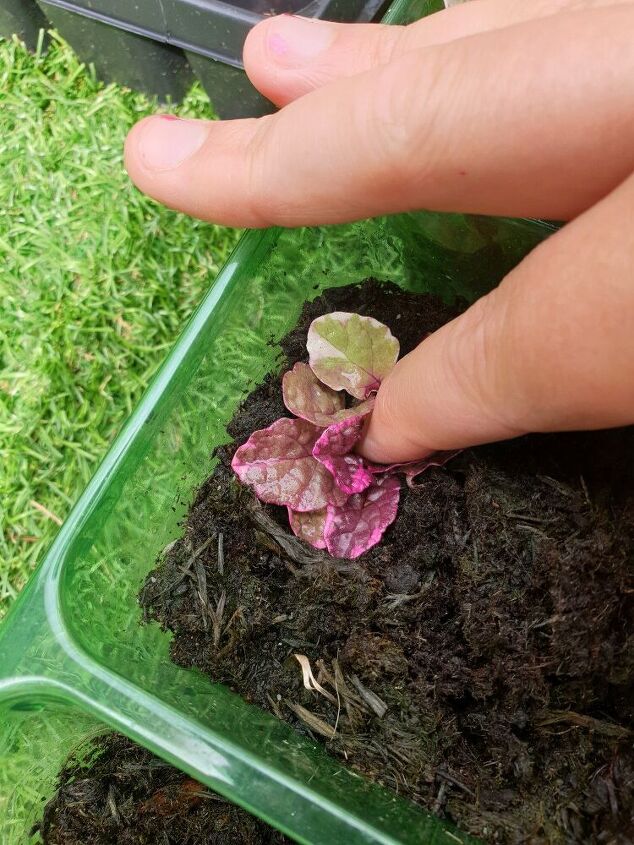
Simply push the starting roots down into the compost, leaving the leaves showing above the compost as shown.
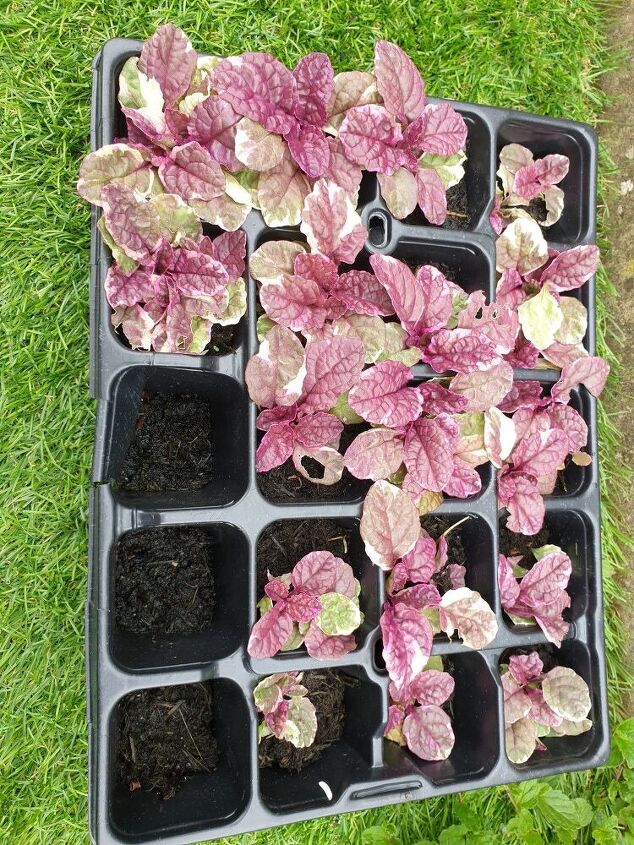
Repeat until you have put as many mini plants into the compost as you wish to grow on. Obviously allow a couple of spares to allow for any which might fail to fully root. Pictured is a tray of them which I did a few weeks ago.
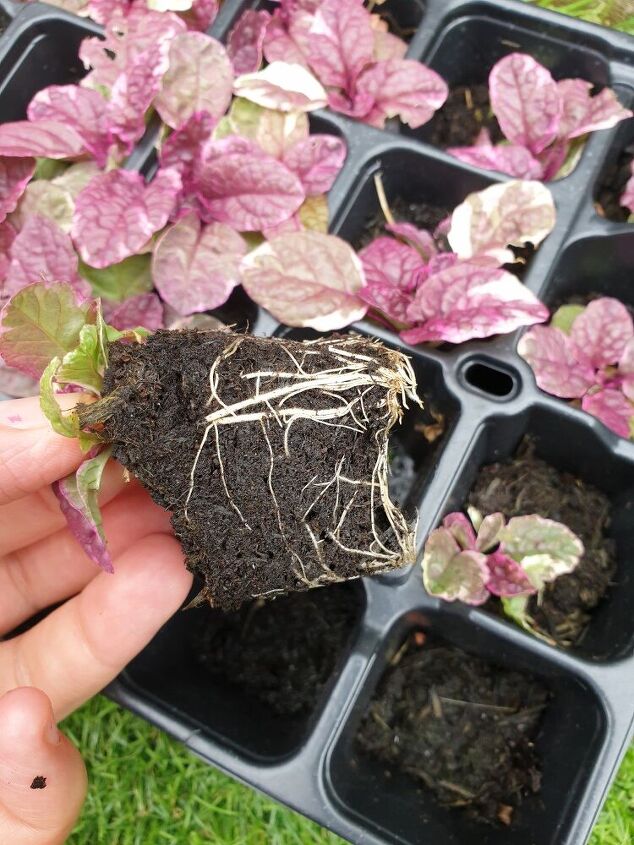
This is what the new plant's root system will look like after a few weeks of watering. At this point it is ready to turn into a gift.
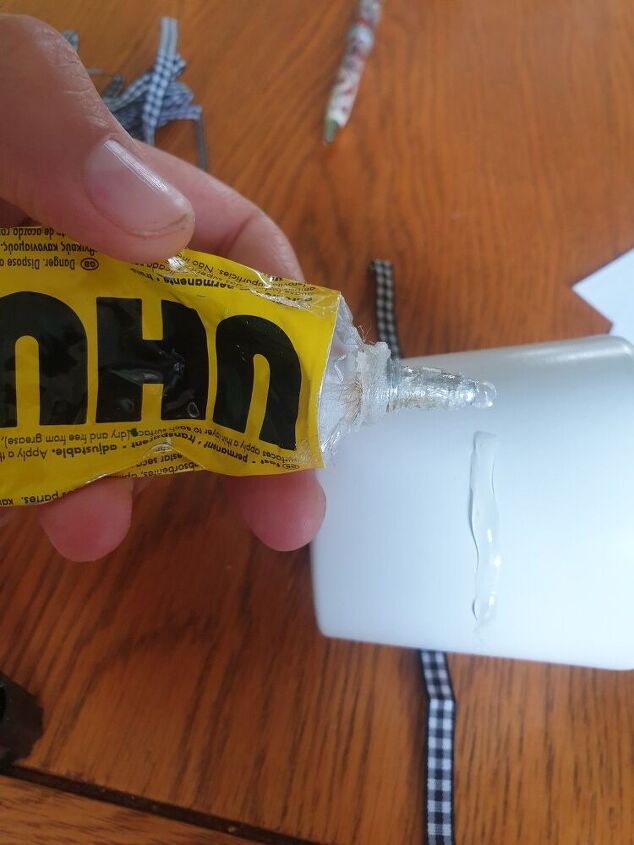
Take your small decorative pot and decorate it as you wish. In my case this meant putting a line of glue roughly halfway up the height of the pot as shown, ready for ribbon.
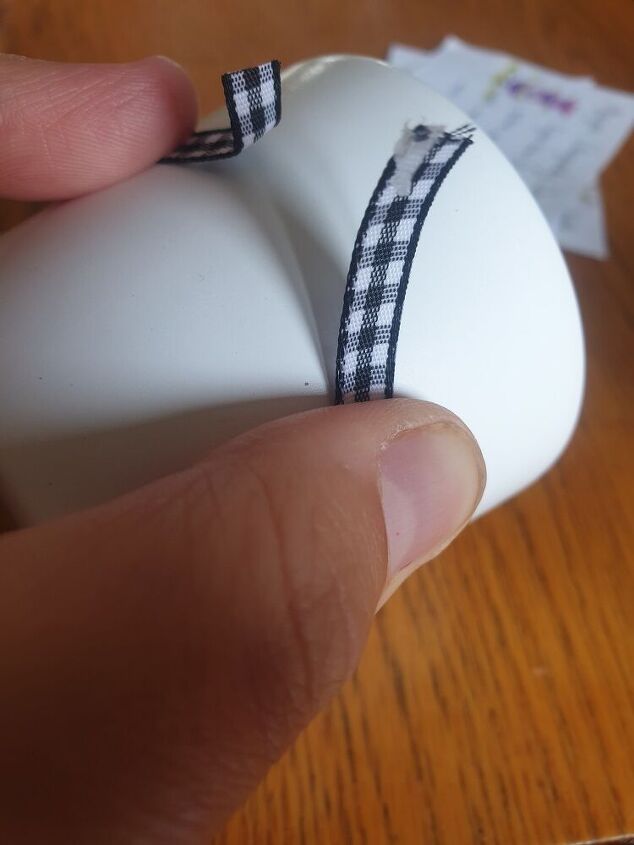
Next stick the ribbon to the glue and cut the ribbon to the correct size. As previously stated the decoration is entirely up to you. Be creative:-)
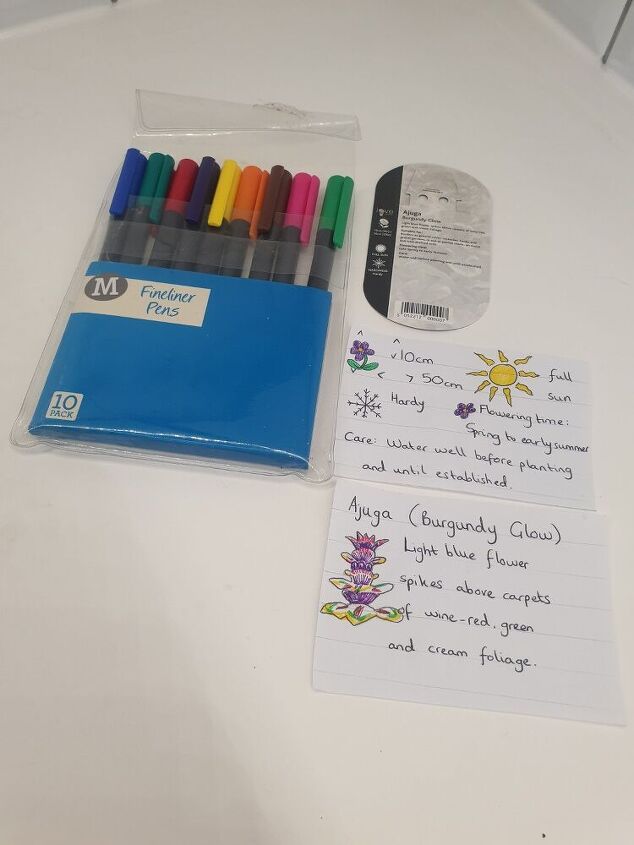
Next, as an additional thoughtful touch I created a little instruction pack using coloured fine liner pens and the label from my adult plant.
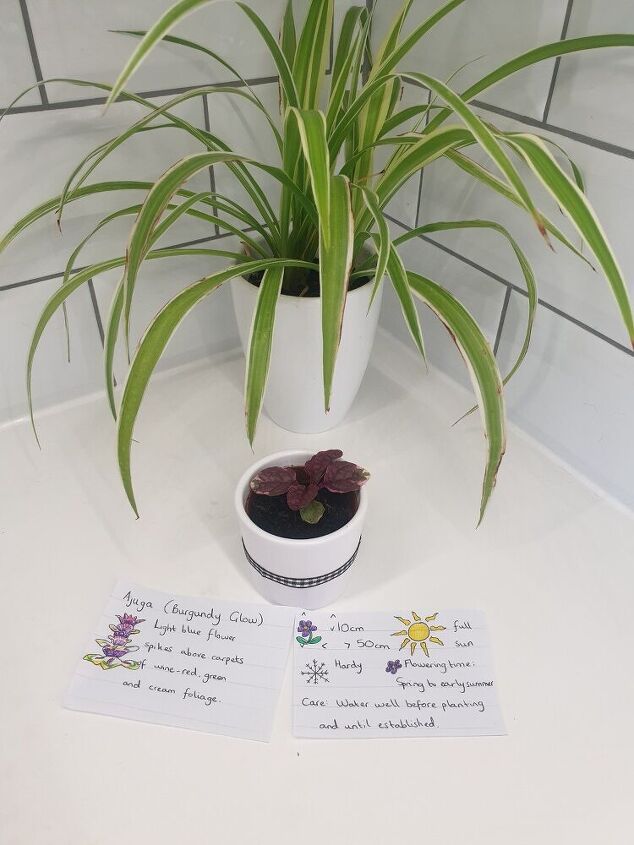
There you have it! A beautiful gift, complete with instructions of how to care for it, and all for a few pence. You can keep your eye out for small decorative pots all over the place! Bootsales, charity shops, ebay, reduced sections of shops etc.


Frequently asked questions
Have a question about this project?