


Simple AndThrifted DIY Wooden Bench Makeover With Dipped Legs
I absolutely LOVE TO THRIFT. I haven’t been doing it as often as I used to, even pre COVID-19. Well, a couple of weeks ago, I ventured into my local thrift store and I snagged this bench for $14.99. I knew it would be perfect for my small entryway decided to tackle this as a simple fun makeover.
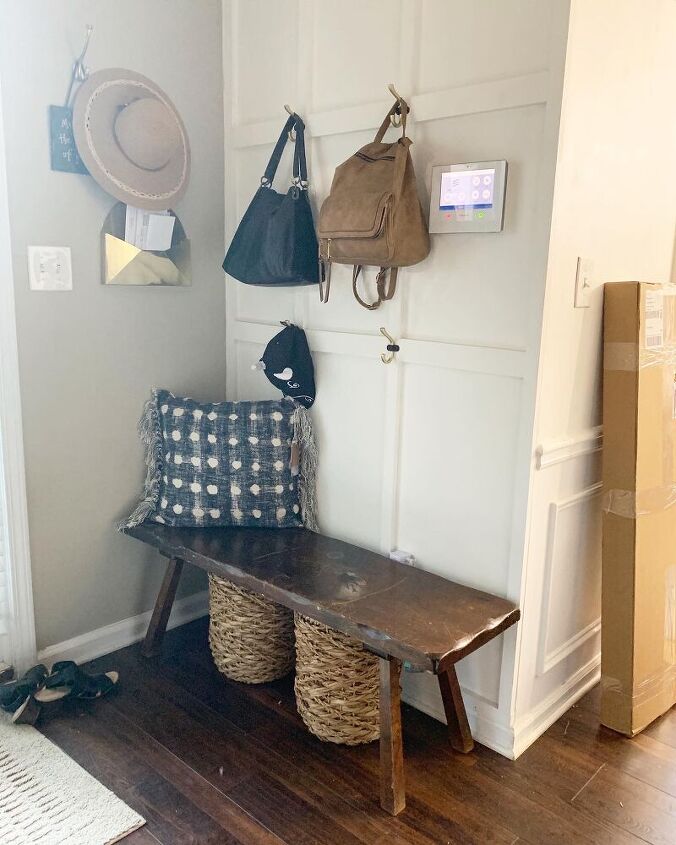
As you can see from the before photo, the bench is beat up and in need of love.
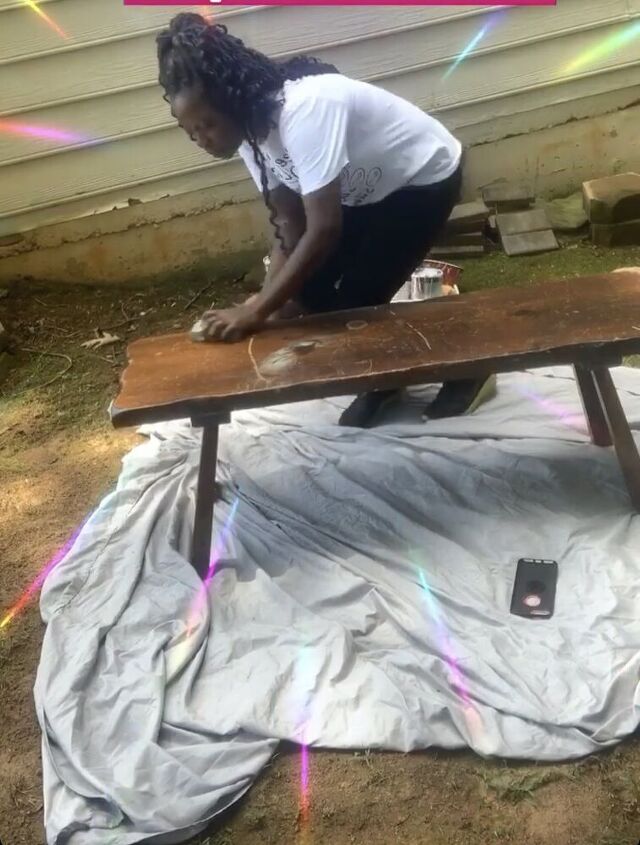
I started by sanding the bench using a 120 grit handheld sanding block.
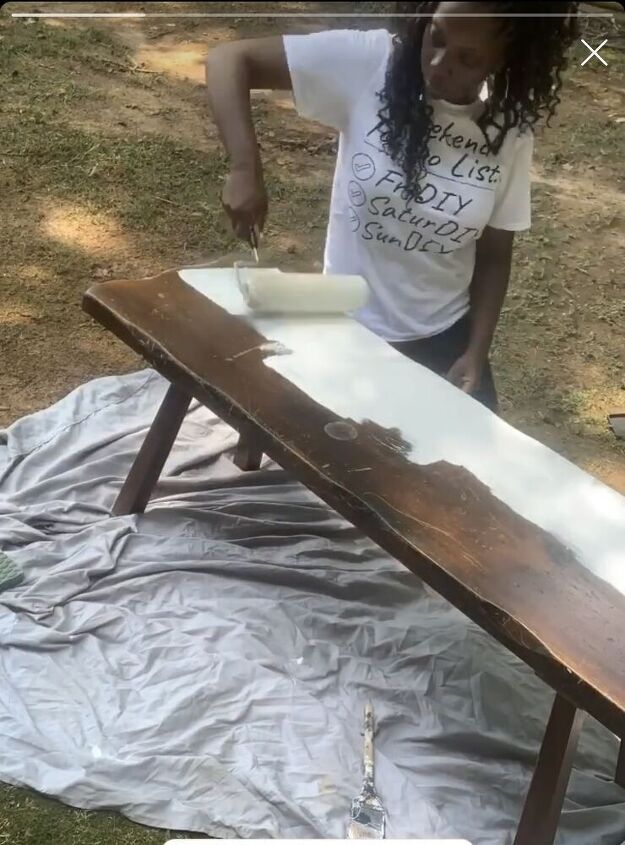
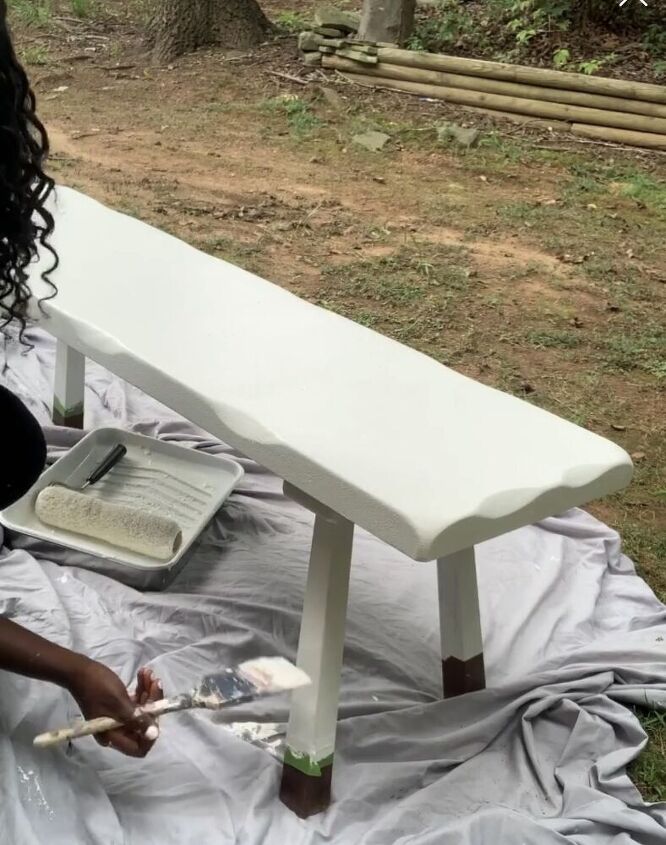
After sanding and wiping the bench down, I painted it a mix of Behr Simply and and Ultra pure White using a roller brush. This was a paint and primer mix.
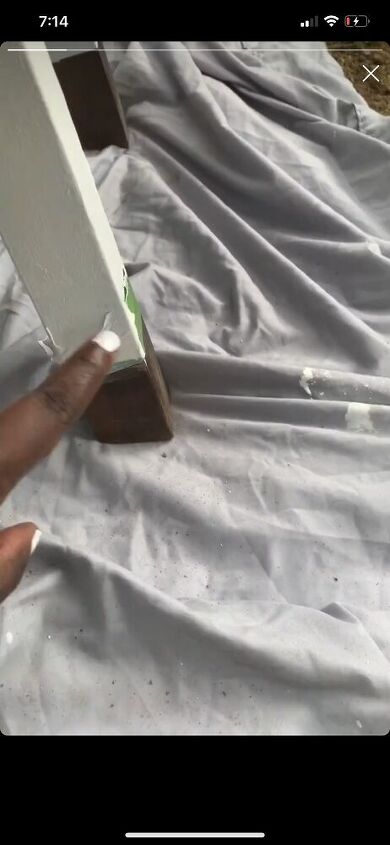
After painting the top of the bench, or you can do this before, I taped off the bottom of the legs using painters tape before painting them white. This helps to make the line where the dipped legs will start very crisp.
Just before removing the tape, after painting the legs, make sure that the paint near the tape is wet. This ensures a more crisp line once the painters tape is removed. Remove the tape and let the bench dry for approx. 1 hour before next step.
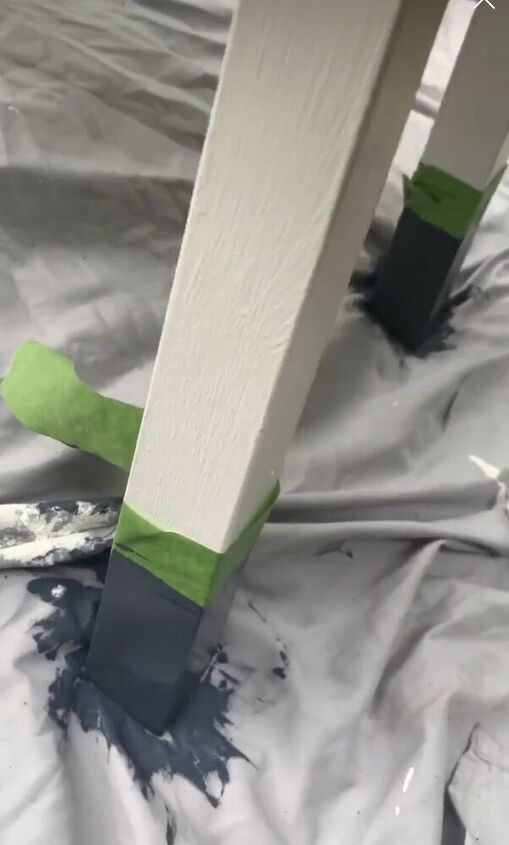
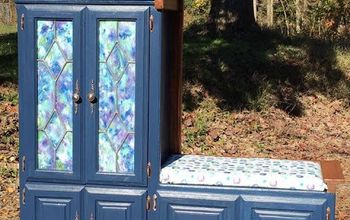
After the bench has dried for a least an hour, apply a strip of painters tape around the leg where the white paint meets the unpainted area. Paint the unpainted area in color of your choice. Mine is painted Hale Navy.
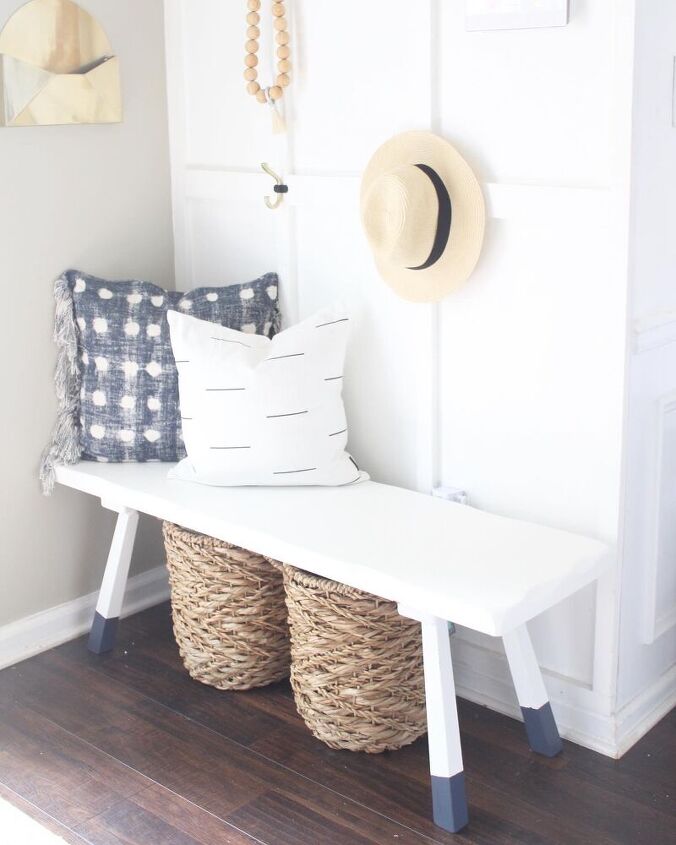
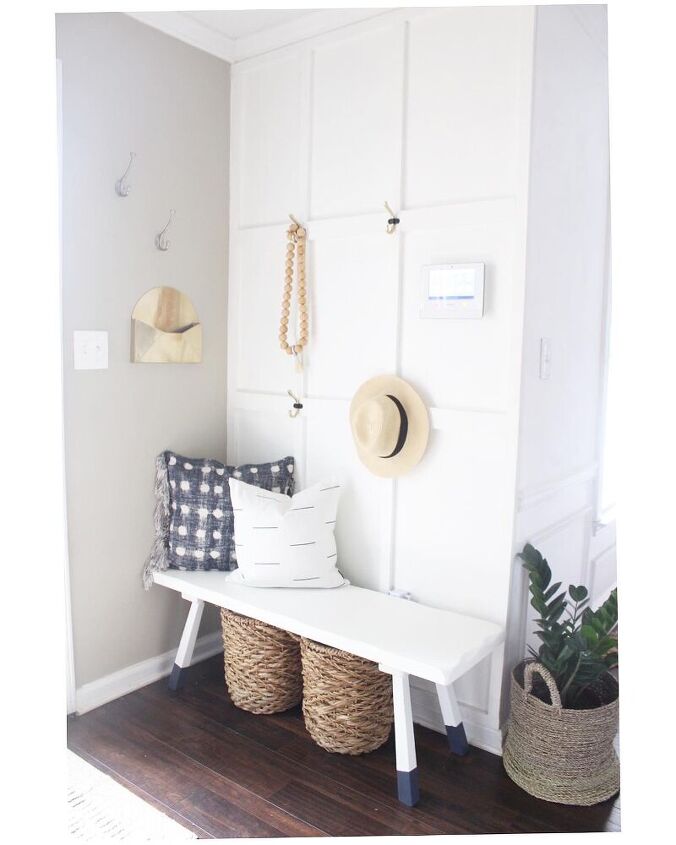
Allow your bench to dry fully for 12-24 hours, then style as desired!
Not bad for a $14.99 purchase at all!
For more projects like these, visit my blog here!

Comments
Join the conversation
-
You outdid yourself Erin - just LOVE what you did with the bench. Bravo lady :)
-
Nice! I think it turned out great. I'm looking to refinish the tops of a dining table and a coffee table so was hoping you had sanded and kept natural so I could learn from it. Yours looks nice in your entryway.


Frequently asked questions
Have a question about this project?
This is beautiful!! What a difference!!