


Rustic Planter

I have this little space in my yard that is so plain looking and I have always wanted to add a little something to it. I came up with this simple idea for a planter box that made this area pop!

Three 1x8 boards cut 30 inches long.
Two 1x8 boards cut 8 inches long.
Two 1/2 inch floor flanges.
Two 1/2x2 black nipples.
Two 1/2 inch elbows.
One 1/2x6 black nipple.
Stain color of your choice.
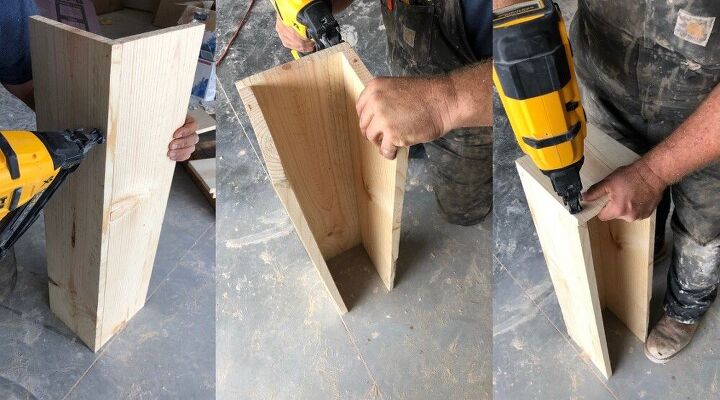
The first step is to assemble the wood into the box. I simply nailed (I used a finish nail gun) the three long pieces of wood together with one piece working as the bottom and the other two working as the sides. I then nailed the shorter 8 inch pieces to the end.
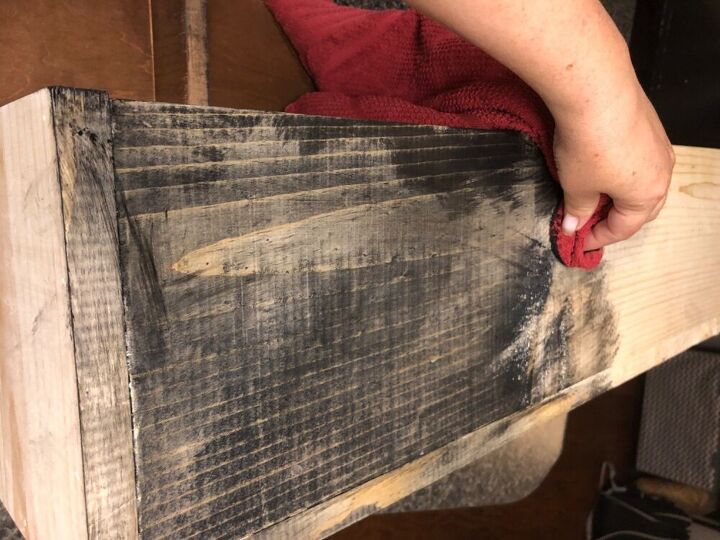
I then rubbed some Varathane onto the wood box. I chose to use this option because it is stain and poly combined so it both colors and protects the wood. This eliminates one step. The color I chose was Black Satin.
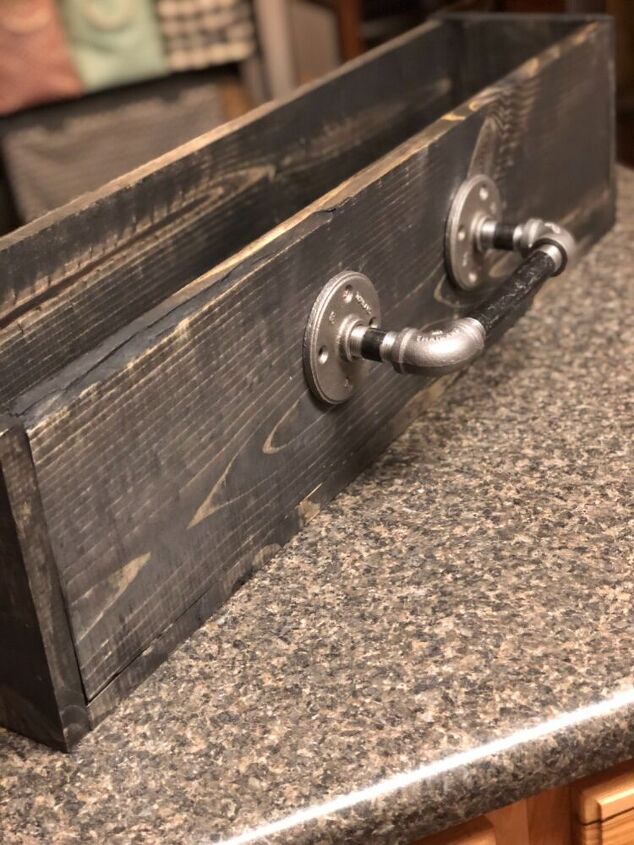
This is a picture of the box completely stained.
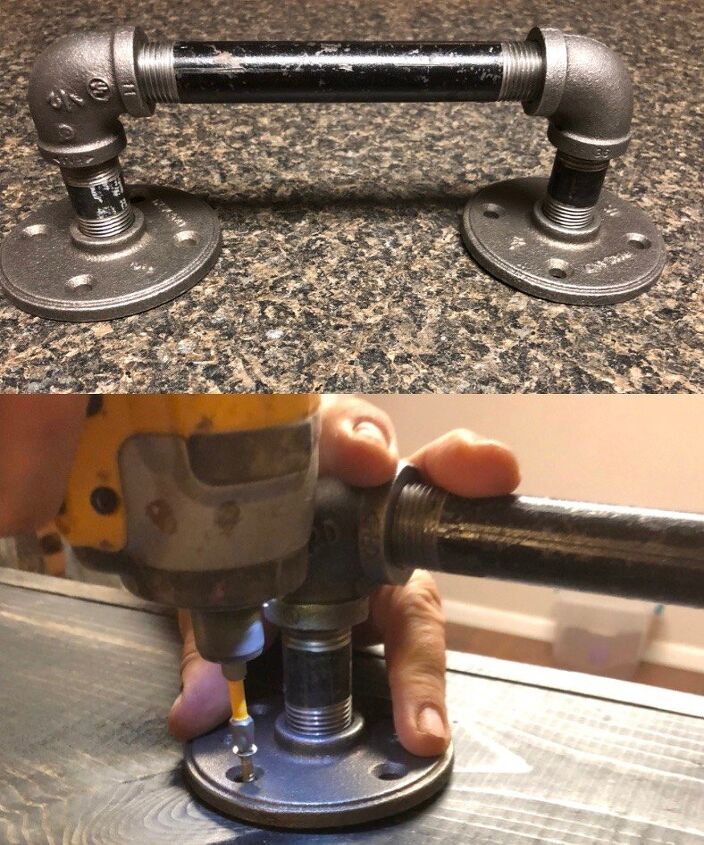
I then attached all pipe pieces together by screwing each 1/2x2 inch nipples to the floor flanges. Then I added both elbows to the other ends of the 1/2x2 inch nipples. I then screwed 1/2x6 inch nipple into the other ends of the elbows. This forms a handle out of pipe. Then I screwed the pipe handle into the center of the stained box.
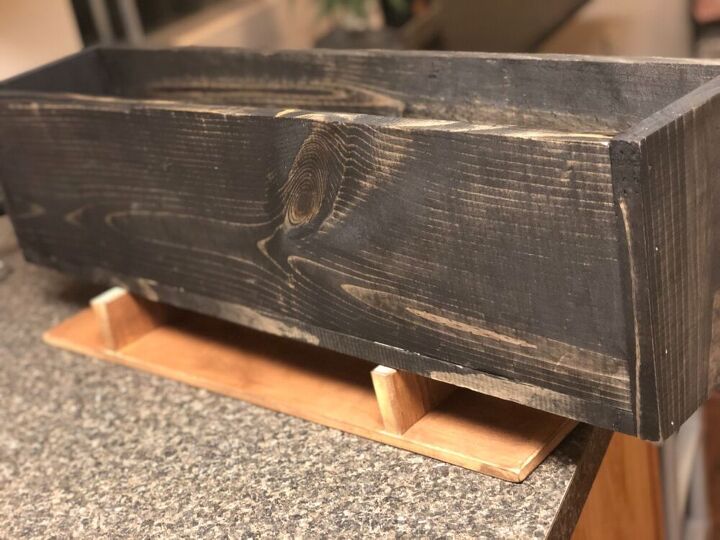
This is what the box looks like completed.
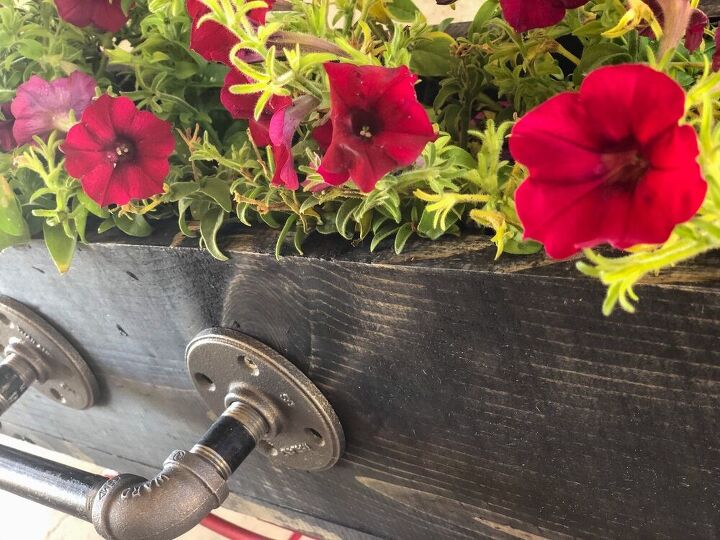
I then added some pretty red petunias to the completed planter.
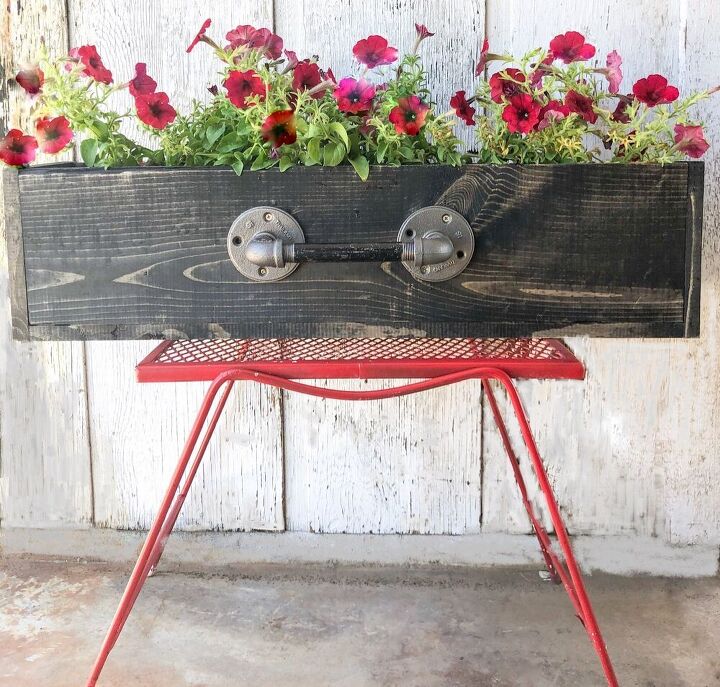
And here is the finished product! I love how it turned out and the way it made this plain space look.
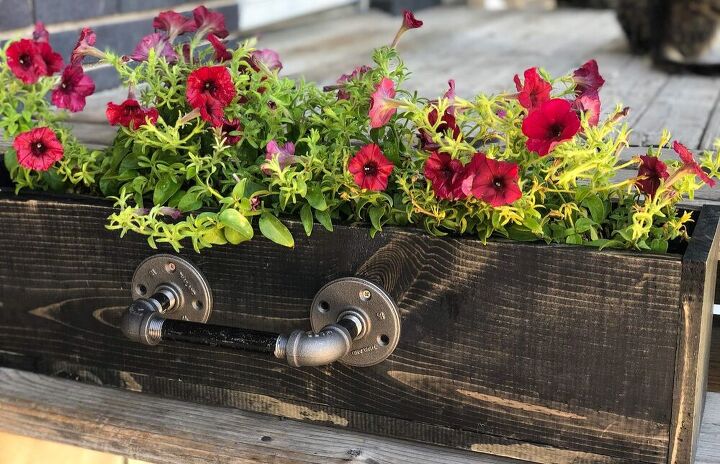
Here is a closer view with the flowers. I hope you enjoy!
Resources for this project:
See all materials


Comments
Join the conversation
-
lovely planter!! thanks for the idea
-
Turned out really cute! Thanks for the idea!!


Frequently asked questions
Have a question about this project?