


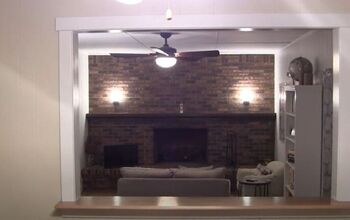
String Light Patio Refresh

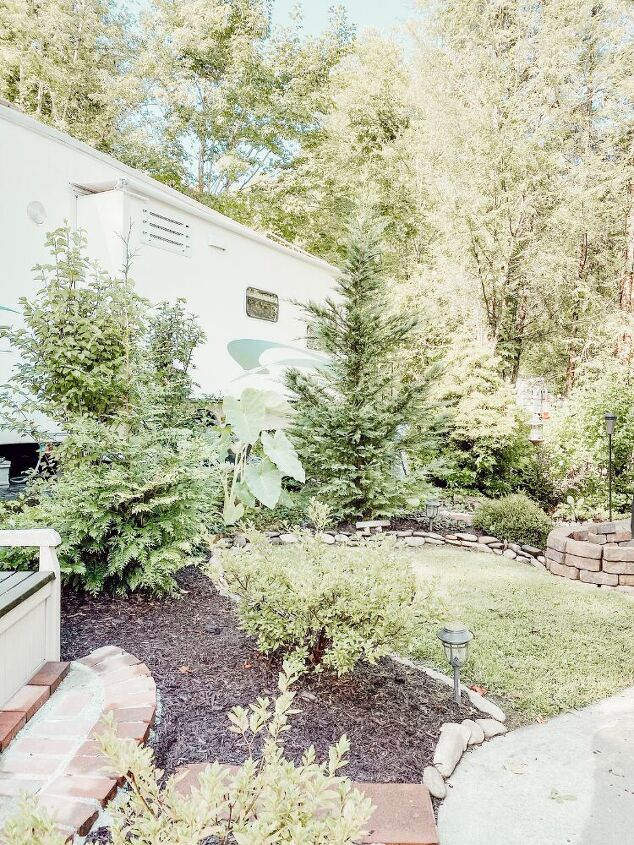
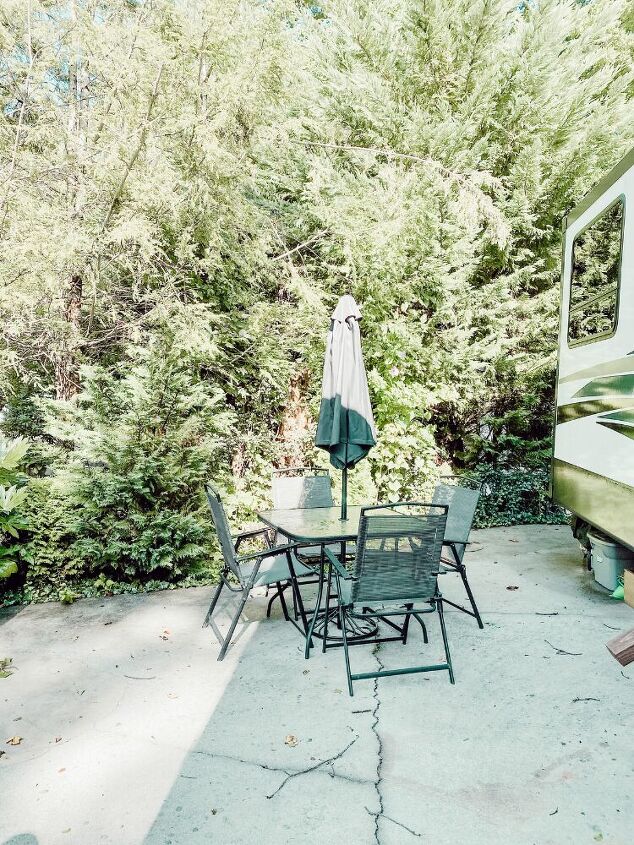
So we bought a camper this summer and we have been trying to refresh it to make it more of our own. When we bought it, it was pretty much move in ready, but we definitely wanted to change a few things and do a few projects to improve it and this was one of them. The outside landscaping was already pretty nice, but I knew it would be even more magical if we were able to add some outdoor patio lights around the yard. So we decided to do this quick DIY project one Saturday and make the yard into a perfect getaway spot! https://morningsonmacedonia.com/diy-string-light-patio-refresh/

Hometalk Recommends!
- Posts
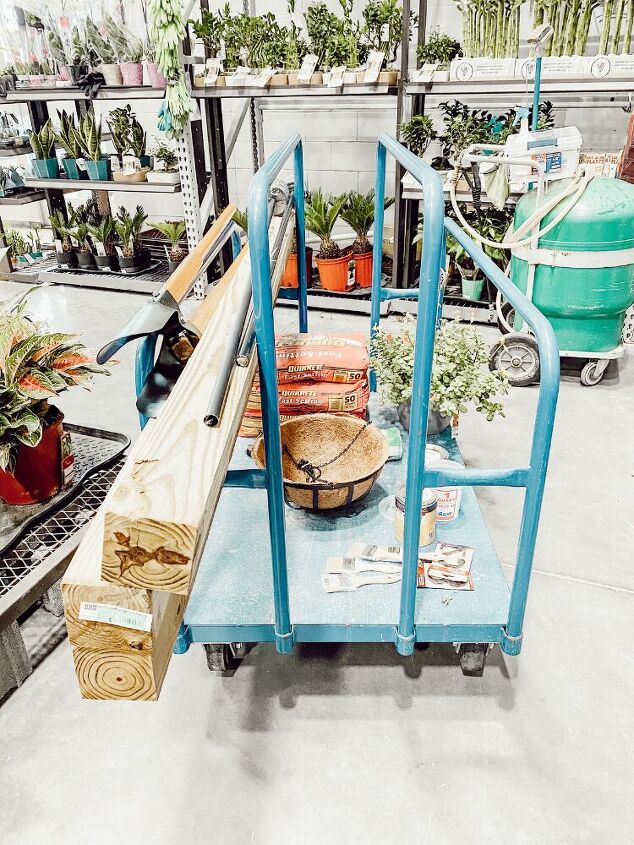
- Patio Lights
- Quick Setting Cement
- Post hole diggers
- Stain
- Hanger for hanging basket (optional)
- Personalized sign (optional)
- Hanging basket (optional)
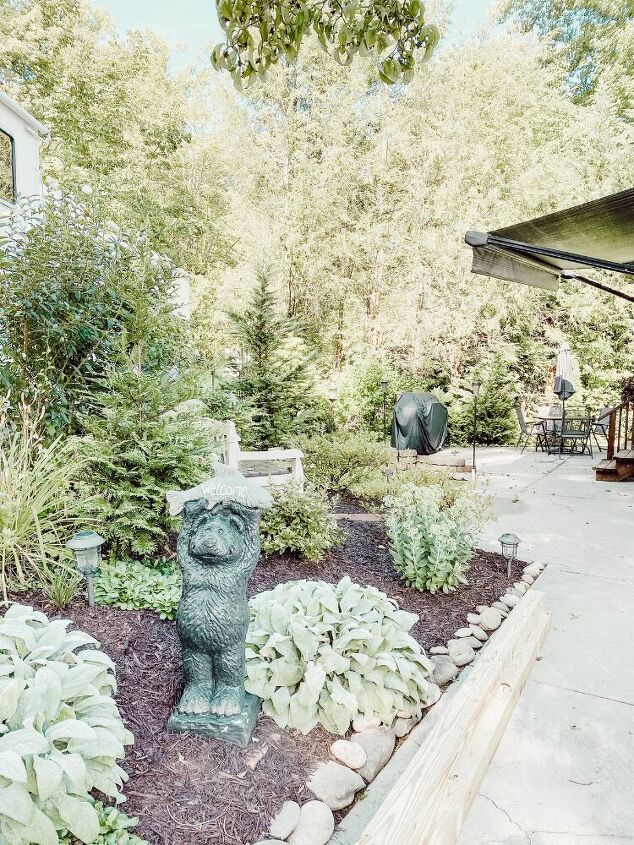
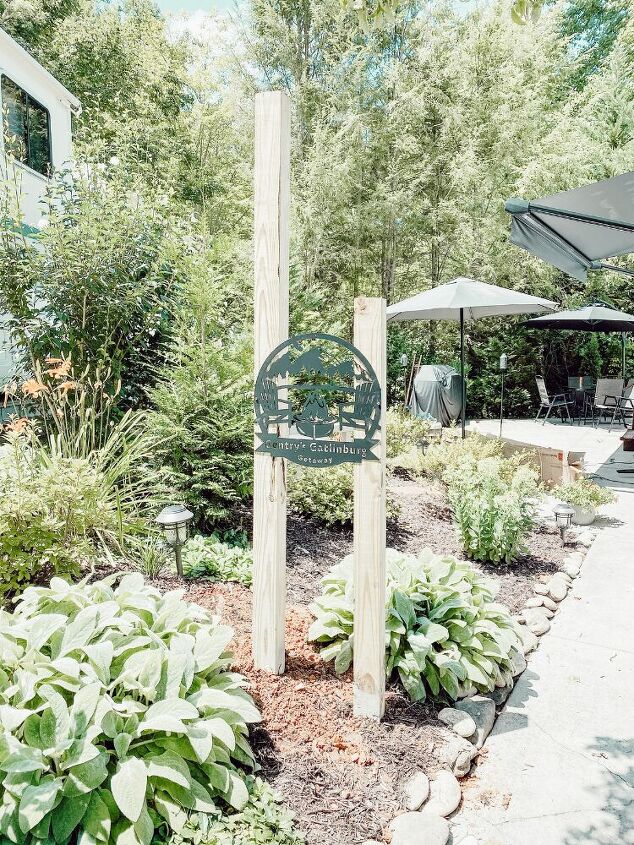
So we measured all around the yard and decided where we wanted each post to be placed first. We ended up placing 3 larger posts and one smaller post beside one of the larger ones out front to hang up our personalized sign we got. We had a steel company make us a sign that says “Gentry’s Gatlinburg Getaway” which is what we call our camper. We wanted to make this the focal point so we put that at the very front of the yard. Depending on how big your space is, will determine how many posts and patio light sets you need. It’s much easier to measure it out first to be sure before you go out shopping for supplies.
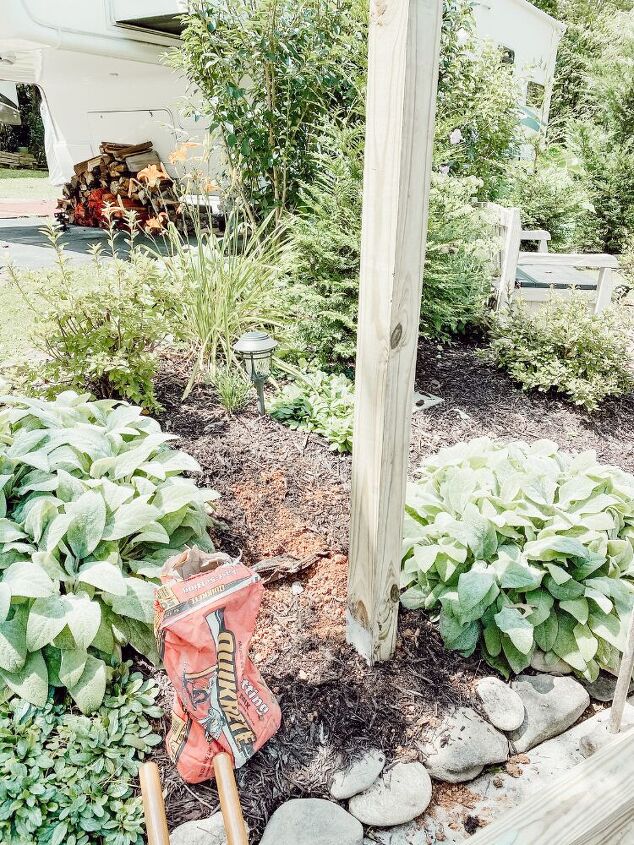
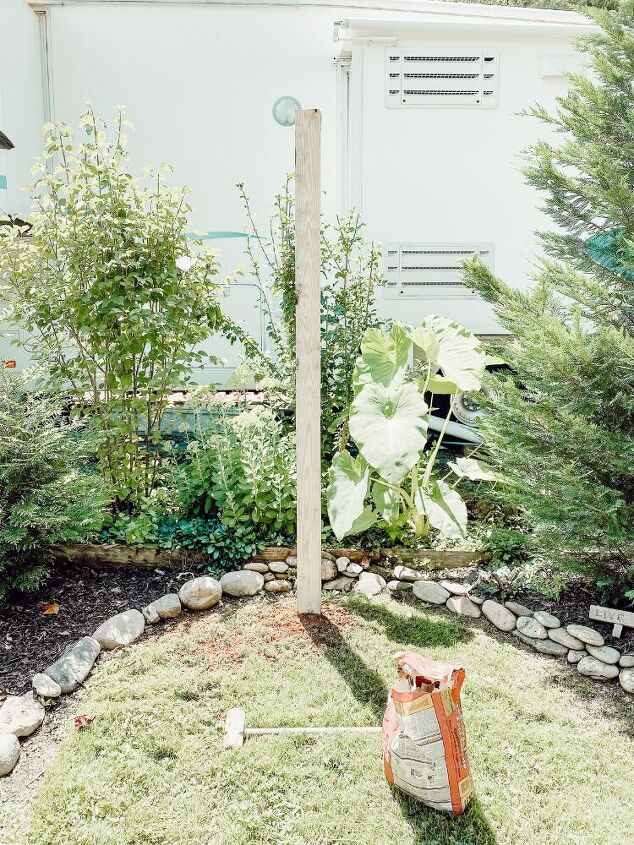
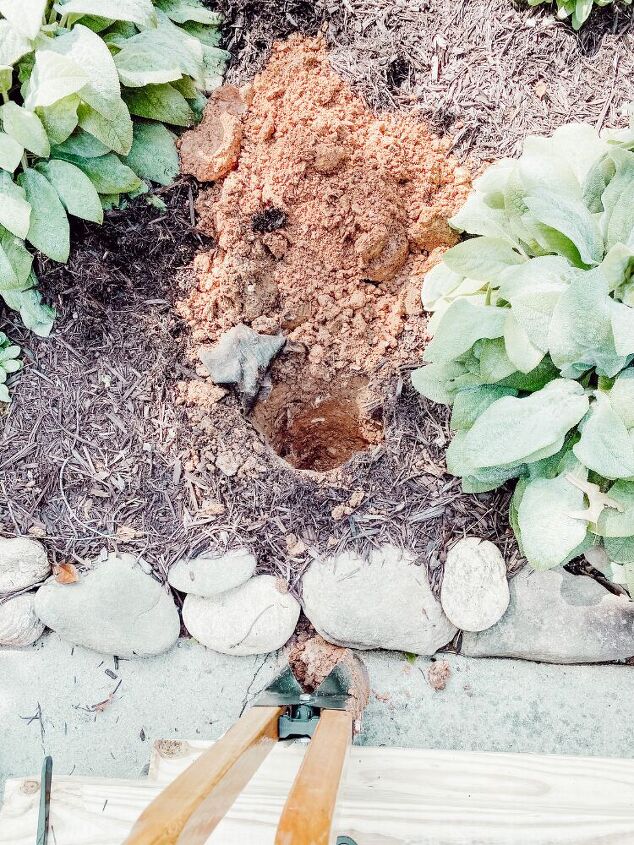
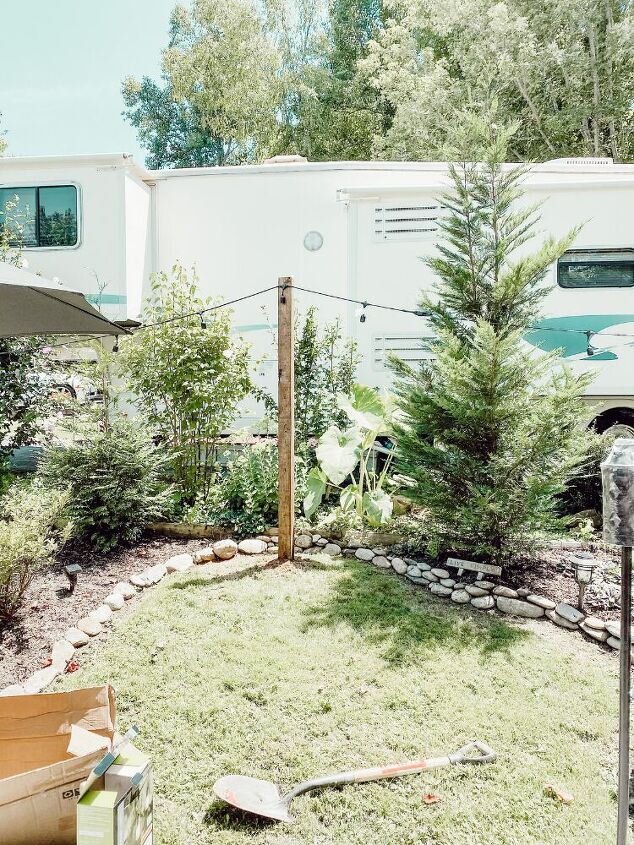
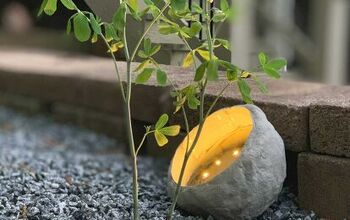
My hubby used the post hole diggers to dig up a spot for each post to go. Once we placed it inside the hole, we poured the quick setting cement around the posts. This stuff is awesome because it doesn’t require any mixing! The next time it rains or you water it yourself, it will automatically set up! So that was a nice shortcut for this project.
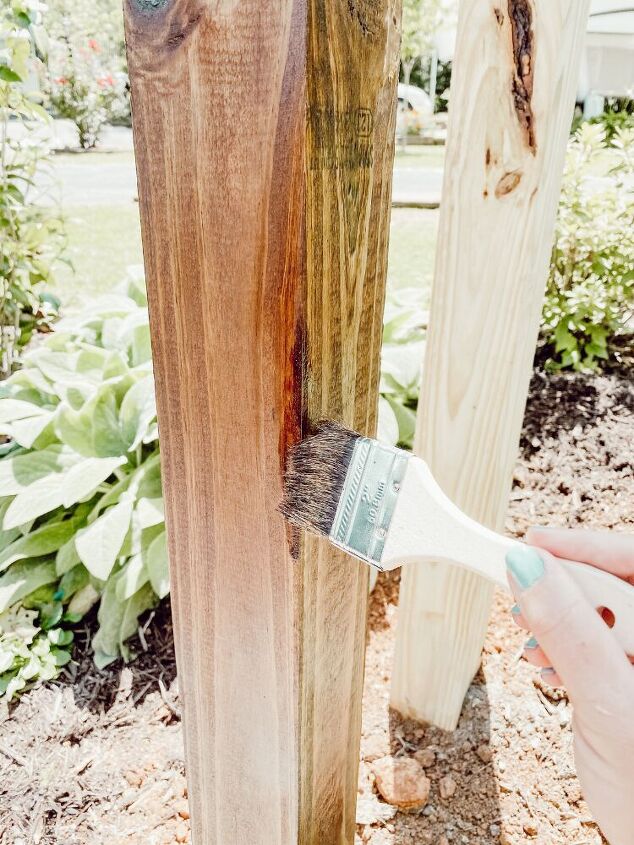
After the posts have been placed, you can now stain them to whatever color you want. I used Minwax Early American and I love this color and how it turned out!
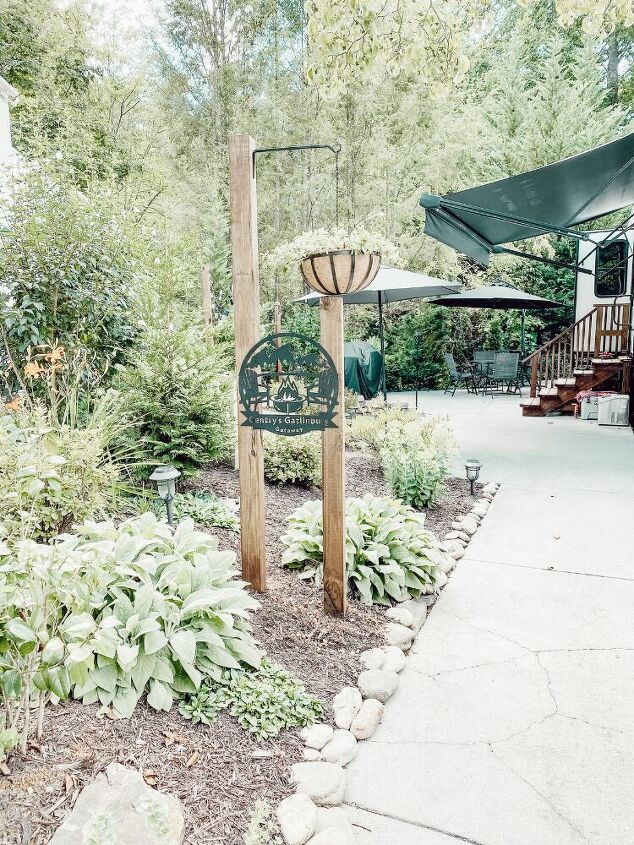
This is totally optional, but if you had a sign like this you wanted to display, you could hang it up on the posts too. Like I stated above, we had one tall post and one short post to put the sign on. So we hung up a hanger and a hanging basket on the other tall post side to make it look more balanced. We also connected the lights on the tall post side as well and that is where we started stringing them from.
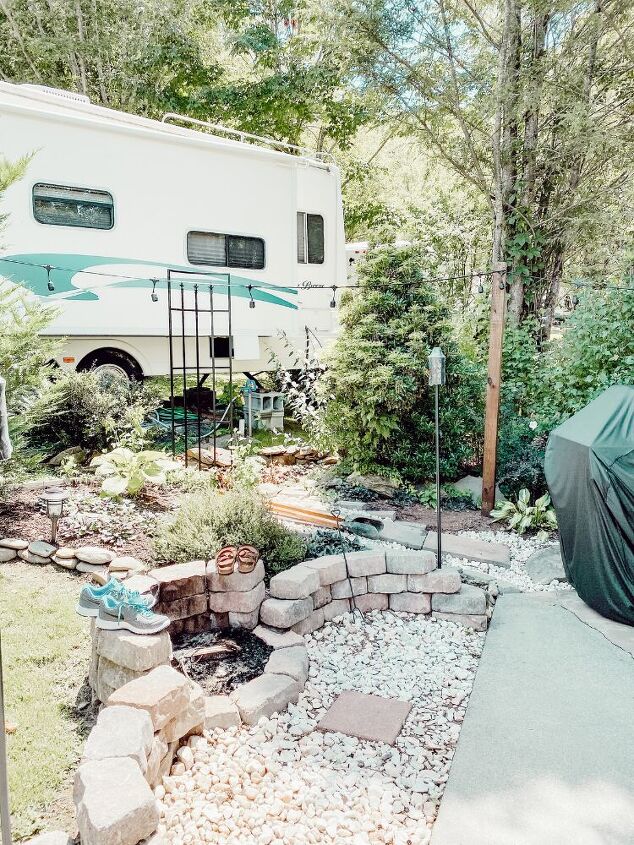
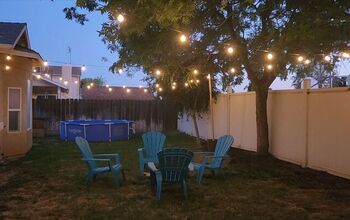
Now that the posts are in and stained, all that’s left to do is hang up the lights! We got the kind where you can directly screw them into the wood so we didn’t have to worry about having extra hooks for them. It made it much more convenient and easy to hang up!

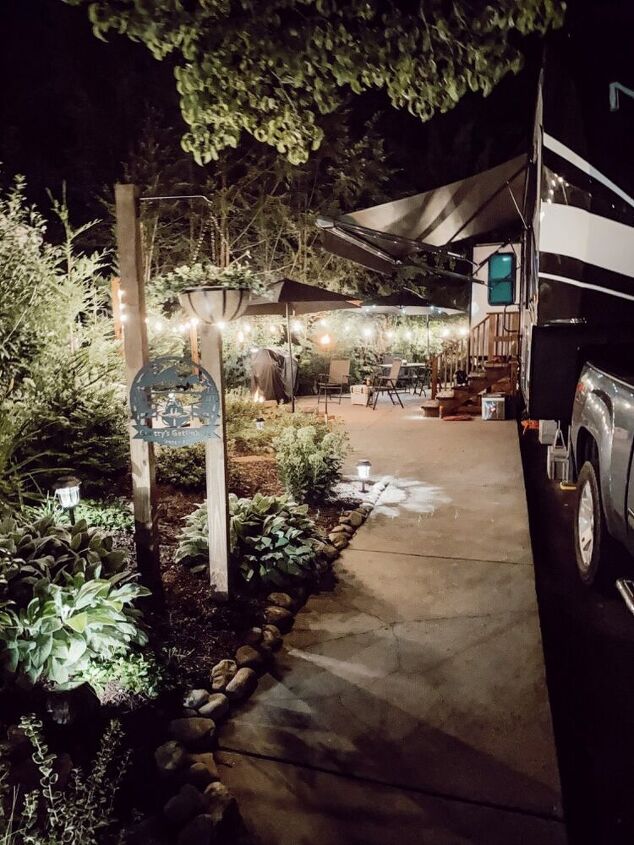
Well that’s everything that we did to create this patio light refresh and I am loving how it turned out! It’s my favorite place to sit outside and enjoy a campfire at!
Resources for this project:
See all materials


Comments
Join the conversation
-
I think.my hubby and I are past our camper prime, however, I loved what you did with the landscaping! I probably would have kept old Mr. Bear, and scrubbed him and given him a coat of paint!! LoL!! You are ftee now to make your own mark-lovely!!
-
I love how it all turned out but how did you know when you dug your holes that you wouldn’t hit any wire( electric or cable) or water lines. It would be my luck I hit something underground. 😩


Frequently asked questions
Have a question about this project?
I would love to know - do you own the land? We have 2 Timeshares in Gatlinburg, so we are there every year. But having a permanent place for a camper really interests me. Love what you did!
Just so beautiful and tasteful!
Is this camper in your back yard? Or on private property? Just wondering.