


DIY Neutral Fall Pumpkin Pillow
I want to add some fall accent pillows to my decor, but it has to be neutral. No orange this time. So I designed a neutral fall pumpkin pillow. The pillows will go in my living room and will compliment my fall mantel.
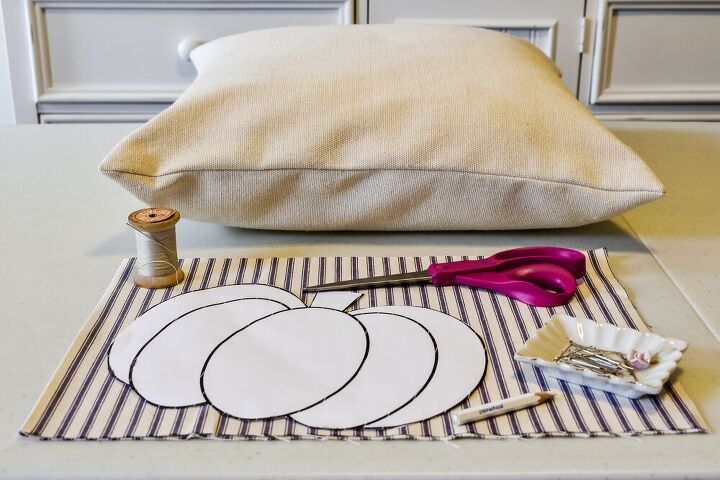
WHAT YOU'LL NEED:
- Solid colored pillow with pillow insert (mine is 18x18)
- fabric of your choice (mine is cotton ticking)
- pumpkin template (I printed mine for free from firstpalette.com and enlarged it to 121%)
- scissors
- pins
- needle and coordinating thread
- chalk pencil
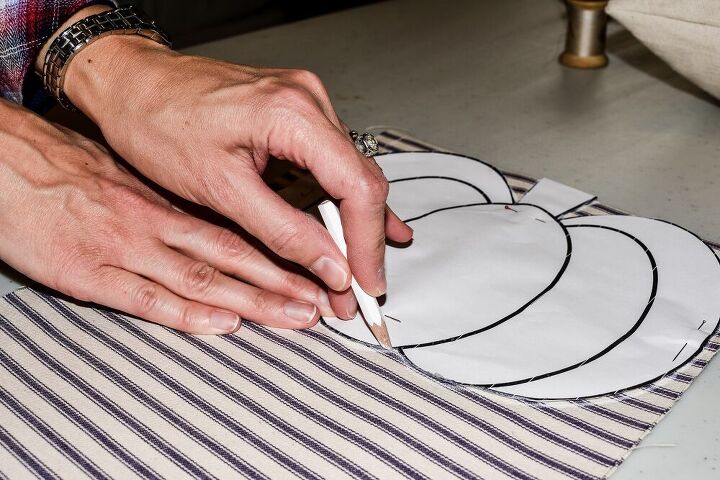
Step 1.
Position the template onto the fabric (right side up) and trace the pumpkin template with the chalk pencil.
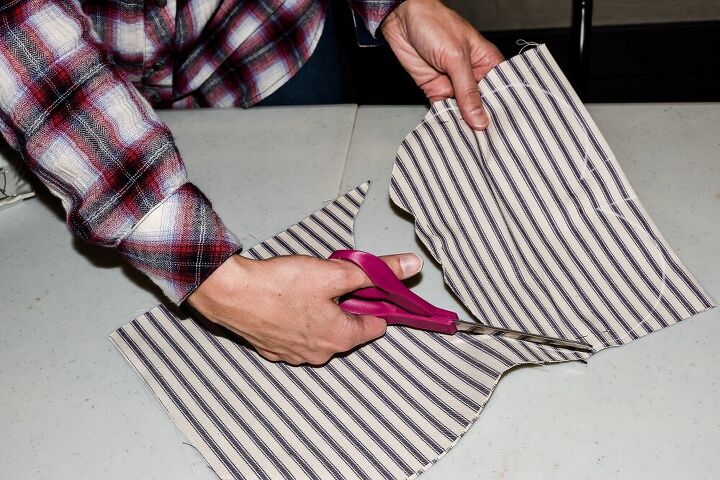
Step 2.
Cut out the fabric pumpkin.
Step 3.
Place the pumpkin (right side up) onto the pillow and pin in place.
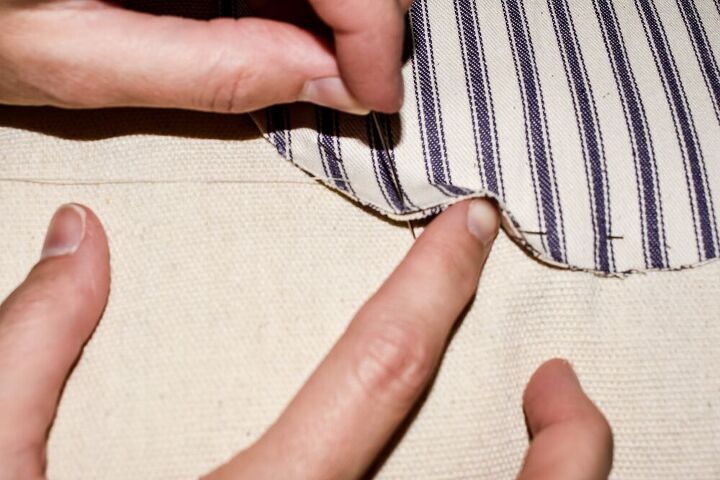
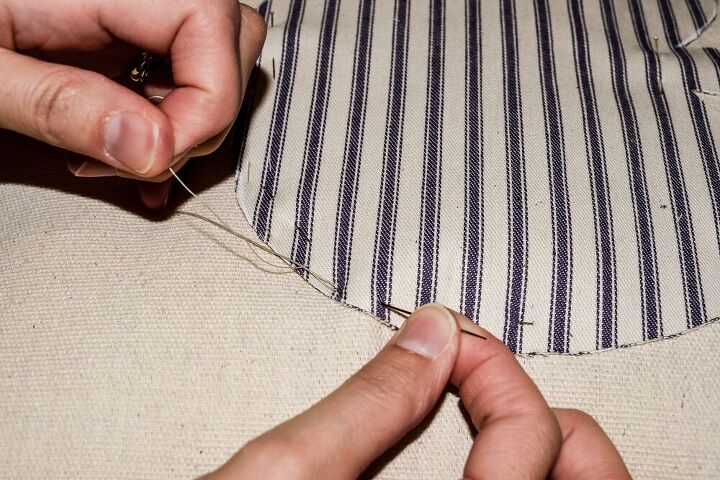
Step 4.
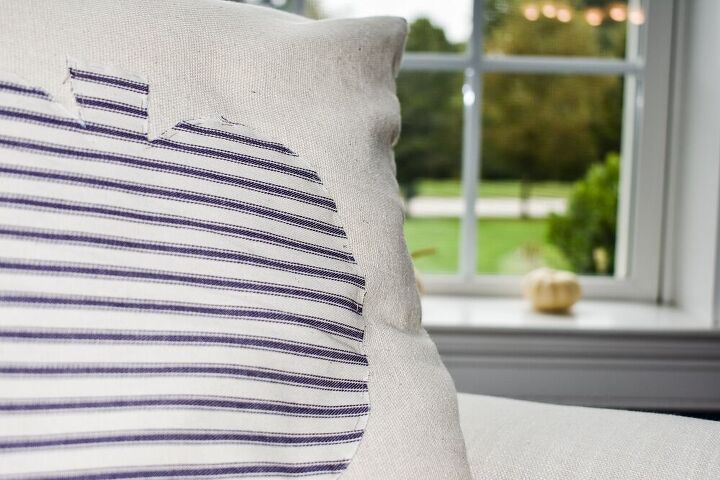
Sew the pumpkin to the pillow using a running stitch. Remove the pins and you're done!
If you want a no-sew option, try attaching the pumpkin to the pillow with hem strips or stitch witchery. You can find these at fabric & craft stores.
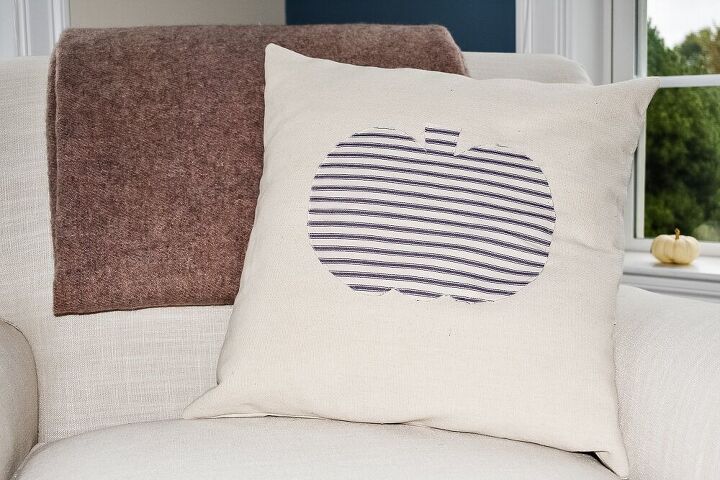
I love the way the running stitch looks. If the fabric frays a little, that just adds to the casual look. And the best part? It's very easy to remove when it's time to refresh your decor. Just take out the stitches with a seam ripper and you're ready to start over.
I hope you liked my neutral fall pumpkin pillow! For more home decor and craft inspiration, please check out my blog: https://www.zucchinisisters.com

Comments
Join the conversation
-
Your pillow turned out perfect for fall decorating!

-
Love the ticking fabric you used!


Frequently asked questions
Have a question about this project?