


Sewing Room Cabinet Makeover

Redoing the builder grade unfinished cabinets in my new sewing room! I posted this project back in 2015 when we moved from Texas to Florida, but somehow, the post was deleted. So I thought I'd share again. There have been a few minor changes since then as noted below.
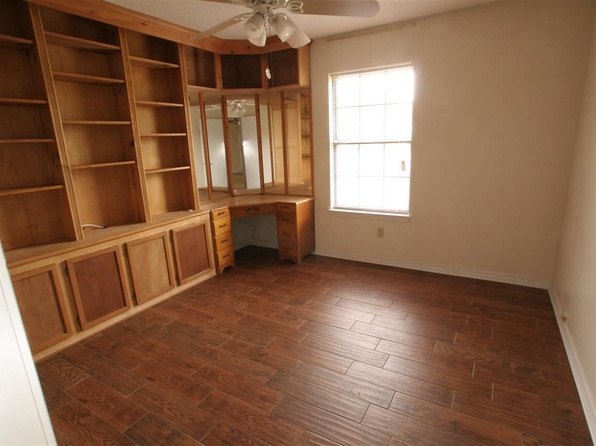
Perfect for my new quilt/sewing studio, but refinishing the cabinetry was a MUST DO, before I unpacked and sorted all my fabric, notions, and crafting stash. Otherwise it may never happen
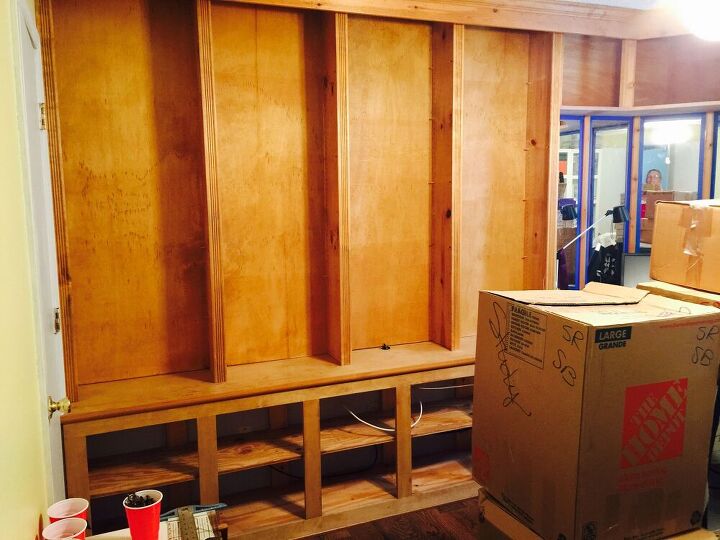
Pre-prep by removing drawers, doors, and shelves. I used Cabinet Transformation by Rustoleum, in Winter White with a brown glaze. The kit is very affordable, about $75.00 and has everything you need except paint brushes and pans. First you clean and wipe down the wood with their cleaner. This works on painted surfaces as well and negates the sanding process.
After wiping down and letting dry. The next step is to paint your base coat. I did two as the wood was unfinished and quite thirsty. Also, using Winter White over darker wood, I wanted to be sure I had good solid coverage. I waited about 4 hours between coats.

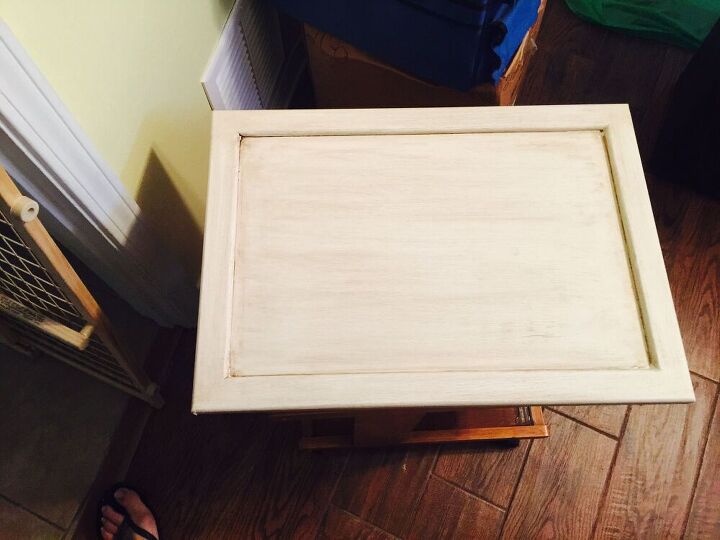
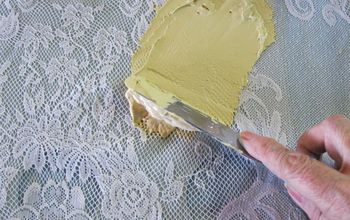
I then glazed the white paint using sponge brushes to apply and cheesecloth to wipe to the desired finish. It really tones down the stark white and gives some depth.
I chose to paint the back, sides, and shelves a blue accent color rather than glazing all of that real estate! The final step was to paint a coat of poly varnish to help protect the finish.
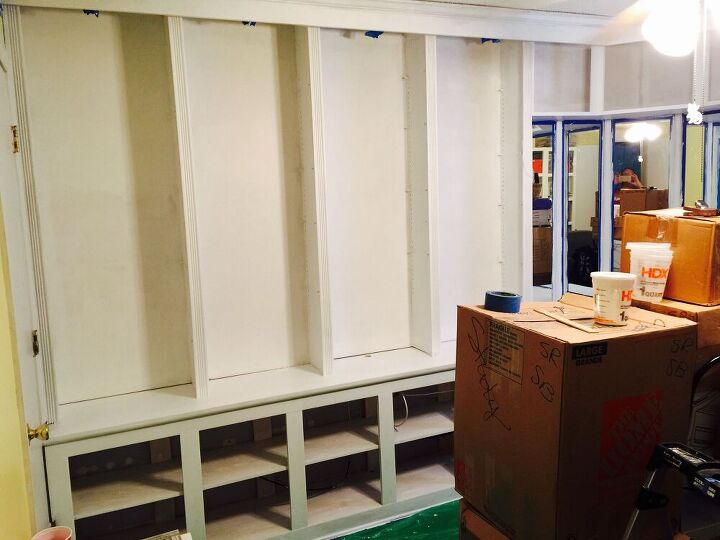
Having all my boxes was great for work surface! Here you can see how the glazing looks.
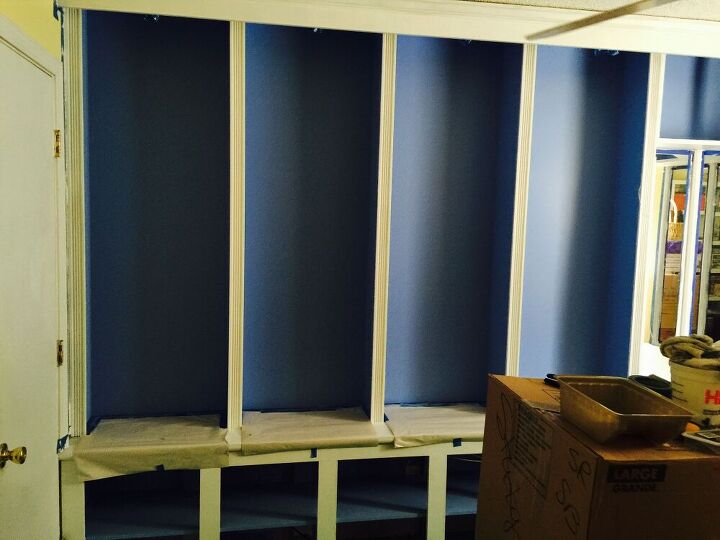
Here you can see the project is ready for doors and shelves.
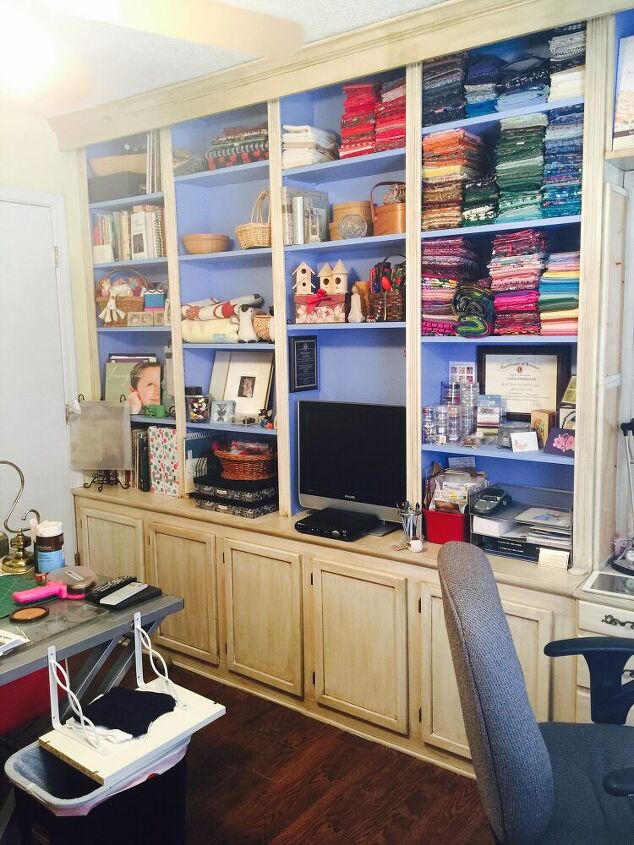
As you can see, the project looks so much better than the original un finished cabinetry! Update note (2020) I have since removed the TV, added another shelf, and finally unpacked lost fabric stash boxes!


Frequently asked questions
Have a question about this project?