


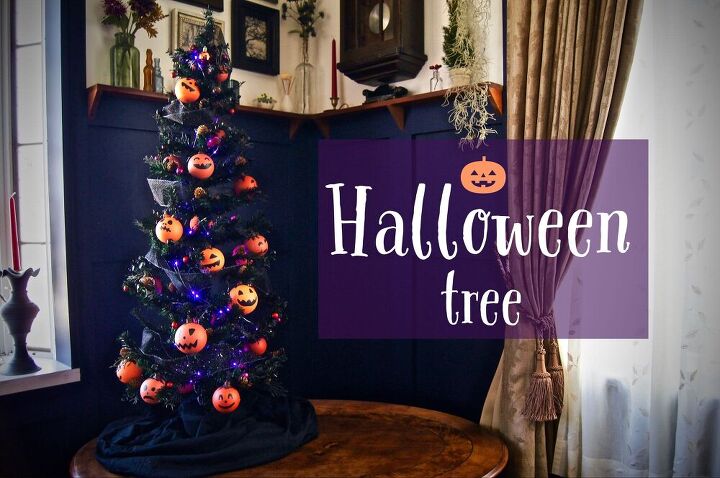
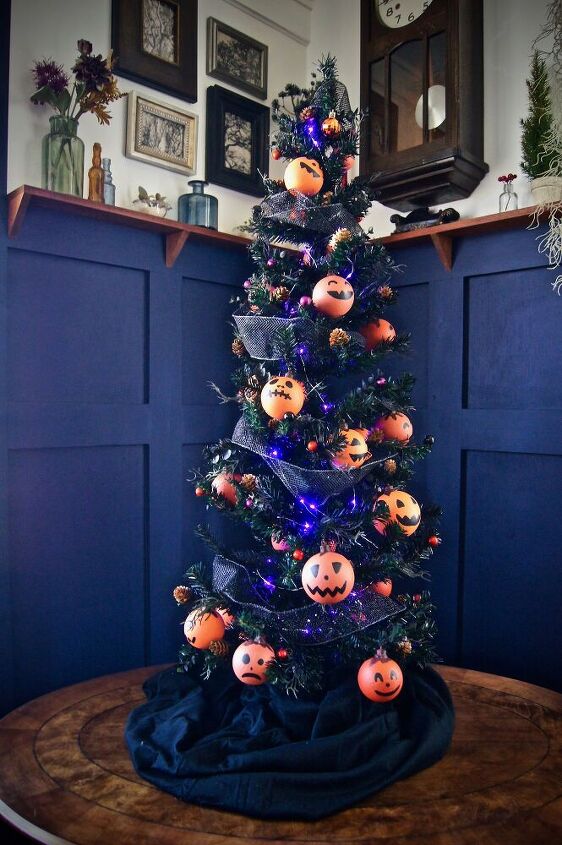
Halloween Tree!

If you follow me, it's no secret that I LOVE Halloween! Love it! I love it, because it's so much fun to decorate for. I've always wanted a Halloween tree and this is how I made one.
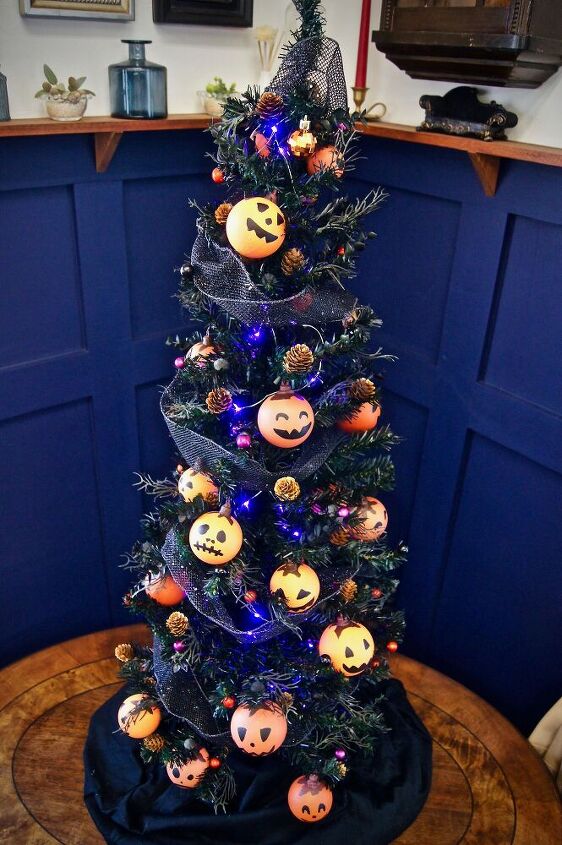
This is a really fun, artsy and inexpensive tree to make. When I create, I try to do it with stuff I already have in my workshop. All of the stuff that went into the tree was bought at the dollar store minus the lights. Fairy lights are cheap on Amazon and AliEpxress.
You can easily beef up a thin cheap tree with greenery swag. I bought dollar store air plant vines, cut em' up and hot glued the pieces to tips of the tree. It looks whacky at first, but a couple shots of spray paint will blend it all together. I used black spray paint, because:
 This is Halloween, This is Halloween, Halloween, Halloween
You can use other colors too. Check out my Christmas tree makeover post for more ideas:
https://www.hometalk.com/diy/decorate/christmas/christmas-tree-makeover-40421143
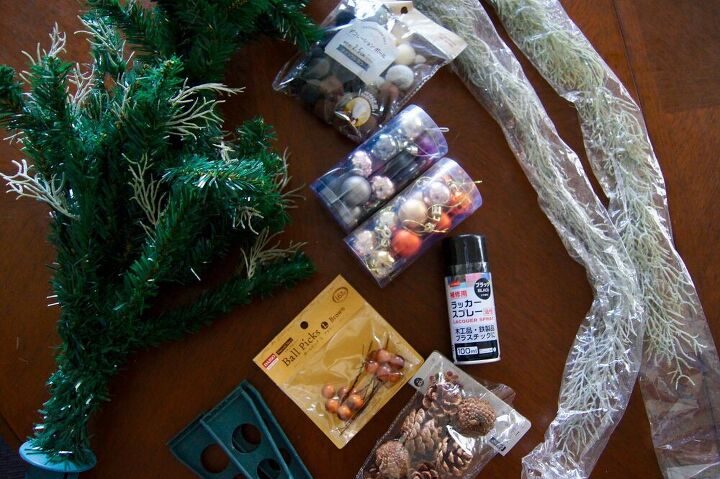
For the tree:
-A tree (ba dum tsss)
-Hot glue gun and glue (To glue stuff on)
-Greenery swag (To swag out the tree)
-Cotton balls (Swag to be glued)
-Ball picks (You can paint these)
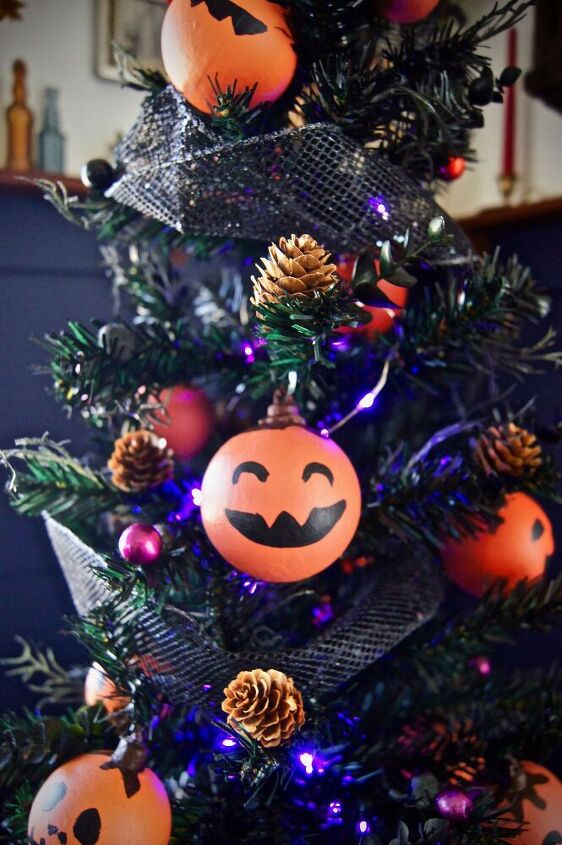
-Pinecones (Nature swag)
-Mini Halloween color ornaments (At the dollar store!)
-Spray Paint (For your hair...just joking. For the tree, fam!)
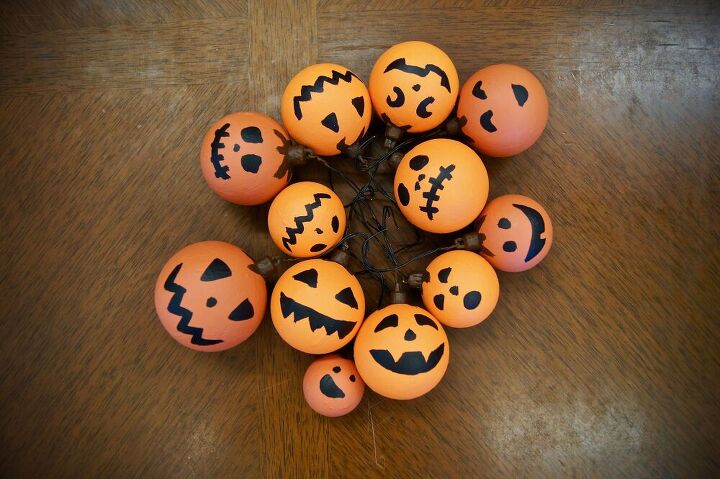
You can skip this part if you don't like being artsy! The ornaments are really fun to make, but you don't need to make them.
I can hear some of the thoughts now!
Kim Kardashian voice: "Why don't you like, just buy pumpkin ornaments, because like it's sooo much easier and like it's easier.."
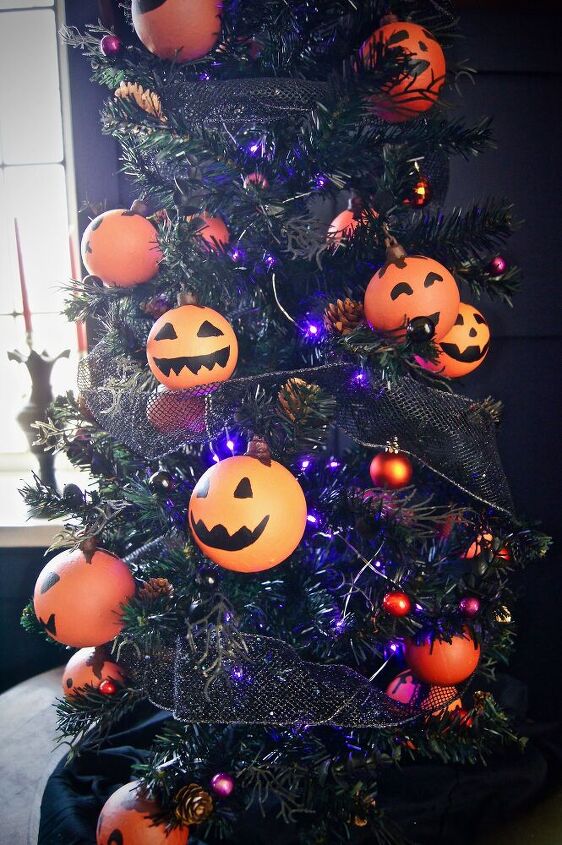
I made pumpkin ornaments because I'm artsy.
These totally look like oranges though.
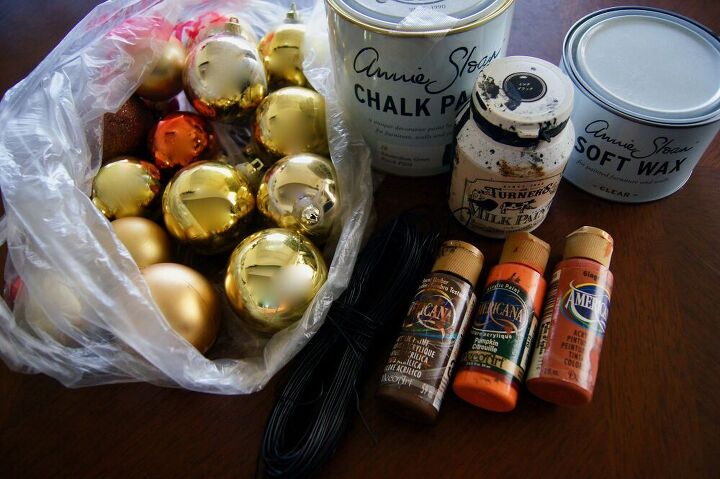
For the ornaments:
-Um...ornaments (I hot glued the tops on so they wouldn't pop off)
-Craft wire (To attach it to the tree)
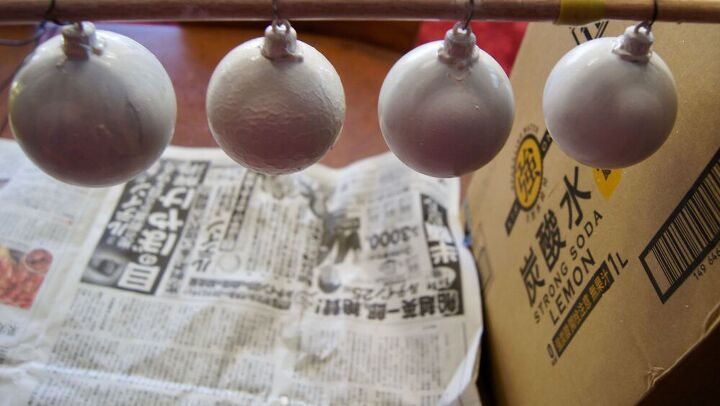
-Chalk paint (This is the primer)
*You will need to prime!
-Paints (Shades or orange, brown for the nook and black for the face)
-Clear wax (For your hair...yup, same joke again! You didn't laugh twice! Nah, it's to protect the paint and don't skip it)
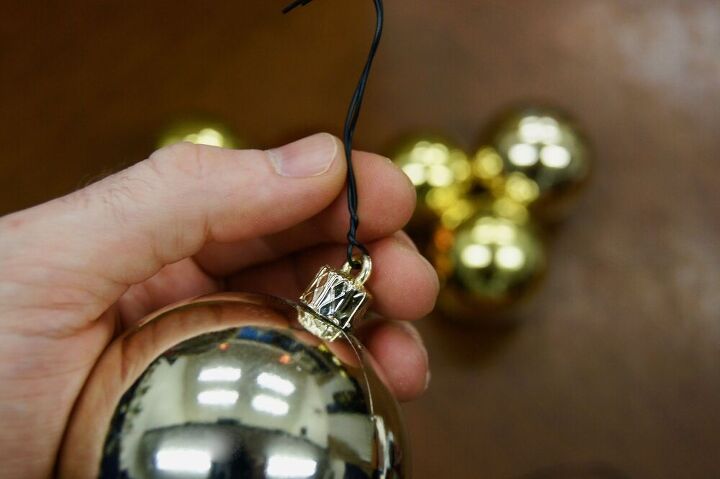
Twist the wire in the cap hole with enough slack to attach it it the tree. Be careful, because too much twisting power will break the cap!
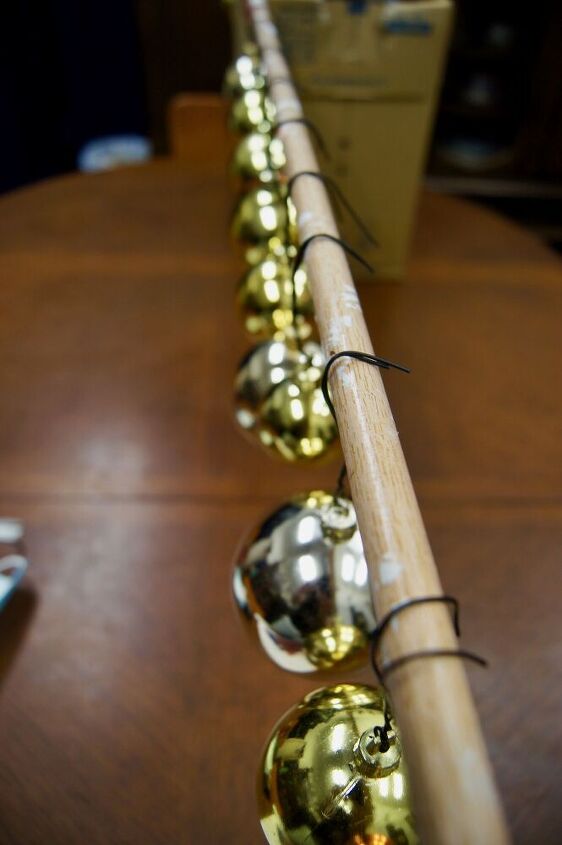
Make a hook so the ornaments are easily picked up and put back.
While making the first batch of these, I twisted them to the pole like a silly goose. Don't be a silly goose..
There is a way to paint these ornaments without getting paint all over your hands. Please teach me if you find out!
Two coats of paint on the ornaments and caps.
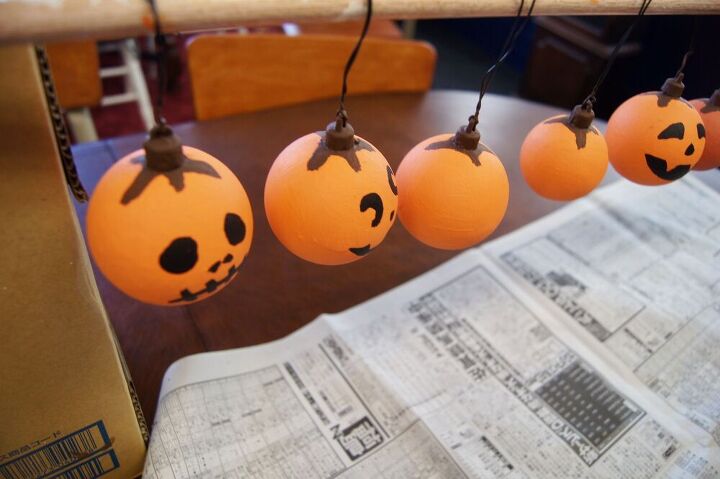
These took three coats of paint and the faces only took one.
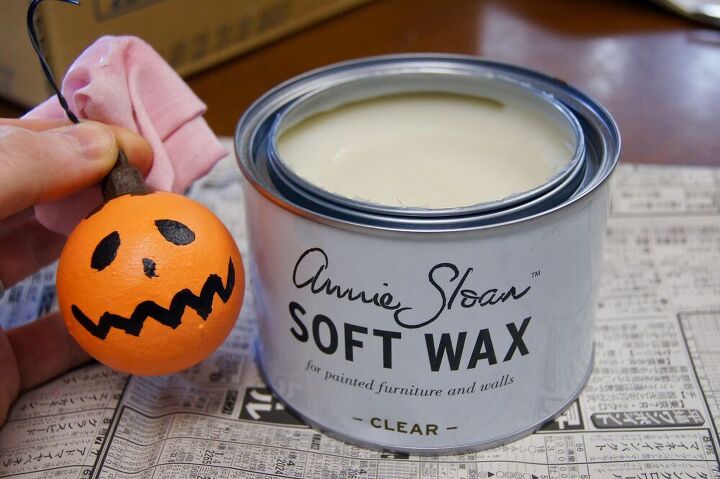
Chalk paint needs wax, but there is no real need to wax craft paint. I like it because it gives a nice low durability finish. After waxing the ornaments, let them hang until they're dry. It doesn't take that long.
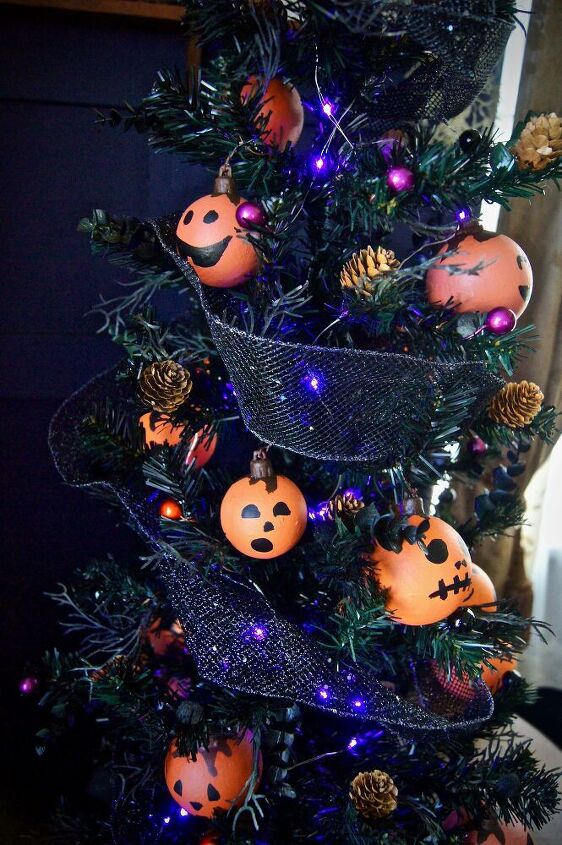
Hang them in the tree and admire your work!
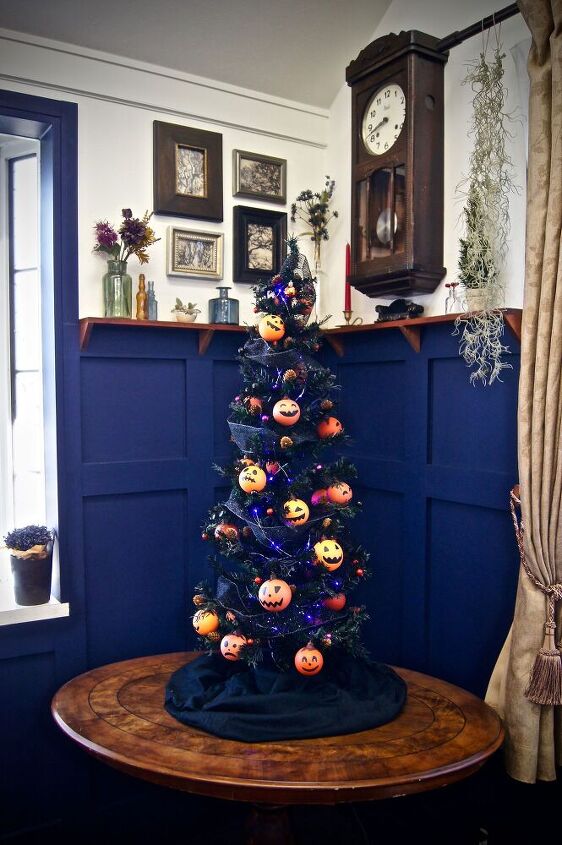
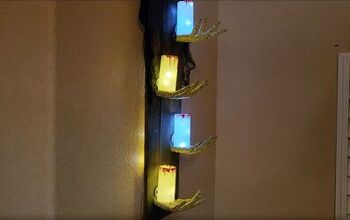
I put purple fairy lights on the tree and added a black ribbon.
Resources for this project:
See all materials


Comments
Join the conversation
-
This was awesome! I Very, Very Very... did I say Very yet... If not, I Very rarely comment on posts that I like, but this one deserved a follow, save AND forward. Thanks for the fun project AND read... you Rock!
-
This was a fun read, and I LOVE your jack-o-lanterns!


Frequently asked questions
Have a question about this project?
OMG....looks soooo good! I want you to know that this post was one I actually read! Most are like blah,blah,blah....and I skip over them. Can you use other type of paint? P.S. the wax is kind of sticky in my hair...lol
My sons birthday is Halloween, he’s 30 now so this is perfect to add to our Halloween decorations. Would you think about going from Halloween to Thanksgiving tree then to a Christmas tree?
Forget the tree; it's ALL about that amazing wall behind it! What brand, type and shade is that paint, please? It is incredible!