


Simple, Inexpensive Double Curtain Rods and Brackets

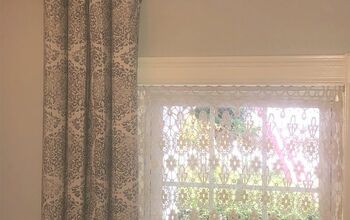
I have been using metal conduit pipe as inexpensive curtain rods for years. I usually hang them using large eye screws, but a recent post about single rod brackets from another Hometalker gave me an idea for a double bracket. See my inspiration https://www.hometalk.com/diy/living-room/curtains/diy-5-curtain-rod-44320806" rel="nofollow noopener" target="_blank">here, and my rods using eye screws can be found at: https://www.hometalk.com/diy/living-room/curtains/easy-custom-sized-curtain-rods-41927749
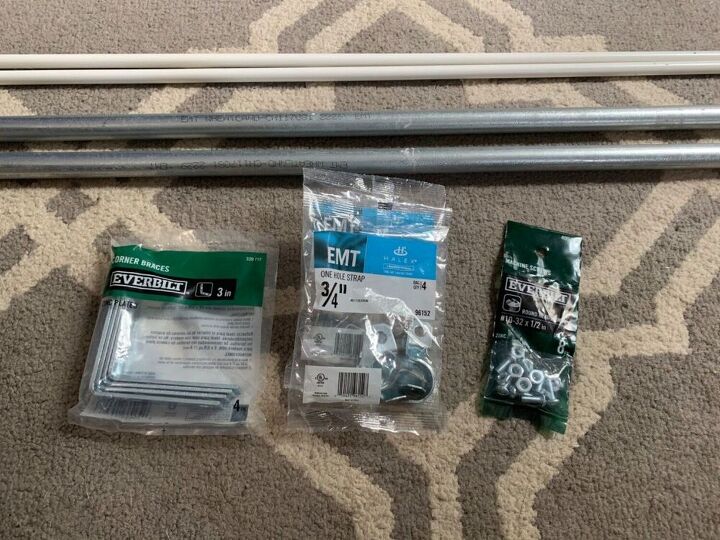
This is enough to make rods and brackets for 2 windows:
-metal conduit pipe (come in 10’ pipes, I used 3/4”)
-3” corner braces
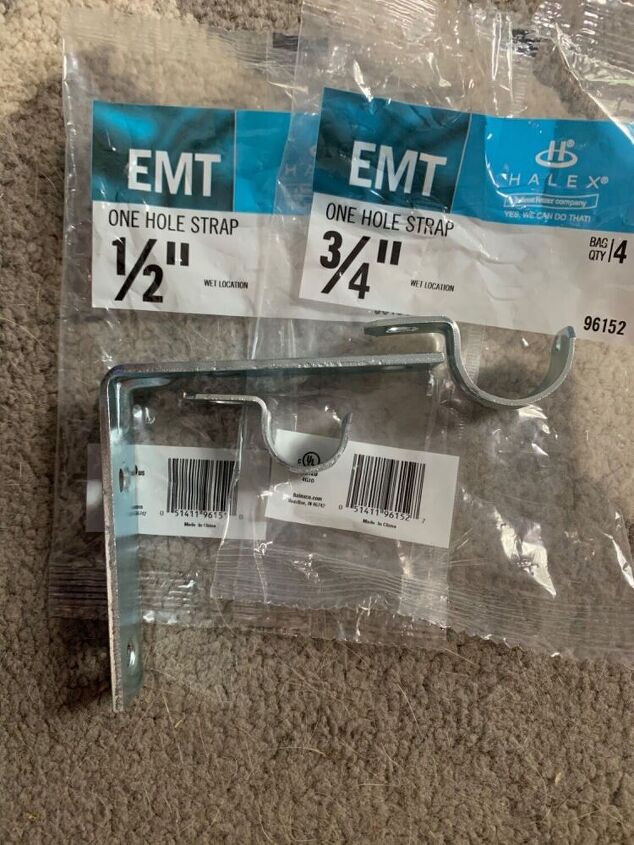
-2 pkgs EMT conduit brackets to match the pipe size you choose (officially called one-hole straps, 4 in each pkg)
-1 pkg of 1/2” machine screws and nuts
-You will also need screws and anchors to attach your rod brackets to the wall (not pictured)
I already had the thin white rods (1/2”) pictured at the top, and wanted to reuse them as the inside rod, so I bought a set of 3/4” straps and a set of 1/2” straps.
If you want your hardware painted, I suggest doing it before putting everything together. These are for my daughter’s room and she asked me to leave them silver instead of spray painted white or black.
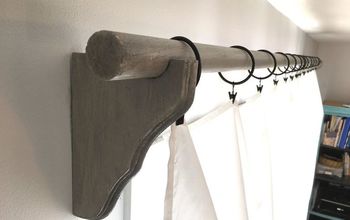
This is how I set up the hardware. The inside rod strap is on the underside of the corner brace, lined up with the pre-drilled hole. The strap for the outer rod is placed on the top side of the brace.
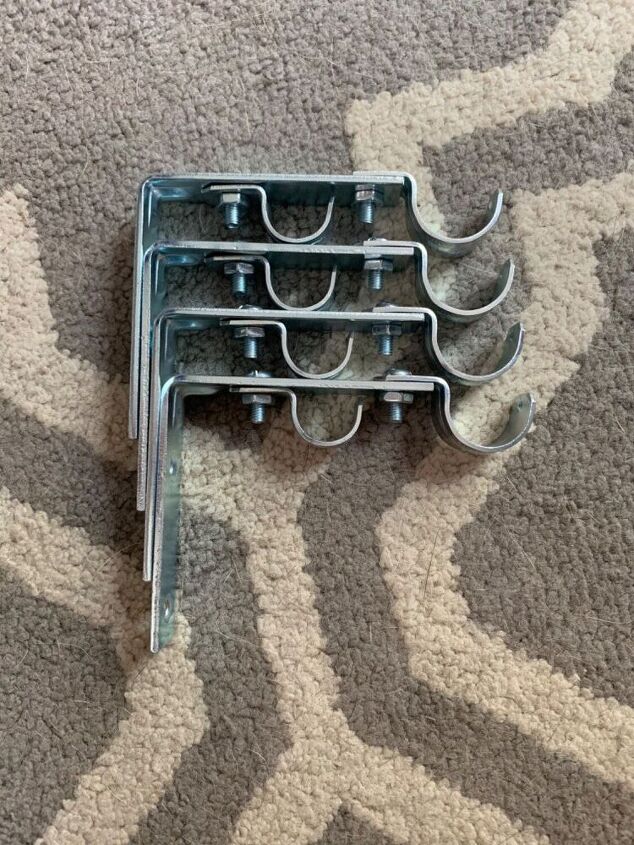
Insert the machine screws through the top and attach the nuts underneath. You may want to wait to fully tighten the strap at the back until mounting the bracket on the wall, as it somewhat obstructs the top hole.
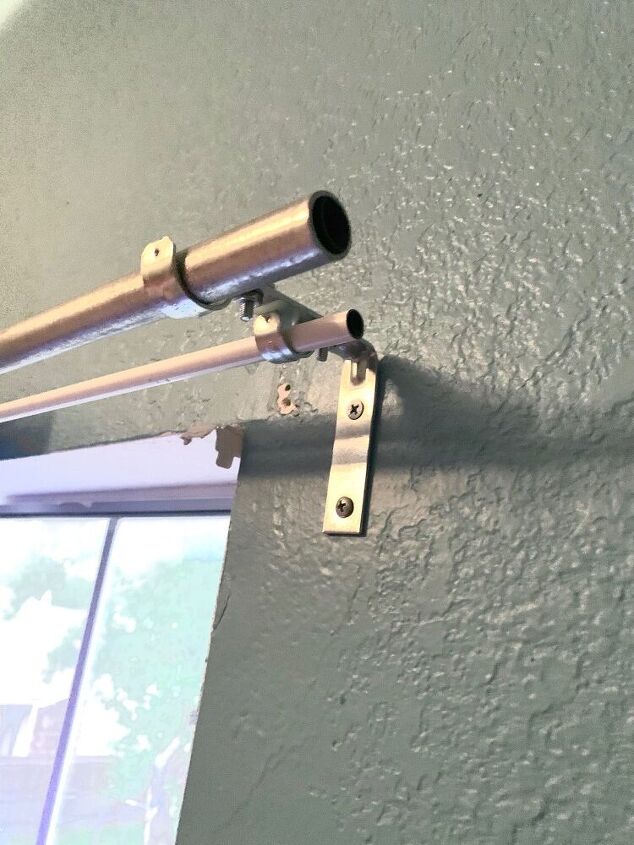
Mount the bracket to the wall using screws (and anchors, if necessary). Preferably the same type of screw if you you can. 😆
***Normally I would put them higher and farther out from the edge of the window, but the other top corner of this window is right against a vaulted ceiling. If you do not have the same problem, hang them high and wide!***
Tighten the screws and nuts, insert the curtained rods and enjoy!
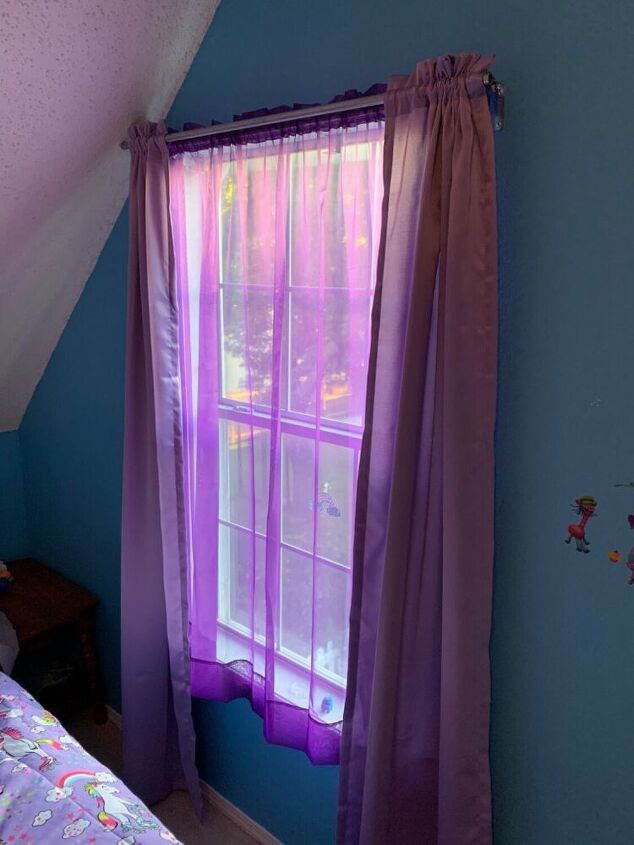
If you want, you can add finials (or even drawer knobs) to the ends. I haven’t found the perfect ones yet, but when I do, I will update my photos.
Resources for this project:
See all materials


Comments
Join the conversation
-
Thanks for posting this I just moved into our forever home 🏡 and it was built in the 50's I have been waiting to come up with THIS I CANT THANK YOU ENOUGH PERFECT PICTURES AS I AM A SEE IT DYI'ER , I SEE IT I VAN MAKE IT !!!!! THANKS AGAIN !!!!!
LINDA


Frequently asked questions
Have a question about this project?