


Outlet Sofa Table

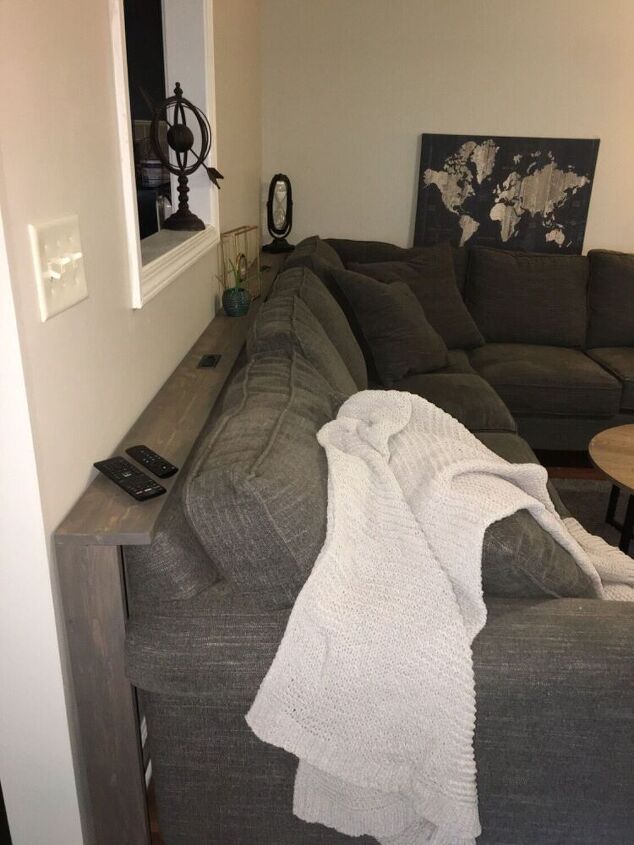
This little project has been on my “needs” list since we got our new sofa set almost a year ago! The love seat sits against a wall with an outlet. It’s the only outlet that wouldn’t leave cords trailing across the floor, so we’re constantly pulling the sofa out to plug in chargers and what not. Though only a minor inconvenience, it was stressing me out dragging the sofa in and out on our new floors. Vinyl plank it supposed to be scratch proof but I’d rather not test it if we don’t have to! Here’s how I solved the problem!
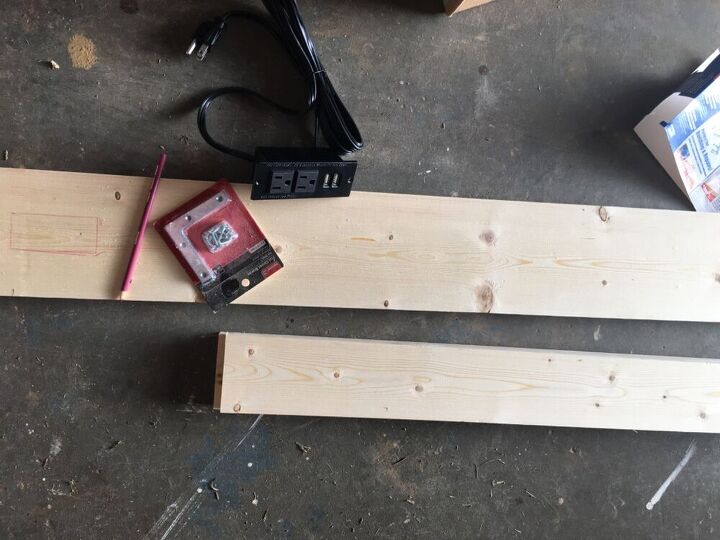
Such an easy project guys! All you will need:
- 1x6 at the length of you sofa
- 1x4 x 2 at the height of the back of sofa
- screws
- L brackets or a Kreg Jig for attaching leg
- stain/paint/ torch for finishing
- Miter saw/circular saw for cuts (Home Depot will also cut for you if you know the dimensions, just ask and they’ll help ya!)
- jig saw
- sand paper
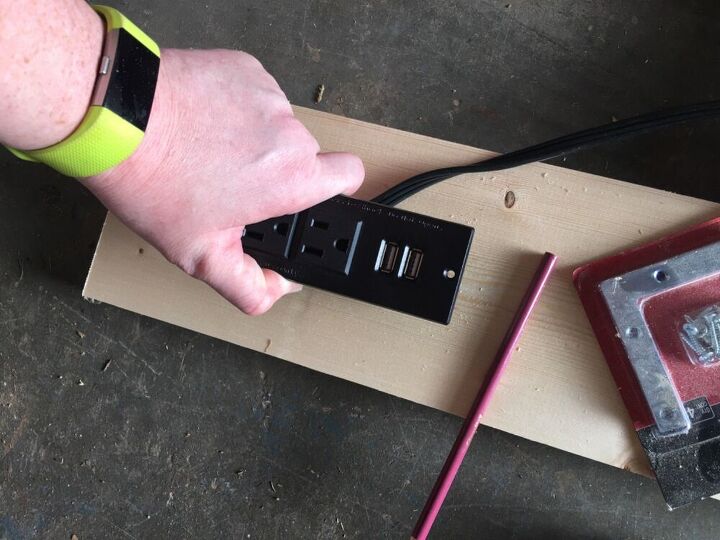
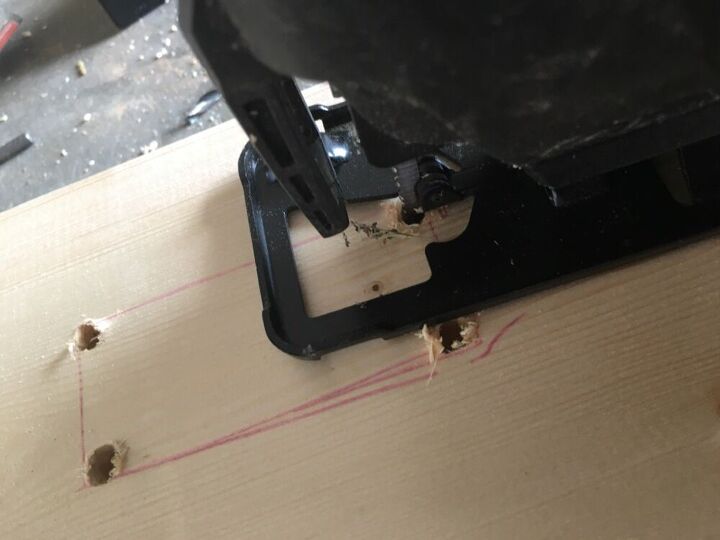
So this particular outlet did not have a ton of over hang on the top side for mistakes while cutting so try to trace as close as possible, you can always take more off but obviously you can not put it back once it’s cut!
Once it it traced, cut all the boards to size, the 1x6 will be the table top, so cut it to the length of your sofa. The 1x4 will be the legs, so cut 2 of them to the height of your sofa.
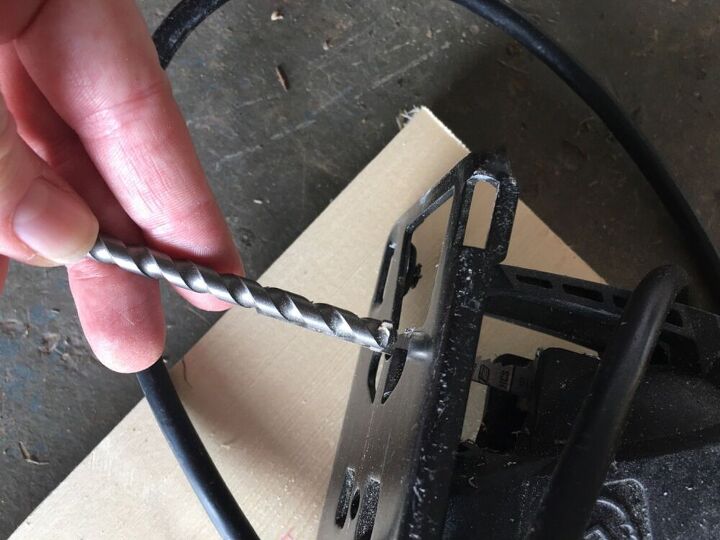
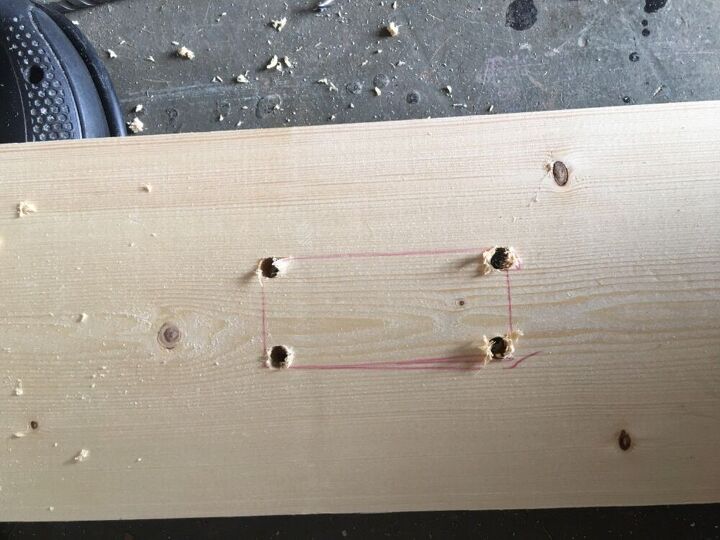
Find a drill bit slightly larger than the blade of your jig saw, drill holes in each corner of the template you just drew on your board, then insert the saw blade into the hole and basically just play connect the dots! No need to try and turn the saw around while cutting those corners! Easy peasy!
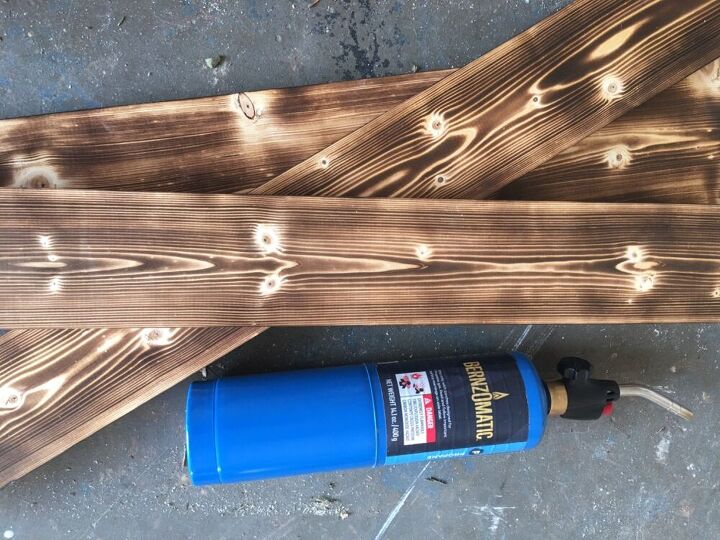
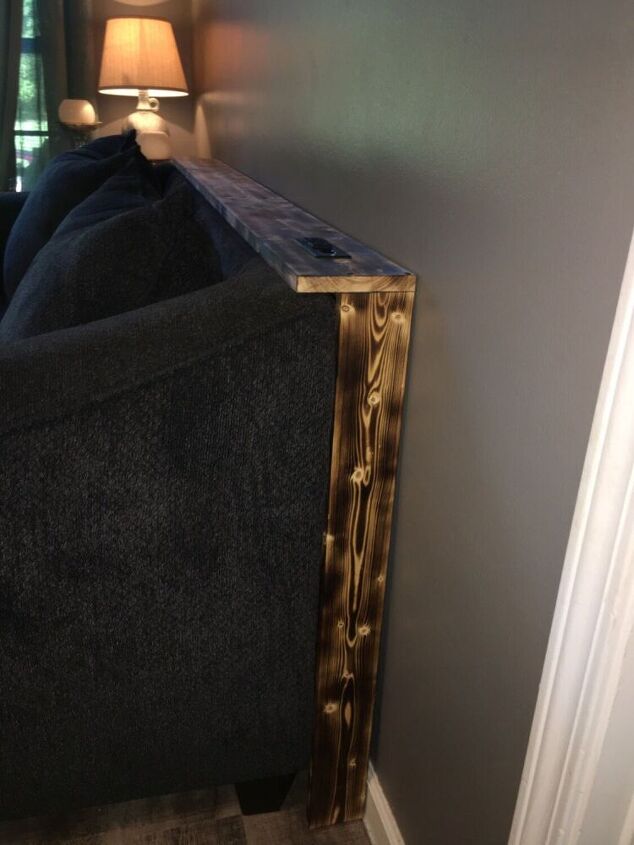
Finish in your choice or paint, stain, or you can torch it like I did! This table will fit behind the sofa just below the farmhouse shelves I hung a few months back, so I figured keep the finishes consistent.
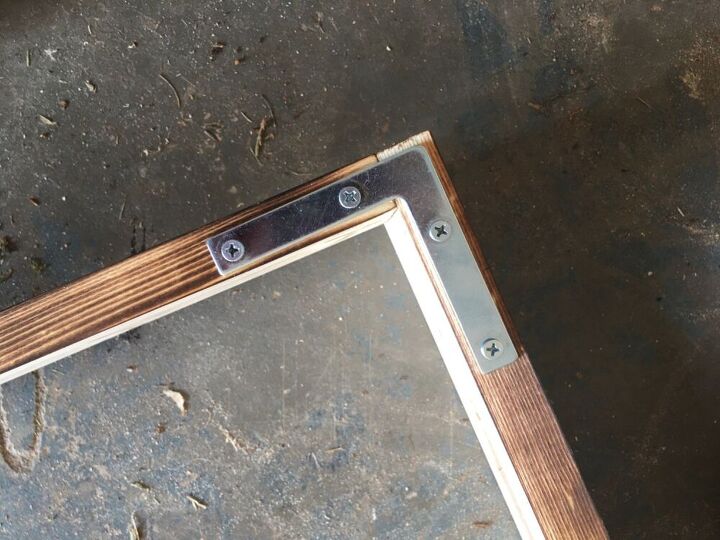
I used an L bracket, because honestly I forgot Hometalk gifted me a Kreg Jig until we cleaned the garage the weekend after I built this! Otherwise I would have used pocket holes, but I don’t mind, these brackets are on the back and you don’t see them. You’ll want to attach the leg to the very BACK of the table flush with the back of the table. You want a little ledge on the front of the table to sit slightly over the back of your sofa, you can modify this if you want it flush with the back of your sofa, either swap a leg for the 1x6 or the top for a 1x4 or really any thickness that fits your space! You could make it as deep as you want! We just don’t have a huge space and all I plan on using this ledge for is a charging station, more or less!
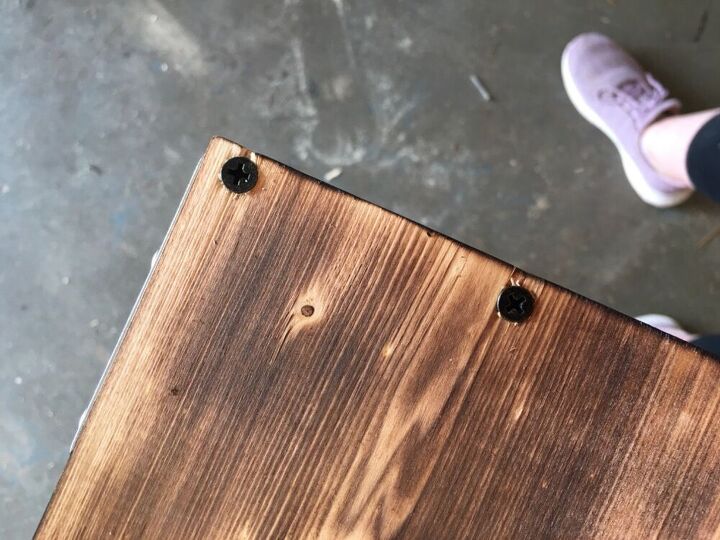
I did use 2 -2” wood screws on the end into the leg also, pre-drill your holes if doing this so you don’t split the wood.These are visible, but don’t bother me, if you don’t like exposed hardware, definitely use some sort of pocket hole joinery.
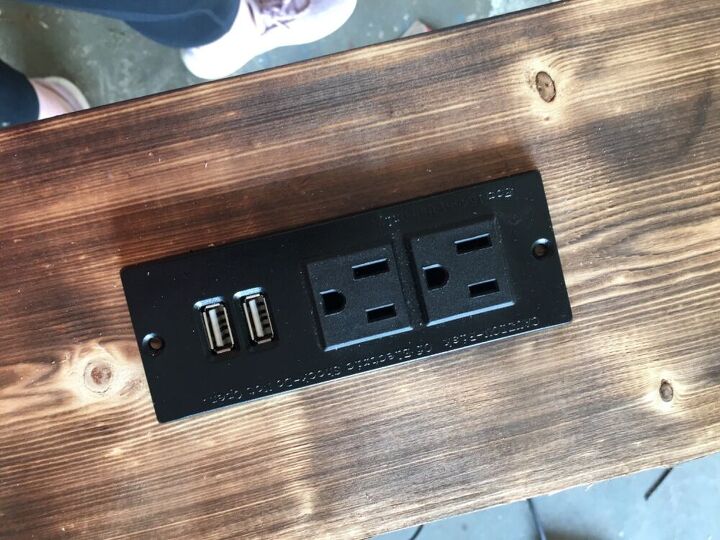
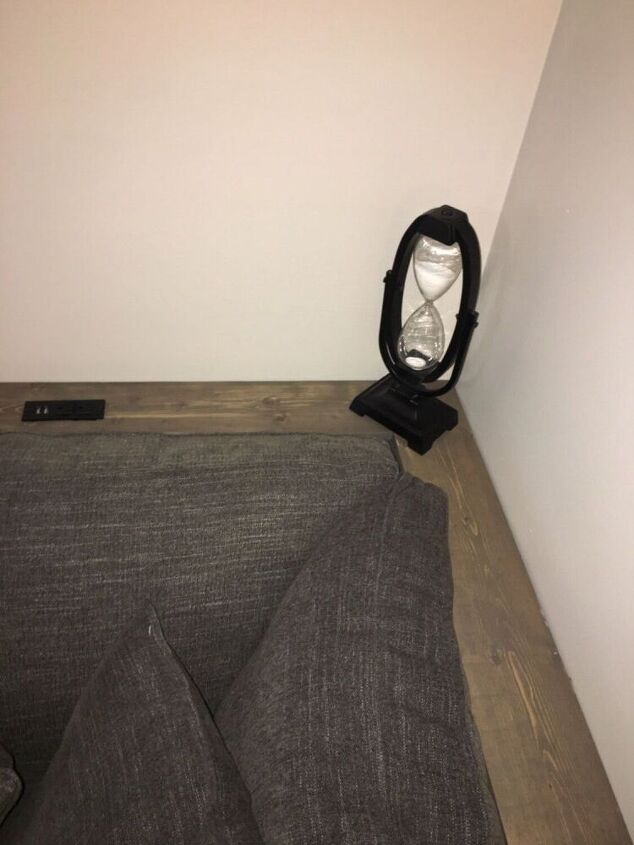
Place the outlet in the hole cut and secure with screws, mine did not come with any, so I used some I had on hand and used black nail polish to camouflage them.

plug it in and test it out! I tested the outlet also before I started! I highly recommend testing it first! Would hate to get done with With project to realize you got a faulty outlet!
The top sits slightly over the back of the sofa to allow more table top without having to pull the sofa 6” away from the wall. It also makes the table a little more stable since it rests on the sofa. For longer spanning tables, additional supports may be required, water additional legs or L brackets attached to the wall underneath for support!
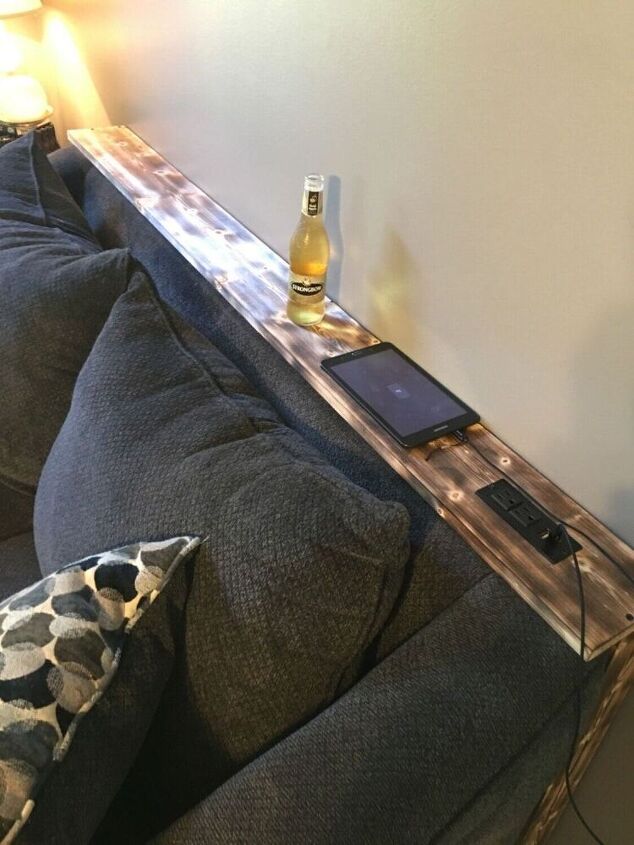
Time to try it out! And enjoy the little victories! It works, and looks just like I envisioned! So happy with this little table!
One of my best friends loved my table so much that I designed made her one as well, she was a great assistant! I used pocket holes for this one for a more finished look, she has a large L shaped sectional sofa and we decided to make it the length of both sides of the sofa with 3 outlets! We did use L brackets as supports along the wall underneath since it’s such a long spanning table and she has some large kitty friends that may or may not decide it’s there new sit space! The possibilities are endless with this one! Have fun and customize it to fit your needs! Tag me on Instagram in your builds if you use this tutorial @redsrusticworkshop!
Until next time, stay safe, we’ll, and happy crafting!
Resources for this project:
See all materials


Comments
Join the conversation
-
Love this just to keep sofa off the wall also.
-
Maybe put some felt along the wall side or small rubber bumpers so wall doesn't get scratched.


Frequently asked questions
Have a question about this project?
What’s a pocket hole?
Where do you find an outlet like this?
Hi Red, nice easy project. Thank you for sharing. I am wondering if using the L brackets and even if using a pocket hole set up wouldn't the whole thing start to sway? I would think a stabilizing board or pipe between the legs may be a good idea. I have an inexpensive shelving unit in my kitchen and I have to reinforce the back with a stabilizing board or sheet of plywood.