


Outdoor Candy Corn for the Holidays!

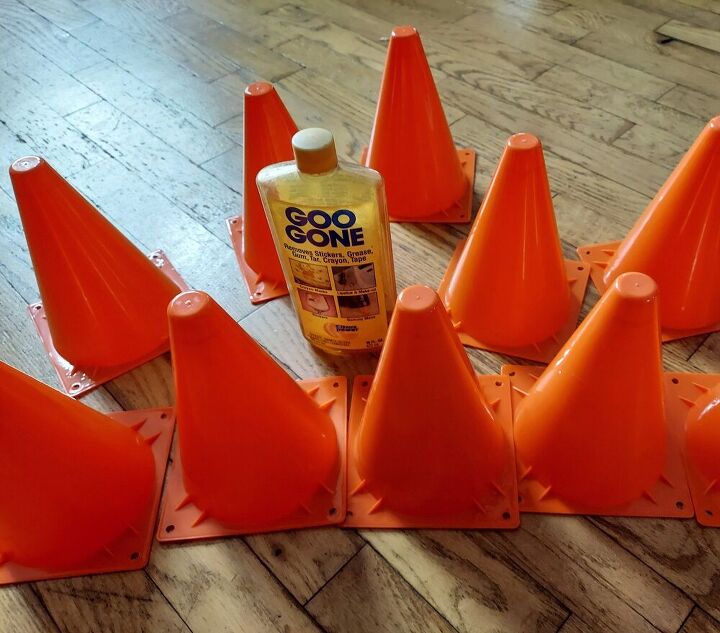
Yesterday I had an ah ha moment when I was out driving and saw the safety cones that seem to be everywhere! They look like candy corn wannabes. Perfect for easy Halloween decorations! Not wanting to be arrested for stealing them from the road I checked out my local Dollar Tree and yep they have them in the toys section. They are 2/$1 so I grabbed enough to create 10 candy corns.
Hometalk Recommends!
Prep Materials: Blow Dryer, Goo Gone, & Alcohol
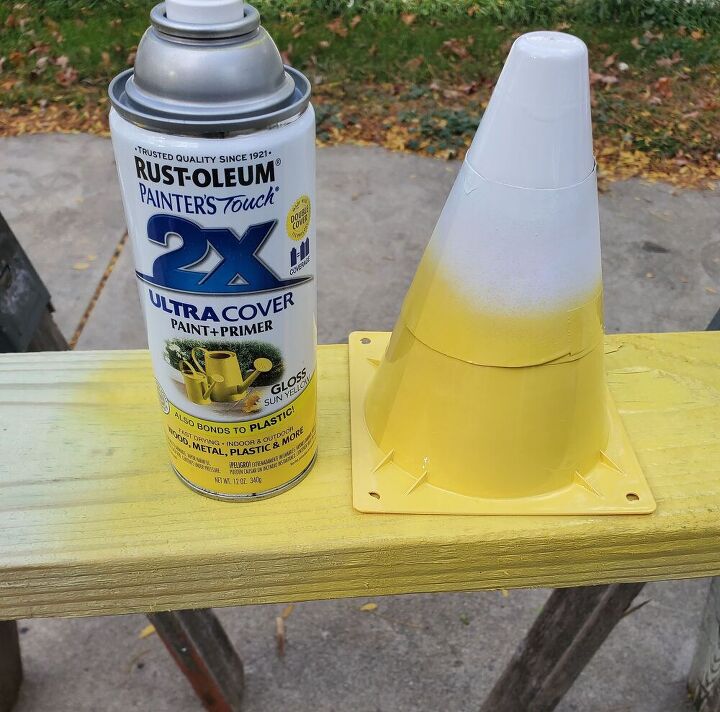
They have stickers on them so grab your blow dryer and heat it enough to peel the sticker off. Then using Goo Gone get the sticker residue off. Finally give them a wipe with rubbing alcohol to be sure the paint sticks.
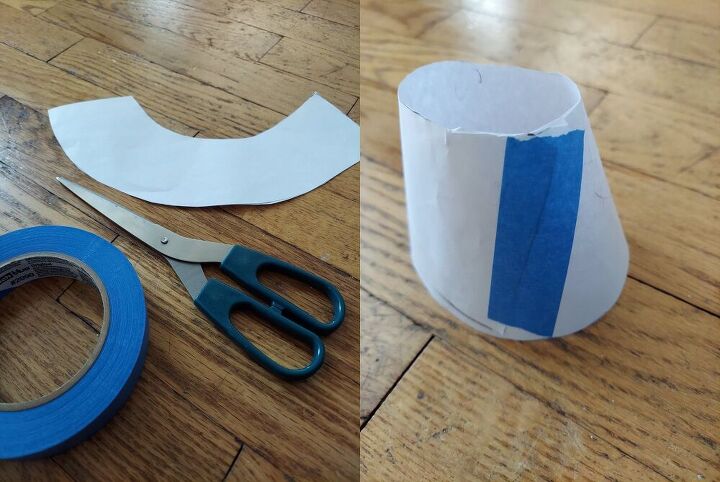
Using a sheet of paper create a cone that will cover the center portion of the safety cone. This was the hardest part because it's curved at an angle. If you tape a sheet of paper around the cone and tape it you can mark it where you want to trim.
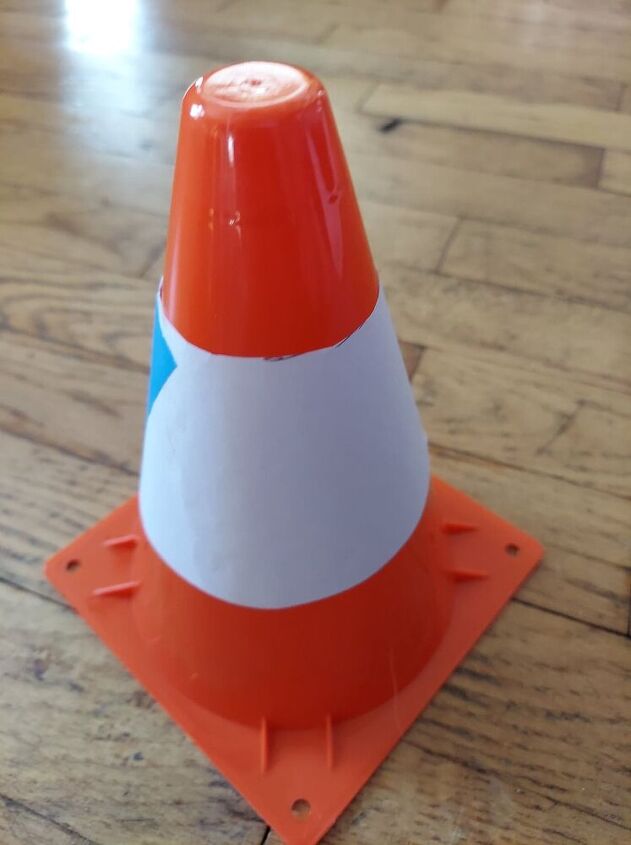
Your paper cone should fit well enough that there are no gaps when you spray paint. The portion it covers will remain orange.
With the cone in place covering the center you can spray the top portion white. Some white will drift to the bottom but don't worry it will cover with the yellow you spray next.
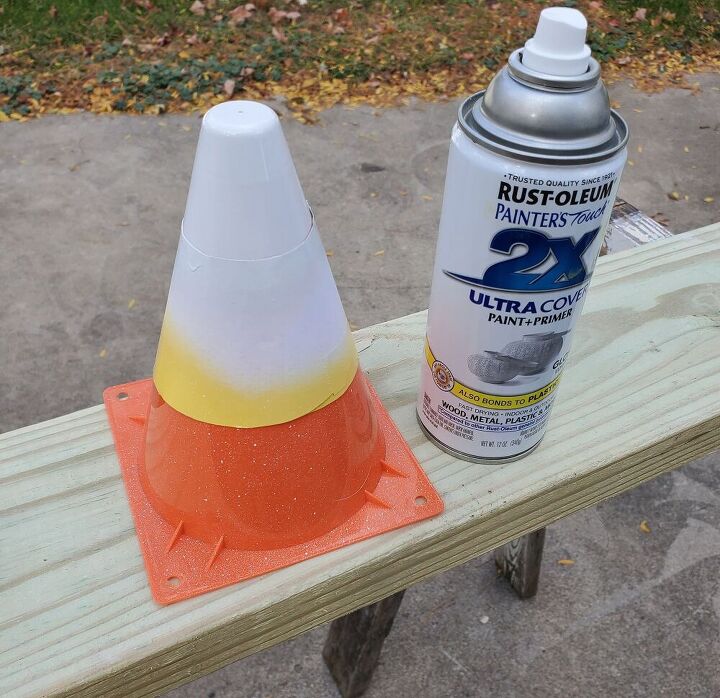
Next you'll spray the bottom portion of the safety cone yellow aiming downward so you don't mess up the white top you've already done.
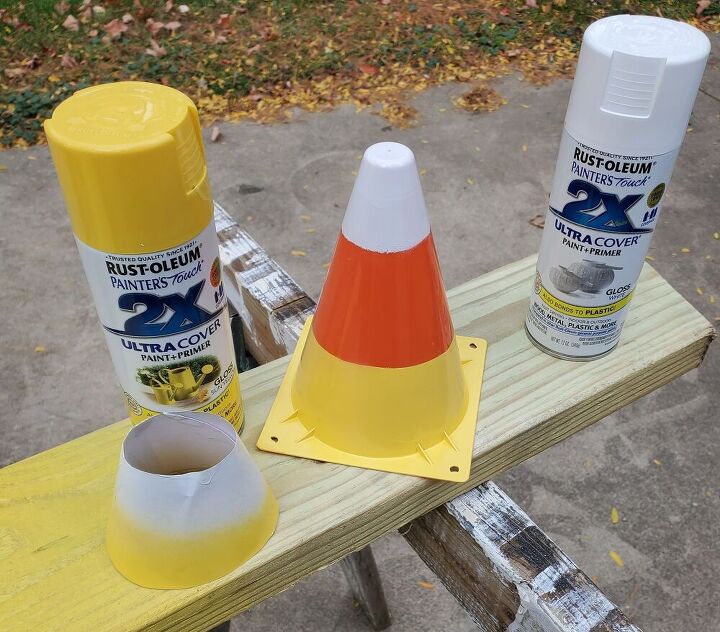
After the paint is dry you can slide the paper cone up/off and move onto the next candy corn wannabe. You'll want the paper cone to dry before you use it again so no wet paint mars your candy corn. If by chance you need to touch up your lines just use a Qtip with paint thinner.
You can spray all of your candy corn with clear spray paint to further protect it if you want.
This was such an easy project and all I had to buy was the safety cones since I had the spray paint, paper, and tape. Each pair of candy corns cost me $1 to make.
Resources for this project:
See all materials


Comments
Join the conversation
-
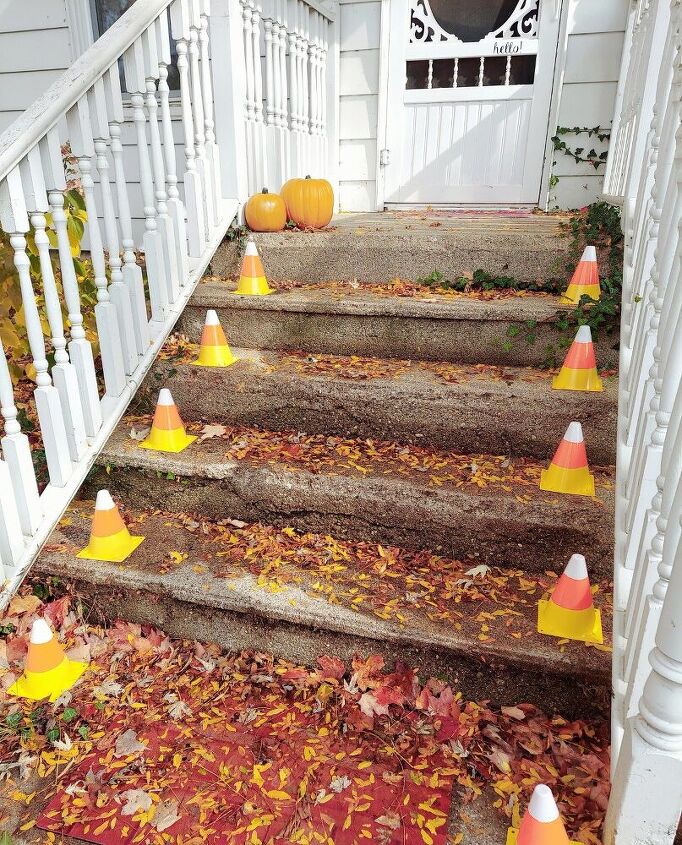
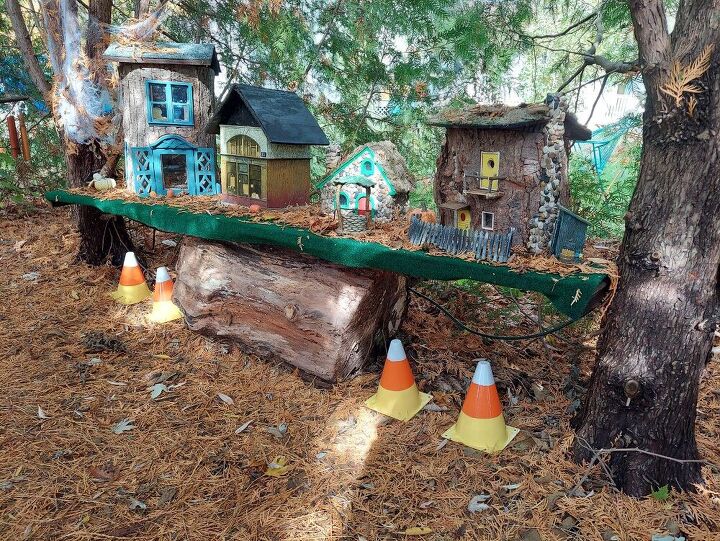
Genius!! Very cute and I love how you placed them! And your fairy village is da bomb!!
-
I adore those. They add such fun to your steps. Love an easy craft project.


Frequently asked questions
Have a question about this project?
Love this project heading to $1 store now. How about using a take out coffee cup heat shield sleeve on cone to cover middle part?
How about placing tea lights under them?
I find there are different sizes of cones.l. Which side (12 " or 18") did you use?