


How To Create a Layered Chippy Paint Finish
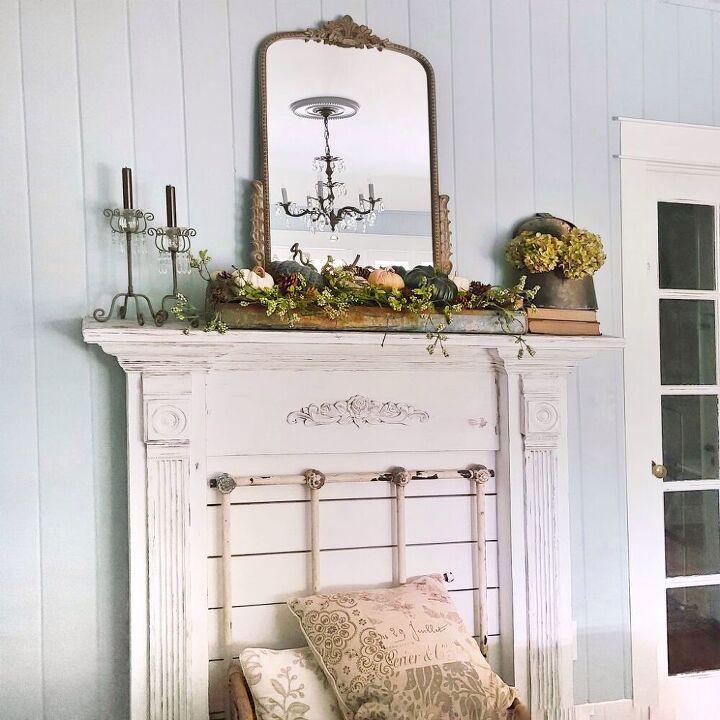
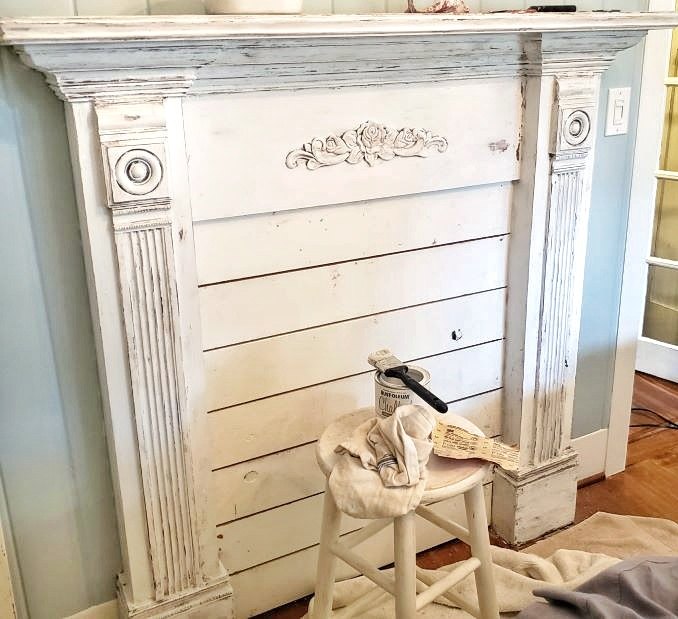
We recently created a faux fireplace mantel surround for our bedroom. I wanted to achieve a layered, chippy paint finish and vintage look. What I wasn’t quite sure about, was the technique I wanted to use to get that distressed, chippy appearance. After doing some research, I found bits and pieces from each technique that I could use for my own look. After making adjustments, I finally came up with a process that worked for my needs.
You can see more DIY tips here.
Hometalk Recommends!
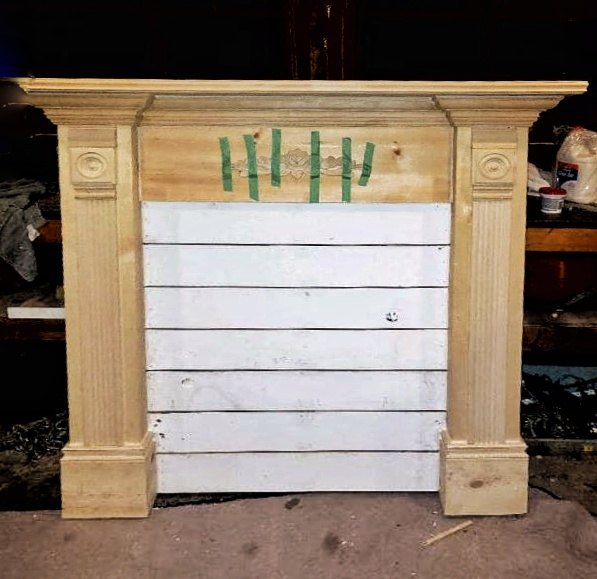
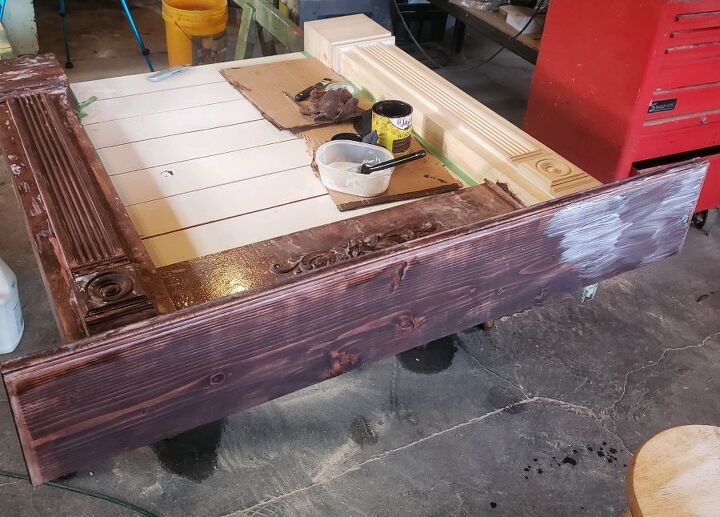
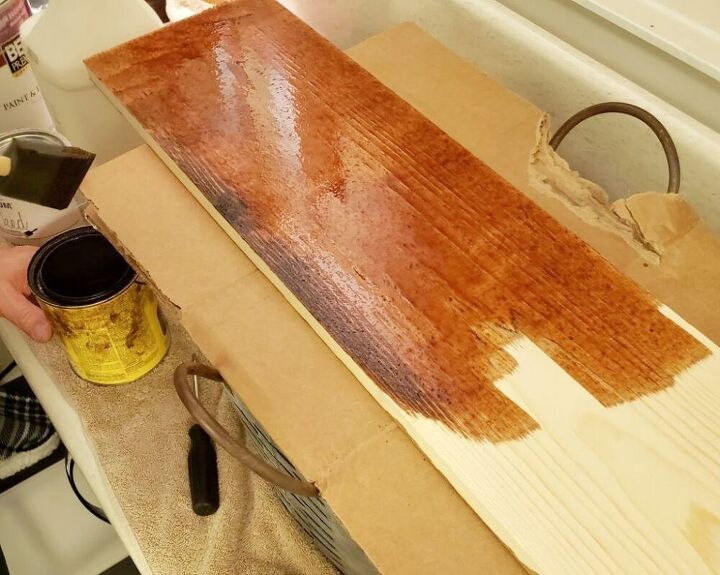
Apply stain or sand the wood, depending on the age of your wood
Because I started with new pine wood, I wanted to use a dark stain. Then, when the paint peels away, the dark stain will show underneath. If you are using a piece that is old and has many layers of paint, you will need to sand the piece first, and then wipe off the dust before staining. You can also skip this step, and apply your first coat of paint, followed by the glue application.
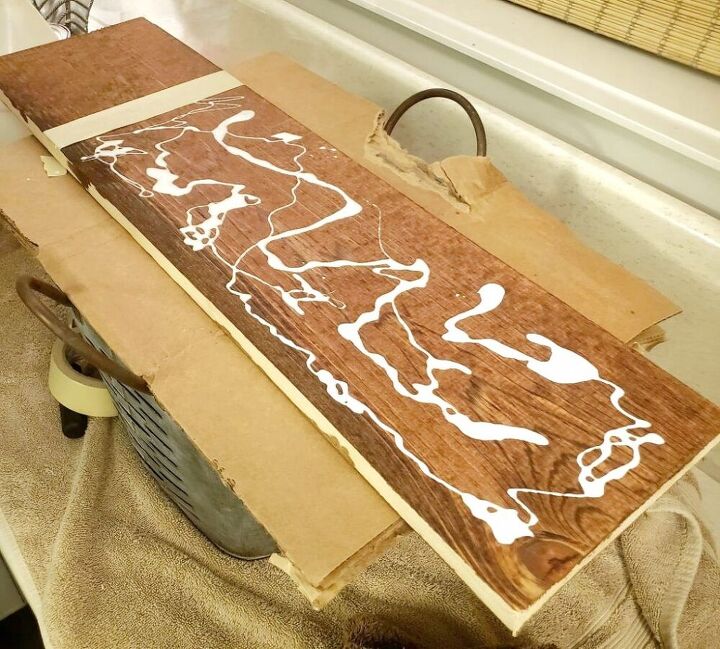
Apply the glue
Apply a layer of glue with a paint brush to the areas you want to have a chippy look. I ended up using a foam brush. Covering the area with a thick layer of glue will create a bigger “crackle”. For a more realistic look, I tried to mix it up a bit. I applied thicker layers in some spots, and thinner layers in others. Regular school glue was used here, but you can use wood glue as well.

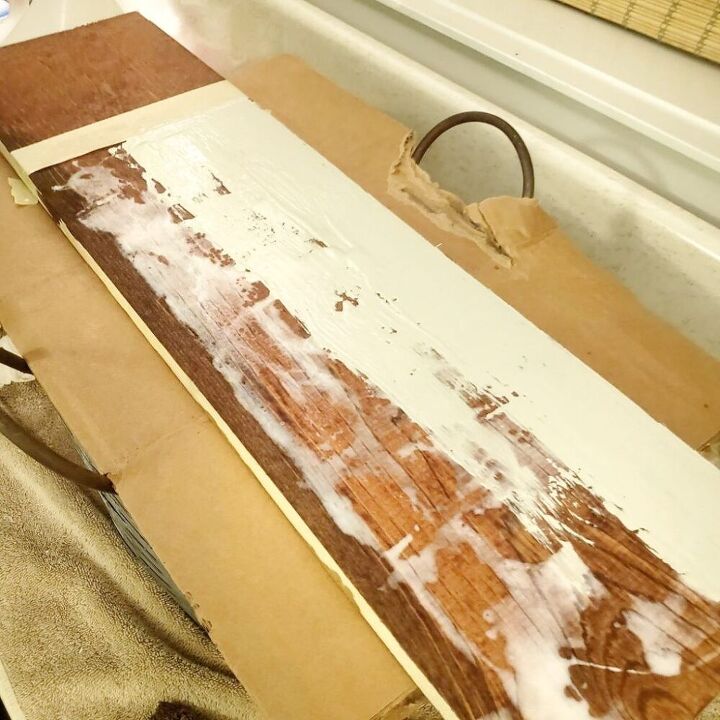
Apply the first coat of paint
For the first coat of paint, I used a dark gray colored chalk paint to cover the dark stain and the layer of glue. This was so there would be another layer shown underneath the white paint layer. Make sure you apply the paint when the glue is still tacky, after a minute or two. As the glue dries under the top coats of paint, the paint will shrink and crack.
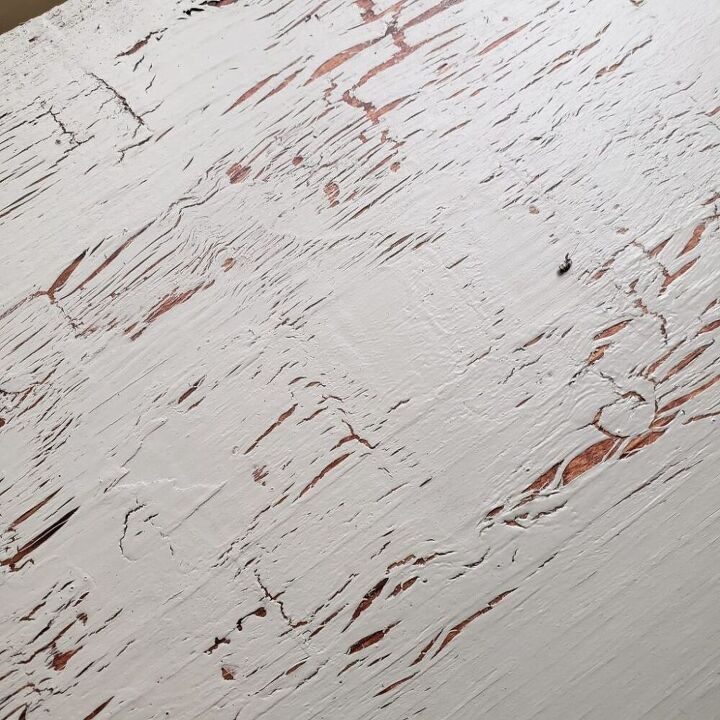
Scrape off the paint for a chippy look
After the glue and paint layers have all dried, use a putty knife to scrape off the paint for the “chippy” appearance. Leave the areas you do not want to look chippy, alone. I felt that I scraped off too much paint. So I added more paint to the areas I wanted to look less distressed.
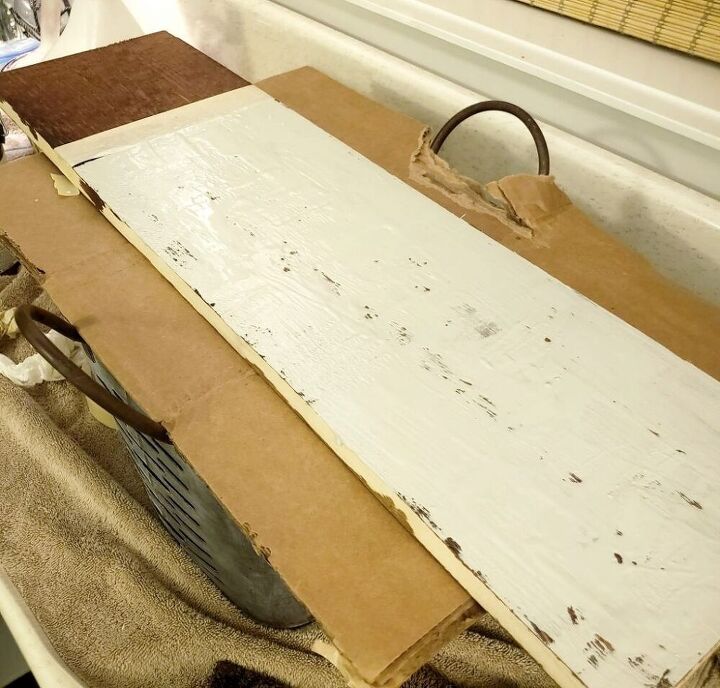
Apply a second coat of paint
Add the second coat of paint. I used a white chalk paint.
Sand and wax
If you want a more antiqued look in certain areas, apply some dark wax for a finished coat. Wipe any areas you want to wax, with a wet rag, to help from getting too much wax applied. Use the wax sparingly. Sand any areas that you want to look older.

My mantel looks just as beautiful as the vintage mantels I found all across the country. I’m so happy with how it turned out! You can see the full tutorial over at my blog, Shiplap and Shells.
Resources for this project:
See all materials


Comments
Join the conversation
-
Hmmmm. I generally don’t care much for these types of finishes. But this I very much like. You may have made a convert! Thanks for sharing
-
Beautiful


Frequently asked questions
Have a question about this project?
I'm wondering if this could be done with regular matte latex. I would want to skip the waxing part. Also, I have achieve the crackle look with a bottom layer of alkyd paint covered with a layer of latex, finally protected with a layer of clear matte marine varnish.